Tuesday, January 28, 2025

Roman Civil War - Caesar in Spain


Having defeated Afranius's army at Narbo, with the death of the leader of the Pompeian effort in Spain, Caesar was at last able to pursue his planned advance into the Iberian Peninsula itself. Local informers reporting the presence of the Pompeian army assembling at Ilerda - well off the main coast road - Caesar took his army thither. There, he found the enemy, drawn up behind a river - a tributary of the Ebro.

The battle on the Pompeian right: driving off the |Caesarian horse.

Caesar's Army, less detachments, comprised:

Right Front: I Auxiliary = 2SP
Right Rear: II Auxiliary = 2SP

Centre Front: IX Legion 2SP + Caesar in command
Centre Rear: Velites 1SP - in direct support of IX Legion

Left Front: Heavy Cavalry = 2SP
Left Rear: XI Legion = 3SP

Totals: 6 units; 12SP

The recent defeat at Narbo had elevated Sextus Pompey to the command of his father's cause in Spain, but had left him with an army rather weakened. By placing his available forces behind a river, and somewhat protected by woodland on his left, Sextus hoped at least to equalise his chances. Actually, the relative weakness lay more in the lack of reserves, rather than the disparity of force in the upcoming action.  

Sextus Pompey's Army
comprised:

Right Front: II Legion = 2SP
Right Rear: Velites in  direct support: 1SP

Centre Front: Light Cavalry = 2SP
Centre Rear: VIII Legion = 2SP with S. Pompey in command

Left Front: II Auxiliary = 2SP
Left Rear: I Auxiliary = 1SP

Totals: 6 units, 10SP

That was it: Caesar's hurry (a plot device, this) left X and XII Legions -  5SP between them - somewhere back along the road from Narbo. Sextus Pompey had available all he could muster. There was no more to be had. This battle the Pompeians simply had to win.

Battle in the centre. Light horse attacking IX Legion
Standoff in the centre. Caesar's legion has taken
some hurt.


Nevertheless, this was to be the hardest fought and bloodiest battle of the whole campaign so far, the outcome resting upon the edge of a gladius - or maybe under the foot of a heedless legionary.

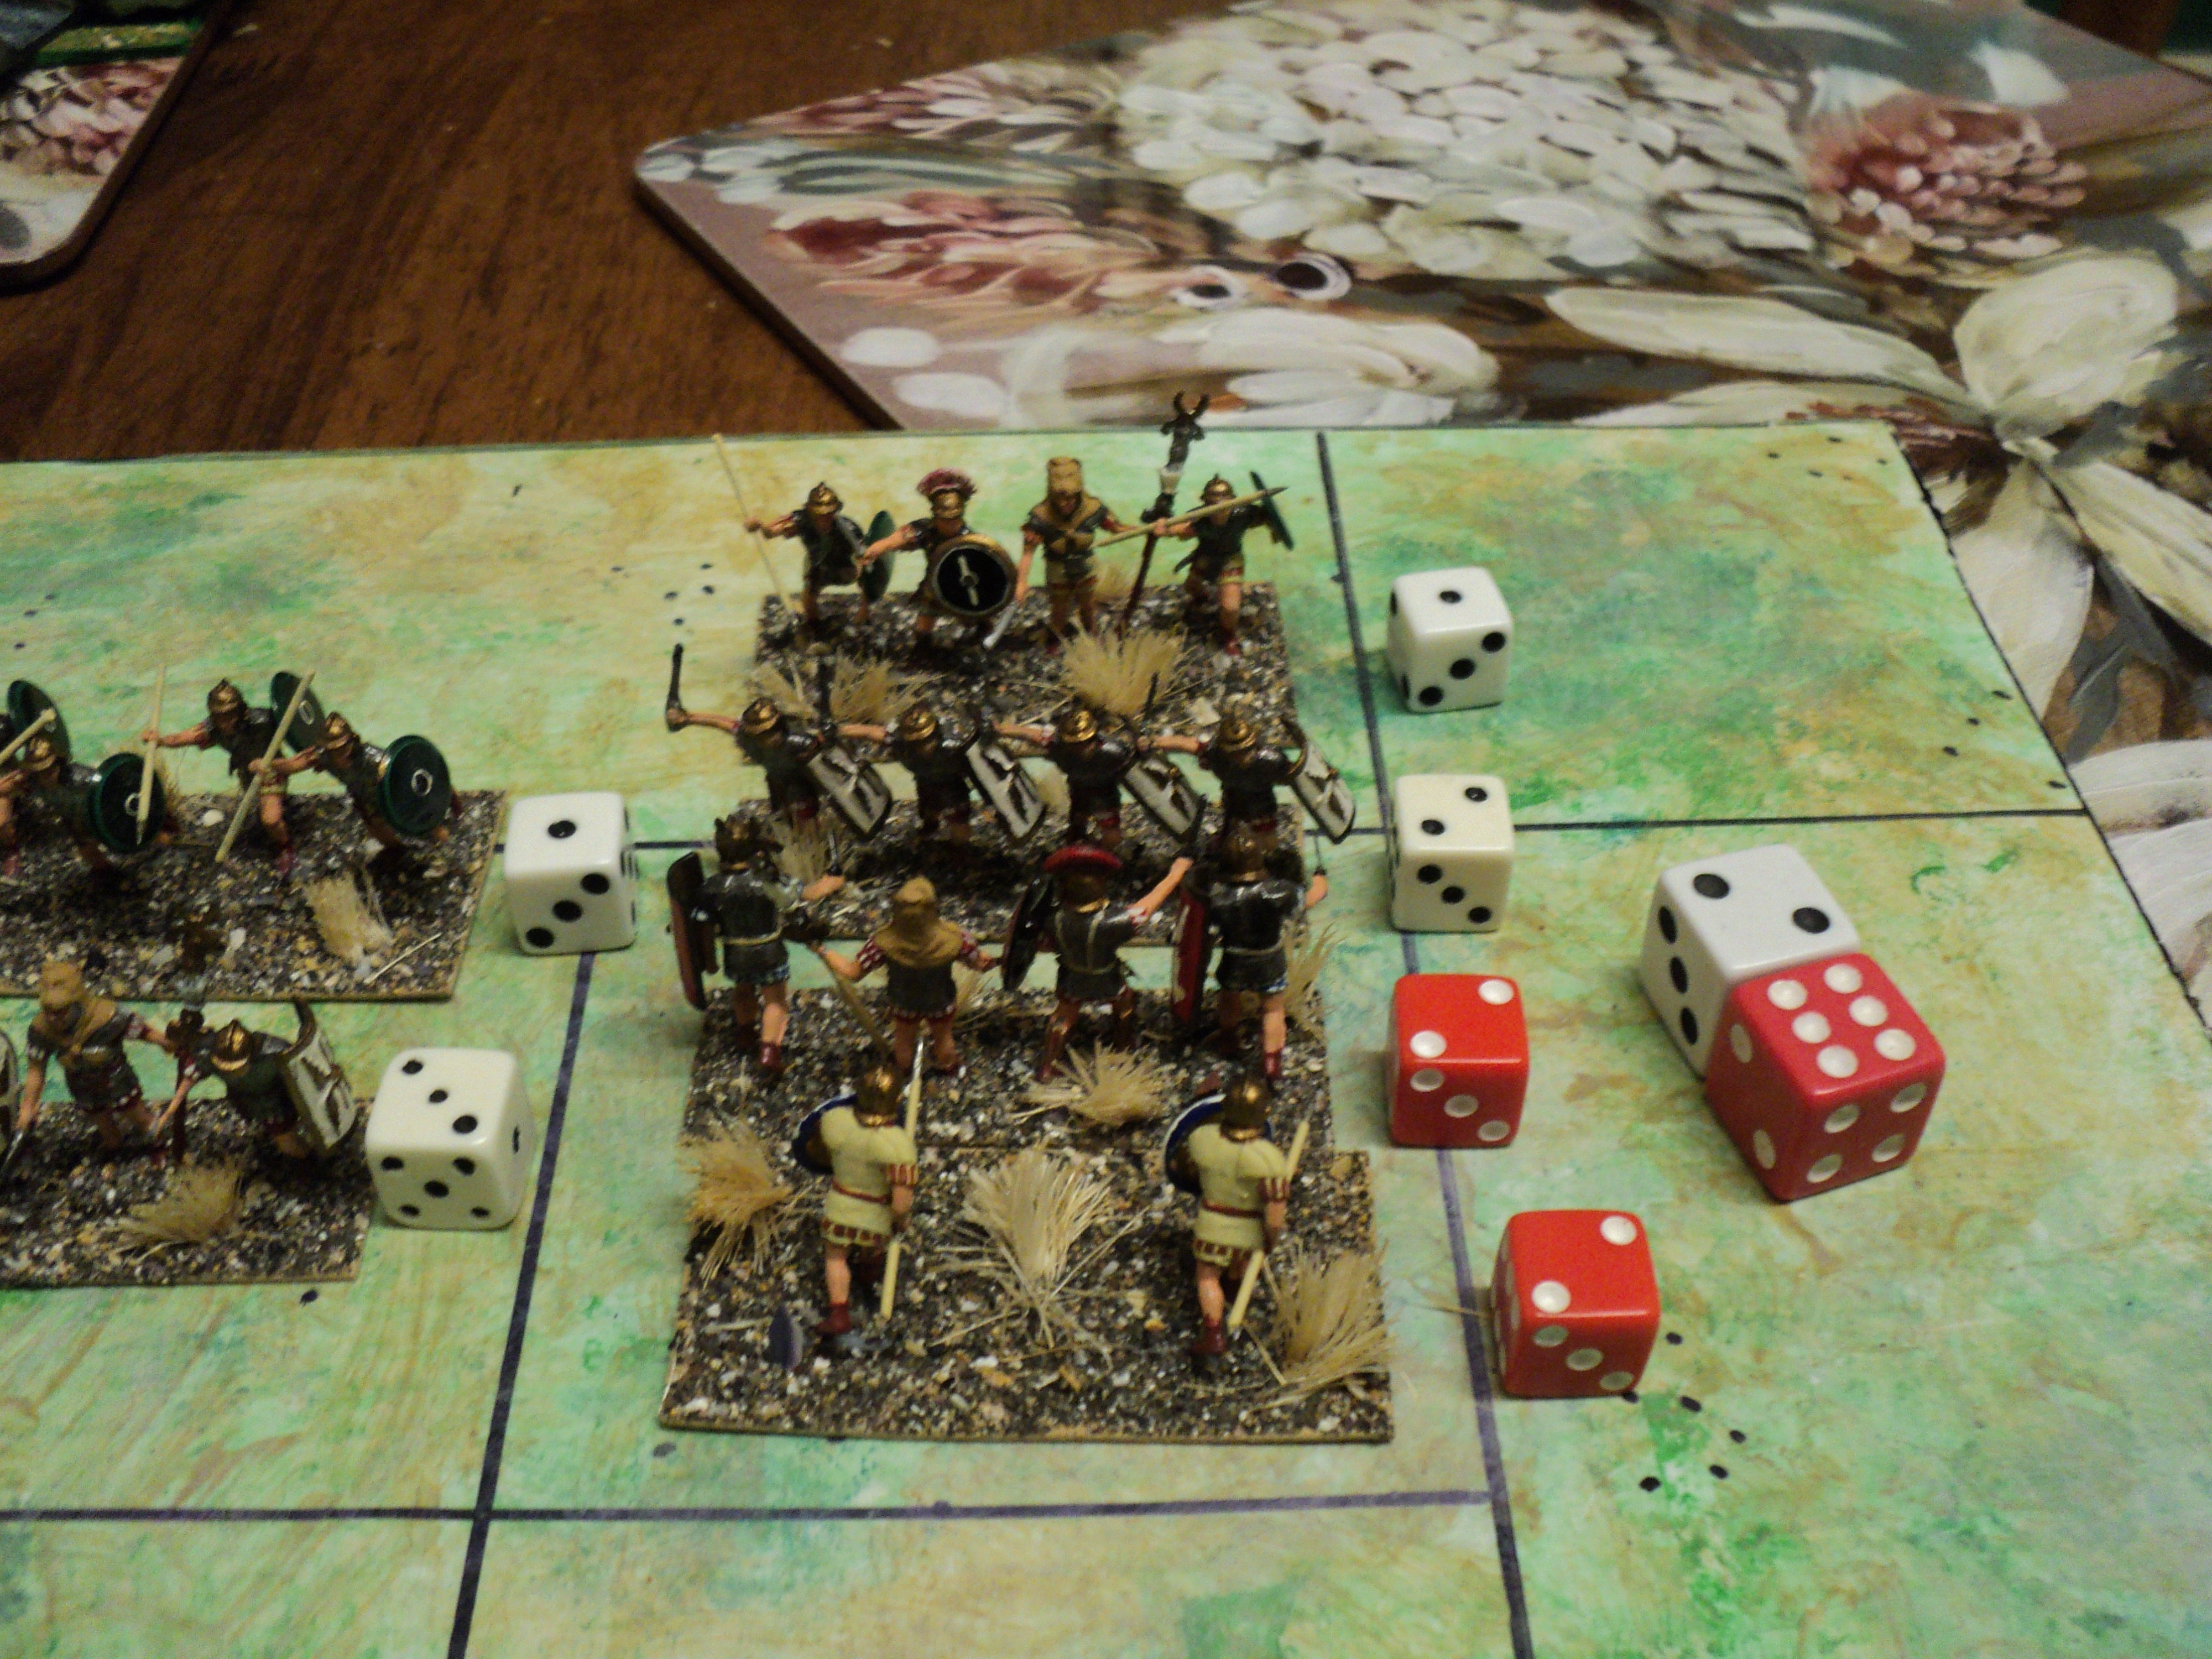
Battle on the right. Pompeian Auxilia barely holding 
against their opposing counterparts

As the Caesarians drew up for their attack over the river, the Pompeians seized the initiative, attacking from the open ground on the right and centre. The Light horse attack was, unsurprisingly, repulsed by Caesar's Legion, though not without cost. The Pompeian right was more successful, and drove back from the river bank the Caesarian heavy horse. Following up, they encountered XI Legion, and were promptly stopped with heavy loss.
(Note: I see that I have shown XI legion with 2SP - a mistake: it should be 3SP)


In response, the Caesarians countered on the flanks. The activation rolls having been 3-2 in favour of the Pompeians limited both sides' initiatives: The Pompiean push on the right and the one-two attacks in the centre; and the Caesarian mounted counter-attack against the enemy right, and the Auxiliary attack upon the woods.

Following up, the Caesarians receive a mauling from 
the defenders, but are giving as good as they are taking

The Caesarian horse defeated again. They were to
prove ineffectual all day.


The attack on the woods proved a costly affair for both sides. Though inflicting some hurt upon the defenders, I Auxiliary were themselves mauled by the determined defence. Their initial attack drove the Pompeian front line clear out of the woods into the reserve area behind. Following up, the Caesarians encountered the weaker, second line. Fighting magnificently, the Pompeian I Auxiliary drove out their counterparts, from the wood, back across the stream. But the effort had wrecked the Pompeian I Auxiliary unit for good. The Pompeians were fortunate that the Caesarians were unable with their second line to seize the momentarily vacant woodland.


On the right, the Caesarian attack was equally unsuccessful. The horsemen were repulsed again. (The 6-2 dice were the next turn's activation rolls - a very good one for the Pompeians!)


It appears from the pictures hereabouts that I omitted some significant events. Caesar continued pressing as much as he could on the flanks, with considerable success. On the left, the Pompeians were driven back across the river. On the right, the Pompeian II Auxiliary were beaten down and destroyed, though they held long enough that, once again, the Caesarians were unable immediately to exploit their success. Pompey was able to slide his Legion into the woodland to cover the open flank. But that left only the light horse to cover the centre. The situation was become parlous for the Pompeians.


Having reached the woods, Pompey at once launched a cross-river attack against the apparently weak front line of Caesarian auxiliaries. The odds seemed to offer a winning proposition: the wargames dice goddess, Bellona Hexahedra, ruled otherwise. The 1-6 roll tells the story: Sextus Pompey was roundly and bloodily repulsed.
Sextus Pompey chances his arm upon a 
battle winning attack - and takes a drubbing.


Nor did matters go any better on the Ponpeian left. Hoping for a miracle, the Pompeians attacked on the right, and met with an equally brusque reception. The remnants of II Legion perished in the stream. 
Destruction of II Legion


If matters were going badly on the flanks, events in the centre bade fair to turn the battle. Observing the bank opposite to be defended by light horse only, Caesar determined upon a final, battle-winning push. This would have been an even more winning a proposition than Pompey's woodland counter attack. The fickleness of fate once more made mockery of Man's machinations. The attack foundered under  the enemy javelins, IX Legions were routed. Here I had to clad Caesar in a certain amount of plot armour. In the scramble for safety, he was knocked down and trodden on. For a moment his life was despaired of, but he emerged from the wreckage of IX Legion somewhat dishevelled and worse for wear, but otherwise uninjured. I rolled a D6 for him with the score to represent the level of injury. It rolled a '1'.  

Both sides forced to regroup their forces. Caesar 
gets trampled in the dirt when IX Legion routs, but
survives - more or less uninjured.


So the battle continued. XI Legion slid across to cover the vulnerable centre - the velites having survived the rout, whilst the horse now took over the Caesarian left. 
Sextus repulses attack upon woodland position


The to-and-fro battle of the woodlands carried on, Pompey himself leading the repulse of the enemy auxiliaries.
XI Legion force their way across the river


In the centre, however, XI Legion, with the support of the velites, forced their way across the stream, unhorsing many of the defending light horse. To their left, the horse finally dispersed the II Legion, and followed up to inflict losses upon the supporting light infantry.
Caesarian horse destroyed in attempting the same...


That final drive might have settled the matter, but for the failure of the Caesarina heavy horse to clear the riverbank. The light infantry put the horsemen finally to flight. Having beaten back the enemy light horse, however, XI Legion were able to strike the flank of the Pompeian light infantry. Though the latter swung left to face them, they could not withstand the weight of the Legion. Now, the whole of the Pompeian centre and left having been driven away from the riverbank, and more than half the army destroyed, there could be no retrieving this battle.
Final victory: XI Legion routs what remains of the 
Pompeian right wing. 


Nor, withal, was there to be any chance of retrieving the campaign in Spain. Losses were very heavy on both sides, but the Pompeians lost four units completely destroyed; the Caesarians two only.
Very little remains of the Pompeian army! Bit the Caesarians
know they have been in a fight to the death.


Here's the 'butcher's bill':

Caesarian losses: 

Right Front: I Auxiliary -1SP
Right Rear: II Auxiliary -1SP

Centre Front: IX Legion -2SP destroyed, and Caesar slightly injured
Centre Rear: Velites no loss

Left Front: Heavy Cavalry -2SP destroyed 
Left Rear: XI Legion -1SP

Totals: 7SP lost, 2 units destroyed. 2SP returned to the army (1 Auxiliary, 1 to XI Legion)
Net loss 5SP. 
Army left with 12SP, and still in being.

Pompeian losses:

Right Front: II Legion -2SP destroyed
Right Rear: Velites -1SP destroyed

Centre Front: Light Cavalry no loss
Centre Rear: VIII Legion -1SP with S. Pompey in command

Left Front: II Auxiliary -2SP destroyed
Left Rear: I Auxiliary  -1SP destroyed

Totals: 7SP lost, 4 units destroyed. 1SP only returned to the army (VIII Legion).
Net loss 6SP
Army left with 4SP.

Four Strength Points only, the Pompeians in Spain had remaining. That was far less than half this army had begun with. Clearly there was nothing left for the remnants but to surrender to Caesar's mercy.

This battle was a fine climax to Caesar's campaign to bring Spain under his sway: very heavy losses to both sides, and a fluctuating fortunes. The plot armour for Caesar was really just to minimise the likelihood of his demise, whilst keeping some chinks of vulnerability. A '6' on the 'fate' roll would have occasioned his removal from the campaign...

But if Pompey's fortunes in Spain have met with disaster, what has been happening in Africa? The Pompeians there have a very fair chance of maintaining yet the fires of the Pompeian cause...

To be continued... 

Saturday, January 11, 2025

Roman Civil War - Backs to the Sea!


Defence of Leptiminius. Pompeians seize the initiative


The Caesarian advance upon Utica, the main city of the Africa Proconsularis north of Carthago, having been checked and driven back, Gaius Curio led his army back into the Byzacena district towards Thapsus. Before reaching that seaport, he determined upon a stand close by the town, at the village of Leptiminius. Forming close under the town precincts, he placed I Auxilia in the village itself, and the heavy horse backed up by II Auxilia to the left of the place. Placing IV Legion in reserve behind the village, he placed himself with II Legion on the right, with the velites - light infantry - in close support.

Caesarian Army:

Left front: Equites = 2SP
Left rear: II Auxilia = 2SP
Centre front: I Auxilia = 2SP (in the village)
Right front: IV Legion = 3SP led by Gaius Curio
Right rear: Velites = 2SP in direct support
Reserve: II Legion = 2SP (under strength)
    Totals: 6 units, 13SP

Caesarians


As expected, Publius Varus stood in the centre with XXIII Legion, with Auxilia in the second line. The understrength XXI Legion he placed in support of the heavy horse on the right, facing the Caesarian mounted troops. On the left, XXIV Legion was supported by the second unit of auxiliaries.

Pompeian Army:

Right front: Equites heavy horse = 2SP
Right rear: XXI Legion = 2SP (under strength)
Centre front: XXIII Legion = 3SP led by Publius Varus
Centre rear: I Auxilia = 2SP 
Left front: XXIV Legion = 3SP
Left rear: II Auxilia = 2SP
    Totals: 6 units, 14SP
 
Pompeians


As the attackers, the Pompeians advanced bravely into the battle, and were at once checked. XXIV Legion was stopped, then driven back by Curio's own IV Legion. So began a fierce to-and-fro action on the Caesarian right wing.

Pompeian assault


Following up his early success, Curio struck the Pompeian II Auxilia formation to receive a rude and costly check in his turn. 
To and fro fighting on the Caesarian right


This failed to discourage the Caesarians, who seized the initiative (the 5-3 die roll in the following pic)...
Caesarians seize the initiative


... and visited upon the Pompeian auxilia unit an equally punishing requital. 
Curio pushes back the Pompeian wing


The auxilia falling back brought XXIV Legion back into the fray. Following up, the Caesarians also forced back the opposing legionaries (the 1-1 dice roll becoming 3-1 owing to the presence of Curio himself, and the direct light infantry support).

Pompeian wing barely hanging on!


In the meantime, there had been little movement elsewhere. The Caesarian left drove off the enemy horse, but found themselves face to face with XXI Legion. Though losses were heavy, the fighting remained undecided for a considerable while.  

Indecisive blood letting on the Caesarian left
Meanwhile, the garrison having withstood the Pompeian attack, Curio took advantage of a pause in the action to order II Legion to relieve the Auxilia, thence to take the fight to the enemy. This they did in fine style, throwing Varus and XXIII Legion back behind the supporting auxiliaries, then following up to engage this second line.
Overview: Caesarians advancing

Success now followed upon success all along the front. Having driven the Pompeians back beyond their deployment line, Curio withstood the furious counter attack XXIV Legion mounted, and drove them with loss from the field.
Pompeian attempt to restore their line fails
On the opposite wing, the equites' final charge crushed XXI once and for all. The follow-up failed, however, to sweep the enemy horse from the field. The Pompeians managed to hold up this front. 
XXI Legion collapses in rout
In the final act of the day, the stout IV Legion held Varus's counter attack. Barely holding their right and centre, the Pompeians lost the day on their left. Curio had crushed XXIV Legion and II Auxilia both, and inflicted 3 casualties for each received. It was time for the Pompeians to quit the field. The Caesarians had won.
A Decisive Caesarian victory!

It was only in camp that evening that Curio discovered how essential that victory was. His fleet having been decisively defeated at sea, a defeat on land might well have ended the African campaign right there with the loss of the whole expedition. In view of recent events, he'd got off lightly, just 1SP lost from his horse, and 1SP from IV Legion. Pompeian losses were XXI Legion destroyed, and 6 SP overall. 

Meanwhile, at Luca, in the north of Italy, the Pompeian fleet having driven the Caesarian towards Rome, found itself in a quandary. A Roman army lay in that town, which rather discouraged any notions of following up. The fleet carried no ground troops, so could effect nothing ashore. Learning of the Afranius's failure to restore the situation at Narbo, the Pompeian fleet turned westward...

To be continued:
Having, more or less, weathered the Pompeian counter-offensive, The Caesarian forces carry the fight to their adversaries. There is some talk in Rome of converging what is left of the Caesarian fleets into one. Even then the Pompeian fleet in Spain would be the greater.

The next posting will include the state of the opposing forces, as Caesar tries to bring the war to a rapid conclusion...


Saturday, January 4, 2025

Roman Civil War - Optimates Resurgent

Battle of Luca

The Third Month of the War between Optimates and Populares having closed with the former's victory in Africa, the Fourth Month began with the determined Optimates drive to seize the initiative on all fronts. The initiative rolls 6-3 in their favour permitted all formations to advance against the enemy. The result was four battles being fought within the first fortnight.
Facing 6 Pompeian units, 4 Caesar try to protect
the transport ships.


Having defeated the Caesarian navy off Massilia, the Pompeian pursued eastwards along the coast until reaching Luca, in Italy itself. There, they caught up with the much weakened Caesarian fleet, together with the transports. As the Pompeians drove forward, the Caesarian galleys formed a screen in the hopes that, outnumbered as they were, they might yet save the non-combatant ships. 


Fourth Month: Pompeian moves 

The view from behind the Pompeians. the heavy
ships are in the centre and on the left.


The shoreline protecting the northern flank, the Pompeian fleet drew up in a single line with their heavier units mixed in the left and centre squadrons. The Caesarians placed their heaviest weight in the centre, looking, perhaps, to a diekplus breakthrough to discomfit the foe. 


These formation were decided by dice roll, it being assumed, of course, that all three sectors had to contain at least one unit.  The Caesarians lined up their three medium galley units along the whole front, and a die roll determined that the heavy unit, together with Decimus Brutus, attached itself to the centre.
Of course the initiative goes to the Pompeians!


Having seven units available, the Pompeians left one medium out of the battle. The location of the two heavy units were determined by dice rolls to be left and centre; and the four mediums filled the gaps.
Pompeians damage the Caesarian shoreward wing!

At once the Pompeians seized the initiative, and scored immediate successes all along the line. The Caesarians began at once to back water, just one unit holding its original position. Now, the reason for the transports being lined up in the reserve area might now become apparent. I enacted a rule that, a unit victorious in the enemy start zone might follow up into the reserve area and attempt to sink a transport. But, in order to follow up, it was not enough to drive the enemy off the board: the enemy unit had to be sunk.
Most of the Caesarian fleet driven in amongst the transports -
but they remain afloat!


The Pompeians never quite managed it. Although a tactical victory - driving the Caesarian escort galleys into the transport fleet - they sank no units. Having lost 3 Strength Points to 1SP inflicted, and forced to retreat from Luca, the Caesarians saved the transports. 
A tactical Pompeian victory, but they fail
to reach the transports betimes...


However, when the news arrived at Caesar's camp near Narbo, he was not pleased to learn that his army was nor far separated from his fleet, now somewhere about Rome. For their part, unable to do anything on land, the Pompeian fleet commander bethought himself that perhaps he should return to the support of Afranius.

Pompeian Counter-Attack at Narbo


Having been defeated at Narbo, L. Afranius determined upon vengeance. His army was still a match for Caesar's (so he reckoned). G. Julius Caesar awaited him just south of Narbo, at Collis Viridis. Upon the eponymous eminence, Caesar stationed himself, with his veteran XII Legion. Having just one other regular Legion with him, the XI, he supported that unit with the velites. The horse he placed upon the open left. The auxiliaries formed reserve supports on both flanks.
Caesar's line at Collis Viridis


For his part, Afranius covered his whole front with his three Legions. The weakest of the three, the IInd,  he placed upon the right, facing the Caesarian cavalry. III Legion stood in the centre, directly supported by the velites. He himself faced Caesar himself with IV Legion, a unit of auxiliaries in support.
The Pompeian line. Despite their defeat a fortnight
earlier, they manage to assemble an army marginally stronger
(by 1 SP) than the Caesarian!


The Armies:

Caesarian:
Left front: Equites Heavy cavalry = 2SP
Left rear: II Auxilia Foot = 2SP
Centre Front: XI Legion = 3SP
Centre rear: Velites light infantry = 2SP (direct support)
Right front: XII Legion = 2SP (veteran) with Julius Caesar commanding overall.
Right Rear: I Auxilia = 2SP
     Totals: 6 units; 13SP

Pompeian:
Right front: III Legion = 2SP
Right rear: I Auxilia = 2SP
Centre front: V Legion = 3SP with Lucius Afranius commanding overall
Centre rear: Veleites = 2SP (direct support)
Left front: VIII Legion = 3SP 
Left rear: II Auxilia = 2SP
     Totals: 6 units; 14SP

That, despite his earlier defeat, Afranius managed to assemble an army slightly stronger than that of his adversary, was partly determined by the roll of the dice. His overall force reduced by one legion, he could still select 6 units of the 7 remaining. His horsed unit, presumably operating at some distance from the main army, was left out of the action. Still with 8 units to choose from, Caesar had but 2 Legions immediately available, and one of those the veteran XII Legion, numerically weaker than their comrades.

Caesarians push back the Pompeian wings...


Although the Pompeians began the battle briskly enough, the Caesarians held the line, then counterattacked strongly on the flanks. Although taking an early loss, XII Legion gave as much hurt to the enemy opposing them. Passing I Auxilia through the line, Caesar kept up the pressure on the Pompeian left. On the other wing, the heavy horse threw back the I Legion with loss, but were in turn driven off by the supporting auxilia.


XI Legion, perhaps wishing to emulate XII, begin
a drive against the Pompeian centre...

The decisive action developed in the centre. The august presence of Afranius himself was not enough to prevent XI Legion holding the centre against the first attacks, then driving back his III Legion, with heavy losses, well past its start line. A desperate attempt to recover the ground inflicted heavy loss among XI Legion, but the effort exhausted III Legion. The Pompeian centre collapsed, and Lucius Afranius slain in the rout. 
...that leads to the rout of the Pompeian III Legion
and the death of Lucius Afranius.


This was a great victory for the Caesarians, that more than made up for the naval defeat earlier in the week. The Pompeians lost 6 Strength Points, 3 from the destroyed legion. Of the remaining 3SP lost, then, the Pompeians could receive back 2SP - 1 legion and 1 auxilia.
Total victory for Caesar, who is now able to march 
into Hispania.


The Caesarians lost but 2SP, both from the Legions. They get one back. The temptation is, subtracting 1SP from XI Legion, to award its superb performance in this battle with veteran status. Yes: I rather think that Caesar's congratulatory post-battle address to that legion will chuff those fellows no end, and confirm its sense of worth...

Meanwhile...

Africa: Pompeian Naval attack at Thapsus

The Pompeian commander in Africa, Publius Varus, determined to wipe out the Caesarians, ordered attacks by both army and navy. Victorious a week or so ago, Publius Varus followed up towards the sea port of Thapsus, finally to put to the sword the rebellious Populares. Meanwhile the fleet, though depleted by losses earlier, brought to battle the Caesarians, seeking to destroy latter fleet: galleys and transports all.
The depleted navies face off, the Caesarians
defending their transports


The opposing fleets were almost a match: just four units apiece. But the Pompeians enjoyed a marginal advantage in weight: half the units comprising septiremes, against just a quarter of the Caesarian. Nevertheless, earlier successes had filled the latter with confidence. 

Caesarians hope to envelop the Pompeian seaward wing;
the Pompieans to crush the Caesarian centre.


The Pompeians placed their main strength in the centre, the septiremes being taking station there and the shoreward flank. The Caesarians hoped that by weighting their seaward wing with the septiremes augmenting the mediums, they could envelop the enemy line before the latter could break through to the transports (note that the placements were determined by dice rolls; the interpretive narrative merely a rationalisation of the results). 

First clashes: honours even

The Caesarian effort began well enough, containing the initial Pompeian assault, and even forcing back their seaward wing, and causing some loss in the centre. But things were already going badly there, and upon the inshore wing.
Caesarians successful on the seaward wing - is victory in sight?

Although the Caesarian seaward units were victorious, and finally sank their adversaries, this did not make up for the disasters elsewhere. The centre and the seaward wing were both sunk, and the Pompeians successfully followed up into the transports. Having sunk a third of the Caesarian transports, the Pompeians finally drew off  (unfortunately, I seem to have forgotten to take the appropriate pictures; I thought I had!).
No. Pompeian plan successful. Caesarian lose the 
half their galleys, and a third of their transports.
Disaster!


This was an undoubted disaster for the Caesarians: two galley and two transport units sunk, for just one enemy galley unit. The depleted naval force could not hope to bring off Curio's army, at least not all of it - and that army, defeated once already, was facing an imminent attack...


To be continued: Africa: Backs to the Sea!