Davout at the Crossroads - General d'Armee Game
 |
| The French right. 1st Chasseurs and 5th Hussars leading 6th Hussars; the churchyard seized and occupied, the wood to the right being contested by a small body of Austrian skirmishers. |
The set-up
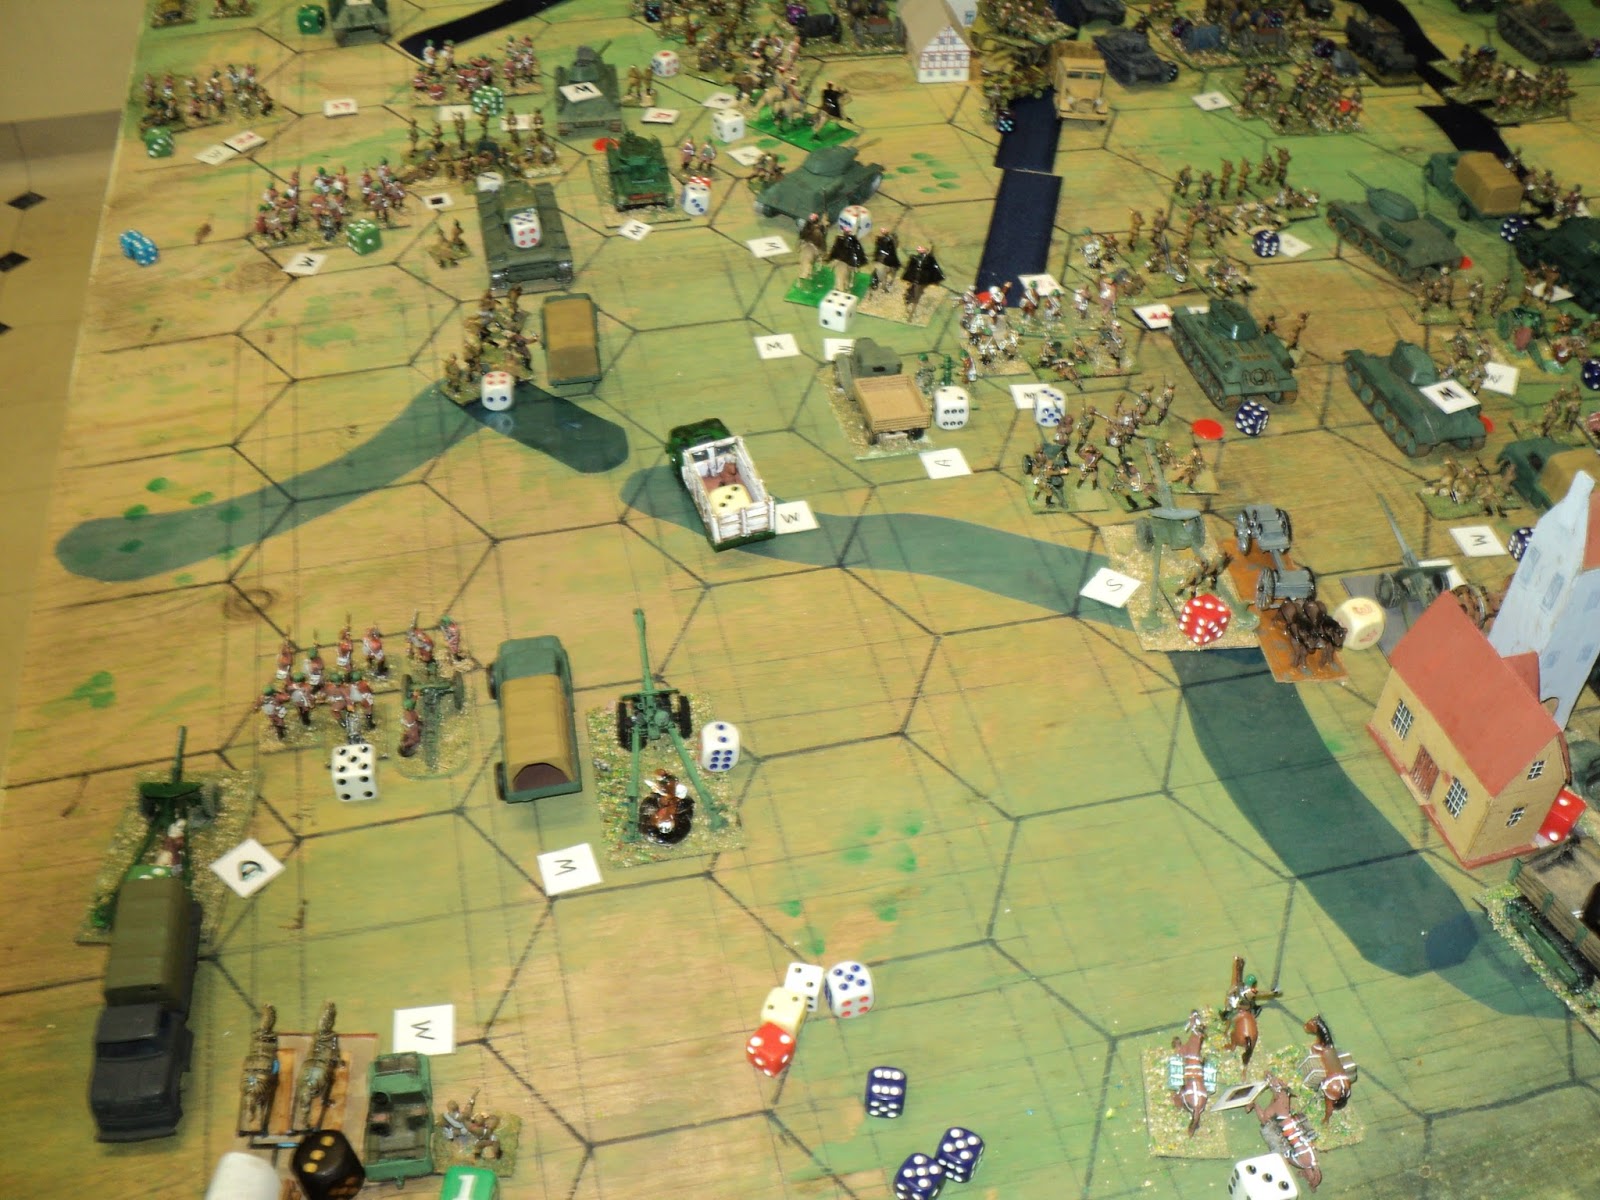
At the start of the 1809 campaign, Marshal Davout's III Corps d'Armee had found itself out of position and a portion of this Army Corps clashed with the Austrian IV Armeekorps at the Battle of Teugen-Hausen. In a "what if" variant of this circumstance, Mark postulated instead an encounter between Davout's whole Corps and the two Armeekorps of Feldmarschalls Kolowrat-Krakowski (II) and Hohenzollern-Hechingen (III). The rule set was General d'Armee, the forces about 5000 'points' per side. Unfamiliar with the rules myself, I'm not sure what that means, but there was certainly a lot of kit on the table, by my count 608 French figures (516 foot, 60 horse and 32 gunners manning 8 cannon), with a further 24 Cuirassiers in off-table reserve; and 545 Austrian figures on table (465 foot, 48 horse, and 32 gunners for 8 cannon). The Austrians could call upon an extra 148 figures from the off table reserve (108 Grenadiers, 24 Cuirassiers and 4x12 pr position battery cannon each with 4 crew. Something over 1300 figures on the table is something to see all right!
For Mark's account of the set up and action check out the Chasseur blogspot.
For Mark's account of the set up and action check out the Chasseur blogspot.
 |
| Low level view from the Austrian left, looking north. |
The Austrians had twice as many artillery immediately as the French, and could call upon half as much again from the reserves - a considerable edge. But the limited Austrian command (I don't like the word 'poor' in this context) and the large unwieldy infantry units, made the Austrians unhandy in manoeuvre, however formidable once they got into a fight. Their large size made them the more enduring.
In light troops, the Austrians were also less well served than their opponents, having just two specialist units (one jager and one grenze in the Corps' respective Advance Guard formations). In the other Divisions, skirmishers were drawn from the line infantry and 'brigaded' into weak ad hoc formations. The French while low on artillery, have excellent command and a great number of light troops. Both sides have similar numbers of cavalry, the French having an edge in numbers, but the sides well matched in quality. Overall the Austrians were stolid, enduring but not rigid; the French far more flexible.
Mark had 'bathtubbed' the action, what amounted to brigade strength formations standing in for Divisions. I tended to think of the formations as Divisions anyway, with each unit representing a regiment of two or more battalions/squadrons rather than a single battalion/squadron, and each pair of guns representing two batteries.
French had 23 infantry regiments (Mark said 25, but I can count only 23: 15 Line, 4 'Veteran' Light and 4 Voltigeur), 4 artillery, and 7 cavalry.
Austrians have 18 infantry regiments (all but two being large: 12 Line, 1 jager, 1 Grenze, 3 Grenadier, plus 11 skirmisher companies), 8 artillery, and 6 cavalry.
Austrians have 18 infantry regiments (all but two being large: 12 Line, 1 jager, 1 Grenze, 3 Grenadier, plus 11 skirmisher companies), 8 artillery, and 6 cavalry.
Victory Conditions
Both sides have similar objectives - take strategic positions around the central crossroads and press the enemy. Points are scored for the following and whoever has the most points when the game ends wins.
- Each enemy Division destroyed is 1 point
- Each built up area held is 1 point, holding the enemy baseline built up area is 3 points
- Committing any reserves is negative 1 point
Game Length
The game is 12 turns, but from turn 10 the game ends start of each turn on a die roll of 5-6 due to severe thunderstorms (such thunderstorms ended the battle of Teugen-Hausen).
FRENCH Forces
All French Divisional Commanders are Excellent (free reroll if Hesitant result).
III Corps d'Armee: Marshal Davout.
 |
| General view of the French left - the Divisions of Morand and Friant. |
 |
| The French centre right. Gudin's Division I think. |
1st Div Morand: Veteran Legere, 4 Ligne, 5 Skirmisher Coys (stands), Battery
2nd Div Friant: Veteran Legere, 4 Ligne, 5 Skirmisher Coys, Battery
Light Cavalry Jacquinot: 2 Campaign Chasseurs-a-Cheval (18th and 19th?)
Right Wing: Gudin and St-Hilaire : 4 ADC's (Mark)
3rd Div Gudin: Veteran Legere, 4 Ligne, 5 Skirmisher, Battery
4th Div St-Hilaire: Veteran Legere, Veteran Ligne, 3 Ligne, 5 Skirmisher, Battery
Light Cavalry Pajol: 2 Veteran Hussars (5th and 6th), 1 Campaign Chasseur (1st?)
Reserve 2nd Heavy Cavalry, St-Sulpice: 2 Veteran Cuirassiers (Large), (+1 ADC)
 |
| Austrian left: Weber's Division (closest camera), Klenau's Advance Guard Division, and skirmishers of Brady's Division in the distance. |
AUSTRIAN Forces:
II Armeekorps - Feldzeugmeister Kolowrat-Krakrowsky: 3 ADC's (Ion 'Archduke Piccolo')Advance Guard FML (Feldmarshalleutnant) Klenau : Jager, Line Infantry (Large), Uhlans, Dragoons*, Cavalry Battery
1st Div FML von Brady: 2 Line Infantry (Large), 2 Skirmisher, Battery
2nd Div FML Weber von Truenefels: 3 Line Infantry (Large), 3 Skirmisher, Battery
 |
| Austrian left centre: parts of Klenau's command, and Brady's Division. |
 |
| Austrian centre right: most of Kaiser Division (one regiment is occupying the East Village, and all of St-Julien, advancing between the villages |
Advance Guard FML von Vukassovic: Grenz (Pieterwardeiner), 2 Veteran Hussars (2nd and 4th)**, Cavalry Battery
1st Div FML Lusignan: 3 Line Infantry (Large), 3 Skirmisher, Battery
2nd Div FML St Julien: 3 Line Infantry (Large), 3 Skirmisher, Battery
 |
| Austrian right flank: Vukassovic's command: Pieterwardeiner Grenze, Erzherzog Ferdinand Husaren and Hessen-Homburg Husaren, together with Div Arty. |
Grenadier Reserve: 3 Veteran Infantry (Large), (+1 ADC)
Cuirassier Reserve: 2 Veteran Cuirassiers, (+1 ADC)
Artillery Reserve : 2 Position 12pdr Batteries
* Mark told me the Austrian unit brigaded with the uhlans were dragoons, but I suspect they were actually chevauxlegers - the equivalent of the French chasseurs-a-cheval or the British light dragoons.
** According to Mark, an extra Hussar unit was added for reasons of balance, but my own researches indicate that the 2nd (Erzherzog Josef) and 4th (Hessen-Homburg) Hussars both belonged to III Armeekorps. In view of other units being scaled back from 3 to 1 battalion, I infer that Mark originally intended to omit one of them.
Actually, Mark and I began the action and got in a couple of turns by the time Andrew arrived late morning and Paul shortly thereafter. At that particular moment things were looking none too bright for the Austrians right across the table. If anything, prospects on the left (southern) wing were looking the bleaker - Rohan infantry, having lost their fire-discipline and become unformed, under attack by French light horse - so, figuring it would be unfair to throw Paul into it, took that wing for myself and handed over the right. As it transpired I may have done Paul no favours at all.
Narrative:

Having seen off the Austrian light horse attack, the lead French light horse, the 1st Chasseurs-a-cheval, chanced their arms against the other 2nd Div foot, the 21st (Rohan) Infantry. This was a pretty fraught moment for the Austrians, as the column lost its fire discipline, then fell into disorder - became 'unformed'. Possibly only the very size of the amorphous mob saved them, for, despite their elan, the chasseurs could make no impression, and soon made off with some loss. Rohan infantry were left to reform.

Artillery Reserve : 2 Position 12pdr Batteries
* Mark told me the Austrian unit brigaded with the uhlans were dragoons, but I suspect they were actually chevauxlegers - the equivalent of the French chasseurs-a-cheval or the British light dragoons.
** According to Mark, an extra Hussar unit was added for reasons of balance, but my own researches indicate that the 2nd (Erzherzog Josef) and 4th (Hessen-Homburg) Hussars both belonged to III Armeekorps. In view of other units being scaled back from 3 to 1 battalion, I infer that Mark originally intended to omit one of them.
Actually, Mark and I began the action and got in a couple of turns by the time Andrew arrived late morning and Paul shortly thereafter. At that particular moment things were looking none too bright for the Austrians right across the table. If anything, prospects on the left (southern) wing were looking the bleaker - Rohan infantry, having lost their fire-discipline and become unformed, under attack by French light horse - so, figuring it would be unfair to throw Paul into it, took that wing for myself and handed over the right. As it transpired I may have done Paul no favours at all.
Narrative:
The day began inauspiciously enough for the Austrians, the French seizing the initiative at once and, with it, the the two villages that had lain between the opposing forces. For the lack of better identifiers the villages will be names thus: North Village (on the Austrian right), East Village (Austrian baseline, worth 3VP to the French if they could take, carry or seize the place), West Village (French baseline, worth 3VP to the Austrians), Churchyard (containing a fine eccesiastical establishment that was the pride of the district for miles around) and Southwest Village on the French right flank.
 |
| St-Julien Division rumbles forward... |
A little post-battle research has suggested identities for most of the Austrian II Armeekorps' units, but apart from the Grenze and hussars, I am a whole deal less confident about the right wing III Armeekorps, or even which Division was which. This latter wing was to run into a whole deal of trouble during the course of the day. Partly this was due to my rather hasty advance of the lead regiment (1st, Kaiser Franz?) towards the enemy line flanking the North Village. I had intended the following units, together with the Pieterwardeiner Grenze to their right, to carry out a general assault on the place. Unfortunately, the Hungarian Division that was covering the East Village proved 'hesitant' during at part of the time I was handling them, and pretty much refused to budge the entire time Paul had them under his command.
 |
| Kaiser Division. For some reason this Division hardly stirred, all day. |
One of the features of General d'Armee game system is that it isn't easy to develop the kind of attacks I prefer - at least, not until one has developed a familiarity with the system. Recalling my only previous experience with it, last July (see here), things were much easier if one seized the initiative for several turns in a row - not easy for the Austrians. Back then, they managed for three successive turns late in tha action to mount a dangerous attack on the hinge of the French Line. In this action we also were able to turn a three-turn sequence with the initiative to mount several successful attacks against the French Left Wing.
 |
| Brady Division. The smoke indicates loss of fire discipline by Zettwitz Infantry |
After some delay the II Corps Division Brady began to rumble forwards, leaving its right flank refused to offer a clear field of fire for the brigade battery on the hill. A French unit of chasseurs-a-pied pressed into the gap to bring the Austrian artillery under skirmisher fire. The French got the better of the early exchanges, too, the right hand Austrian column - Zettwitz Infantry - losing their fire discipline, and the battery itself incurring a 'fatigue' loss. This duel was to continue for much of the day.
 |
| Division Klenau advances - slowly - towards the churchyard |
After a hesitant beginning, the II Corps Adbance Guard lurched slowly into motion. As constituted, this was quite an interesting formation, and performed extremely well on the day. Early on, the 1st (Merveldt) Uhlans sought to relieve the thin line of 2nd Division skirmishers by charging a French column through the enemy skirmish line at that moment attempting to drive the Austrians out of the south woods. The French chasseurs and voligeurs scattered in gratifying fashion, whereat the Uhlans drove on into the French line. Having formed square betimes, the infantry saw off the unlans easily.

Neither unhappy nor surprised at the result, I was pleased enough that my uhlans had got off with frifling loss. The 2nd Div skirmish line comprised just two stands. It could not sustain much punishment, yet the loss of this unit would have been as serious a matter as that of any other unit (the type of rule in which the rout or scattering of a skirmish line affects the morale of nearby close order troops makes no sense to me, but, there it is). At least this little unit was permitted to occupy its advanced position in cover for a considerable while longer. As the uhlans drew back, the guns of two Divisions brought the French infantry square under fire, and forced it back into the Southwest Village.
 |
| Stuart Infantry, ordered to charge the French column has a bit of a think. What is German for "It ain't gonna happen"? |
My intention was that the 18th (Stuart) Infantry would occupy the flank south of the woods and hold against possible French attacks in that region. At one point I even contemplated a charge, but the Division became hesitant, and put paid to that idea.
 |
| The French square, having seen off the Austrian uhlans, begins to take some stick from accurate Austrian gunnery. Nearby, the chasseurs are eyeing the distant Austrian column. |
 |
| The Austrians barely hang on against the French light horse. |
 |
| Events are developing but slowly just north of the churchyard. |
This was not to last, as the French tried a second, more powerful attack with their veteran hussars, the 6th, supported by the 5th.
On the south flank, the French once more attempted to force the woods occupied by Weber's skirmishers. For such a small unit, they performed very well all day, relinquishing the wooded area in their own good time, and incurring only slight losses.
 |
| A formidable French skirmish line - hardly a fair contest against Austria's exiguous line. |
On the northern flank, events were developing more slowly. Having rushed forward to sieze the North Village, the French seemed content to wait upon the Austrians to come to them, rather than to push on. This did not stop them pushing their skirmishers right up into the Austrian faces, and a certain amount of bickering developed between the respective skirmish lines right across the front.
 |
| In this sector, little would happen until very late. |
Outmatched as they were, the Austrians could not keep up this unequal duel for long, and it certainly was never going to wrest the North Village from the enemy grip. At the point at which Paul took over this wing, I had pushed the lead regiment of St Julien's Division right up to and across the north-south road.
 |
| The chasseurs having (barely) failed to shift Rohan Infantry (marked by the distant smoke), the French Hussars are planning to strike before the Austrians can reform. |
Although I had no intention that it remain there isolated and unsupported, the vicissitudes of battle worked against us.

In the south centre, the French also elected to stand and weather whatever the Austrians might throw at them. Generalleutnant Brady had been issued his orders: assauly and carry the churchyard. The heavy regimentasl columns ground forward.
5069 Following their earlier reverses, the French again tried their luck against the Rohan infantry. Having not yet recovered their order or fire discipline from their earlier fight, once more it seemed all up against the Austrian foot. They were faced by veteran light horse, and they supported as well. Against that, Rohan Infantry could call upon the support of at least one battery. That was to make a crucial difference.
Unable to make head against Rohan's stout refusal to distegrate, the hussars themselves made off behind their own infantry close by the churchyard.
5069 Following their earlier reverses, the French again tried their luck against the Rohan infantry. Having not yet recovered their order or fire discipline from their earlier fight, once more it seemed all up against the Austrian foot. They were faced by veteran light horse, and they supported as well. Against that, Rohan Infantry could call upon the support of at least one battery. That was to make a crucial difference.
 |
| The hussars' turn to try conclusions with Rohan Infantry! |
 |
| The hussars repulsed. Feldzeugmeister Kollowrat takes a mental mote to mention Rohan Infantry in dispatches. Attacks begin against the churchyard. |
Against the churchyrad itself, Zach Infantry didn't exactly fling itself into a violent assault. Advancing into musketry range, they found the defendes' fire brisk enough to induce a halt. The Austrian return fire, supported by Lenau's Advance Guard artillery was to prove more than the churchyard garrison could stand. Hastily they abandoned the place.

 |
| The lead Austrian infantry holding out against immense pressure from French musketry. |
Close by the North Village, the lead Austrian regiment had formed a battle line, but were becoming increasingly isolated. Far from attacking, they were to defend themselves for quite some time against musketry coming in from three sides. (Aside: Concentrating on my own sector, I wasn't too aware of events developing - or failing to develop - on the northern half of the battlefield. Paul tells me that at no time could he get Generalleutnant Kaiser's Division to move - the vagaries of the dice to determine each Division's decisiveness. I recall at one point (this after the grenadiers had arrived) that all four of my Divisions rolled OK for orders. Decent chance of winning the initiative roll, I thought. How did Paul do? Every Division - all four - became 'hesitant'. There went the initiave roll (of course) and for that turn Paul could do very little to change the situation.)

Unable myself to bring forward Stuart Infantry on the exteme southern flank - Weber's Division 'hesitating' at this time, I formed them into line to act as a flank guard. For this move, I kept Weber's little band of skirmishers in the woods for this move, but they were to be withdrawn in due course. Meanwhile French foot chasseurs were rather audaciously pressed forward beyond the churchyard to bring Klenau's artillery under fire.
On my other wing, close by the east-west highway, French foot chasseurs and Austrian brigade artillery continued their duel, losses mounting on both sides. This had the effect of confining Brady's Division onto a narrower front than it might have occupied. Partially to equalise its own firefight, Colloredo infantry formed line. Zettwitz infantry waited in support.
 Events on the right having developed badly for Austria, Paul and I agreed that we should call upon our Reserve Corps. As it happened, although our calling upon them cost just one Victory Point - presumably the Archduke Charles wished to retain this Corps uncommitted - each arm, Cuirassiers, Grenadiers and heavy field artillery, had to be diced for separately. Paul chose the Cuirassiers to begin with, as likelier to achieve something on the rather constricted battleground, as they could not be brought onto the battlefield farther than 60cm from the centre line of the east-west road.
 On the extreme right, where the cuisssiers might have been the more welcome, neither side seemed to be willing to try conclusions in a close order fight, apart from the artillery and Pieterwardeiner Grenze peppering the North Village garrison.
 Fond as I am of the Austrian Army of the Napoleonic era, I am probably not suited to be an Austrian commander. I like to think of myself as a pugnacious wargames general, fond of attack, and always on the lookout for the chance. The appearance of an infantry line pushing towards the South woods, then being evacuated by Weber's skirmishers ,prompted the Uhlans to try a second charge, supported this time by the chevauxlegeres. The chasseurs scattered out of the way, of course, and then the uhlans hit the infantry line. (Aside: This was one of those instances in which measurement showed the target unit right on the extreme margins of the charge move. Was it 'in' or 'out'? In the end Mark proposed a 50-50 die roll, I accepted, and we abode the result. The uhlans duly rode into the enemy line.)
 At the same time, in view of Brady's attack having stalled, Kollowrat flung in the Archduke Charles Infantry against the churchyard. Brady's musketry attack had been successful insofar as to induce the garrison to pull out, but a supporting French battalion had as quickly reoccupied the place. From memory, the garrison was as yet unformed as the Archduke Charles Infantry - no holding back here - rolled into them. Shrugging off the defenders' fire, the Austrians pitched the Frenchmen out with the bayonet and setlled down to place the churchyard into a state of defence.

 5083 Meanwhile, the uhlans rode down the enemy infantry line in such emphatic fashion that they permitted themselve to plunge on - straight into and over the 1st Chasseurs-a-cheval. I 'm not sure what happened to them, but they don't seem to appear in any of the subsequent pictures!
5084
Naturally, the French reaction to this rude irruption and the signal defeat of two of its finest units in the Grande Armee was swift. The veteran hussar units wheeled to face the triumphant Austrians. Vengeance was nigh!
To be continued...
 |
| French chasseurs rather boldly advance... |


 |
| The charge of Austrian light horse: uhlans and chevauxlegers Catching the French infantry in line, the ride them down, scatter the skirmishers and plunge into the mounted Chasseurs. |


As it transpired, no serious attack to recover the churchyard was mounted by the French for the remainder of the day.
 |
| Now it is the chasseurs' turn to feel the points of the Austrian lances. |
 5083 Meanwhile, the uhlans rode down the enemy infantry line in such emphatic fashion that they permitted themselve to plunge on - straight into and over the 1st Chasseurs-a-cheval. I 'm not sure what happened to them, but they don't seem to appear in any of the subsequent pictures!
5084
 |
| Where have all the chasseurs gone? |
 |
| The French hussars prepare to drive the Austrian horse out the gap they have created in the French line |
 |
| The churchyard won, Archduke Charles Infantry hastily prepare for counterattack... |
To be continued...