Further to play testing 'my' 'Portable' rule set for my 'Byzantiad' campaign in my 10x10 square-grid table, I ran three more battles. The Pechenegs were doing very well. Was that due to an inherent bias in the rule set (unlikely), an inherent bias in the army balances (I was more concerned they might favour the Byzantines), or was I playing one side very badly (or the other supremely well)? Battles Three and Four need not detain us long, apart from the pretty pictures: the Pechenegs won both.
Battle Three:
This one was pretty close, but the Byzantines exhausted themselves first.
The Byzantines began well enough. Pushing the left-hand skoutatos unit well forward into the faces of the Kagan's elite horse archers, the akontistai javelin men penetrated the wood flanking the enemy. This ought to have been decisive. The Pecheneg heavy horse were driven back, but the Byzantines failed to destroy them.
Meanwhile, the Pechenegs enveloped the Byzantine right, and were able to develop the superior force on this wing. Early exchanges were fairly level, and the Byzantines even began to edge back the enemy light horse.
But the Byzantines were becoming the more worn down. The skoutatoi and akontistai were decisively defeated (terrible luck, this!), and although the battered Byzantine right chased away a unit of light horse, there were plenty more to take their place.
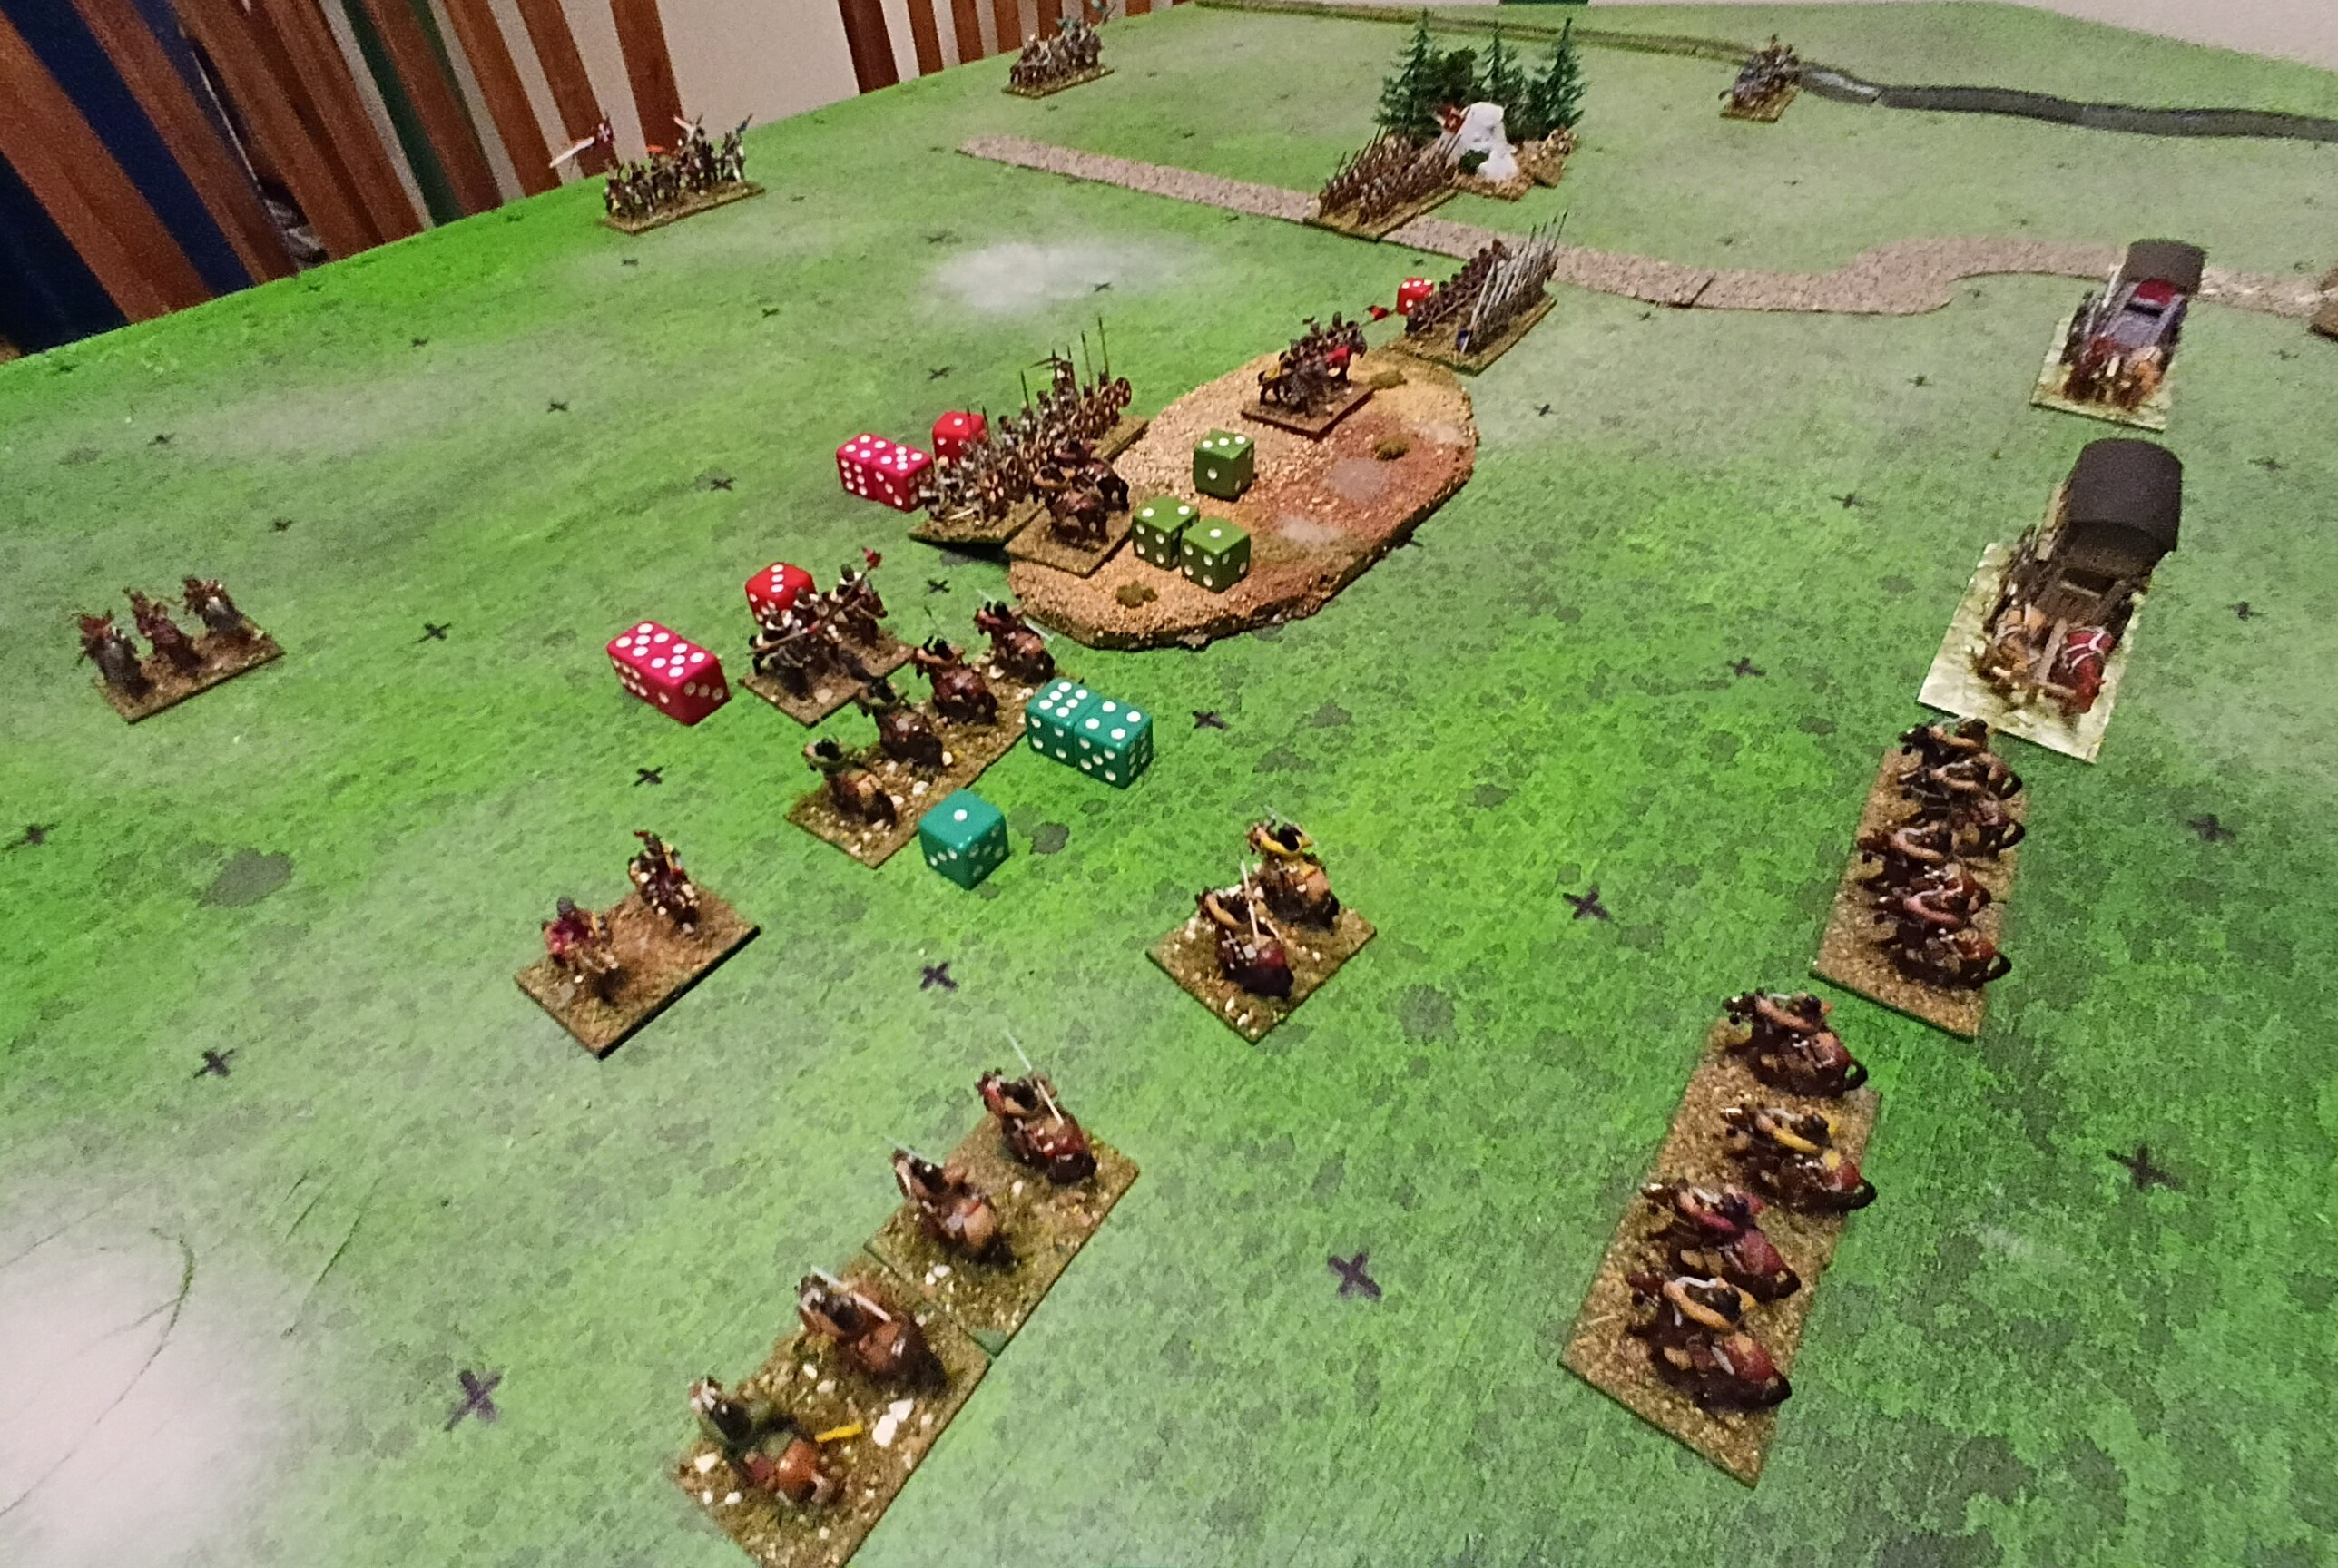
In a final 'throw of the dice', the peltastoi (loose-order spearmen), took on a troop of war wagons. The dice tell the story: no damage to the war wagons or their crews, whilst the 4SP of the spearmen were reduced to 1SP. The conclusion to be drawn from this - although the rolls were a little bit extreme - is that the War Wagons are bally near invulnerable. Sure, they can not initiate of themselves a close combat, but they don't need to.
The upshot is that I have reduced the War Wagon SP to 3 only - 3 'hits' to kill; 3 combat dice for shooting and close combat. That will make them quite formidable enough, thank you very much! In 'compensation' for the 'loss' of 2SP, the Pechenegs will get another light horse unit. The 'Byzantines' presenting the standard 9 units for this table, equalising the Strength Points will give the Pechenegs 11.
Battle Four:
When this battle was fought, I had not yet determined upon the 3SP war wagons. In this one, the Pechenegs placed most of their horse to the right of the village, bringing forward the war wagons, together with a horse archer flank guard, to the left of the place. For their part, the bulk of the Byzantine horse were there to face the mounted Pechenegs.
I have an idea that the ideas of a certain Vegetius Renatus might subliminally been at work here, massing the Byzantine horse of the left. Maybe. However four units were facing six, with very little advantage to the Byzantines for their weight. The Byzantine heavy horse get +1 for close combat only, and none for shooting. I have a feeling that the +1 for 'shooting before contact' ought to be appropriate. Although less well protected at a distance, the light horse are nippier, and possibly harder to hit. Maybe.
And then, of course, the opening archery exchanges drive the point home: the horse archers knock 1SP from two of the Byzantine cavalry, and force the remainder of one of them to retreat. In reply, the Byzantines chase of one of those pesky enemy units. More likely, the Pechenegs simply took themselves out of range.
 |
| Ouch! |
 |
| The Byzantines are doing well here! |
In the above picture, we see the Byzantines giving a pretty good account of themselves following the opening setbacks. Assailed by a unit of horse archers, the Byzantine toxotai bowmen flatten their assailants in short order, but at the cost of a strength point. In the distance, the Byzantine army commander drives off his enemy counterpart (the +1 for army commanders cancel each other out). Five Strength points of Pechenegs bite the dust - and two whole units - for just 2SP from the Byzantines.
It didn't last. The cavalry of both sides were badly worn down, with little remaining as the battle drew to a close. On the weaker wings, the Byzantine prokoursatores took on double their numbers, which soon became three times their numbers in the mutual blood-letting.
As a final act, the skoutatoi once again took on a war wagon, with a result more doleful than the previous go. The exchange of archery did some damage to the war wagons, but before the skoutatoi could get to within spear length, the whole unit was obliterated.
Yet another Byzantine defeat.
Battle Five:
For this battle, the Strategos of the Byzantines changed slightly his methods. Clearly, the usual formation of infantry in the centre and cavalry on the wings simply left the Byzantine cavalry at the mercy of superior numbers of Pechenegs, whilst the foot-sloggers looked on.
On the other hand, the (my) Pecheneg method of massing most of the horse on one wing, holding the centre with war wagons and keeping a small flank guard on the other wing seemed so far to be a pretty effective formula.

For a change, I looked to the method associated with the Praecepta of Nikephorus II Phocas. Translated to this war game format, this spread the infantry across the front, leaving intervals for the cavalry, between infantry blocks and on the wings. The effect of this was to bring the foot units more reliably into the action.
This layout did not prevent the Pechenegs outflanking the Byzantine line. My rule set does not permit the deployment of any but light troops (light horse and 'psiloi' types) in the two columns of grid cells on either flank. That leaves the 6 centre columns in which to deploy the heavies. This is great for the Pechenegs, 7 units out of 10 (soon to be 8 out of 11 with the SP change to the war wagons) being light horse. The Byzantines have one light horse unit (lance-and-bow armed prokoursatores), and one light foot (javelin armed akontistai).

As expected, having won an early initiative, the Pecheneg line curled around the Byzantine left, committing the left hand Byzantine horse. At the same time the left-wing unit of skoutatoi found themselves assailed front and flank.
I think at this point one ought to codify carefully what happens with flank attacks. Units should shoot directly in front only. If close assaulted front and flank, the defending unit gets the full combat dice allocation, and may divide them between opponents, not more than half being directed against the flank attack. Of course, the enemy get all the dice coming to them.
So a skoutatos unit facing a light horse attack front and flank is in real trouble, but might get lucky and chase off the enemy. So it happened here. The skoutatoi lost heavily - 1SP - but they handed out a few licks of their own.

Although the light horse has some success with their flanking manoeuvre, the prokoursatores drove back their immediate adversaries, and began pushing them into the rear of their embattled comrades.
Although they lost half their number, the Byzantine light horse chased the enemy well to the rear of the Pecheneg lines. The weakened kavallarioi also managed to force back their opponents, and relieve the flank of the skoutatoi.
This left the skoutatoi vulnerable once again on the flanks, but they wiped out the light horse immediately to their front.

Gradually the Byzantines were forcing back the Pechenegs on their left front. Meanwhile, the centre and on the other wing a stand-off prevailed whilst affairs were settled on the embattled flank. A unit of
kavallarioi was brought over to help out the remains of the
prokoursatores, and shortly afterwards, the
peltastoi in the centre and the Strategos himself began to insert themselves into the struggle on the wing. The Byzantines evinced no special desire to try conclusions against war wagons, and the javelin men in the village seemed to offer an effective enough flank guard against the Pecheneg lights.
Fact is, the way the activation dice were running, neither side was getting enough to start anything funny in this part of the field.

With the reinforcement of the left wing, the Byzantines began a push and a drive that was eventually to force the Pechenegs from the field.

Not that the Byzantines had it all their own way. The Pechenegs had one more attempt to flank the line. Seeing this off, the blue-pennon kavallarioi cleared the skoutatoi left flank. These gentry had in the meantime chased the Pecheneg heavy horse up and over the rise in front of them
The final pictures show the Byzantine drive on the left wing, followed by a general Pecheneg retreat following on from that defeat. But before departing, the horse archers had one last fling.
Just as a weakened light horse unit collapsed in rout, another weak unit boldly attacked the Strategos's cavalry. It achieved success! One SP lopped of the elite horse, but the Strategos himself survived unhurt. The Pecheneg horse disappeared.
So ended Battle Five: a clear cut Byzantine victory. It was close enough fought 9 Pecheneg SP lost against 5 or 6 Byzantine. After the string of Pecheneg successes this was perhaps something of a relief.

A few small issues did crop up.
1. At the moment I think the +1 for the heavy cavalry solely in close combat is insufficient differentiation by weight. I've decided to add +1 in the heavy cavalry's 'shooting before contact' against light horse.
2. Although the 'shooting before contact' is easy to remember and administer (retreats being applied immediately, and not after the close combat phase), it is tempting simply to conflate the s-before-c and close combat, by adding one die (only) to units so capable in the single combat roll. Having said that, under the present system, an attacking unit whose shooting before contact forces a retreat may follow up to re-engage in the same way as allowed by such success in the close combat. However, only the assaulting unit may follow up.
3. Units assaulted (not merely shot at) in flank turn and face provided there is no enemy in contact in front. A unit merely in the grid area in front does not count as being 'in contact'. One or other side will have to encroach across a grid area side (That is to say: one or other has initiated a close assault) to count as being in contact.
3. War wagons are now 3SP, not 4.
4. Note that javelin armed units don't do 'distant shooting', but are capable of 'shooting before contact'.
Suggested Provincial Byzantine and Pecheneg Raiding Force lists for a 10-square base line gridded table:
Provincial Byzantine:
1 x Strategos (1SP, added to kavallarios unit to which attached)
4 x kavallarioi heavy cavalry @ 2SP (i.e. 2 stands) = 8SP
1 x prokoursatores light horse (lance, bow) = 2SP
2 x skoutatoi protected bowmen @4SP = 8SP
1 x peltastoi loose order spearmen (spear, javelins) = 4SP
1 x akontistai light infantry (javelins) = 2SP
9 units, 25SP including Strategos.
Exhausted on -9SP; rout on -13SP
Activation dice: - 1 = 3 units
- 2 = 4 units
- 3 = 5 units
- 4 = 5 units
- 5 = 6 units
- 6 = 7 units
Pecheneg Raiding Force:
1 x
Kagan (1SP, added to the heavy horse archer unit)
1 x heavy horse archers = 2SP
8 x light horse archers @2SP = 16SP
2 x war wagons @3SP = 6SP
11 units, 25SP, including war leader
Exhausted on -9; rout on -13SP.
Activation dice: - 1 = 4 units
- 2 = 5 units
- 3 = 6 units
- 4 = 6 units
- 5 = 7 units
- 6 = 8 units