Wednesday, April 25, 2012

Road to Berlin

A recent conversation with the 'Evil Uncle Brian' - author of the engaging 'Fist Full of Plastic' blogspot, reminded me of a project I lifted from an ancient wargames magazine years ago. This was set in the closing weeks of the war - a day some six or seven weeks before VE Day, to wit: 22 March 1945. The Soviet juggernaut was poised to swamp the German defences, and drive straight on to Berlin, at that time some 50km (32 miles) from the Front Line.
The overall Operations Map depicts part of the Oder River valley and one of its tributaries, separated by a ridge of between 5 and 10 metres in height. Powerful elements of the Red army has made a lodgement upon the West bank of the Oder itself, east of the line A-A; much more remain to cross the river. The demolished civilian bridges have been replaced by several military crossings.

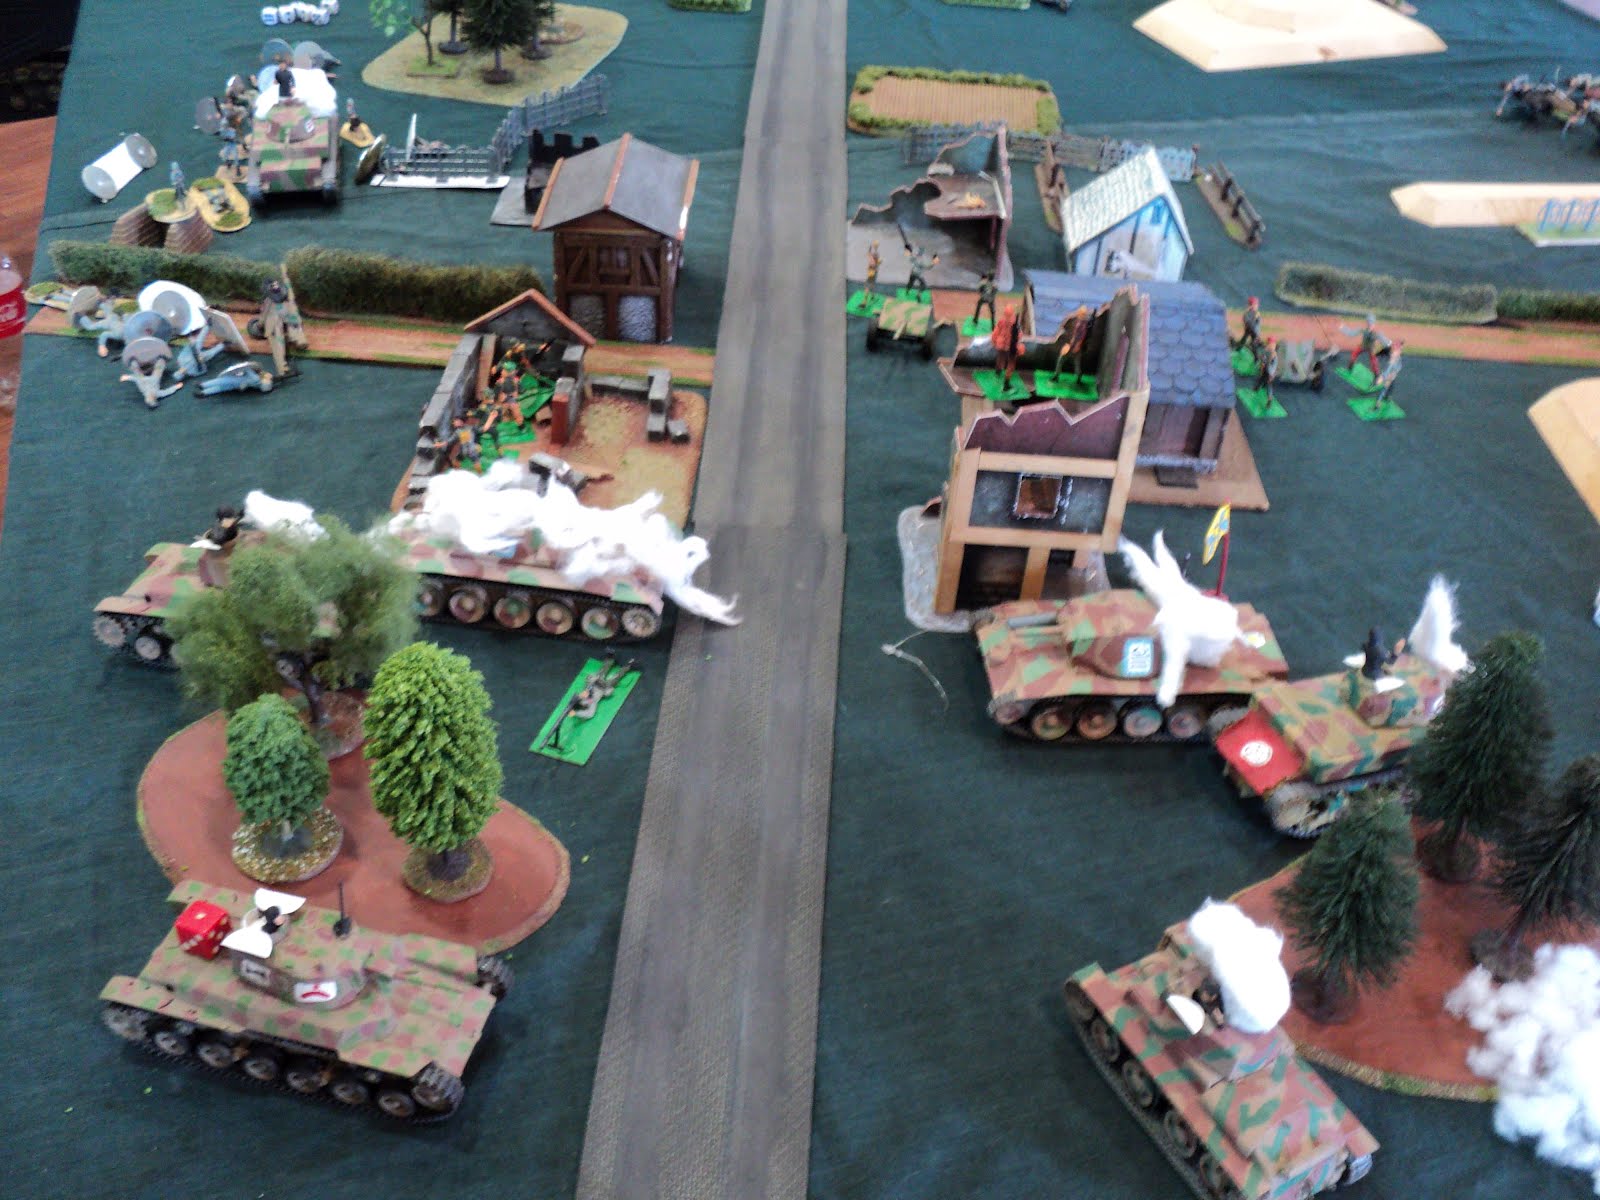
Overall Orders of Battle:
Soviet Union:
- 6th Guards Tank Corps (the battering ram, comprisng at its core, 4 Tank Brigades, one of which is equipped with IS2 heavies);
- One Infantry Division (relying for traction of heavy equipment upon draught teams);
- Half Infantry Division (also horse drawn heavy equipment);
- Independent Heavy Tank Battalion (equipped with IS2s).

Germany:
- 366th Infantry Division (weak, and with a limited and hodge-podge motor transport pool);
- 27th Panzer Division (with a single weak Panzer Abteilung, but whose Armoured Infantry Regiment comprises companies with a wonderful array and variety of equipment);
- 'Clausewitz' Panzer Division (much better provided with tanks than 27th Panzer, but still just the one battalion, albeit with Tiger II and Panther G);
- One Volksturm Battalion garrisoning one town.

It was in translating these formations into Command Decision terms that I was struck by the organisation of in particular the panzergrenadier units in both Panzer Divisions. Possibly the champion of these was Nr 6 Company of 27th Panzer, which I eventually settled upon as:

Nr 6 Company: (Veteran, 10) [The whole remainder of the Division I assessed as (Veteran, 9). But this company was apparently something special] 1xcmd stand; 1 StuG IIIG*; 1xSdkfz 251/10; 1xSdKfz 251/1; 1xmedium truck; 1xSdKfz 251/9; 1xPaK40 AT gun; 1x gun crew; 3x inf stands; 1x weapons stand. All inf stands with integral panzerfaust.

The sharp-eyed among readers will have observed the asterisk marking the StuG IIIG. The reason is that Nr 6 company had an interesting mix of equipments of small numbers of which a couple of StuGs formed part. They also had SdKfz 251/22s, SdKfz250/7s, and - here's the kicker - a T34/85 or two. Not bad for an Armoured Infantry compnay, eh?

Because the numbers of each were so few, I thought it best to offer a choice of one from among these 4 vehicles - including the T34 - but leaving the StuG as the default option. But more recent versions of CD than I use (CD2) indicate that the battalion gun (bg) option for equipments like battalion level infantry guns has been extended to other equipments. So perhaps players might get the option of two out of StuG IIIG, SdKfz 250/7, SdKfz 251/22 or T34, but no more than one of each, and both classed as (bg).

Sunday, April 22, 2012

Recruits for Imagi-Nations...

Quite a bit of work remains to do on the Imagi-Nations front.
Two line infantry Regiments, a home Grenadier Battalion and a small corps of Pioneers for the Empire (Trockenbeeren-Auslese), another Pioneer Battalion, this time for Altmark-Uberheim, and three militia battalions. The militia battalions will be semi-generic; painted up in all sorts of colours, probably favouring one side or another, but able to be called upon whenever a militia/Grenze/landwehr/home defence unit is called upon. Or a popular rebellion. The Ulrichstein Campaign died in the February earthquake last year. I'm thinking of resurrecting it, with a slight change of narrative, and run it as a solo campaign. There's a bit of a complication with the role of the Herzogtum von Rechberg. I'll have to think of a way around that...

Tuesday, April 10, 2012

Bailey Bridge - and other aquatic things...

A recent posting on one of the Blogs I follow had a little piece on Bailey bridges. This of course reminded me a some grossly neglected pieces of equipment in my own inventory: several spans of Bailey bridge.
Now, the thing with this Bailey bridge that I had, was that once its girders were put in place, they [a] tended to flollop about and come adrift, and, which was worse, [b] left too little margin for tanks to be placed upon the deck of the bridge.
So the thing sat in my drawer for quite some time until this article inspired me to do something about it. First on the agenda was to widen the usable deck. Now, I infer from the original design that the thing was designed such that the tanks would use the deck between the girders, the infantry the outer margins. Too bad: I needed it for tanks. In these pictures, the AFV you see is an Airfix Sherman with its turret replaced by a resin Firefly turret with metal gun and mantlet. These resin pieces were made and sold on a semi-commercial basis by local wargamer T. Ormandy, who does quite a few kits for adapting or improving kits, and produces good and useful terrain pieces as well. Yeah, it's a plug - quite unsolicited - but consider it a heads up.
The bridge widening process was a simple matter of drilling holes nearer the edge. Being a cautious sort of dude, I began with small 'starter' holes, before reboring them to the size to accommodate the girders. No problemo.
The next few pictures show how the 4 spans I have look crossing a large waterway.
Don't look too foul, eh? True, the bridge and the barges could use some painting - we'll have to work out what sort of colours we are looking at there. Any thoughts?
Here are the barges that come with the bailey bridges. Several are softish plastic, the bright green ones are hard II think one or two of the olive coloured ones are as well. They can of course be used as the barges for earlier bridging trains, or even as transport barges. None will accommodate many figures, but that's just the sort of logistics problem that can make campaigning such fun. All the same, with 12 barges, if each can take 3 figures, I can put upon the opposite bank a whole 36-figure battalion of foot in one trip. Sweet as...
Continuing with the amphibious theme, here's my collection of inflatable assault boats. There are 4 small motorised boats, 4 larger ones the capability of mounting an outboard motor, and 4 that would have to be propelled by paddle, or towed. In Command Decision terms, it's probably a stretch for those small towing boats to accommodate more than a patrol stand on their own, but that and a towed boat - or two boats could probably carry an infantry stand, or possibly some battalion asset such as mortars, MMGs, and possibly very light guns (37mm anti tank or 7.5cm infantry gun) at a pinch. The larger 'motorised' boat I would allow (very generously) to carry a whole infantry stand.
With this many carriers, you should be able to put the bulk of a battalion across in two trips (8 stands the time), assuming an uncontested crossing.
Finally a half dozen transport barges I made for my 18th Century armies about a thousand years ago. Before I got my Bailey Bridge anyhow. Crude they are, but serviceable. I've never had the heart to ditch them. These I did think about crewing with some vaguely nautical figures, but never got round to it. Having plenty of figures left over from my Revell 30YW Artilley boxes, methinks we should be able to put at least one of these fellows aboard the little green plastic barges, and perhaps more substantial crews aboard the others.
The idea of mounting small cannon in the eyes of some of the boats has an appeal, too... Oh yes: I still have to make some bridge appraoaches for my Bailey Bridge. Plenty to think about.

Monday, April 9, 2012

New Campaign Preparations: continued....


My apologies to readers about the long hiatus. Partly this has been due to disruptions owing to Earthquake repairs and some home renovations on my own account. We are only just slowly getting back to something approaching normalcy here. Soon I'll be able to figure out where I put my wargamery stuff...

At any rate, we left the Raesharn Drive on Nazpu at the starting gate, ready to thrust forward, break through the Kiivar line, carry, seize or take the city of Nazpu, and thus deliver a knockout blow.

Elements of the Raesharn 44th Armoured Division, ready to roll. Having seen plenty of action already, and with the rains of winter approaching, the Raesharn forces are nearing exhaustion, its units and formations depleted...

Nr 1 Squadron, 144th Armoured Regiment, advances rapidly on the right with strong infantry support. Kiivar defences were to take a heavy toll of the foot, but the Raesharn armour pressed on without them.

Nr 2 Squadron advances straight up the main road towards Maserati village, also with a sizable infantry escort.

Kiivar light tanks and anti-tank guns wait apprehensively in the village. Although hidden down their side street, the AT guns have no protection other than what might be afforded by the passive barbed wire and mines in the fields east of the place.

Raesharn armour avenges the loss of several infantry by overrunning a machine gun nest. Although Tank 2 was lost to AT Rifle fire, Tank 3 also overran the Kiivar anti-tank gun.

The aftermath of a very accurate and destructive stonk by Kiivar artillery. A single gun doesn't usually do much damage, but 3 guns in battery can be devastating. Two-thirds of #2 Squadron's infantry support bit the dust, right here.

Raesharn armour boldly pushes ahead, despite the faltering infantry support. Nr 1 Squadron's surviving tank plunges on to envelop the Kiivar left, whilst Nr 2 Squadron presses into the town apparently careless of the likelihood of Anti-tank defences. Almost cut off, elements of Kiivar's 2 Section fall back through the buildings, and set up an anti-tank rifle in the side street.

A tank vs tank duel develops at the western end of the village between Tank 3 and a Kiivar light tank - quickly settled in Raesharn favour. All day the Kiivar anti-tank fire proved largely ineffective (in stark contrast with its artillery!). Meanwhile, on the Raesharn left flank, a light weight cavalry attack developed slowly and was swiftly and destructively seen off by Kiivar machine guns. Altogether, 1 Section had a much easier ride than 2 Section did!

Raesharn tanks roaring down the Maserati main street simply shrug off the attentions of the Kiivar anti-tank weapons. Facing the wrong way (looking out for Raesharn's First Squadron) the anti-tank rifleman was lucky not to attract enemy attention...

Kiivar counter-battery: very effective, as it gradually ground down the more powerful Raesharn ordnance. They in turn did very little all day.

As the surviving Raesharn infantry continue to struggle forward against stubborn Kiivar resistance, the Raesharn armour were in the process of breaking through the village altogether. First Squadron had finally succumbed, but 2nd Squadron were getting the better of the Kiivar armour.

The tank battle ends in total victory for the Raesharn heavier armour, for trivial damage received. But behind them, Kiivar infantry continue to occupy the village buildings, and the FO team to direct their guns with effect. Unthreatened by enemy infantry, the Kiivar Anti-tank guns emerge, one to seal off the main street back through the village, the other to flank the expected push by Raesharn tanks towards the gun line. Also in anticipation of such an event, a further gun was brought across from the Kiivar right to face off the enemy tanks.

The Raesharn high water mark: emerging from behind the township, the tanks beat down the hastily deployed anti-tank gun to their front, but the lead tank (4) takes a flanking hit from the gun at the eastern edge of the village. Brewing up, it blocks further egress by Tank 1 - the sole Raesharn survivor.

Night fell with the last Raesharn tank holed up behind the woods at the northwest corner of the village, being stalked by an anti-tank rifle team, and with no prospect of infantry breaking through to help. But the Kiivar commander also knew that for the moment his rear communications were interdicted by that same tank. Overnight he evacuated the town and withdrew a mile or so to the west.