
Late last year I posted some ideas about playing the Shambattle game on a gridded table.
The Hex-celled Grid:

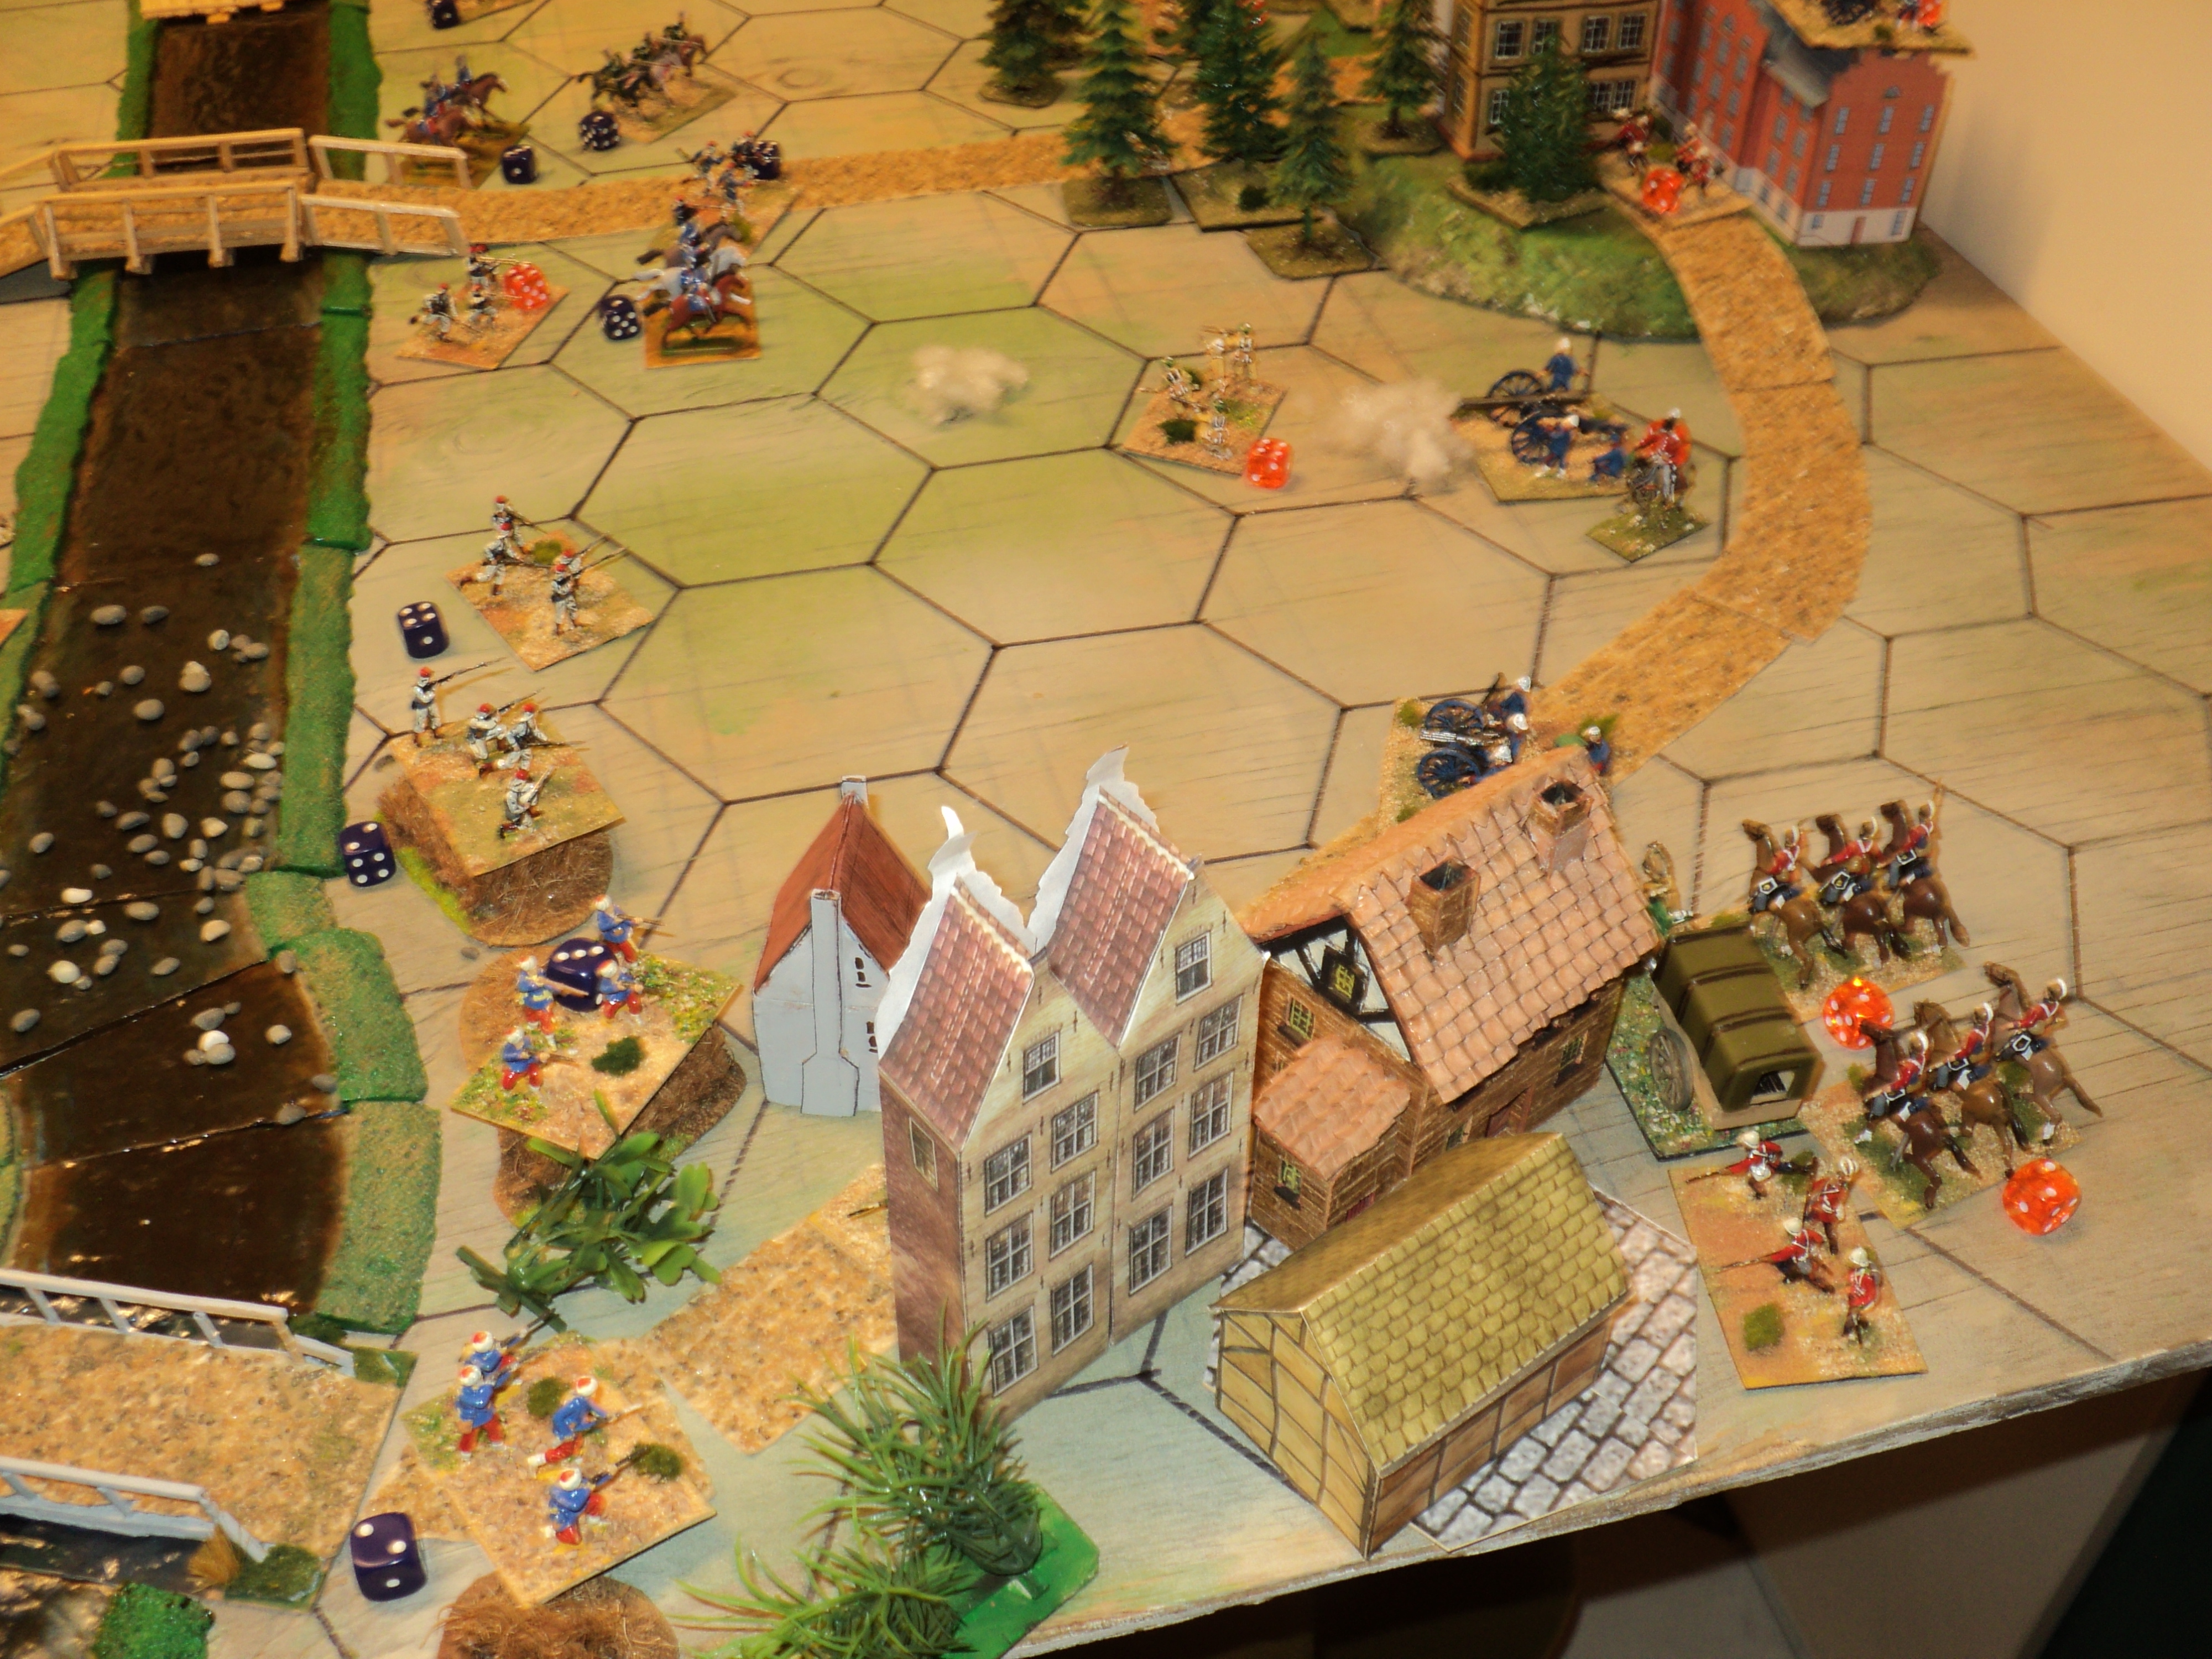
The gimlet-eyed reader will notice that the Vermilion City and Blueburg I have placed, per the original Shambattle map, right up against the river banks. I'm rather taken with the idea of urban fighting being required to force a crossing. Whether this adds or detracts from the action, we would have to see.
This being a larger game area, a larger OOB is required, and a commensurate change in shooting ranges as well. Each stand represents a battalion.
OOB Hex-celled Map:
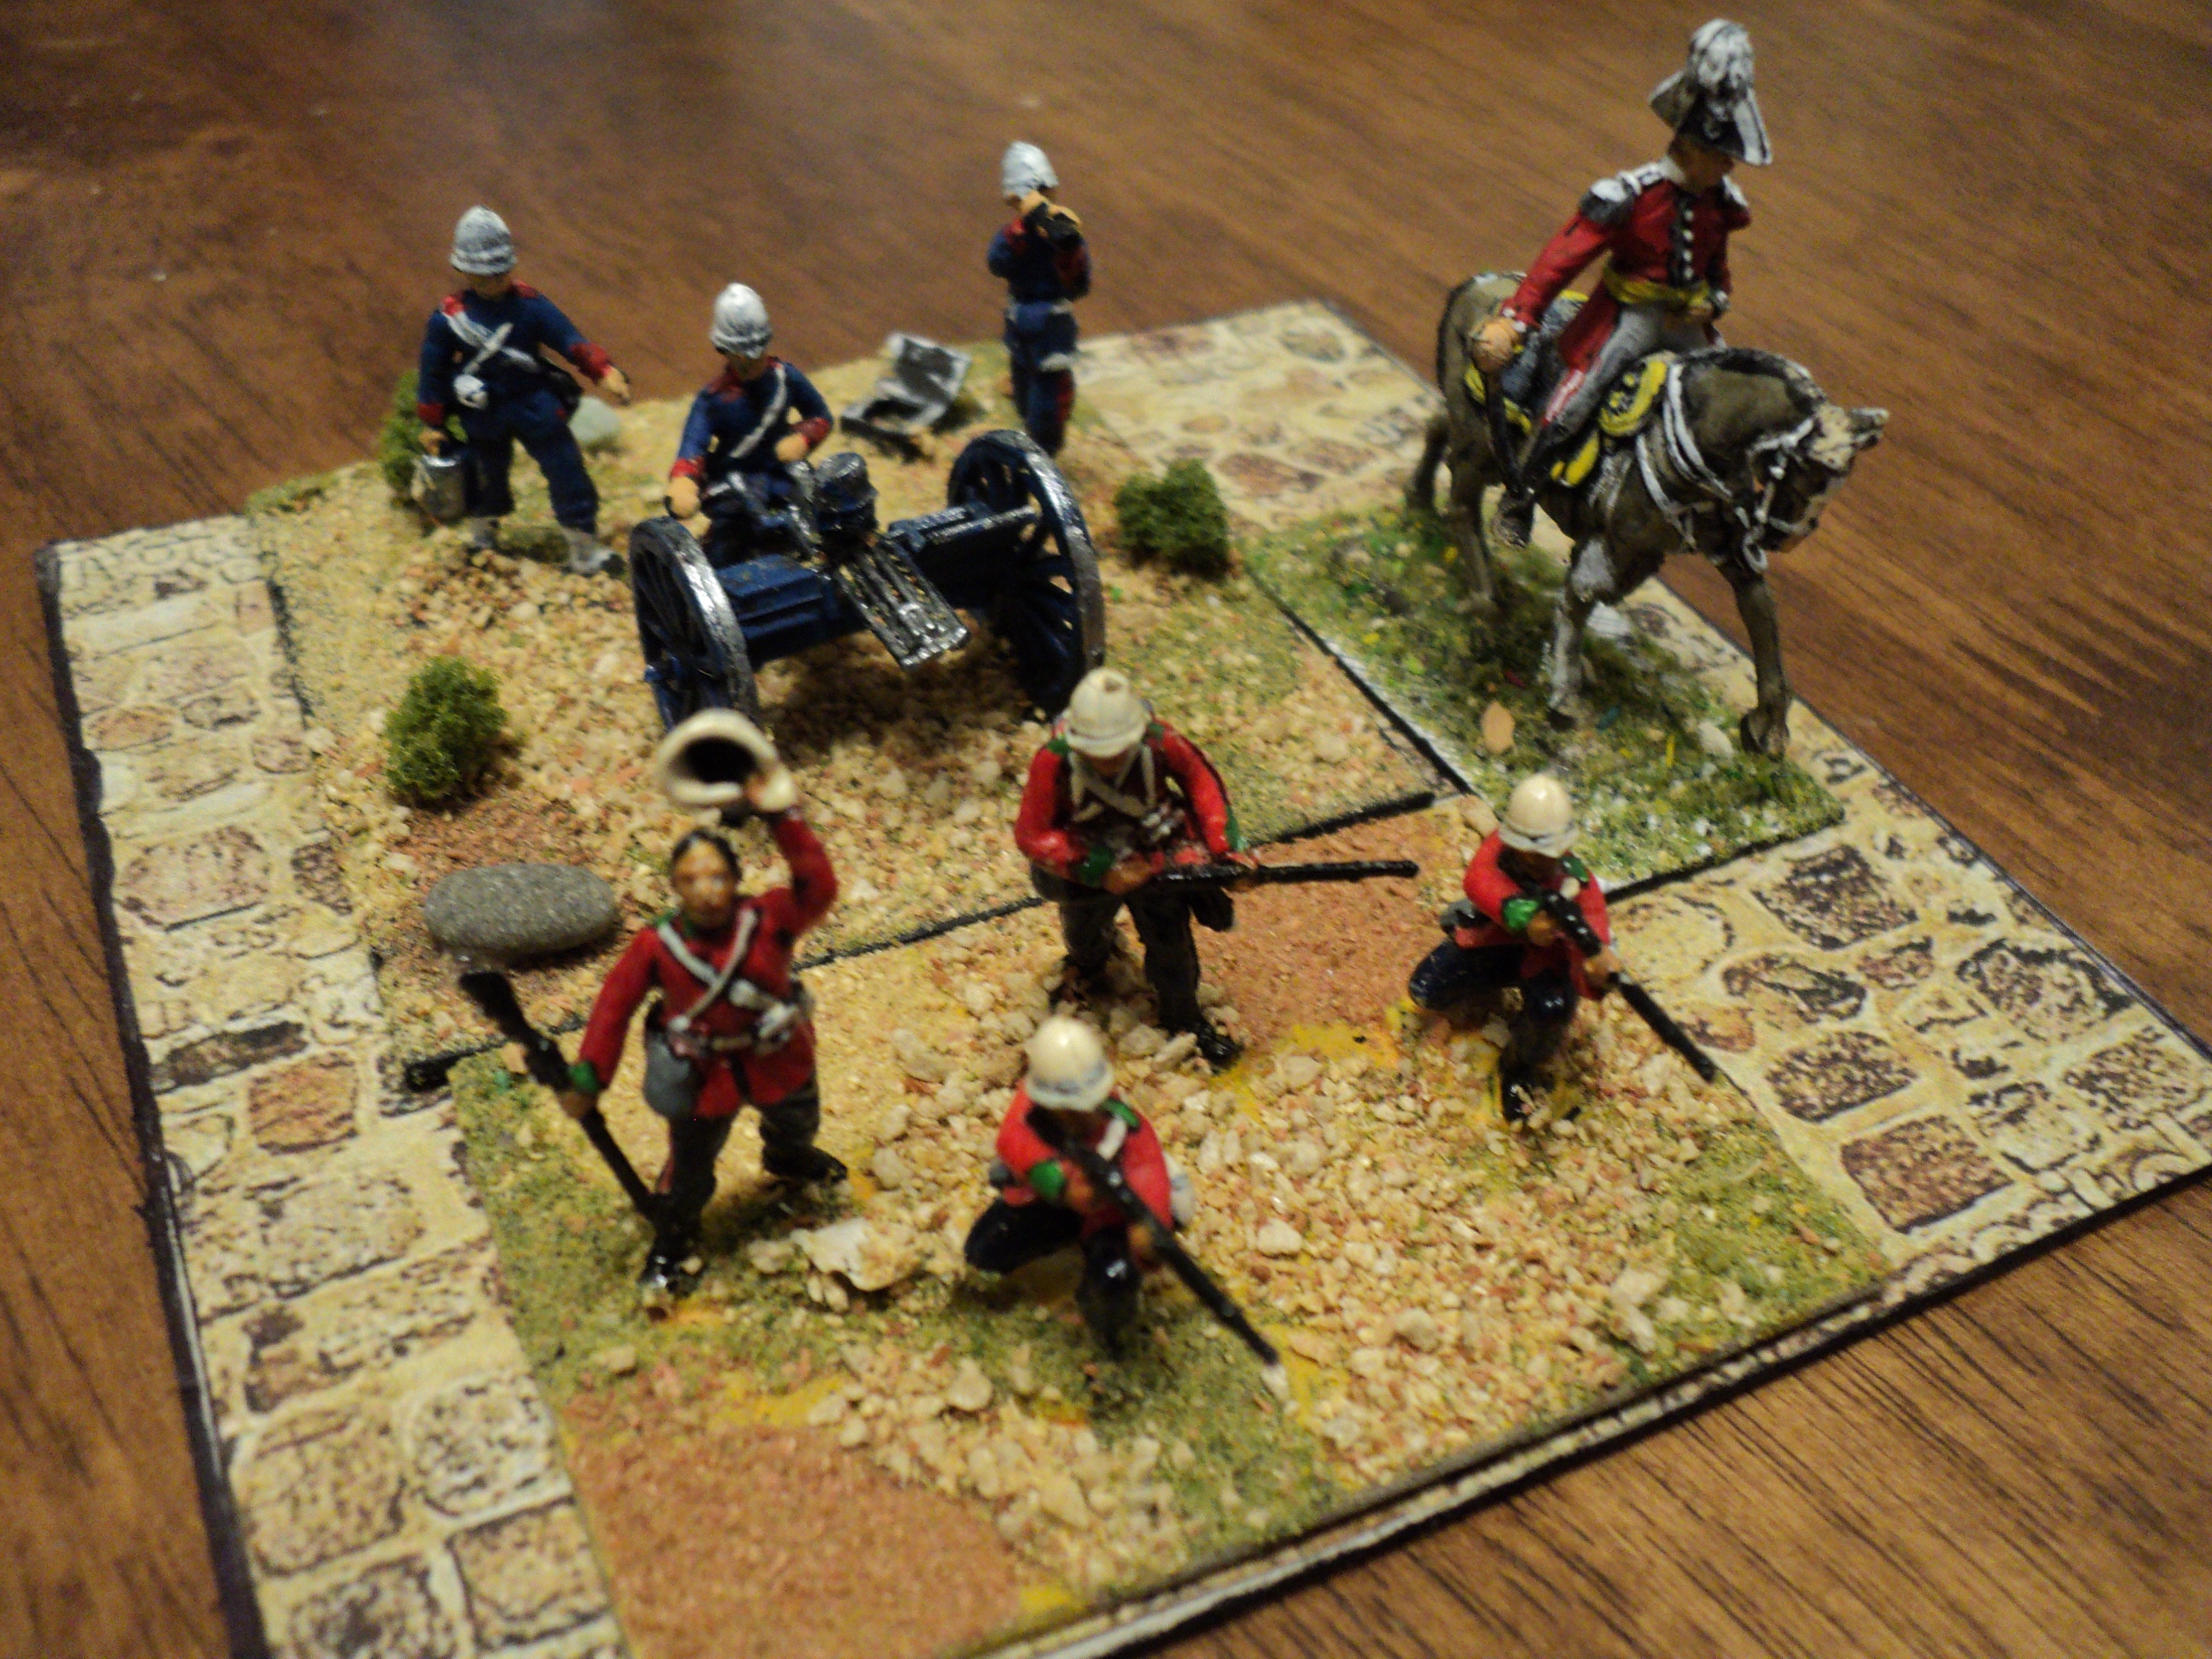
Ruberia:General Officer Commanding: General Sir Arthur Reddesley 6SP
12 Infantry stands @ 4SP = 48SP - Rifle range: 2 grid areas
6 Cavalry stands @ 3SP = 18SP - Carbine range: 1 grid area
3 Machinegun stands (Gatlings) @ 2SP = 6SP - Shooting range: 3 grid areas
3 Artillery stands @2SP = 6SP - Shooting range 8 grid areas
1 Engineer stand plus Engineer Train @ 3SP = 6SP - Rifle Range: 2 grid areas
2 Field hospitals (horse-drawn wagons)
1 Fixed hospital (probably in Scarletton).
Azuria:
Commanding in Chief: Marshal Andre Azuréna
12 Infantry stands @ 4SP - 48SP
6 Cavalry stands @ 3SP = 18SP
3 Mitrailleuse stands (Nordenfeldt) @ 2SP = 6SP
3 Artillery stands @ 2SP = 6SP
1 Engineer stand plus Engineer Train @ 3SP = 6SP
2 Field Logistics stands (horse drawn wagons)
1 Fixed Centre of Operations Logistics unit (most likely in Cerulean City)
Of the 25 units on each side (discounting the logistics units and the Army Command), 12 Strength Points would have to deploy at the outset in the towns, each having at least 3 units by way of a garrison.
Strength Points.
Hex Grid Armies SP values:12 Rifles @ 4SP: 48SP
6 Cavalry @ 3SP: 18SP
3 MG (Gatlings, Gardners or Maxims) @2SP: 6SP
3 Artillery @2SP: 6SP
1 Engineer plus Engineer Train @3SP: 6SP
1 Fixed location logistics Centre of Operations: 0SP
2 Mobile (commissariat/ordnance/medical) Trains: 0SP
1 Army Commander @6SP : 6SP
Total: 90SP/ Exhaustion Point: -30/ Rout Point -45
Activation of units:
The whole game is IGoUGo, but in each pair of turns roll for which side goes first.
Procedure:
1. Artillery and Machinegun fire (both sides, count as simultaneous)
Procedure:
1. Artillery and Machinegun fire (both sides, count as simultaneous)
2. Roll for initiative, high roll going first and completing moves and combats for all units as in 3. and 4.
3. Roll for 'Treachery' in the enemy army:
See below:
4. For each unit:
Movement (artillery and MGs if not having fired this turn)
Rifle fire and outcomes (moving side only)
Close Combat and outcomes (both sides)
Movement (artillery and MGs if not having fired this turn)
Rifle fire and outcomes (moving side only)
Close Combat and outcomes (both sides)
5. Low initiative roll determines 'treachery' (3) and completes moves and combats (4) for all units.
 |
| 2 units - infantry, machinegun - and the Army Commander in one hex-grid area. |
Movement:
Riflemen: 2 hexes in clear areas or on roads; otherwise 1 grid area only.Cavalry: 3 hexes on roads or clear, otherwise 1 grid area only
Machine guns: 2 hexes on roads or clear, otherwise 1 grid area only.
Artillery: 2 hexes on roads, 1 hex in clear or in towns, otherwise impassible.
Trains: 2 hexes on roads, 1 hex in clear or in towns, otherwise impassible.
In the above picture, the MG could shoot out to 3 grid areas; but at 2 grid area range, the rifles can be added. The Army Commander's presence putting them on their mettle, would add +1 to the units' SPs for shooting or close combat.
Combat:
I propose using my own version of the 'Command-&-Colours' combat method for shooting or close combat. A grid area may hold 1 or 2 units, of any type - 2 infantry, say, or 1 infantry and 1 gun). The following results count only if the target type happens to be present.1. Artillery, Machineguns, Engineers or Engineer Train lose 1 SP
2. Cavalry retreat 1 grid area, or lose 1 SP
3. Cavalry lose 1 SP
4. Infantry retreat 1 grid area, or lose 1 SP
5. Infantry lose 1 SP
6. Infantry lose 1 SP, and retreat 1 grid area. Hazard to Army Command if present.
If Army Commander is in the target grid area, he may be hit. A separate roll of '6' means the Army Commander is toast (one could roll to determine whether he is KIA, WIA, or POW). Note that in this version, the Army Commander is at hazard only if a '6' is rolled for a hit upon the unit he is accompanying.
Engineers count as infantry for shooting and close combat purposes. The SP value for their Train counts towards its capacity as well as for its combat strength. See below; Engineers.
The number of dice rolled in combat is equal to the stand's SP values. If there is more than one stand in a grid, their combat power may be added together. The following modifications, per stand, apply:
-1 Any of close assaulting across river, up hill, or in or into a town, forest or brush area. Not cumulative.
-1 Any of shooting into cover, or whilst on a bridge or in a river (ford).
-1 Machine guns or artillery under a close assault. Neither may bring on a close assault.
-1 Engineer Train under close assault. May not bring on a close assault. Engineer Train does not shoot.
-1 'Poor' unit shooting or close combat (optional).
-1 'Poor' unit shooting or close combat (optional).
+1 Machine guns shooting. Range: 3 grid areas.
+1 Artillery shooting. Range: 8 grid areas.
+1 'Elite' unit shooting or close combat (optional).
+1 Army Command in same grid area.
Engineers in combat:
As the engineers themselves and their train are always in the same grid area, a combat die roll of '1' will hit one or other of them but not both. SP losses accumulated are taken in turn, beginning with the Train. So two combat rolls of '1' in the same turn will take 1SP from both engineers and their Train.
 |
| 2 units, plus Army Commander, in one square grid area - as much as the area can accommodate. An enemy attacking this grid area would hit the artillery on a '1', the infantry on a '4-6', and possibly Sir Arthur Reddesley on a '6'. |
Close combat is initiated by a force attempting to enter a grid area occupied by an enemy force. This is signalled by the front edge of at least one stand being placed slightly over the edge of the target grid area. Close combats are automatic, both sides rolling, and, if continuing, take place in both sides' turns. The posture of the respective sides will indicate who is the attacker.
Only the rifle infantry, cavalry and engineers may initiate a close combat. Artillery, machine guns and the Engineers' Train, may never bring on a close assault. The Engineers may shoot, but the Train does not.
Engineers, function:
At all times, the engineers are accompanied by their Train. Their Train supplies the needs for mine laying, constructing field works, demolition and bridge building. The SP value constitutes their capacity.
1SP by the Train may, in one turn:
- Lay minefields in 1 grid area
- Construct fieldworks in 1 grid area
- Prepare 1 bridge or building for demolition
- Construct 1 pontoon bridge section (2 being required to complete the river crossing).
Construction occurs in the same grid area where the engineers and train stands, or, in the case of river crossings, in a bridge approach grid area.
Note that at 3SP there is an overcapacity for building one bridge, but insufficient to build two. One has, of course, to take into account losses to enemy action!
Note also that the rate of construction is fixed, and may not be accelerated by the 'expenditure' of extra SPs in the same turn.
A final note: you will observe that SPs spent upon engineering tasks will add to the overall SP wastage incurred by the battle, and hence towards reaching the Army exhaustion and rout points.
Treachery...
It is tempting to subvert the adamantine river line by including the possibility of treachery in the enemy ranks. As I'm playing these games solo, how this is done would have in some way to be programmed. I'm thinking less in terms of 'spy' and more in the way of 'Fifth Column'.
Procedure:
At the beginning of the Game OR (better yet) at the appropriate time each turn (optional), identify the miscreant unit:
Procedure:
At the beginning of the Game OR (better yet) at the appropriate time each turn (optional), identify the miscreant unit:
- Roll for arm: 1 = artillery/ machine guns, 2-3 = cavalry, 4-6 = infantry
- Roll for unit: There being 6 cavalry and 6 guns and machine guns combined, simply allocate a number from 1-6 for each and roll according. There being 12 rifle stands, roll for pair, and then for individual within the pair, or, as I did, 1 roll for which 'brigade' of 4 stands, then roll for the unit within the 'Brigade'.
1. Each turn, roll a die to determine whether there is disaffection within the army. See 'Activation of Units' above. A roll of '6' implies a unit's loyalty has come into question.
(It has suddenly occurred to me that this would be best carried out turn by turn, with the non-phasing side rolling for the enemy army. That way the defecting unit immediately comes under the control of the enemy army)
2. Unless identified at the beginning of the game, roll to identify the disloyal unit.
3. Roll to determine what action the disloyal unit will take:
- 1-2 Mutiny! The unit will refuse to take orders, will neither move nor shoot, except to defend itself and/or stay away from the fighting. Its SPs are lost to the army, but are not accrued by the enemy.
- 3-4 Defection! The unit plans to change sides, but will do so only if it contacts or is contacted by an 'enemy' unit. This is effected by moving into a grid area adjacent to one occupied by the 'enemy' unit. Having thus made contact, the unit is now under the command of the enemy army. Its SPs are lost to their former army and now accrue to their new command.
(In a 2-player game, the 'enemy' takes over its movements, but the aim is primarily to make contact with an enemy unit. It may not attack its former comrades, nor may be attacked by them).
However, the army they are trying to contact may engage them in combat, bearing in mind that any SPs they lose will be SPs foregone. The defecting unit may also be expected to fight back if engaged in close combat. (I make these last remarks for the 'sake of completeness': I doubt in a 2-player game that the receiving army would want to shoot up approaching friends. In a solo game, that is a whole other matter, of course!) - 5-6 Fifth Column! The miscreant unit at once changes sides, and will come at once under the command of the enemy army, to carry out moves, fires and close combats as required. The SPs change sides with the unit. There is no change to the starting 'Exhaustion' or 'Rout' points for either side.
Supply and Resupply:
The Centre of Operations, and the two Mobile Logistics Trains', main function is to rebuild units (stands) that have become depleted. This may include stands or units that have been reduced to 0SP, and have therefore been removed from the battlefield. These three logistics units have no intrinsic Strength Points, and, attacked, are captured or destroyed on a 'hit' result for Trains.
Units to be refurbished must be placed in the grid area containing the logistics unit (1 unit only), or in an adjacent grid area (up to 2 in each). This placement takes place in the night move. A replacement Army Command, and the engineer train resupplying, also stand in some such proximity to a logistics unit. The units placed, they then are allocated extra SPs from the replacement pool.
At the dawn of the new day, the units move at standard rates from the grid areas in which they stood for resupply and recovery. One of the effects of this will be to advantage the invaded country. It will therefore be in the interests of the invader to bring his mobile logistics units up close to the front line.
Special Resupply Rules:
Engineers's Train:
The Engineer's Train may by resupplied up to its full capacity of 3SP. This will, however, still count against the overall allocation to specialists.
Army Command:
When the Army Command has been lost, it may be replaced (@6SP) but only at the cost of Strength Points being returned to the Army. However, the 6SP so spent may be drawn from the whole pool, regardless of the arms represented. A likely replacement allocation might be drawn like this: 1SP from the specialists, 2 from the cavalry and 3 from the infantry.
Exhaustion:
An army having reached its 'Exhaustion Point' is treated as follows
Only the cavalry can initiate a close assault
Units may not advance closer to the enemy than they already are. They may, however, move closer to an enemy stand if the move also brings them closer to the friendly base line.
Units already in close combat may remain so until the close assault is resolved.
Rout:
An Army reduced to its 'Rout Point' must immediately begin to quit the field.
Units move at standard rates towards their own table edge, or the capital city.
Units in close combat, break off, and retreat one grid area.
The army will be stopped, if at all, only by the onset of night, and then resume the next day unless the SP returns bring the army's strength points above the Rout point.
Concluding points:
This rule set will probably require rather closer attention to losses Turn by Turn than is usual among our Grid Wargames. Apart from anything else, only the day's SP losses may be returned 'overnight'. It is possible that an Army will become 'exhausted' during the course of a day, but be revived with SPs overnight. This seems to me a reasonably plausible happening. An Army reduced to a routing condition before nightfall might be rallied overnight to mere 'exhaustion', at least keeping it in the field the following day.An army that finds itself having lost a third of its original SP allocation at daybreak remains 'exhausted', must take up a defensive posture. When the army is exhausted, only the cavalry may be permitted to attack to bring on a close combat. An Army reduced to its 'Rout Point' simply flees the field, and the battle ends.
I have a feeling that one of the effects of these establishments is the creation and retention of a reserve, so that depleted units might be withdrawn, and fresh units take their place. It would be nice to think that this will work, but I haven't tried it yet!


