
 |
| Battle of Tulzen - the Imperialists facing north |
A few weeks ago, reading up on someone's pike and shot postings on facebook or blog, I bethought myself to my long neglected Thirty Yaers' War (30YW) armies of Sweden and the Hapsburg Empire - or, as I sometimes prefer, between the warring realms of Severeia and Austereia. I wanted to try out the "Portable Thirty Years ... War Wargame" - Antoine Bourguilleau - from the Portable Pike and Shot book. It became fairly clear early on that I would be shoehorning the system onto my hex table (so why didn't I use my square grid table instead? I don't know...).
 |
| The Grabbenfloss stream east of the battlefield |
Swedish:
Command: Feldmarschall Lennart Blixtensson (4SP)
3 x 'Swedish' Cavalry @ 3SP = 9SP
2 x Battalia @ 4SP = 8SP (Elite)
2 x Battalia @ 4SP = 8SP
1 x Artillery = 2SP
Totals: 8 units plus general; 31SP
Except where stated, all units are average.
Imperial:
Command: Count Albrecht Eusebius von Steinwald (4SP)
2 x Cuirassier horse @ 4SP = 8SP (Elite)
2 x 'Dutch' Cavalry @ 3SP = 6SP
3 x Tercio foot @ 6SP = 18SP
Totals: 7 units plus general; 36SP
'Swedish' cavalry were 'get tore in' types - no faffing around popping pistols, but stuck in with sword and anything else sharp or heavy. They get some benefit in close combat. These I hade 2 x 3-horse elements strong, the bases being place side by side across the middle of the hex.
 |
| Swedish cavalry, guns and battalia. The pikes seem to be over- represented, but the formation looks OK. All figures and gun Revell; the limber and team ... not sure... |
'Dutch' cavalry relied more on firepower. These I made into columns, a single element wide and 3 deep. I gather Graf zu Pappenheim, the famous Imperial cavalry commander, favoured deep columns of horse.
 |
| Cuirassiers flanked by 'Dutch' pistoleer cavalry |
Cuirassiers. In the pictures I have shown them also in 3 deep columns, but later I removed one element. I would have liked to have represented them in a 2x2 array, but that really does stretch the capacity of my 10cm hexes. probably I ought to have retained the 3-deep columns for these.
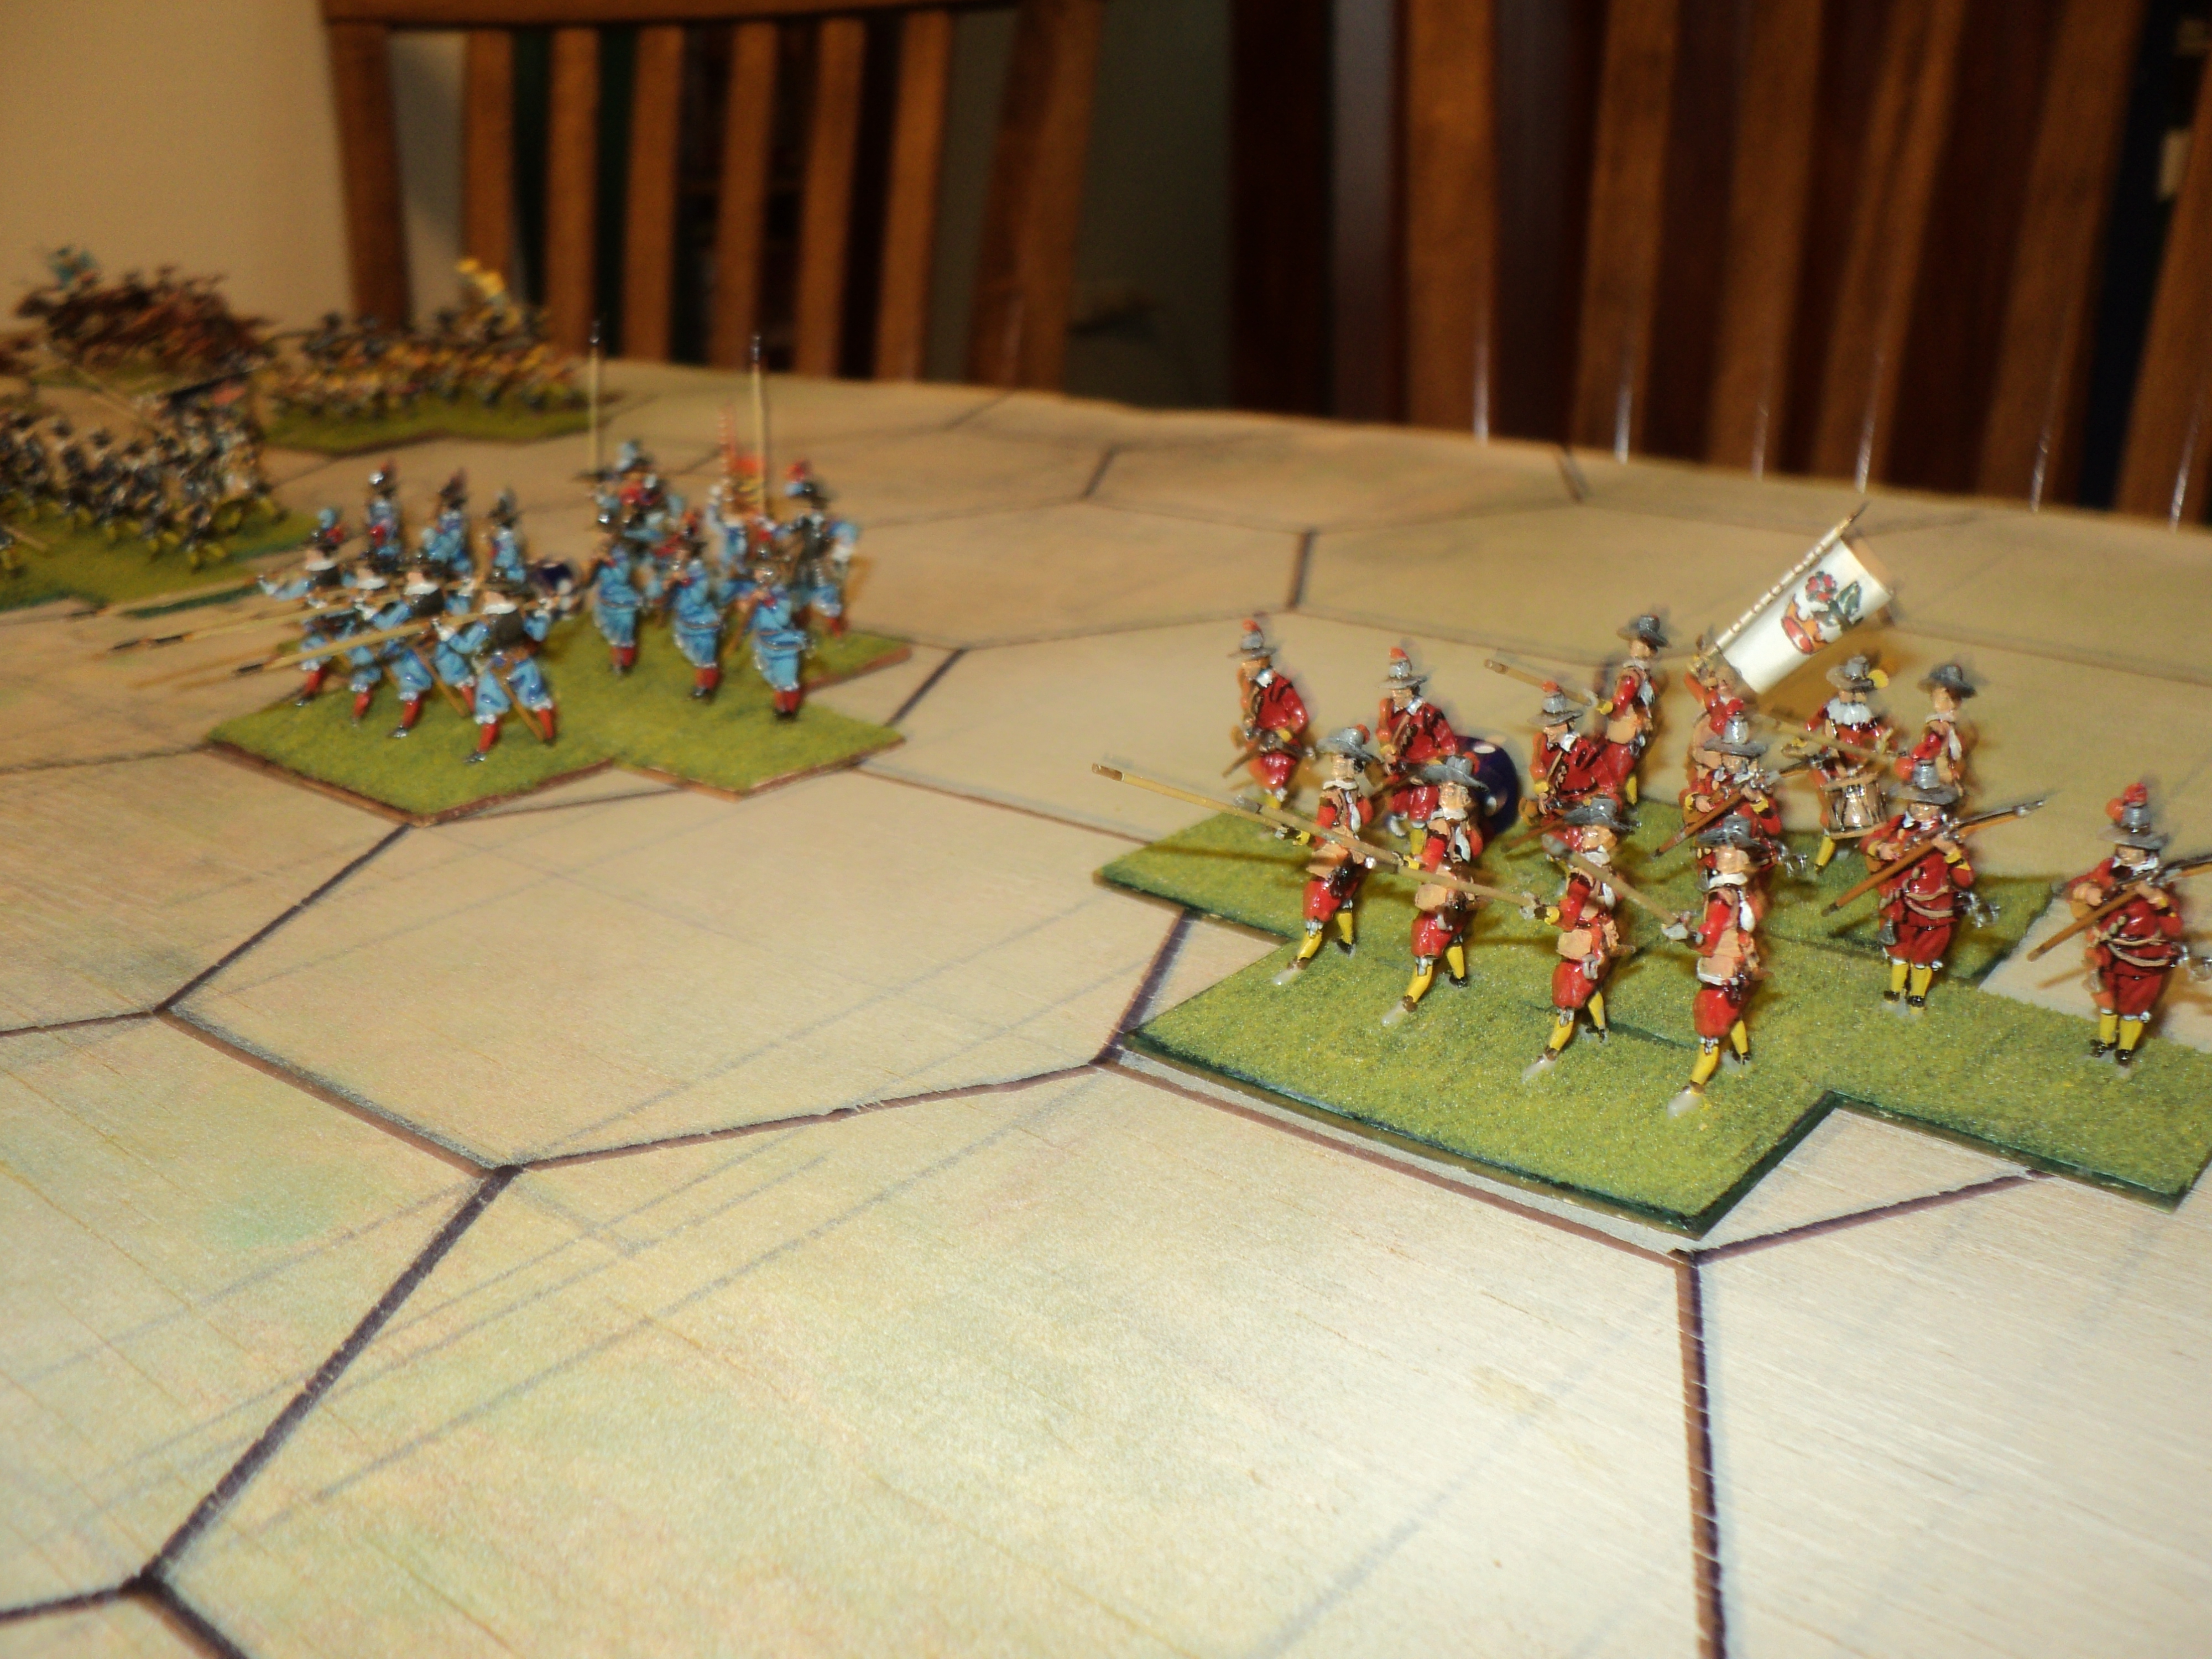
Battalia, I have represented by a 2-elementline of shot, with a single pike element in front and another behind in a sort of lozenge formation. That seems to be the convention for this type of war game, with armies built in this fashion.
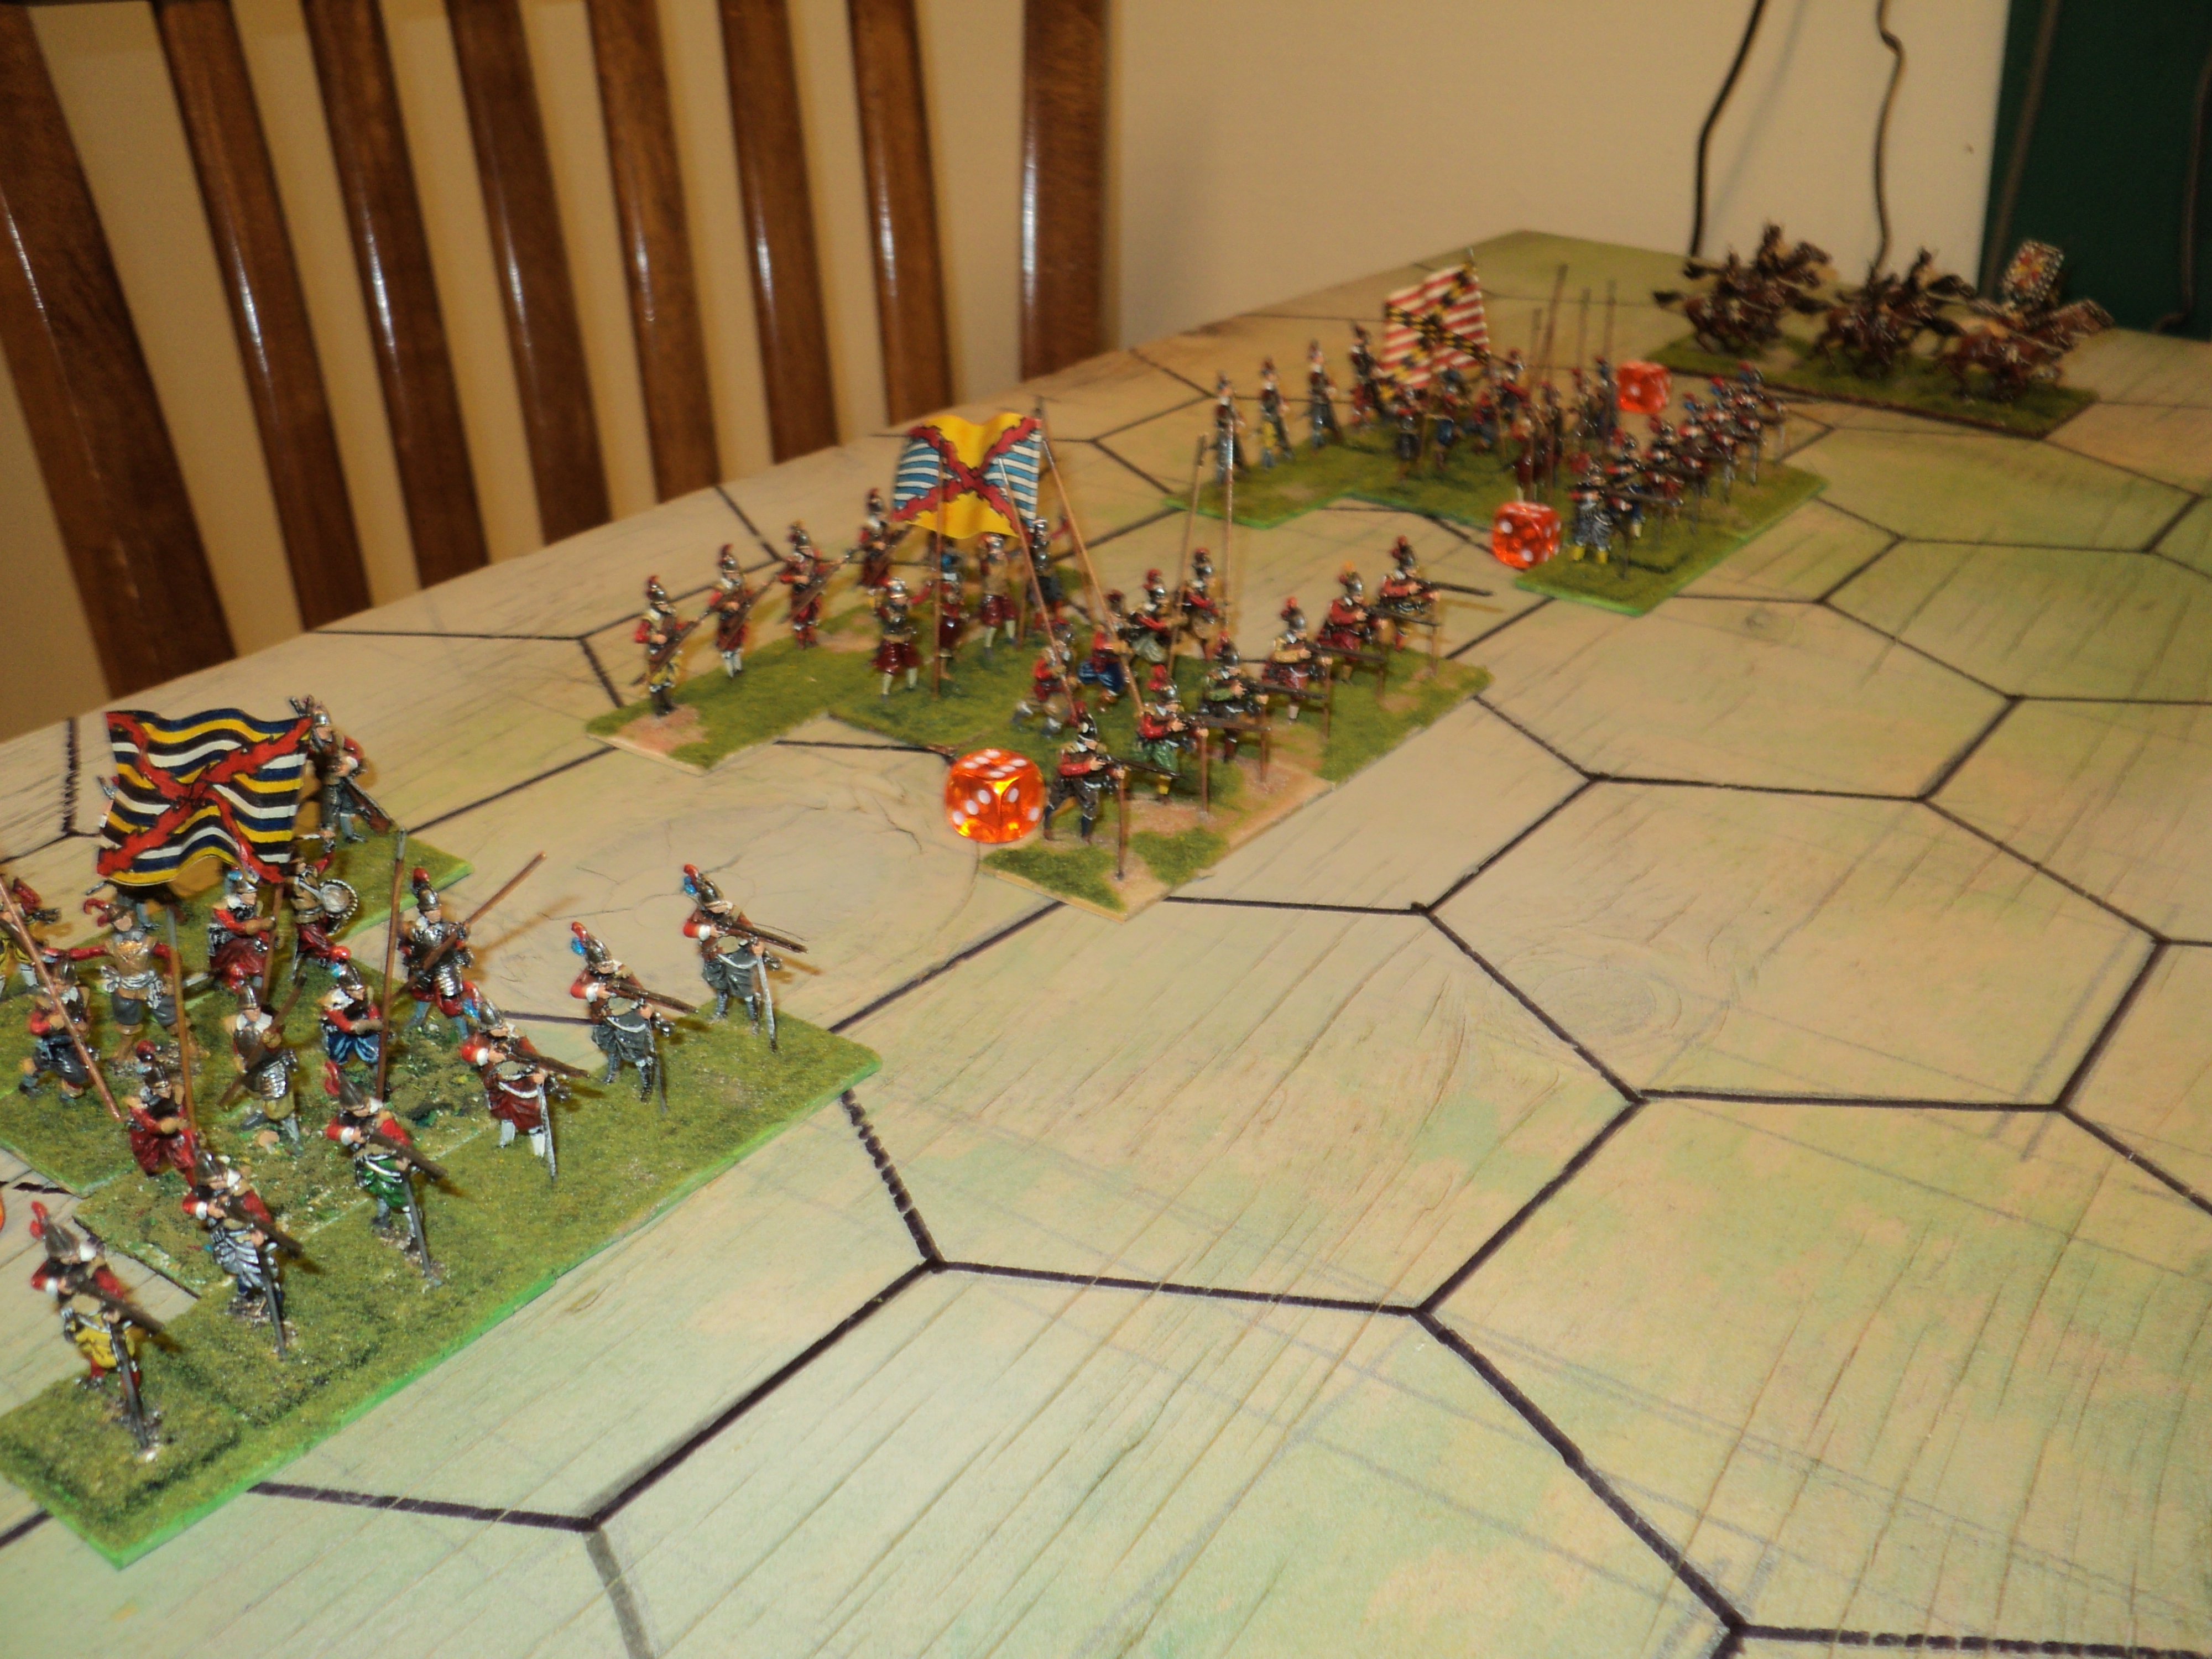
Tercios, as I have organised them, really do push the boundaries of my hex grid. After some deliberation, I decided they would cover two hexes in depth, 4 ranks, with 2 shot elements in first and fourth ranks, single pikes in second and third. The depth of this formation, and possibly the 'Dutch' cavalry as well, would have some implications when the fight got to close quarters.


(a) - the foot had won the initiative, and the turn passes to the enemy. Are the units still in close combat, or may the enemy simply shoot in its turn?
(b) - the horse had won the initiative; the foot's reply was to bring on a close combat; and now we have reached another initiative roll. If the foot wins, they will probably continue the close combat. But if the horse wins, may they break of the close combat to resume their short-ranged shooting?


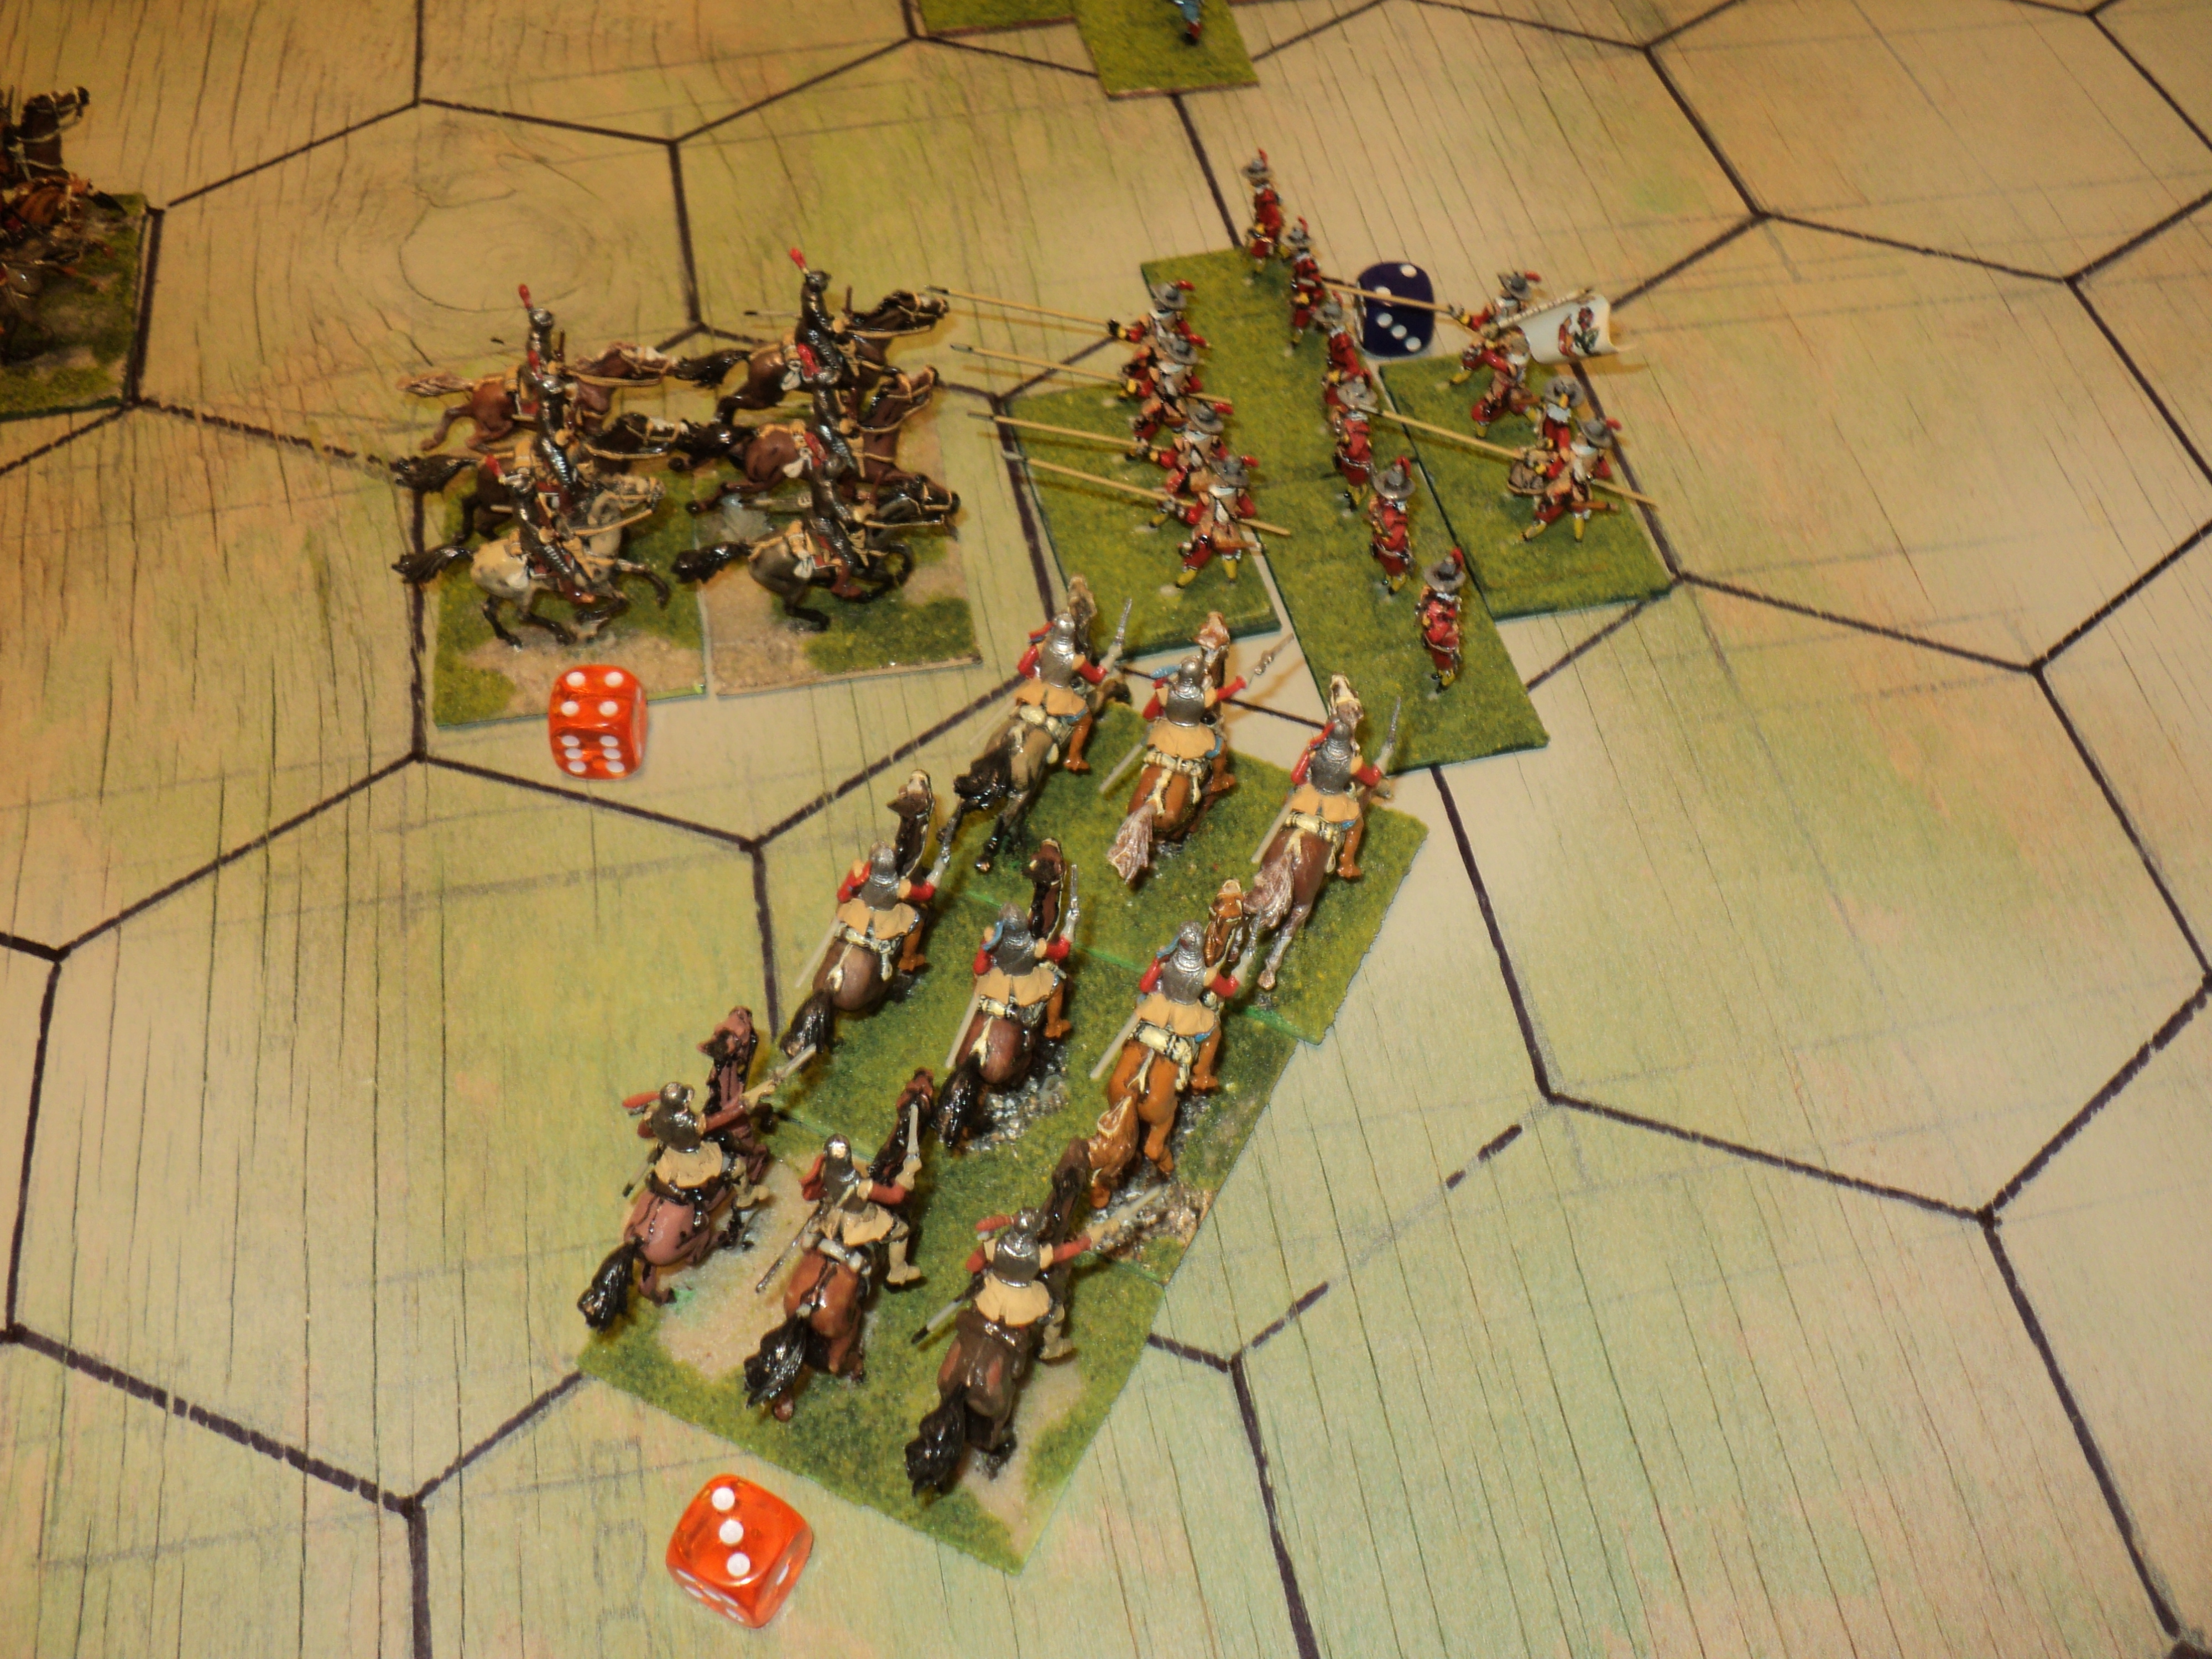
Parlous as the situation was for Red Brigade, the flanking cavalry came charging up to strike the Imperial pistoleers in the flank. The whole irruption was a frost. The pistoleers shrugged off the enemy attack (the '5' was good enough for a SP loss to the Swedes; the 2 far too low to concern the Imperialists).


 However, Blixtensson's drawing of the tercio's attention permitted the remaining Swedish cavalry, hard by the village, to charge the cuirassiers covering the Imperial left flank. The fortunes of war having so far fallen upon the side of the Imperialists seem to see no reason to change their allegiance. Despite the impetuosity of their charge (plus 1 on their combat die), it was the Swedish horse who took the hit.
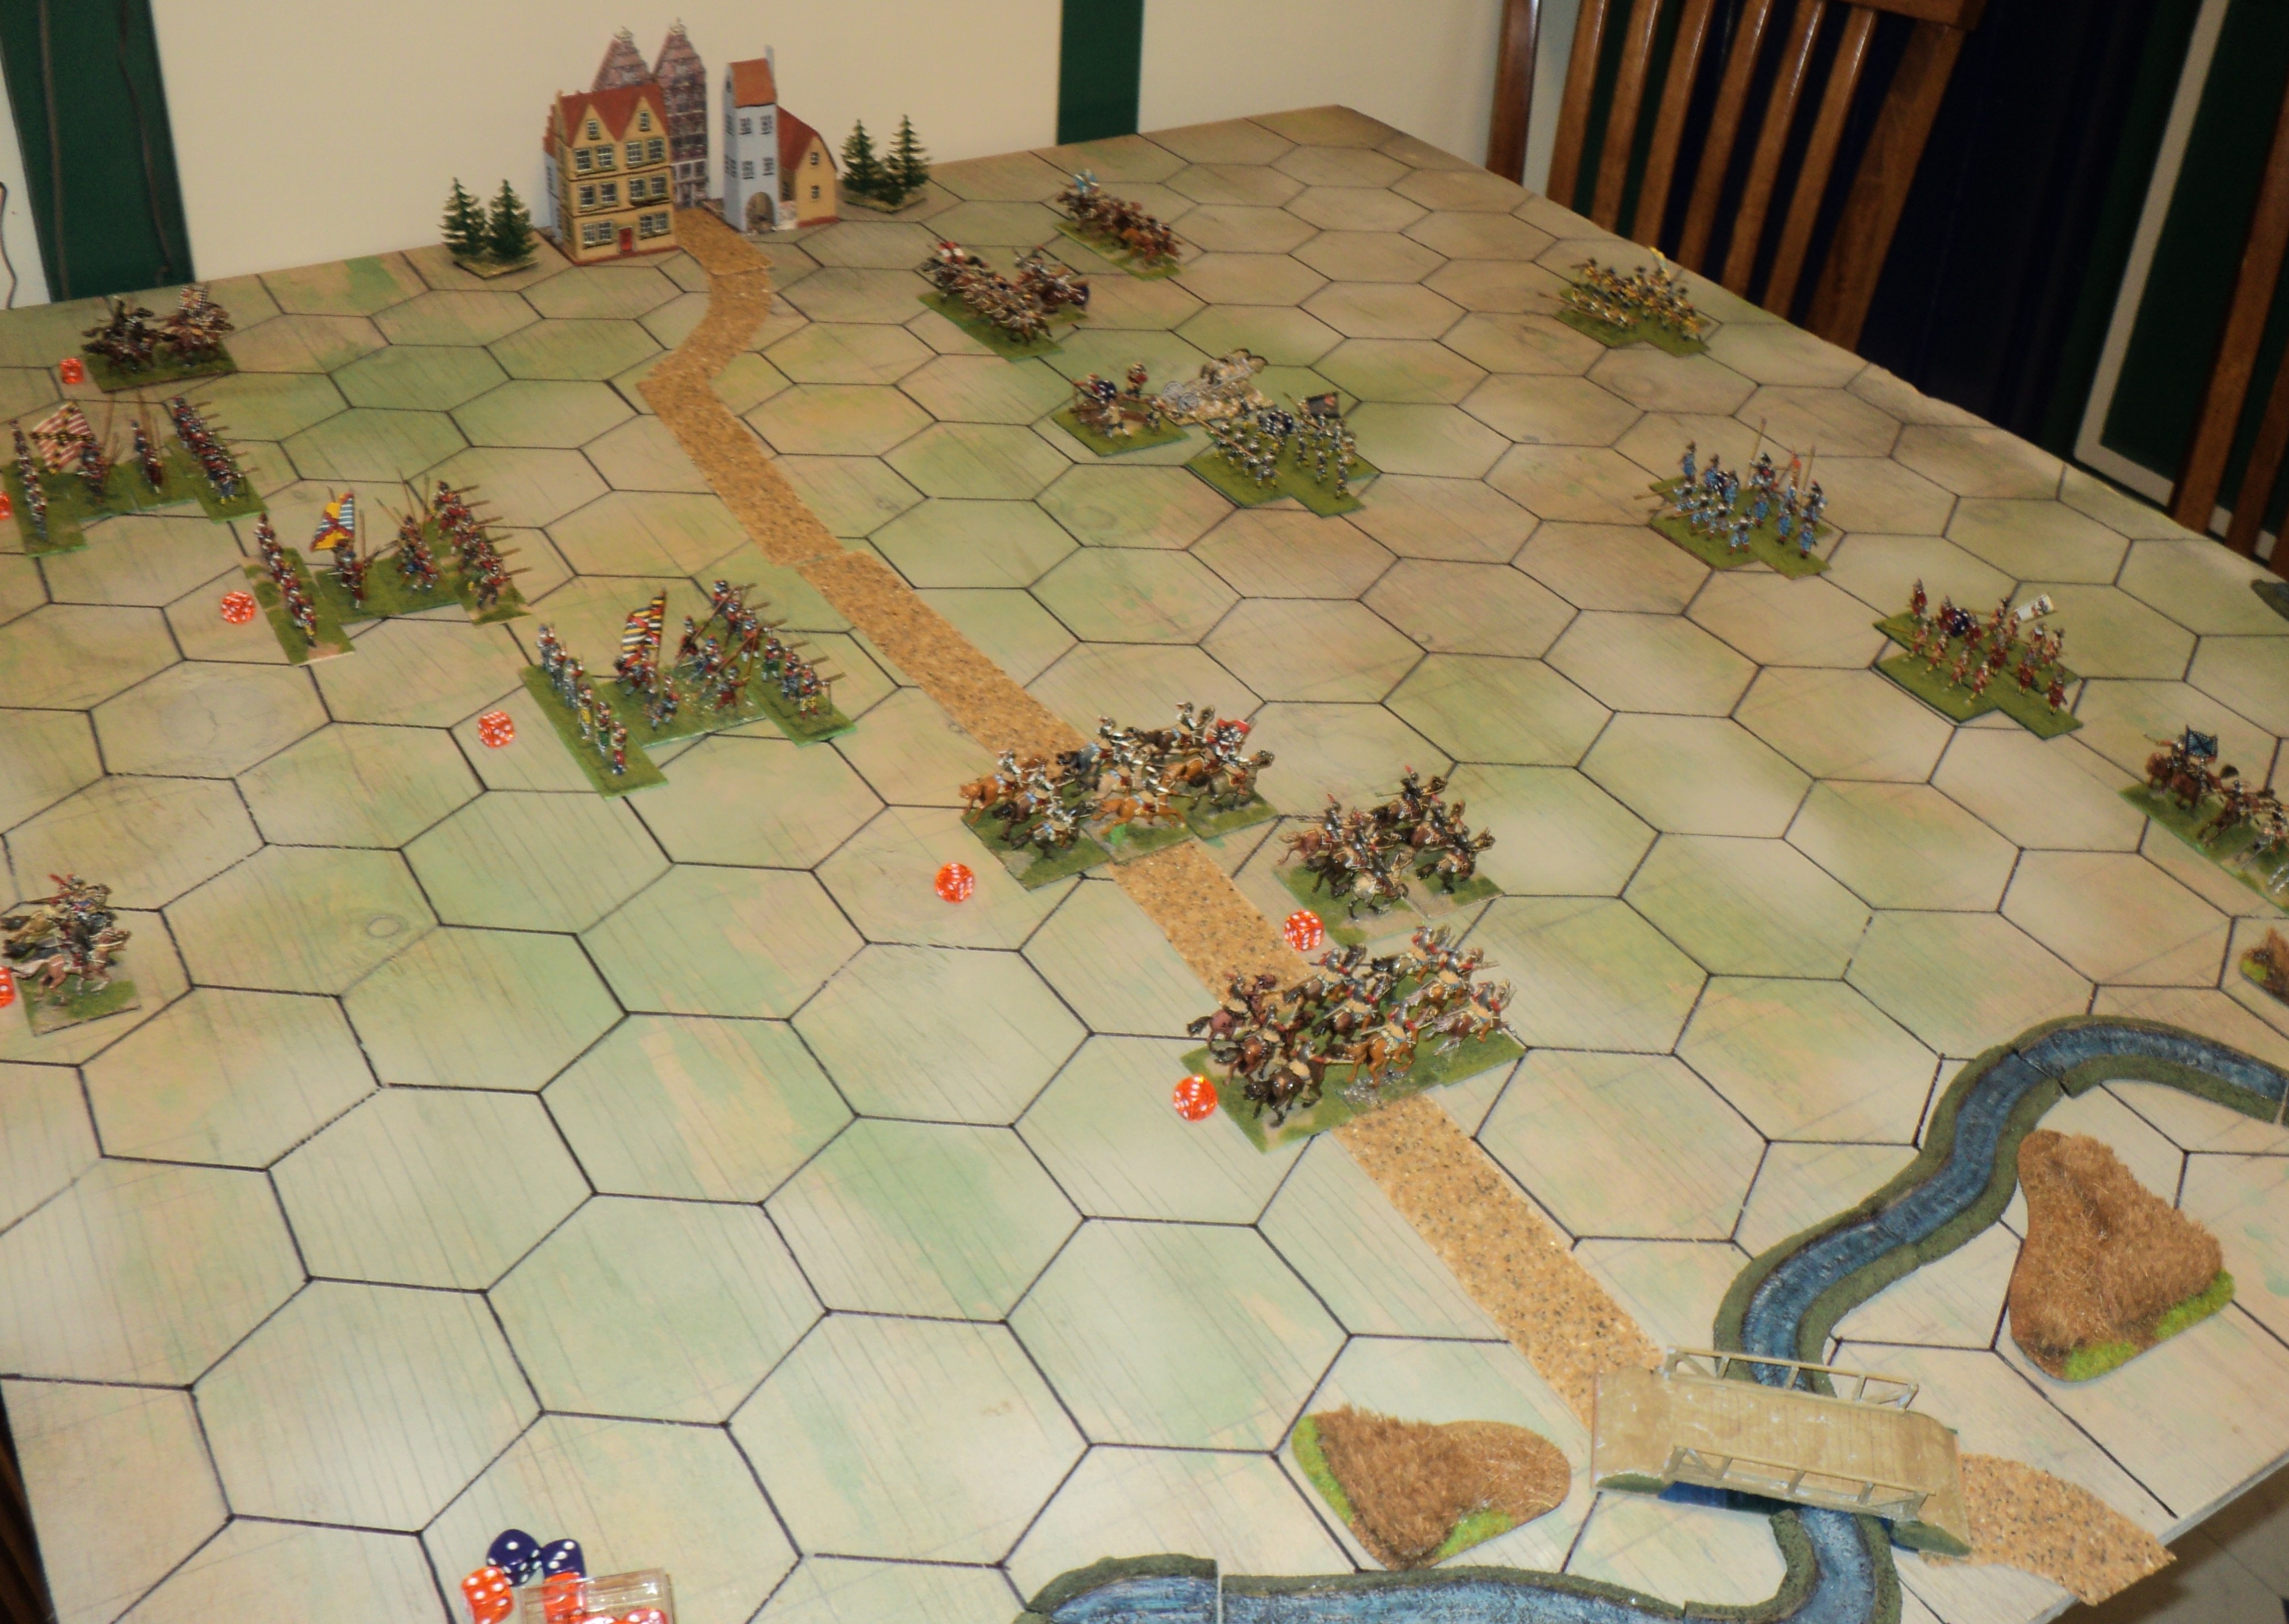
I do believe that the gunnery ranges ought to be increased. All day the Swedish guns had been seeking out a target - not easy when its arc of fire is restricted to a single 'column' of grid areas. I stayed with that rule for this action, but in future recommend, for hex fields, the immediate adjacent hex forward, and thereafter the same column of hexes and the columns adjacent. For the square grid, I would recommend simply the three columns. The 3 grid-area range seemed to me could stand some increase, the 3 maximum applying to battalion guns. I may come back to this some time.


 |
| Final moments of the battle, as the Imperialists begin to roll up the Swedish line. |
All attacking impetus had gone out of the Swedish Army. At once Marschall Blixtensson sounded the retreat, and the army began to pull out. I admit, I could have played on with the Swedes trying to get off with their embattled units, and the Imperialists in pursuit, but the result was already clear cut. The Swedish Army lost 11SP - and reached its exhaustion point.
The Imperialists had been very fortunate, losing just 6SP, two-thirds of them from one tercio.
I think on this table I'd be inclined to ad one grid area to movement, and to increase the gun range to 6 hexes, apart from battalion guns, which would have 1 Strength point only, and have a range of 3 SPs. For the rest - maybe another play test is in order.
Finally, I promised someone I would add a 'me' pic. This one is from 3 years ago - I'm not sure I have one more recent. Even on a day as grey as this, my photochromatic lenses kick in.
 |
| Outdoors action - 'Unquiet Flows the Mius' A fairly mild day for April, shortly after the COVID shut down. |
Another interesting battle report and great looking game. As to the continuing combat situations I usually play it as you suggested, one side can't break off a close combat and shoot until they win initiative, except for the horse vs foot. In that case, since they move faster I let them break off the action.
ReplyDeleteHi Mark -
DeleteI am inclined to think the usual system under which I have been playing portable war games is simpler - if units are in adjacent grid areas, they are in close combat: push of pike and/or dint of butt. In their turn, cavalry may break off combat against foot.
Somehow, then, one must come up with something to distinguish pike and shot battles from other PW H&M. I'd increase the moves and the shooting ranges by 1 grid area, except to range the heavy guns out to 6. Possibly the depth of my table is influencing this decision.
But I am reminded of an interesting DBR action, fought about 25 years ago, between 80YW opponents. I had the Spanish. A block of 9 mounted pistoleer elements arranged 3x3 encountered a block of I think 6 of Dutch commanded musketeers. A protracted firefight ensued in which the musketeers were finally wiped out. But just 4 of my pistoleer elements remained. Of course, neither wanted to close, being shooters, not booters.
I was about to continue, but I feel an article coming on. I'll give it some further thought.
Cheers,
Ion
I agree with Mark, particularly in Horse and musket periods. Nice to see some of the Revell TYW figures in use.
ReplyDeleteCheers, Martin -
DeleteI quite like 16th and 17th century P+S as having a rather different look and 'feel' to the H+M dating from, say, 1695 or so. I think Antoine Bourguilleau captured some of that, but it did leave certain situations looking very ambiguous. There was nothing visually to distinguish between a fire fight at very short range and a pike, butt or sword in your face stoush.
Further adaptations may be required for a hex-grid battlefield, but on the whole I thought the system worked OK first time up. I'd broaden the artillery shooting arc - but I'd do that for square grids as well. It is possible that Antoine had in mind grid cell a deal larger than my 10cm, anyhow.
I am quite fond of the Revell figures, and my armies have been complete in terms of figures for nigh-on 30 years. But I've never got around to finishing off the Swedes - especially their cavalry, and the guns. I had to use Imperial proxies for the mounted arm in this battle. My one criticism would be that there was far too few pikemen in the 'foot' boxes. I adapted figures waving muskets around and even the flag bearers as pikemen - and used OTHER figures for flag bearers.
Cheers,
Ion
Cheers,
A nice game there, with some interesting points raised. As others have already said, your interpretation seemed right to me. When I played some PW a few years ago, I found that I deployed my forces fairly close together, to speed up the action kicking off, which seemed to work for me.
ReplyDeleteHi Steve -
DeleteAs the action began, it did occur to me that the rules author had in mind a depth of table in terms of grid cells rather shallower than mine. I'm inclined to increase the moves and ranges of the units rather than waste my table edges. As it was the units began the day well inside the table edge.
Cheers,
Ion
Thanks ION for the photo of yourself at your WW2 Games Table- good to see you after all this time following your posts. Cheers. KEV.
ReplyDeleteKEV -
DeletePhotos of myself don't happen often. That action, by the way, was fun do do outside. I'm not sure why I haven't done more outside games. Something to do with the weather possibly...
Cheers,
Ion
Very nice Ion, very nice indeed. 👏👏
ReplyDeletePlastic Soldier Review shows some lovely figures suitable for the 30YW. It’s a shame there aren’t any Croat light cavalry figures, although there are some “light infantry” that certainly have a look of the Croats. But why on foot rather than the much more useful mounted? 😞
With regards to gaming the 30YW I tend to use ECW figures, plus various “exotics” - primarily lots of cuirassiers and Croat light cavalry. Mostly in 2mm scale, although I do have a reasonable sized force of 15mm and a growing number in 25/28mm (these latter just for skirmishing).
It’s good to see you’re still rockin’ the old “handlebar ‘tache look”. I had a ‘tache from, well, as soon as it started to grow, so around 12 I suppose, till I was about 51-52. I would often jokingly remark to my work colleagues that “I have a moustache that’s older than you…”. Ahhh, the old days 😉
Cheers,
Geoff
Geoff -
DeleteFunny you should mention the Croat light cavalry. I supplied three elements of those from HaT Mamelukes, which bore (in my view) a sufficient resemblance to Croats to be of service. They have seen action in other armies, though, such as the Turcowaz in my Kavkaz Campaign.
I also made up a few battalion guns for the Swedish army. The Airfix Napoleonic French artillery with the smaller gun barrel from the ESCI British Napoleonic artillery set make (in my view) a very acceptable 30YW battalion gun. These are not the leather guns used in a war in Poland, as they were replaced by something more robust by the time Gustavus Adolphus turned his attention towards Germany.
The 'tache' I've had for nearly 40 years. I have worn a beard as well at odd times in my life. I recall turning up to work at the end of a summer break sans whiskers and everybody remarked that I was wearing a tie. I had worn a tie studiously every day since I began working for that company, well over a year before. H'mmm...
Cheers,
Ion
Oh - and I also meant to say - I enjoyed your game too. It looks great. Who on earth wouldn’t want to command a regiment of cuirassiers charging about on the battlefield? (A rhetorical question, as I imagine if the enemy has plenty of artillery and/or steady foot then I suspect it would change my opinion somewhat) ⚔️⚔️
ReplyDeleteCheers,
Geoff
Geoff -
DeleteI gather the Imperialist cuirassiers commanded a deal of respect in the Imperialist army, and were a match for the more impetuous Swedish horse. The caracoling 'Dutch' horse, apparently showing a marked timidity, commanded less respect. I gather Swedish allies (e.g. Saxony) fielded cuirassiers.
Cheers,
Ion