
 |
| M'yasma Horse leading the march: Pavlograd Hussars, Tchernigov Dragoons. |
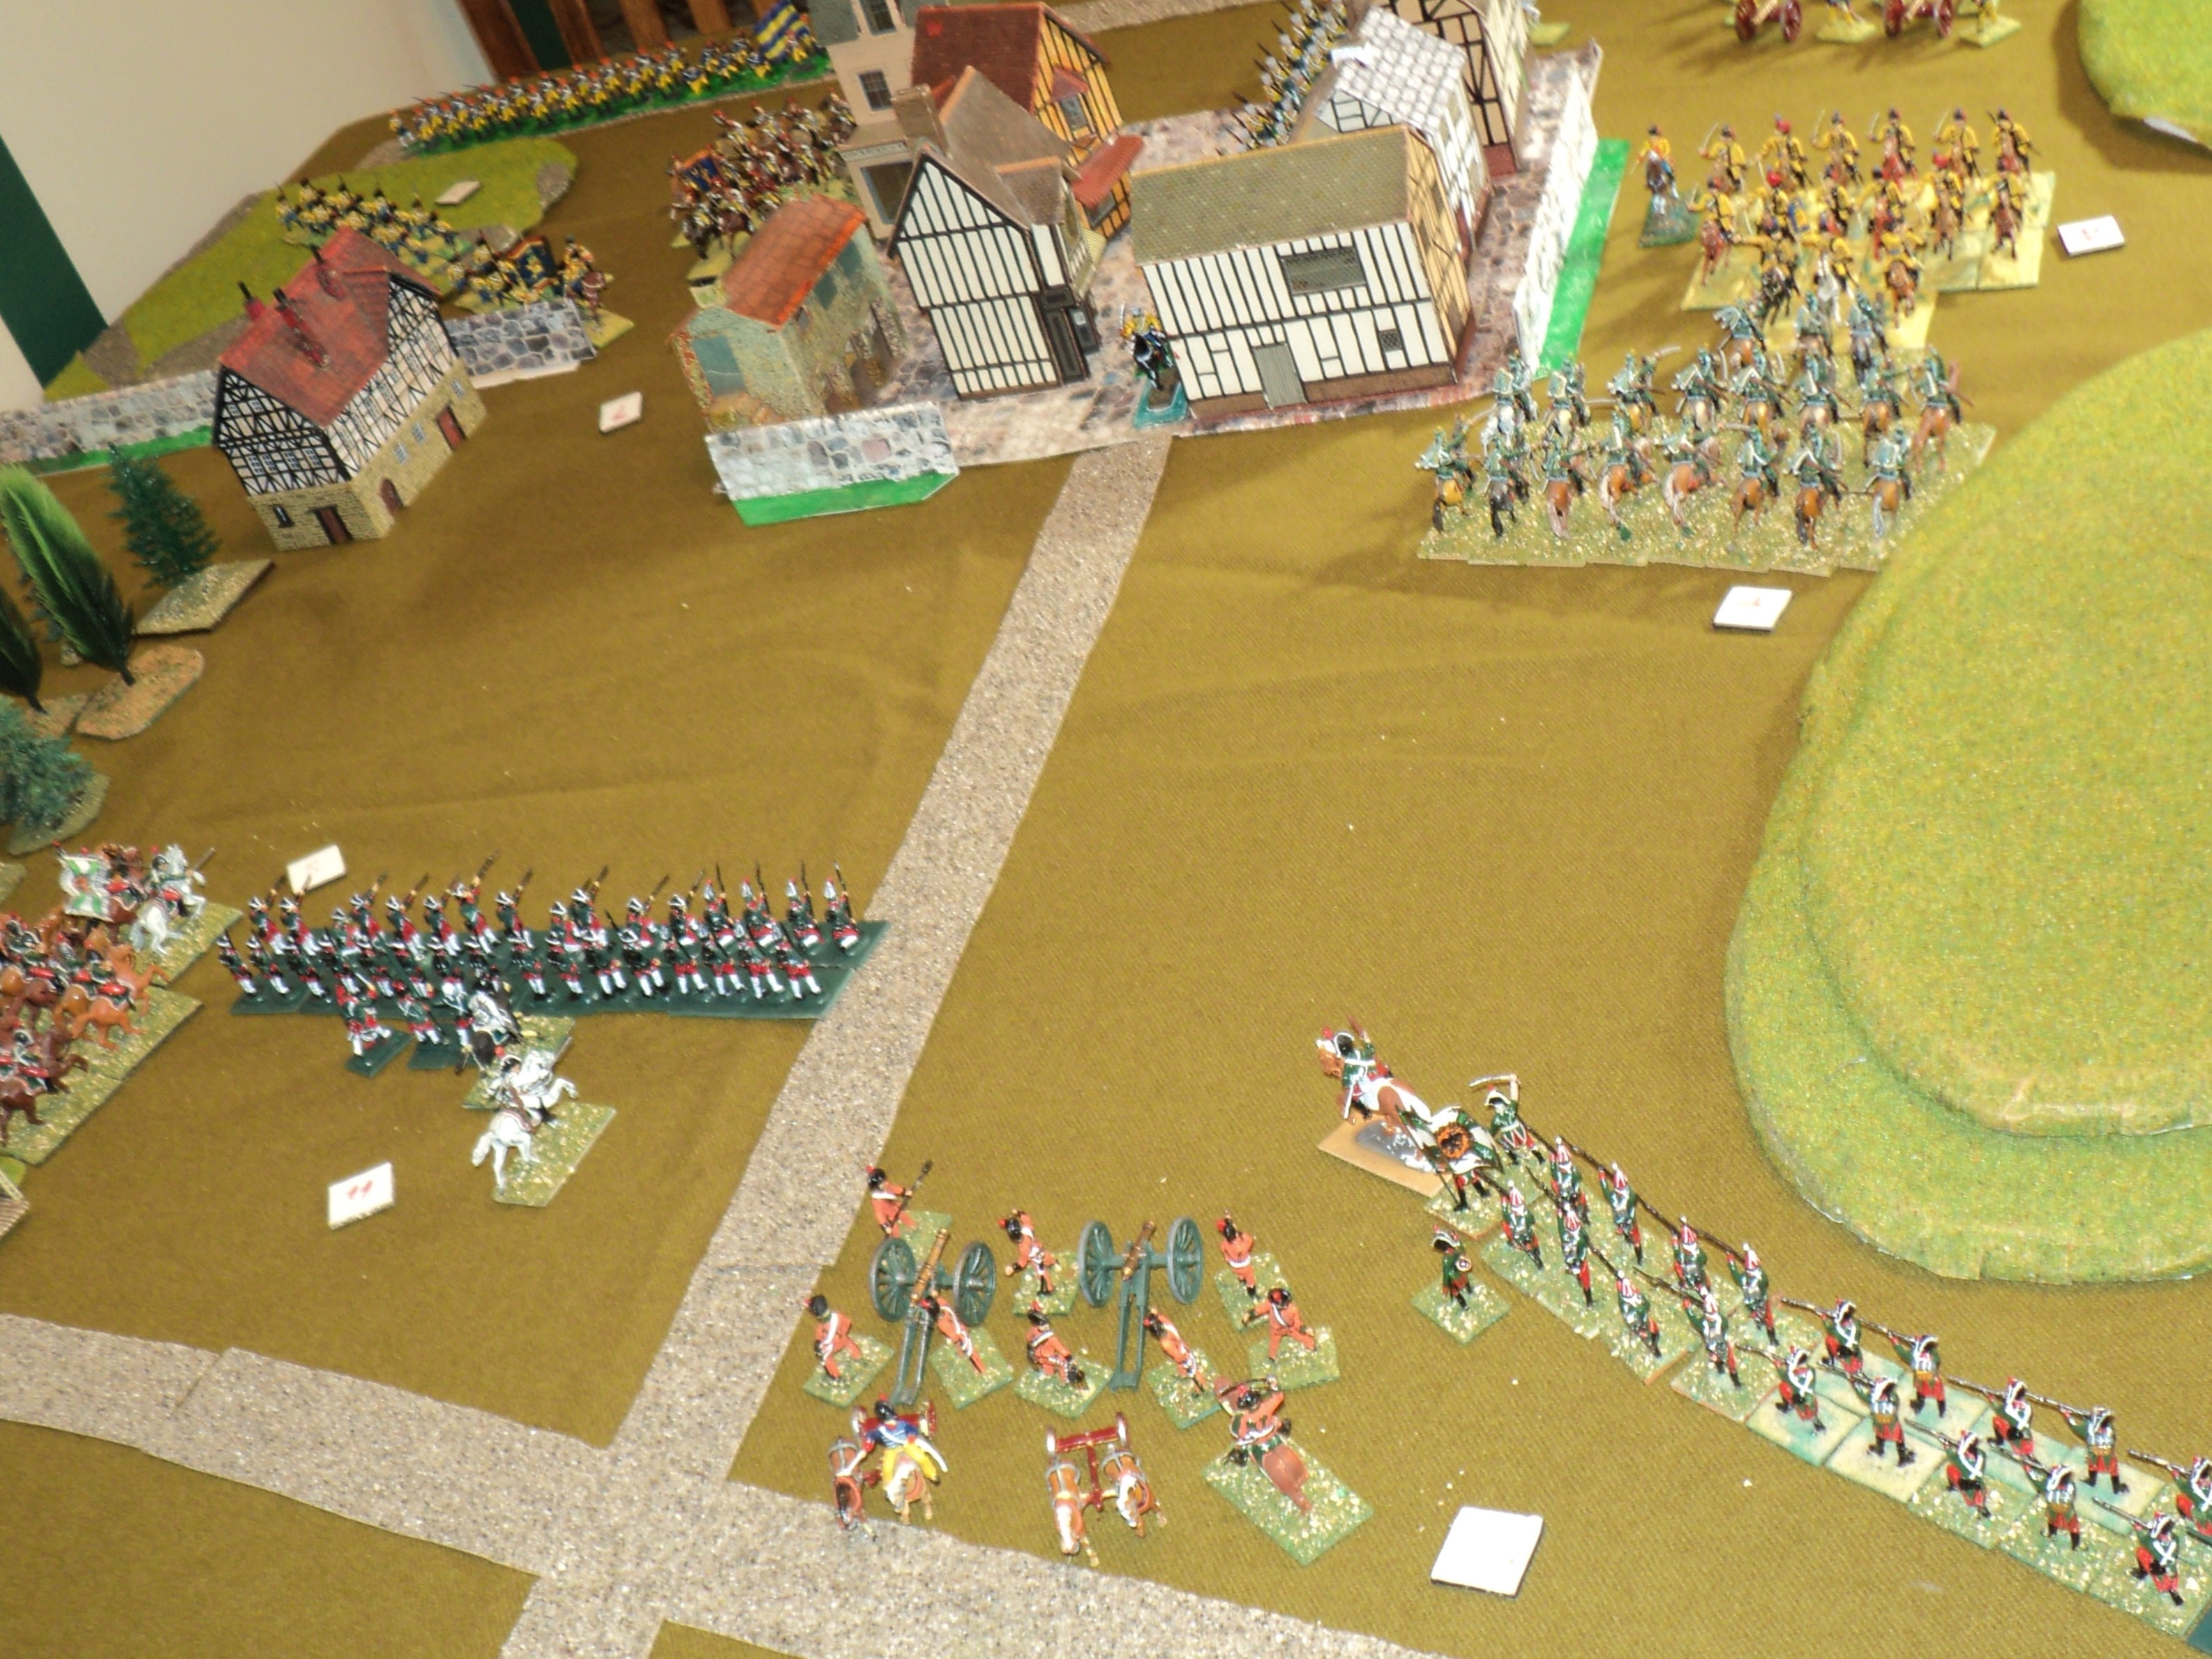
As the forces of M'yasma and Ursaminor were reaching their impasse at the border town of Hardbitten, the second, smaller invasion force had effected an unopposed crossing of the Unstroll River several miles upstream from the embattled town. The Ursaminor First Column, led by Feld-Marschall Lars Slaggahand, had encountered unexpected delays on the road from Bjornberg, and were approaching the market village of Schlippensleiden from the north just as the M'yasma invaders came in sight from the south.
 |
| Kopparberg Hussars and Rikswacht te Paard on the road |
 |
| Rikswacht te Paard |
Grand Duchy of M'yasma:
General Ivan GlupievPavlograd Hussars - 19 figures
Ingermanland Dragoons - 19 figures
Tver Infantry - 36 figures
B Battery, 1st Artillery - 9 figures, 2 guns
Apsheron Infantry - 36 figures
Totals:
119 figures (72 foot, 38 horse, 9 gunners, 2 guns), representing
2380 officers and men (1440 foot, 760 horse, 180 gunners, 8 guns)
 |
| The general view looking north |
 |
| Ursaminor horse flanking the village. |
Principality of Ursaminor:
Feld-Marschall Lars SlaggahandKopparberg Hussars - 15 figures
Rikswacht te Paard Cuirassiers - 15 figures
Artillery Company - 9 figures, 2 guns
Stalhandske Infantry - 30 figures * (slightly overstrength)
Livgarden Grenadiers - 28 figures
Tevastehus Infantry - 28 figures
Totals: 125 figures (86 foot, 30 horse, 9 gunners, 2 guns) representing
2500 officers and men (1720 foot, 600 horse, 180 gunners, 8 guns)
The two forces were very nearly equal in numerical strength, Ursaminor having the more infantry; the Grand Duchy the more numerous cavalry. But Ursaminor had a small qualitative edge as well, in their Lifeguard (Livgarden) infantry and their heavier horse. It was also clear that the Ursaminor forces would reach the village first.
 |
| Rikswacht te Paard again. Italieri French Carabiniers - lovely figures.. |
 |
| General view looking northwest from behind Ursaminor lines |
 |
| Looking northward up the south road |
The first engagement was a cavalry fight. No sooner had the respective heavy horse sighted each other than the dragoons seized the initiative (lower priority chit number) and charged. The fight was close and bloody, both sides took hard knocks, neither could gain a significant edge. The dragoons' numbers were at least partly offset by the cuirassiers' superior weight. When both sides drew apart, the cuirassiers had lost 3 figures; the dragoons 4 - not enough for the former to claim a decisive victory from the encounter.
 |
| Clash of the heavies: dragoons vs cuirassiers. |
 |
| Heavy losses to both sides - the cuirassiers get very slightly the better of the fight |
But the losses were heavy enough for both sides to take a reaction test. The dragoons having the initiative meant they could count as 'advancing'. Although the cuirassiers would no doubt have advanced to meet the enemy, I don't trouble with measuring a 'halfway point', and make no adjustment (unless other factors supervene) for horse caught standing. However, who 'receives' the initial charge doesn't get the advancing bonus and looks to the 'standing' column of the reaction chart (in my rule set).
As it turned out, both sides fell back in good order, facing the enemy.
 |
| General view looking westward |

General view looking eastward
Meanwhile, the opposing light cavalry were also eager to come to grips, the Grand Duchy enjoying the superior numbers probably the more keen. The Kopparberg Hussars were in fact covering the deployment of their artillery. The time for Pavlograd Hussars to strike was now - at once, before the enemy drew aside to unmask their battery.
 |
| The clash of the light horse (upper right of the picture) |
To be continued:
How will the outnumbered Kopparberg Hussars fare against their light horse adversaries? Ursaminor seizing the unoccupied village, can the Grand Duke's infantry wrest the place from them?
How will the outnumbered Kopparberg Hussars fare against their light horse adversaries? Ursaminor seizing the unoccupied village, can the Grand Duke's infantry wrest the place from them?
Developing nicely, with troops numbers that are very manageable for most of us to ‘copy’ the exercise. I do like the look of your towns on the table.
ReplyDeleteThanks, Norm. I thought the battlefield might actually be too cluttered, but that proved manageable too. But I also have a vague feeling that sometimes battlefield WERE at times awkward to fight in, with a lot of build-up areas and plantations to deal with.
DeleteAt any rate, this was a nice size for my little 4ft 4in x 4ft table.
Cheers,
Ion
An interesting scenario game. I was quite surprised that your table top is a tad over 4x4ft. The game seems to look a lot bigger, and agree with Norm, the town looks splendid.
ReplyDeleteHi Peter -
DeleteThe other battles of this War of the Imperial Succession so far have been fought on my 6ft x 4ft board. But that is none too convenient in this house - heavy and awkward. Doable, though. But my 'middle-sized' 4ft more-or-less square can accommodate quite respectable battles. This early 'Retreat from Smolensk' battle was played out with over 500 figures on this board: http://archdukepiccolo.blogspot.com/2015/12/retreat-from-smolensk-part-first.html
Cheers,
Ion
A great “old school” looking game Ion. Very nice.👏👏
ReplyDeleteYour Kopparberg hussars look especially dashing…
In my mind your table looks bigger than 4x4ft - but perhaps that’s because I’m (mostly) used to games with 15mm or smaller scale figures. I look forward to reading more…
Cheers,
Geoff
Geoff-
DeleteMaybe the table size looks the larger for the figures being the smaller (and older) plastics: Airfix, Revell, ESCI and Italieri. The units are quite large, though, and the armies originally designed for a projected 8ft x 6ft table (of which my 6x4 was the first instalment, actually). Unfortunately, the 8 x 6 - in my view the 'ideal' war games table - has had to be taken right off the agenda...
But we can still fight some decent battles with the small tables - an early 'insurrection' action (using much the same figures I'm using here - was fought on the kitchen table surface - even smaller than my 40-inch square 'little' table.
Cheers,
Ion
Another exciting battle report. I agree the table does look bigger than 4 by 4....must be an optical illusion but a good one.... Regards
ReplyDeleteHi Tony -
DeleteThe Woodscrew armies campaign battles were all fought out over this 4 x 4 table. I think the scales we were using made the field seem large. The huge penultimate battle - Camp Supply - was fought over square miles of terrain, and involved well over 60,000 troops. One tended easily to forget that the battlefield was actually a little over 16 square foot! Come to think of it, one of the Retreat from Smolensk battles would have involved over 100,000 troops.
One feels that, having a 4 x 4 table one may style oneself as 'king of infinite space'.
Cheers,
Ion