
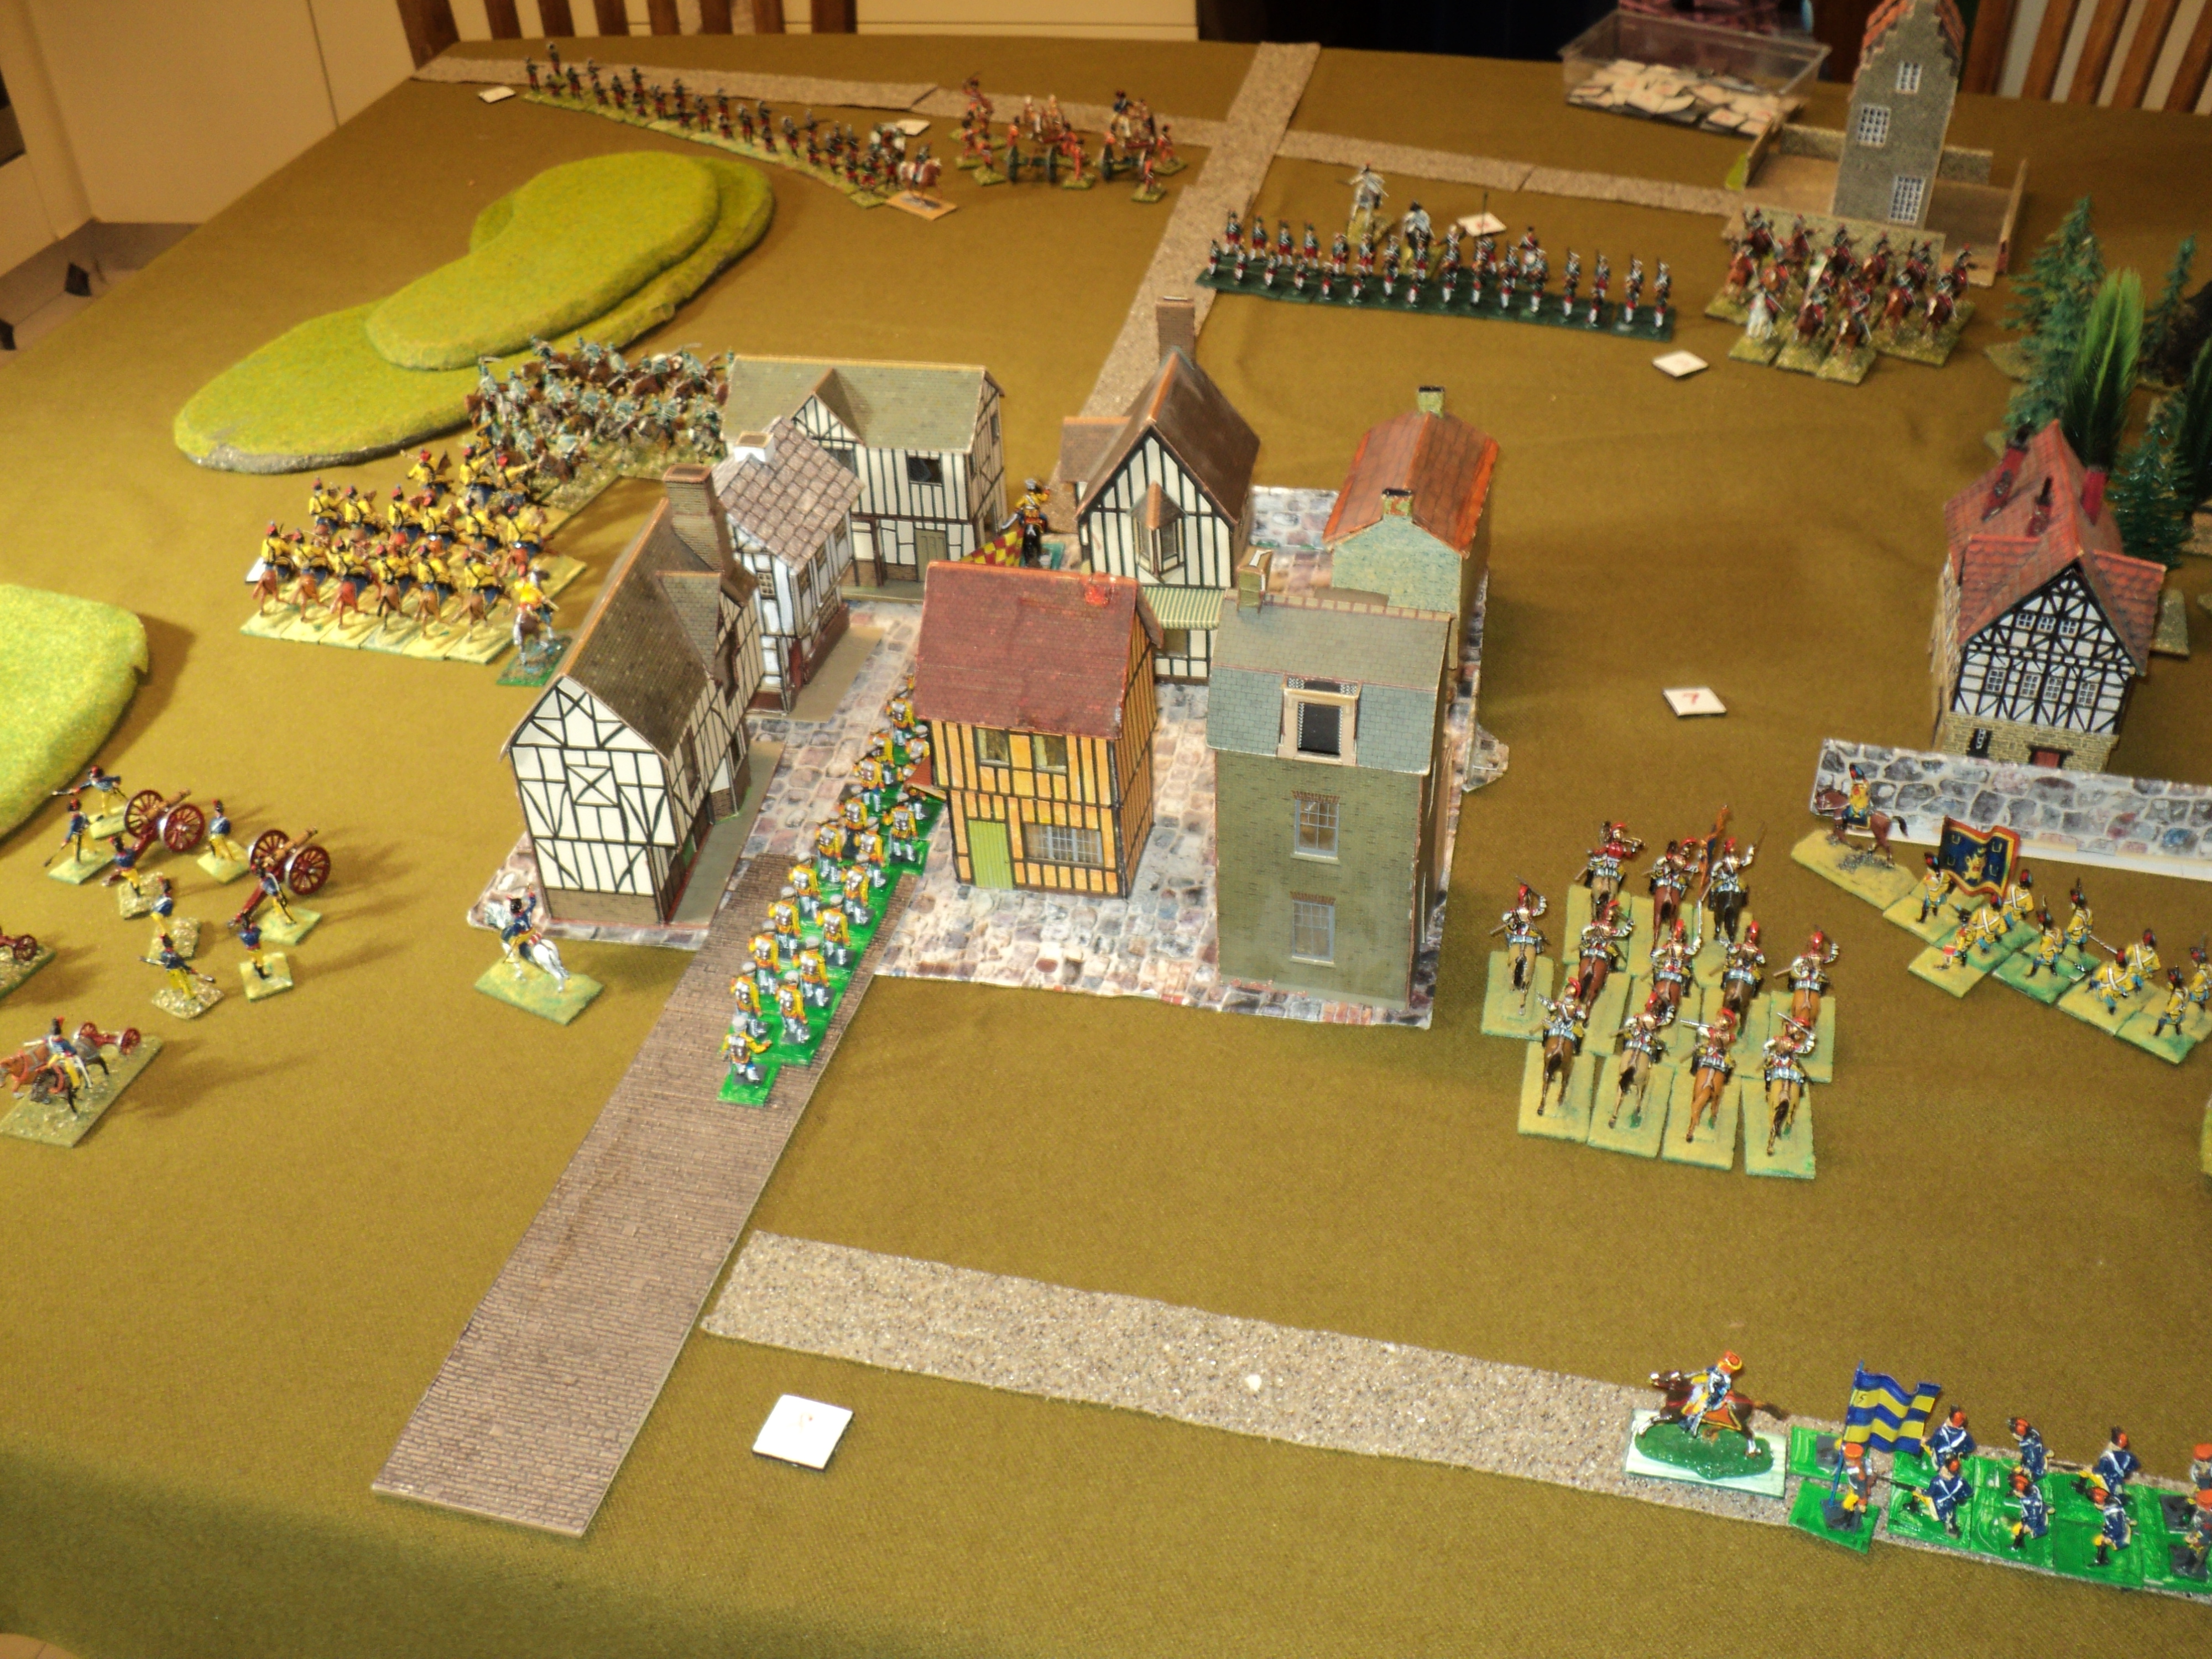
No sooner had the cavalry clash north of Schlippensleiden between the heavy horse resolved itself into indecision, their lighter brethren set about each other on the other side of town. This time, the Ursaminor had no qualitative edge even partly to offset the superior numbers of the M'yasma light horse. The latter had the initiative into the bargain (the '4' chip versus the '10'), Kopparberg possibly committed to covering the deployment of the Ursaminor artillery.

The following sequence of photos I hope will illustrate my combat mechanics. The figure count gives 19 figures to Pavlograd Hussars; 15 to Kopparberg. Cavalry Brigade General Nils Blanksson joining in the fray brings Kopparberg up to 16. Using an old school volley system, each side gets 1 die per 4 figures, plus an extra die for any remainder of at least 2 figures. So Pavlograd gets an extra, differently coloured die.

When rolled, any scores 4 or below counts towards hits upon an opponent. That is to say, the 'die range' is 4. However, Pavlograd's extra die has a reduced die range: 3 only. The scores in the picture tell the story. Four of Pavlograd's dice rolled within their 'die range', totalling 4+2+1+2 = 9 hits. Just two of Kopparberg's dice counted: 3+3 = 6 hits. Not great for Kopparberg!

But the hits don't mean casualties. I group these into eight, plus any remainder, and roll the group number of dice for each of the groups. Kopparberg having delivered 6 hits, 6 dice are rolled, and duplicates discounted. The total number of disparate scores is the number casualties on Pavlograd: 4. Nine hits being visited upon Kopparberg, they are split into eight dice plus one. For reasons that ought to be obvious, the single die is automatically a casualty. The '8' group came out with 3 sixes, a five, 2 threes and 2 twos - ignoring duplicates, 4 distinct scores. These 4 are added to the 1 to give 5 casualties.

The three sixes have a special significance. Two sixes would have indicated a loss from among the unit command. But three goes to any general officer close by the unit. General Nils Blanksson chose to insert his person into the melee, General Nils Blanksson bites the dust (or is unhorsed or injured or taken prisoner).

Pavlograd's reaction roll was none too wonderful. Having lost 4 figures out of 19 - 20% - their 'morale factor' (as I call it faute de mieux) has been reduced from '5' (first line regulars) to '4'. So Pavlograd failed by 1. However, they count as 'advancing' having initiated the charge. The result calls for a 'halt', though in the circumstances a withdrawal in good order seems indicated.
Kopparberg did rather better - sort of. They lost 5 figures, counting the general, but the general does not count towards the unit total. The loss of 5 out of 15 amounted to over 30% of their numbers, their morale drops from 5 to 3. Their reaction dice also coming up with '3' means they pass - a 50-50 proposition - and remain under effective command. However, it seemed meet that Kopparberg Hussars also drop back, and discover the gun battery behind them.
Kopparberg did rather better - sort of. They lost 5 figures, counting the general, but the general does not count towards the unit total. The loss of 5 out of 15 amounted to over 30% of their numbers, their morale drops from 5 to 3. Their reaction dice also coming up with '3' means they pass - a 50-50 proposition - and remain under effective command. However, it seemed meet that Kopparberg Hussars also drop back, and discover the gun battery behind them.

Under cover of the cavalry actions, the infantry and guns of both sides shook themselves out into a battle line. Tver Infantry soon brought under fire the Stalhandske Infantry just then in the process of placing the village in a state of defence. Unable immediately to strike back, Stalhandske stoically endured the incoming for some minutes before delivering their own fire. Having the advantage of cover from the village buildings and wall might well have proved decisive.


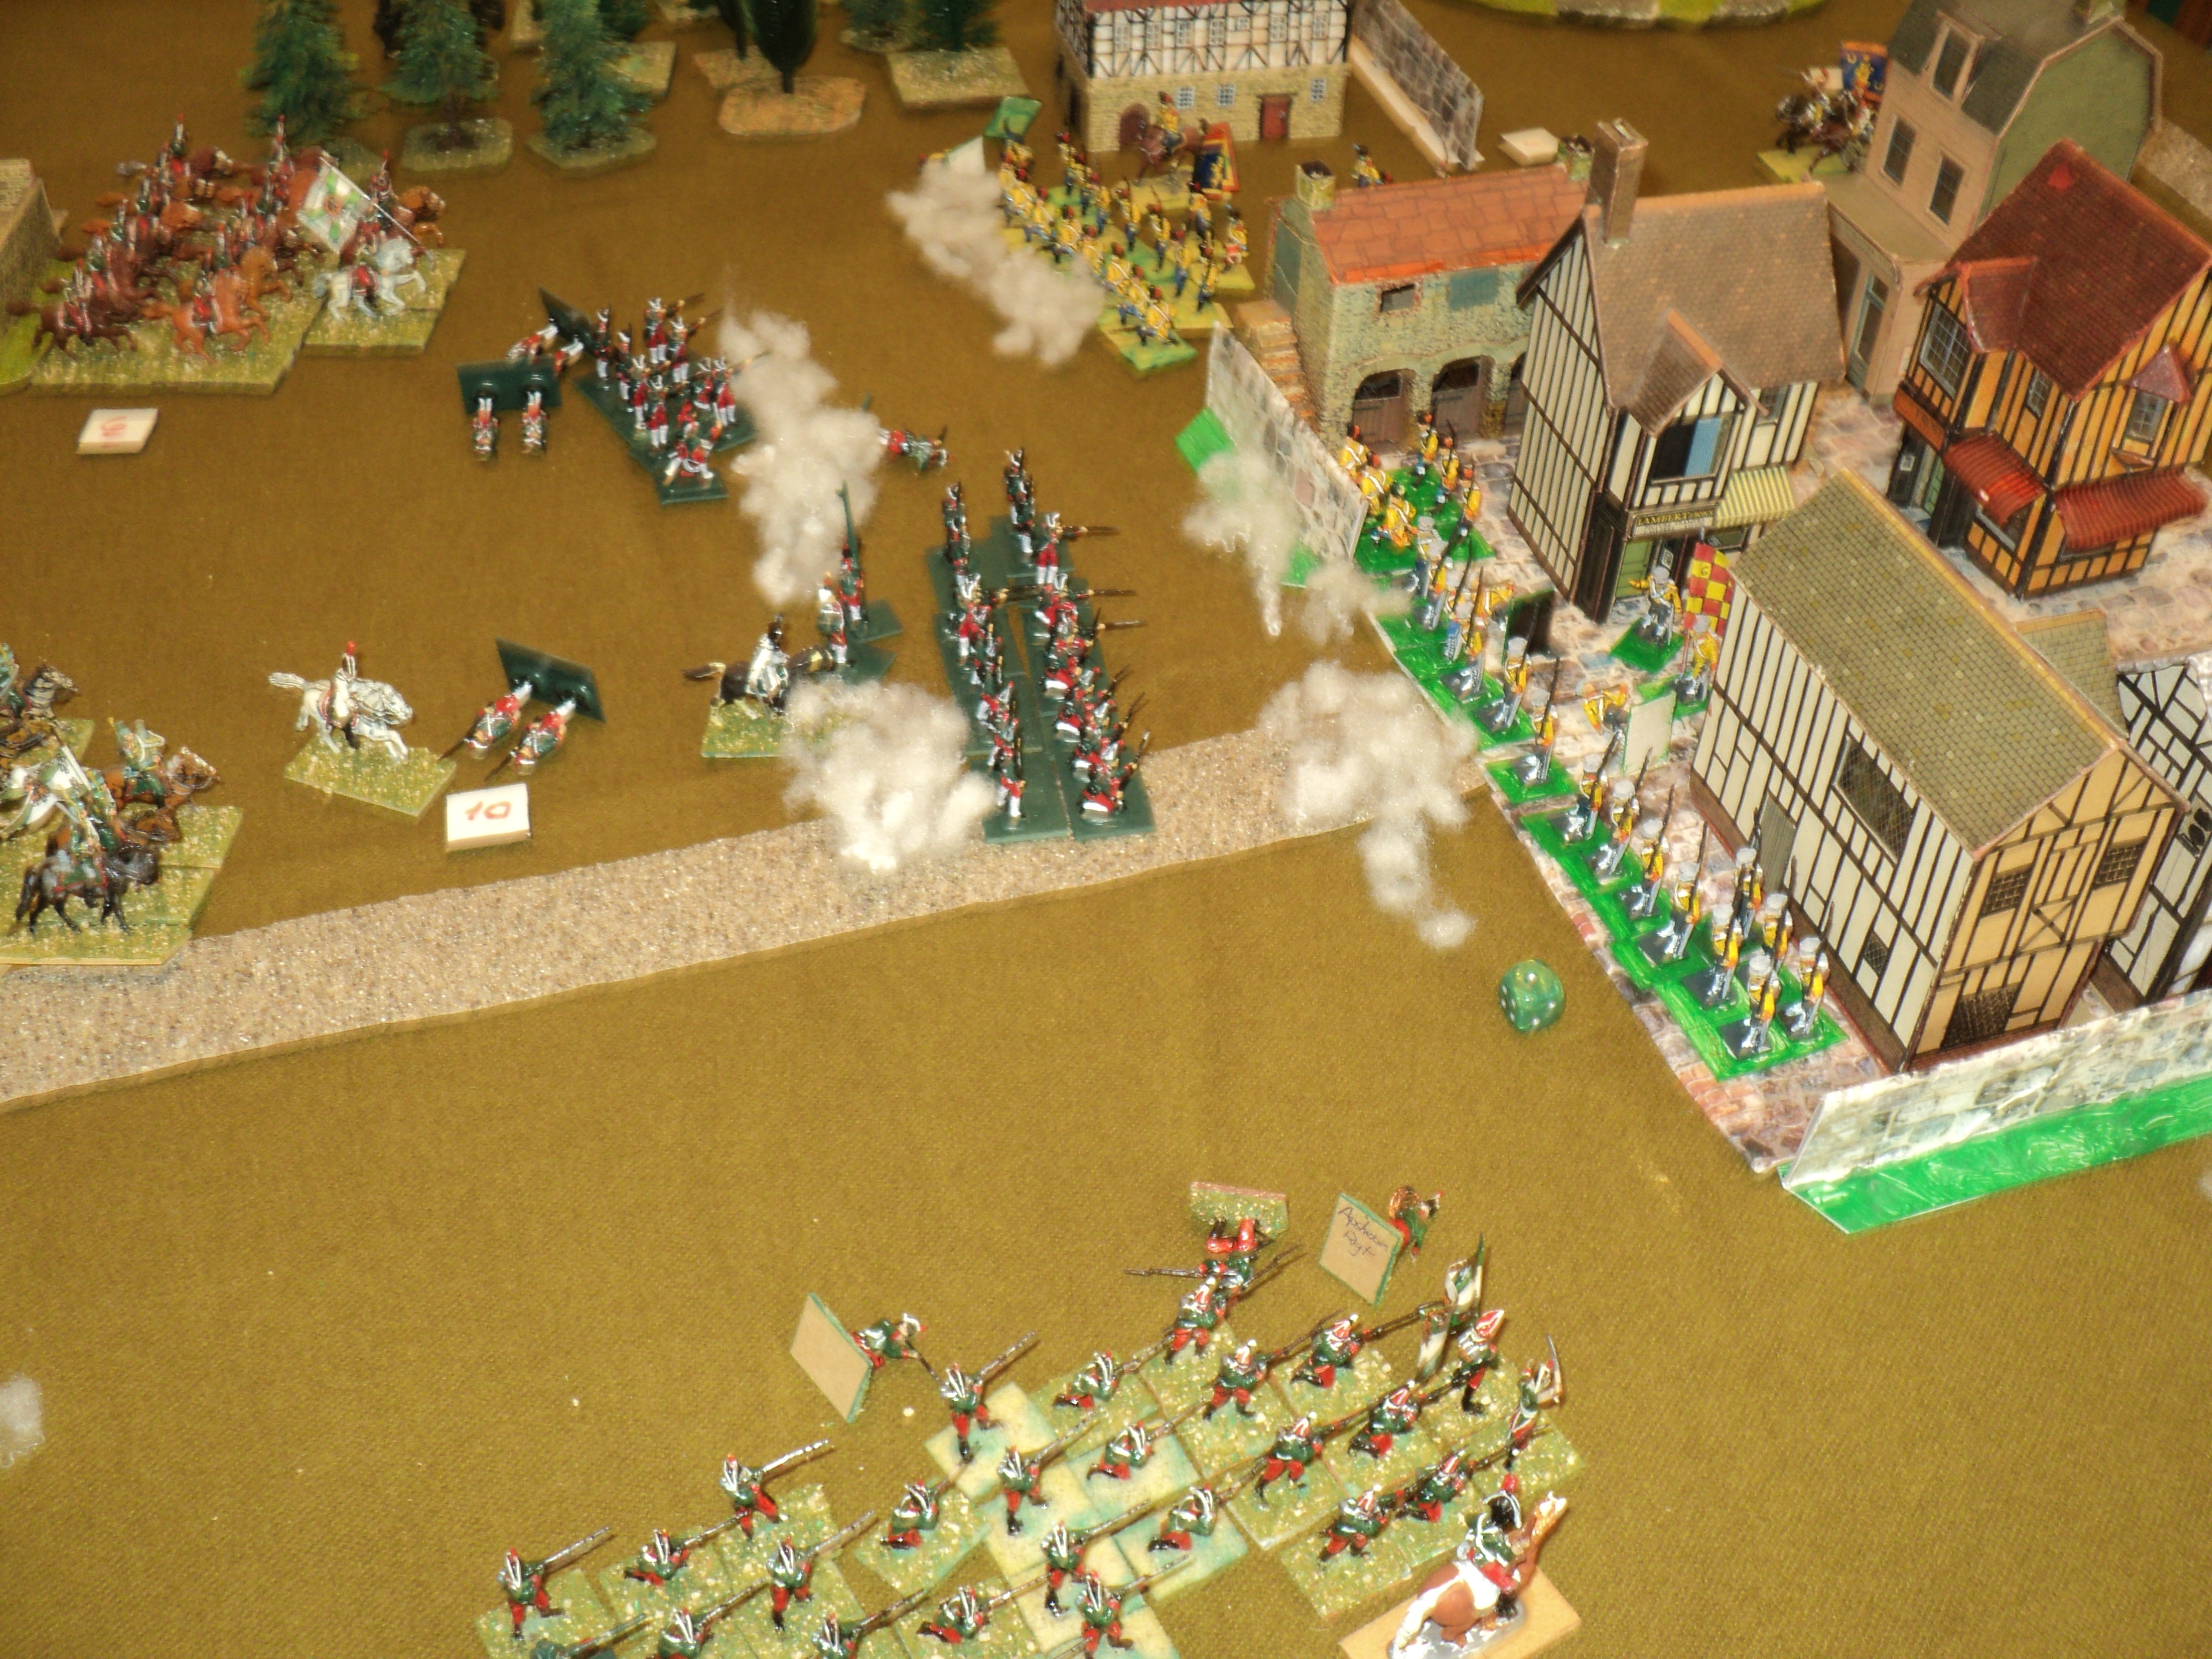
Braving ball and canister, the Apsheron assault column proved unstoppable. the column slammed into the left flank companies of Stalhandske....

...forced them back...

.... and induced the whole garrison to abandon their positions along the town fringes. They gave back to conform to the defeated companies. The melee rolled into the centre of the village.

Fearing the place might be lost, Slaggahand flung in the fresh Tevastehus infantry. The combat flared up anew - and what remained in action of Stalhandske tried to add their numbers on their side. It was a disaster. Despite losses already incurred, Apsheron Infantry still had the numbers, and presented an implacable front to their assailants. Tevastehus infantry were brusquely flung back, out of the village precincts.

In the above picture the dice tell the story. The urban fighting reducing the die range from 4 to 3, the rolls were disastrous for Ursaminor. Of 6 dice plus a 'fraction', Apsheron scored 6 hits; of 6 dice Tevastehus scored - zip! Out went Tevastehus. The weakened Stalhandske attempted a counter attack of their own - and they exited the town even faster, reduced to a handful of fugitives.

The tale of disasters didn't end there. Tver Infantry getting slightly the worse of its duel with Livgarden Grenadiers, the Ingermanland Dragoons nerved themselves for their second charge of the day. Blinded by their own smoke, the grenadiers failed to stop the horse, who promptly broke the grenadier line with hoof, pistol and sword. As the grenadiers fled, the Rikswacht te Paard stormed into the disordered dragoons. Vengeance was exacted, swift, abrupt - but not unqualified.

The dragoons were routed, sure enough, but the gallant cuirassiers were now spent. Their two clashes with the dragoons had left fewer than half their number still mounted.
At this point, Feldmarschall Lars Slaggahand conceded the palm. The vital village in enemy hands, he had nothing in hand to recover the place, unless he could perhaps induce Tevastehus infantry into another charge. Too little remained of his force under effective command to offer much prospect of victory.
General Ivan Glupiev was of course cock-a-hoop with his victory, hard fought, well earned - and fortuitous.
We'll finish here with the tale of losses:

From this chart, you will see that overall losses were very nearly equal. However, both sides will receive back overnight stragglers, slightly wounded and otherwise having momentarily 'left the colours'. As victors holding the field, M'yasma gets back half; having withdrawn, Ursaminor gets back one-third. The 'missing' sixth are just that: MIA, prisoners of war in the hands of the victors - some 8 figures.
This was an astonishing victory for the Grand Duke's army. Apsheron Infantry in particular was to come in for fulsome praise from the commanding general in his report to Constantine. The regiment's commander was in due course invested in the Order of the Kestrel 2nd Class, an award considered a great honour by the regiment.
Of course, this threw the Ursaminor high command into a turmoil. The invaders had after all forced the borders, and would soon be marching north to the capital. It was time to call out the militia.
To be continued...
But I will probably be posting on other topics, for a bit of a while at least...
At this point, Feldmarschall Lars Slaggahand conceded the palm. The vital village in enemy hands, he had nothing in hand to recover the place, unless he could perhaps induce Tevastehus infantry into another charge. Too little remained of his force under effective command to offer much prospect of victory.
General Ivan Glupiev was of course cock-a-hoop with his victory, hard fought, well earned - and fortuitous.
We'll finish here with the tale of losses:
From this chart, you will see that overall losses were very nearly equal. However, both sides will receive back overnight stragglers, slightly wounded and otherwise having momentarily 'left the colours'. As victors holding the field, M'yasma gets back half; having withdrawn, Ursaminor gets back one-third. The 'missing' sixth are just that: MIA, prisoners of war in the hands of the victors - some 8 figures.
This was an astonishing victory for the Grand Duke's army. Apsheron Infantry in particular was to come in for fulsome praise from the commanding general in his report to Constantine. The regiment's commander was in due course invested in the Order of the Kestrel 2nd Class, an award considered a great honour by the regiment.
Of course, this threw the Ursaminor high command into a turmoil. The invaders had after all forced the borders, and would soon be marching north to the capital. It was time to call out the militia.
To be continued...
But I will probably be posting on other topics, for a bit of a while at least...
Excellent stuff and interesting to see how you go about working out casualties during the game and post battle. Quite apt as I was reading Grant's The War Game last night.
ReplyDeleteA good deal of my 'Cornet & Drum' rule set owes something to the Grant War Game system. I made certain changes to the way he does musketry (you might notice the similarities. Actually I thought I was inventing my system, but a memory must have remained of his method.
DeleteThe reason, by the way, for my choosing groups of 8 hits instead of 6 was partly to reduce the impact of the steps between groups; but also the 'redundant hits from a group of 7 or 8 still increased the expected number of casualties arising from the hits. I recall doing a fair amount of probability maths on this!
The thing might look complicated, but I find it goes pretty smoothly once becoming familiar with the method.
Cheers,
Ion
A nice old-school battle. Are these your own rules or are they based on The War Game / Charge?
ReplyDeleteJennifer,
DeleteIn answer to your question: 'Yes', is the short answer. They are my own rules, but the musketry mechanics owes a lot to the Charles Grant system. As I remarked to Steve, I thought at the time I was inventing it (for an American Civil War set I was putting together ('Bluebellies and Graybacks') having forgotten Grant's system. But I'd already had my system pretty much 'in place' when I rediscovered Charles Grant's.
My rule set also owes something to 'Charge!', 'Wizard's Quest' (my 'Die Range' system, which obviates subtracting for range, etc - or at least it used to) and the 'Terrible Swift Sword' game system (for morale/ reaction testing).
Still pretty old school, and the battles are satisfyingly tense.
Cheers,
Ion
This is all very jolly - and looks great too!
ReplyDeleteThanks, Tim -
DeleteThe narrative has gone rather sideways, but it's the more interesting and fun, for all that!
Regards,
Ion
Great reading! Looked like a grand time, especially liked the roll results at the end, put the action in perspective.
ReplyDeleteHi pancerni -
DeleteI think somehow that keeping the 'war game' aspect at least occasionally in view makes the whole story more engaging, somehow. Perhaps I've take my cue from Charles Grant's story of 'The Andau Raid' from his 'The War game' book.
Cheers,
Ion
Another interesting battle report Ion. The battle in the village was hard-fought, with both sides suffering considerable casualties. Now it’s time to draw breath before it’s time to go-at-it again (admittedly on another day, when both armies have had chance to regroup, reorganise and maybe gain reinforcements).
ReplyDeleteThe flags of the Ursaminor forces are especially lovely.
I don’t know why, but how on earth did I miss commenting previously?
I’ve looked back at your earlier post and the flags are clearly shown. Perhaps I need a new pair of spectacles? Oh well, count this as my “thumbs up” 👍👍 for such impressive flags. The bear is a nice touch and appropriate too.
Please offer my apologies to the brave soldiers of M’yasma - I suspect they too almost certainly have jolly pleasant flags. It’s just they might not be as photogenic as those of their opponents.
Cheers,
Geoff
Elliesdad -
DeleteYou might guess that my daughter's name is Ursula, who provided the name and personage of the Ursaminor Head of State (Princess). The 'Ursus Theodorus or displayed' seemed an appropriate charge for Ursaminor battle flags. The Tevastehus and Stalhandske infantry regiments came late to the army - just 3 -4 years ago - and received rather simpler flag designs - checks and bars.
The Army of Jotun-Erbsten, which might not feature in this war (but who knows), was originally built up for the daughter of a friend. Now grown up, her interests have gone elsewhere, so the army in now in my possession. It's flags featured a 'cat sable passant guardant'. I made a mistake, though, as on the reverse side, the cat is passant guardant 'sinister', which was not my intention.
The M'yasma Army is vaguely Russian in appearance (intentionally), but the flags are very like the Late Napoleonic Russian flags. I probably ought to reissue a more variety of flags - and I have plenty (still Russian) I could use. I don't plan on using the Russian flags from the 7YW, which I have used for another Russian army I have.
These days I often download flags, but time was I used to make my own. Of my 18th century Imagi-Nations armies, I think only my Imperialists have downloaded flags. The flags of Hessen-Rohr were my design done with Microsoft 'Paint', but those of Altmark-Uberheim were hand drawn and coloured from Prussian originals.
I think I may have just written my next blog posting... :-D
Cheers,
Ion
Archduke Piccolo (Ion),
ReplyDeleteYou’ve done it again and written a stunning battle report.
I thought that your explanation of the rule mechanisms you’ve used was very enlightening, and I must admit to getting my box of dice out to try them out for myself.
All the best,
Bob
Thanks for your comment, Bob -
DeleteThe combat mechanics I use take a bit of explanation, but I've always been rather fond of them. Fact is, I came up with the idea (about 35 years ago) because I simply hated 'saving throws'. But my system (and Charles Grant's) also had a way of 'normalising' results (in a statistical sense). The rationale is that of the incoming musket balls, one person in the target unit might cop more than one of them.
Suppose you scored 8 hits from your musketry - just enough for a single group under my system. You roll the 8 dice, looking for as many different scores as possible. They all might roll the same number - there are 6 chances of that, out of 1,679,616. But you might roll all 6 possible numbers.
One of the reasons for my going for groups of 8, with the obvious certainty of at least 2 duplicates to subtract was mostly to increase the probability of scoring all 6 numbers. The probability of doing so with 6 dice only, is actually quite low - 120 out of 7776, to be exact. To roll all 6 numbers with 8 dice is I think only about 1440/7776 - between 18 and 19%.
Where musketry or other combat might fail is to be found in the dice failing to fall within the required Die Range - such as happened to the poor Tevastehus Regiment in the late battle. That's a rare event with 6 dice, even with a DR of just 3. They could reasonably (i.e. statistically) have expected 6 hits with 6 dice (trust me on this) - with 4 casualties the most likely result of this. Die range 'misses' usually occur with the artillery at longish ranges.
... Maybe I ought to do a special blog posting on this?
Cheers,
Ion