

The Caesarians under Curio having successfully landed in North Africa close by the sea port of Thapsus, the local Pompeian forces under Attius Varus set out to throw them back into the sea. The armies met some distance from the town, close by the village Ignominium, where Varus offered battle. Lined up along a wadi, the XXI, XXII, and XXIII legions formed the front rank, right to left. Varus stationed himself in the centre with XXII Legion. XXI Legion formed up on rising ground to the right, covering a ford; XXIII Legion on the left with the velites in direct support. The light horse formed the reserve.
Optimates:
XXI Legion = 3SPXXII Legion = 3SP, plus commander Attius Varus
XXIII Legion = 3SP
Auxiliaries = 2SP
Velites light infantry = 2SP (direct support)
Equites light horse = 2SP
- 6 units, 15SP

For his part, Curio decided to place the weight of his attack on the right, with I Legion directly supported by the velites. In the centre stood his other three legions, II in the front, III forming a second line, and IV in reserve. I Auxilia garrisoned the village.
II, III, IV Legions @3SP = 9SP
I Auxiliaries = 2SP
Velites = 2SP (direct support)
- 6 units, 16SP
Populares:
I Legion = 3SP with commander Gaius CurioII, III, IV Legions @3SP = 9SP
I Auxiliaries = 2SP
Velites = 2SP (direct support)
- 6 units, 16SP

 |
| Fighting at the village (Ignominium) and on the Caesarian right |
.
The outcome was a compromise: a 'surprise attack' across the river against the town. That was stopped cold. At this point Varus declined to test fate further, whereat the Caesarians launched their own limited attack. The fighting continued to rage inconclusively about the town, but Curio's attempt to force a crossing on the right was also held comfortably.
 |
| Second Turn initiative roll - little action so far |
So - to the next initiative roll - 6-4 to the Pompeians. His prayers to Fortuna Hexahedra being answered in such fashion, Varus could not decline further to take the fight to the enemy. On the right, XXI Legion surged into the town, and drove the garrison, with loss, through it and out into the fields beyond.
 |
| Auxiliary garrison driven out of town. The place was to change hands twice more |
Thus encouraged, and with Varus urging them on, XXII Legion smashed into the Caesarian centre. Beating back II Legion after hard fighting (both sides lost a SP), Varus lit up against III Legion where, for the moment they were held.
 |
| Varus's successful drive begins |
Following up, Varus threw back the second line - III Legion - as well: a disaster for the Caesarians. There being now FOUR units in the Reserve Zone, one had to be eliminated. Last in, first gone: III Legion dissolved in rout. This left the onus upon one of the remaining three to fight their way back into the battlefield in their turn, but meanwhile, there was still action on the Caesarian right to be resolved.
 |
| II Legion defeated, now it's the turn of III Legion |
This involved Curio's wing being attacked from across the river, and in the flank by the Pompeian light horse. The lights went in first, and scored an immediate success. Back went I Legion, one strength point the poorer.
 |
| Punishing flank attack by Pompeian light horse against Curio and I Legion |
XXXIII Legion came hurtling across the stream to complete the rout, but Curio was going back no further. I Legion held.
 |
| I Legion holds up XXIII |
The battle so far had been going badly for the Caesarians: a legion destroyed, and two more strength points lost. The Pompeians were down just one SP, but that was from Varus's own legion.
 |
| II Legion driven in and III Legion routed, IV Legion about to restore Caesarian fortunes - if they can! |
Now, with 4 activations available, the Caesarian launched their counter-attack. IV Legion took over the fight in the centre and shoved back Varus's centre, inflicting with it another SP loss on XXII Legion.
 |
| ...They can! Varus's legion loses a second Strength Point... |
As the Pompeians reeled back, IV Legion followed up. Taking a loss themselves, they completed the destruction of XXII Legion. Attius Varus was slain in the rout.
 |
| ... and their third, along with Varus himself. But IV Legion knows it has been in a fight! |
The counterattack by II Legion retook the Ignominium village, driving back XXI Legion with loss.
 |
| II Legion comes out of reserve to retake Ignominium |
Following up, they hoped to throw the enemy back across the ford, but the Pompeians seemed disinclined to retreat further.
 |
| XXI Legion stops II Legion at the ford. |
 |
| I Legion drives off the enemy light horse |
On the right, Curio hoped to chase off the light horse - returned once more into the fray. Driving them back across the river, the Caesarians followed up and, after tough fighting in which both sides took losses, chased the light horse from the field. Again, as this was a 'follow-up' action, the Caesarians were unable to cross the wadi themselves.
 |
| Following up, I Legion throws the enemy light horse back and across the ford. Both sides take losses. |
 |
| Have the Caesarians restored the battle? |
To Gaius Curio, the situation now looked fairly promising. Early defeats had been largely avenged, and the enemy line looked ragged. But against the 5SP lost to the Pompeians, the Caesarians had so far lost 7SP. The situation was poised on the edge of Curio's gladius.
Sure enough, the Pompeians won the initiative dice - another 6-4. The chance to do some hurt was not to be missed. This was to be a second turning point of the battle.
 |
| Initiative roll: 6-4 to the Pompeians |
On the left, XXIII Legion, with the close support of the velites. shovelled the opposing Auxiliaries out of their line and off the battlefield.
 |
| XXIII Legion pushes in the Caesarian right... |
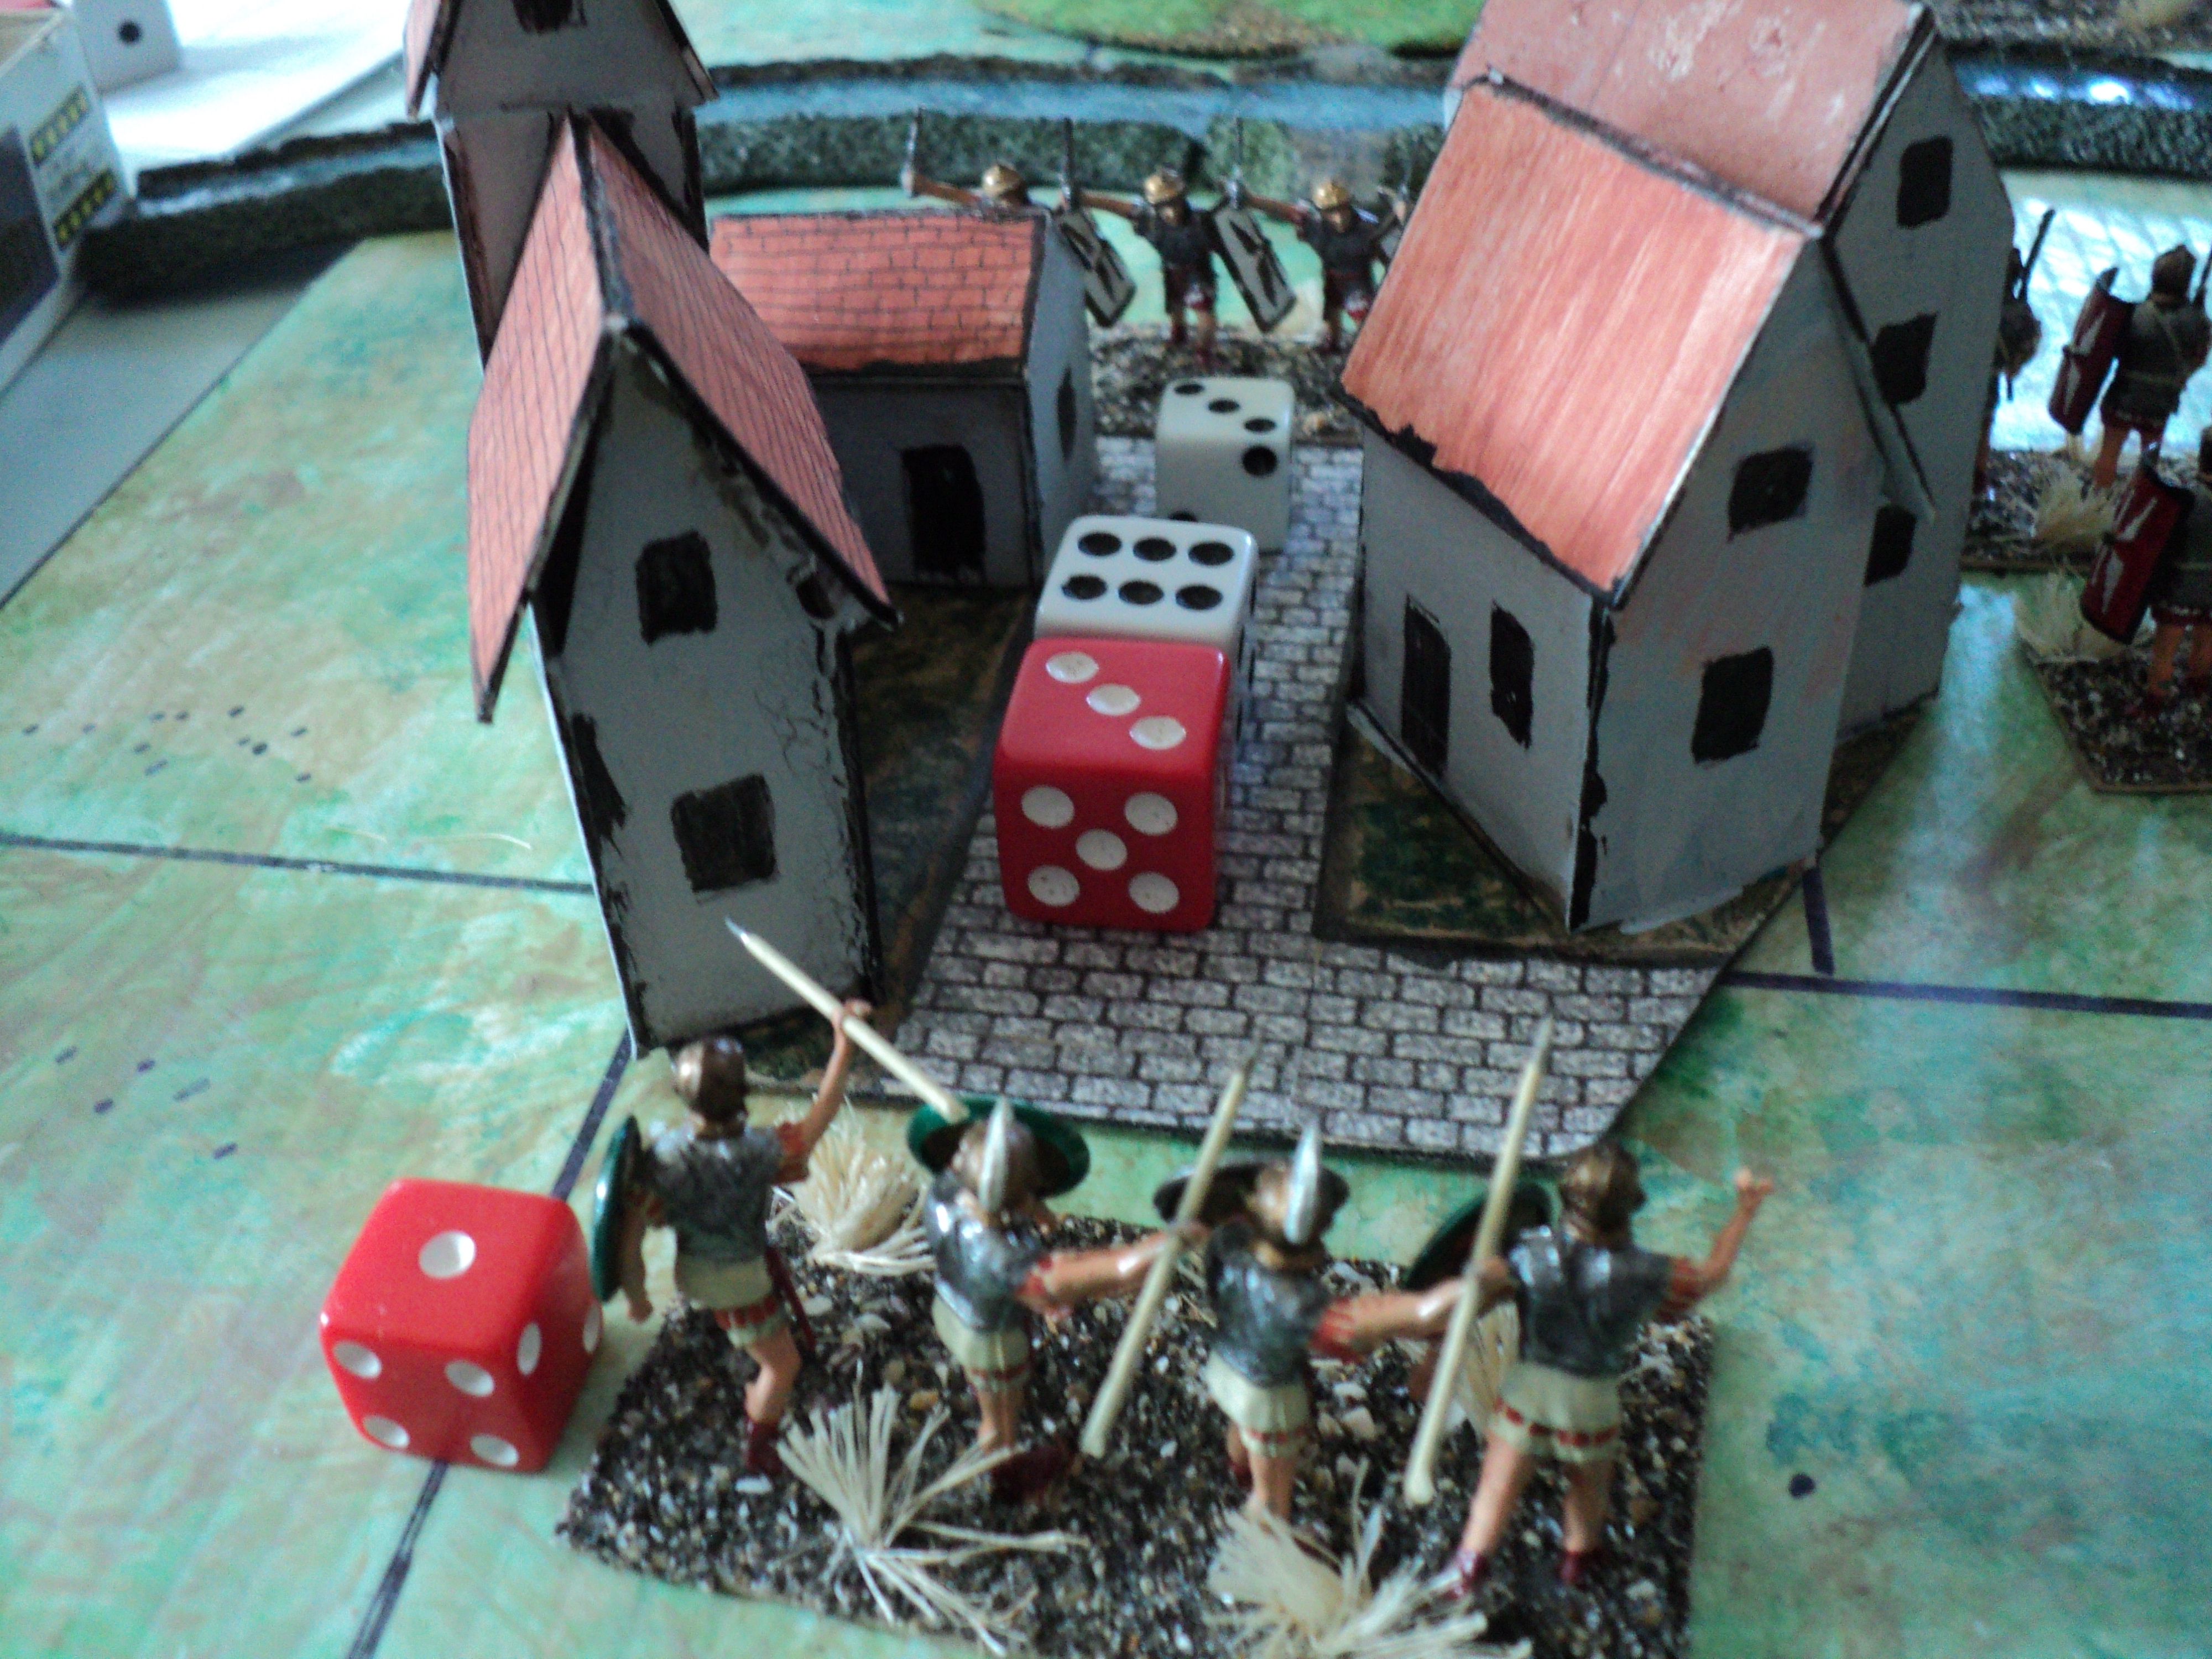
But the decisive action was on the Pompeian right. Returning to the fray, XXI Legion once again forced their way into the village (against the 3 rolled by XXI Legion, the obscured red die had actually rolled a 1). Following up, the Pompeians defeated the Caesarians in the reserve zone and drove them completely from the field.
 |
| XXI Legion storms the village a second time (the red die, hidden behind the house, was a '1') |
Defeated on both flanks, the Caesarians had lost the battle outright - a disaster.
 |
| II Legion driven finally from the field |
This was probably the toughest battle of the campaign so far. The Caesarians had lost a legion and 8SP in total; the Pompeians lost 5SP, including a legion and their commander. Destroyed legions count as a total loss; of remaining SPs lost, half are returned. So, out of 5SP lost, the Pompeians get 1SP back; out of 8SP, the Caesarians get back 3SP(half rounded up). Net losses, then: Pompeians 4SP, Caesarians 5SP.
The Next Moves
As the campaign passed into the fourth month, the Pompeians embarked upon a concerted drive once and for all to smash the Populares faction. From the point of view of campaign mechanics, they won the initiative roll 6-4, even though only four formations - two armies and two fleets - were available to move. |
| Fourth Month: Optimates Resurgent. |
They determined upon a wholesale offensive everywhere. Now, I probably ought to treat Curio's defeat in battle really as a failure of the Caesarian African expedition as a whole. But I think it will be more fun if Curio has to fight with his back to the sea, and for the Pompeian fleet to (try and) get in amongst the Caesarian transports.
In the north, Afranius's army is still close to a match for Caesar's; and the Pompeian fleet outnumbers the Caesarian. So: two land battles and two fleet actions to come...
To be continued...


