Monday, April 17, 2023

The Hundred Minutes' Campaign - Narrative.

Day One: 15 June 1815
At dawn 15 June 1815, the French Armee du Nord grinds into motion. Scanning towards the Meuse River, III Cavalry Corps enters Gives, whilst to the north, II Cavalry Corps crosses the river at Yvoir. Meanwhile, scouts from III Prussian Corps, pushing westwards from Gives to Dinant, observe the French dragoons have entered Yvoir, cutting the lateral link with II Corps in Namur. III Corps turns to clear the road.
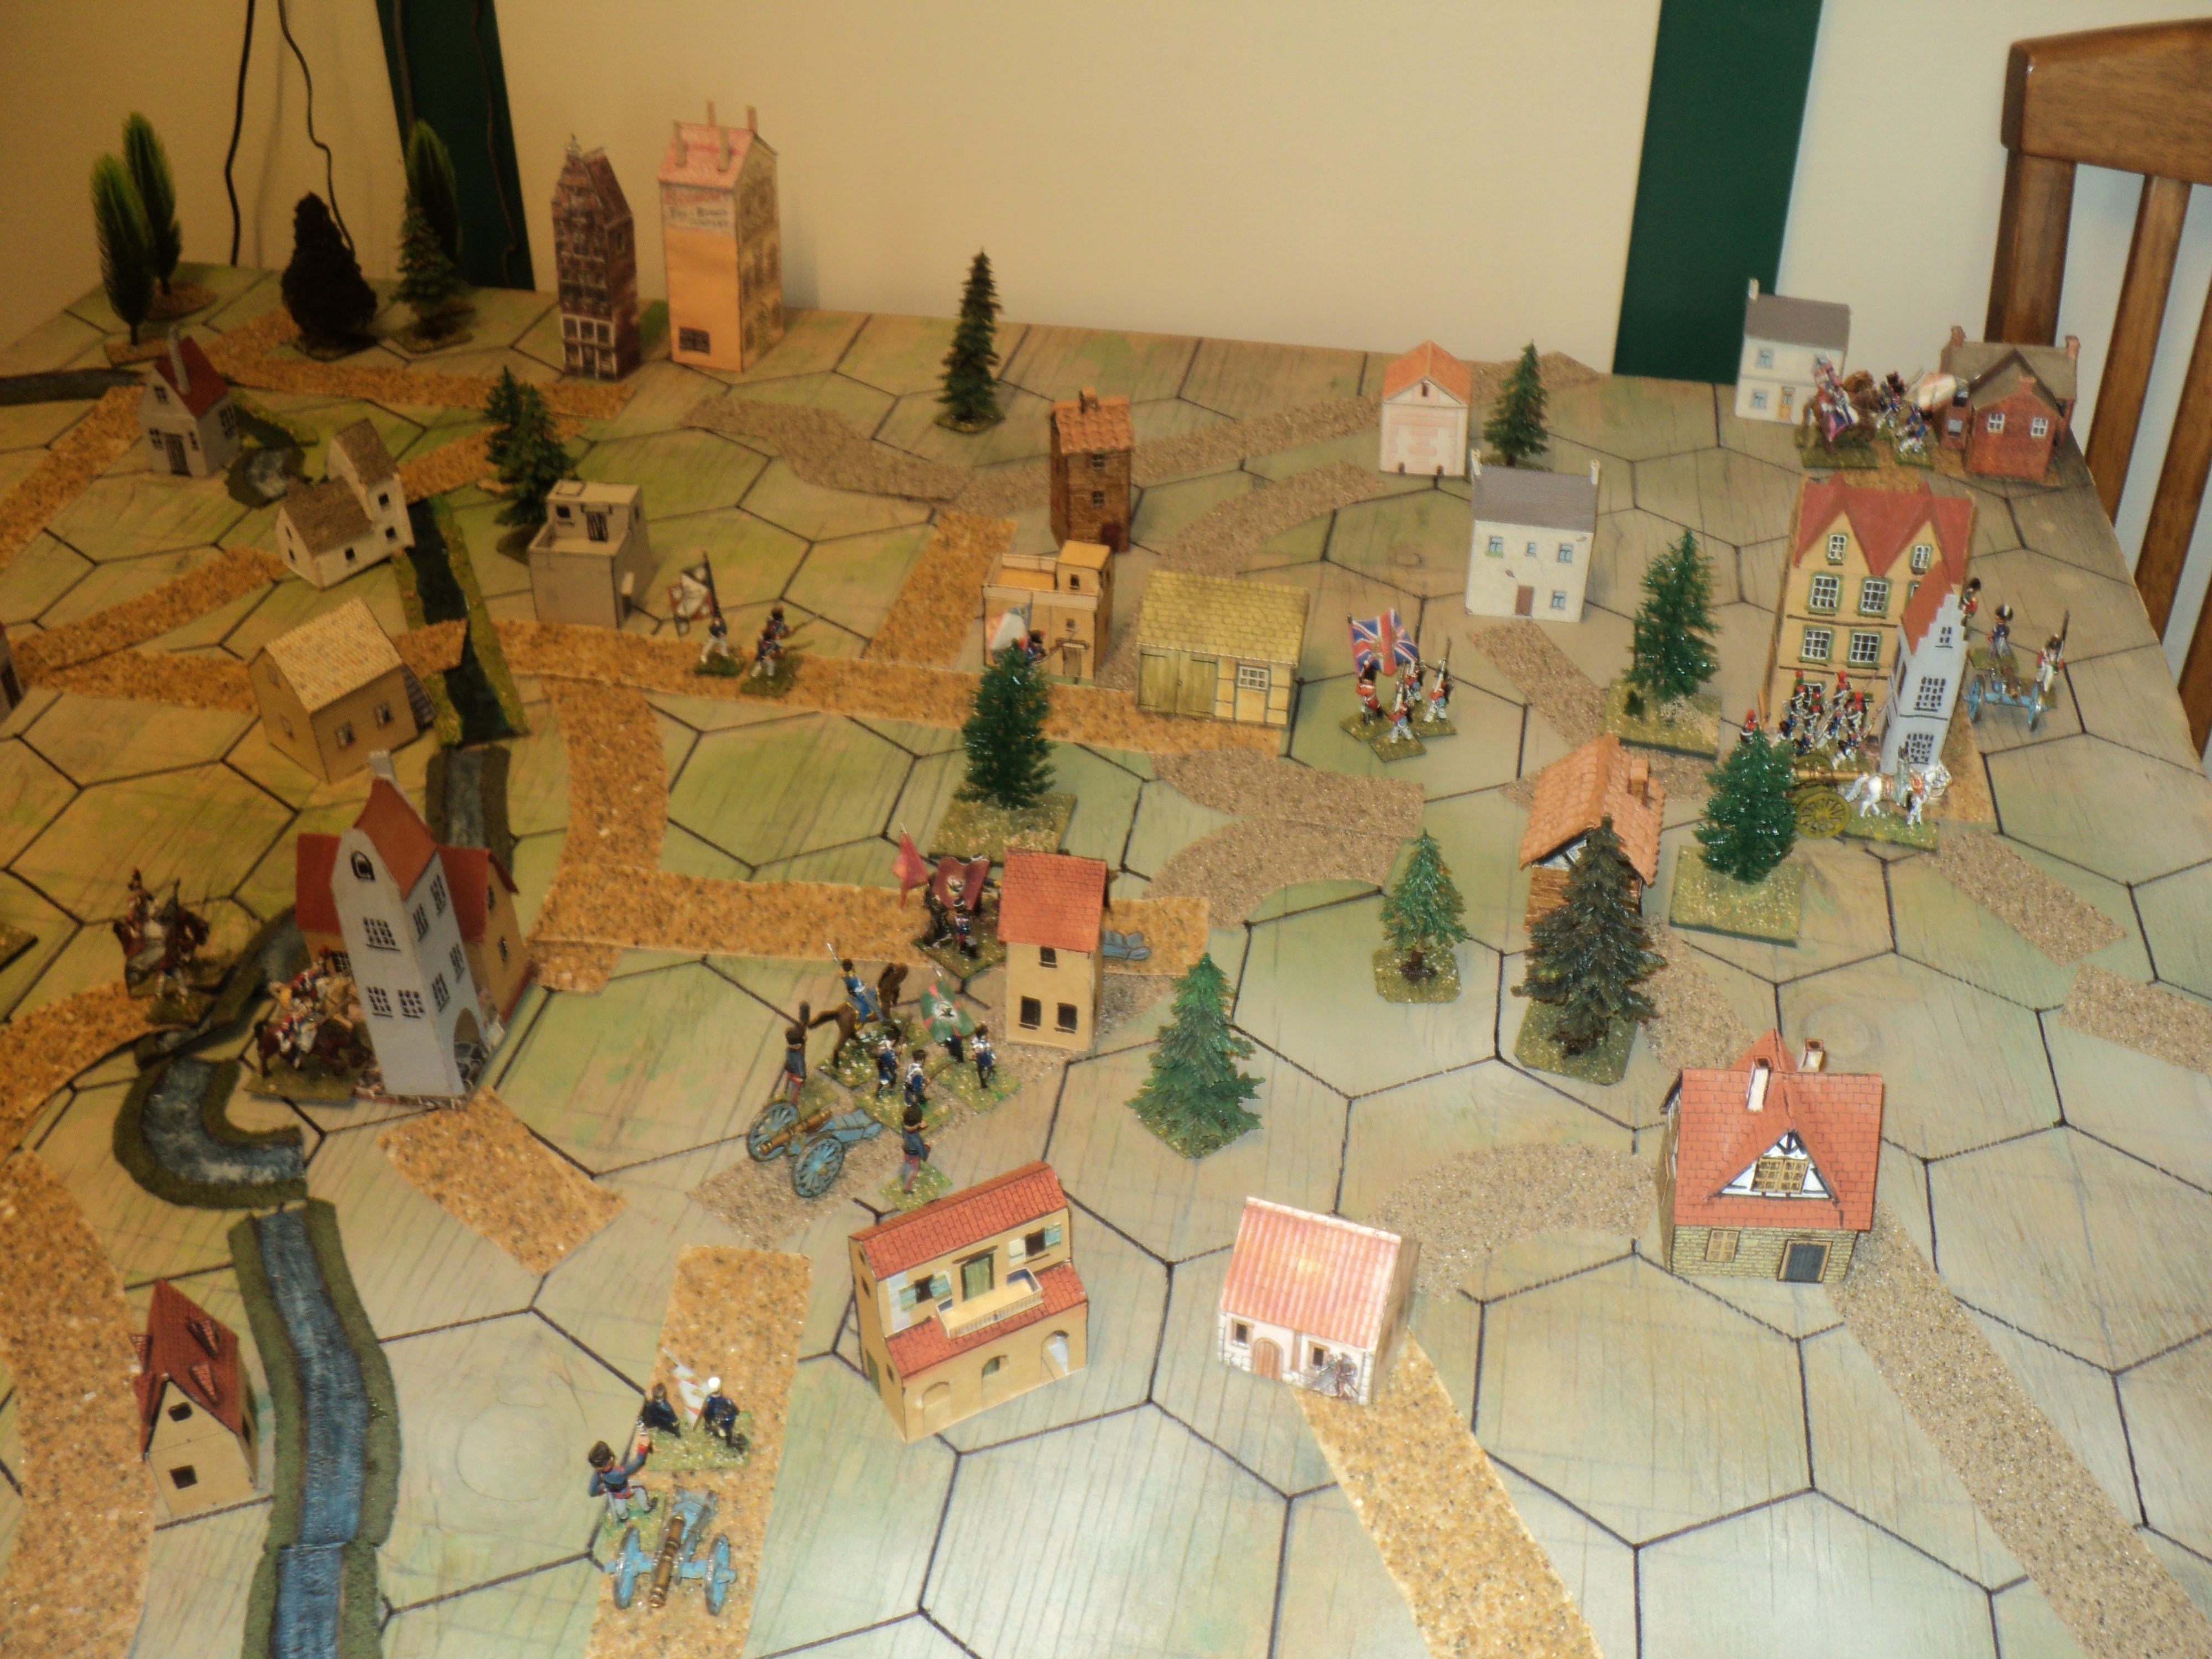
Hundred Minutes' Campaign - opening positions.


The result of the action at Yvoir is that the II Cav Corps is removed from the Armee du Nord order of battle, but III Corps loses 2 infantry in the process. The French roll three fives - 3 infantry hit - only one of which is cancelled by the Prussians' roll. Possibly the French succeeded in catching the Prussians on the march, before being overwhelmed by superior numbers.  

The Prussians win their first victory, however Pyrrhic. (Aside: this was a very low probability result, the statistical expectation being that the cavalry would hit one infantry, with a very fair chance of it's being cancelled, and about a 50-50 chance of the II Cav Corps remaining a force in being. One supposes that somehow the French cavalry sprang some sort of surprise upon the approaching Prussians, and put up a very stout fight.)


Major developments are shaping around Charleroi and Mons. Having entered the place, the French IV Army Corps find themselves under attack from the Prussian I Corps. However, the combat between evenly matched adversaries is inconclusive. The French hold old out all day at Charleroi. Close behind the leading Prussians at Charleroi, the II Corps, together with Marschall-General Graf Blucher, the Commander in Chief of the Prussian Army, have entered Fleurus.


Day Two: 16th June 1815
The French I Corps, passing through Mons, encounters the Anglo-Dutch I Corps on the road north.  I Cavalry Corps, marching through Soire sur Sambre to reach Mons, swings out to the right to envelop the Allied flank. Meanwhile between those two towns, the French main body, II Corps leading, crosses the Sambre River at Binche. Passing though Soigne, the Allied Cavalry Corps races to intercept them.  For his part, the Duke of Wellington has brought the Allied Reserve Corps couth to Quatre Bras. 

Fighting begins in earnest at Charleroi and Mons. The Prussian IV Corps arrives in the theatre at Huy; ... 
...whilst far to the west, the Allied II Corps, marching from Ghent, has reached Alost. 


The inconclusive battle between the French and Anglo-Dutch I Corps results in heavy loss to both sides.  The enveloping attack by the light horse of I Cavalry Corps decides the battle, rolling up the Allied line and sending the remnant of the enemy reeling back. 

(If the result at Yvoir redounded to the credit of the French dragoons, this one had to be one of those thousand-to-one propositions that, Granny Weatherwax assures us, crops up nine times out of ten.  The cavalry rolled three fives - again! - and not one cavalry was hit.  But, I made a very bad mistake, here, as two of those hits ought to have been cancelled.  Still a round defeat for the Allies, but not so costly.  I think I was so impressed by the Allied failure to knock over any cavalry that I simply overlooked the two fives the Allies rolled.  Damn!  That could well have made a difference to the overall result.)


The clash at Seneffe also goes the way of the French. Encountering the powerful Allied Cavalry Corps, III Corps - II Corps having swung off towards Charleroi to join the battle there - destroys one cavalry unit and the artillery, at the cost of one of its own cavalry units.  The infantry hits - four and five - are cancelled by the Corps own four and five rolls. 


The fighting around Charleroi might have gone badly for the Prussians but for the arrival of Wellington at Quatre Bras.  Apprehending an attack by this new force, II Corps at once swings north to engage. (This I think was a mistake, and the II and IV ought to have handed I Prussian Corps a smacking, and let Wellington do what he might afterwards).
The clash at Quatre Bras is a disaster for both sides. The entire French Corps is smashed, apart from the artillery. Reserve Corps loses its artillery ... and the Iron Duke himself (those sixes!).  His two wounds, though slight, are enough to incapacitate him for the remainder of the campaign.
The distraction that leads to II Corps's defeat leaves IV Corps to fight the Prussians alone. Although Blucher and the Prussian II Corps are close behind, they not yet up to join the action. They would have to enter the open space to the right of I Corps, and, as that constitutes a whole 'cross-country' move, it's attack would have had to wait until the following day - the following move.  One on one, I Corps loses the whole of its foot; the French their horse and guns.  Having already lost their horse in earlier fighting, the Prussian I Corps is reduced to the same state as the French II Corps - artillery only remaining. The French IV Corps continues to hold out.


As this is something of a French defensive victory, the Prussians have to retreat, but this merely makes way for Marschall-General Blucher to lead II Corps into the battle.

Day 3: 17 June 1815
Meanwhile, events are not yet at an end along the Meuse river road. Before III Corps can resume its march after defeating the French II Cavalry Corps, the rear of its column is attacked by III Cavalry Corps. Actually the French horse can not quite catch up to bring on a battle before the Prussians are

able to turn and engage. In the drawn combat that follows, both sides lose a cavalry unit - the Prussian roll of two (cavalry hit) does not cancel, nor is cancelled by, the French roll of three (also cavalry).  All those infantry hits count for nothing as the French have none in this fight, but the Prussians fortunately cancel the French 'one' roll to preserve their artillery.  


Though undefeated, the French cavalry fall back to Dinant.  By this time, the fighting at Charleroi is over, as the Prussian IV Corps approaches Namur

The second battle of Charleroi, following immediately on the first, is a much tougher proposition for the defending IV CorpsII Corps destroys most of the already depleted Charleroi garrison. Prussian casualties are light, but they have to mourn the demise of the Marschall-General himself - wounded twice, and expiring from his injuries. What little remained of IV Corps falls back across the river, first to Laneffe and then all the way back to Philippeville.


By this time, the roads north from Mons and Binche are clear, or, at least are impeded only by the remnants of the Allied I and Cavalry Corps.  In this game system I permit depleted formations to merge into a single corps.  Upon reflection it seems to me appropriate that the tiny French cavalry corps ought to be able to merge even with an undepleted army corps, although the only real mergers were I Cavalry and III Army Corps, and III Cavalry and IV Cavalry corps merging with the single infantry figure remaining of IV Corps

As III Army Corps swings west from the north road towards Soignes, the Emperor Napoleon leads his Imperial Guard directly towards Brussels up the Nivelles and Waterloo road.
After their victory at Quatre Bras, and observing their flank being turned along a road that converges with their own at Waterloo, the Allied Reserve Corps falls back to that place to await the French push. Two days march distant, II Corps approaches Brussels.

Day 4: 18 June 1815
Following up the defeated Allied cavalry, III Corps pushes past Soignes to engage the combined remains of the Allied I and Cavalry Corps along the Enghien road. The allies contrive to destroy the French artillery but lose their remaining infantry and two cavalry units as well. Only a single cavalry unit remains of two Allied Corps. They fall back to Ninove, III Corps in pursuit.


Now that the Prussian have occupied Charleroi, to be something of a threat to the French line of communications through Binche, Count Lobau's VI Army Corps swings off the north road to engage the Prussians in the town.

There the Prussians summarily repulse the VI Corps, knocking out their horse and guns, upon which the French fall back to Binche, and subsequently to Thuin.  


Meanwhile, the remnants of IV Corps having rallied at Philippeville, III and IV Cavalry Corps are converging upon that place to form a provisional formation under command of IV Corps' HQ.


Events are developing more decisively farther to the north. As the III Corps chivvies the Allied Cavalry Corps through Enghien, Napoleon runs to earth the Allied Reserve Corps near Waterloo


In the battle that follows, the Imperial Guard cavalry break themselves upon the Allied squares, but the columns and guns of the Guard infantry smash the squares, overrun the enemy gun line, and send the Allies reeling. Instead of falling back upon Brussels - currently occupied by II Corps - the Reserve Corps sidles off to Hal, as Napoleon occupies the ground he has taken (as the Allied lose 3 units, the French 2 only, this is a French victory).


Day 5: 19 June, 1815:

Whilst III Corps and the Imperial Guard are driving the Anglo-Dutch Army northward, sinister development are suggesting themselves to the south and east. After celebrating their victory at Charleroi, the Prussian II Corps begins  to move north, in the trail of the long departed Allied Reserve Corps. Daybreak of 19th June still finds then short of Quatre Bras. Hard marching has brought the Prussian IV Corps as far as Fleurus, a short distance eastward.
In the wake of the Imperial Guard, the French I Corps has swung across from the Mons-Enghien axis onto the Binche-Waterloo road, where they fetch up between Nivelles and Quatre Bras.  If the Prussians are to menace the lines of communication of the forward French formations, they will have to get by I Corps

There seems to be nothing to be done about the French menace to the Anglo-Dutch lines of communications through Alost and Ghent to the Channel Ports. Just a single Cavalry Division lies before the powerful French Column advancing inexorably northwards. Possibly a Wellington might have brought II Corps across to keep open that line, and let the fate of Brussels lie in the lap of the gods. But Wellington is no longer commanding. (Fact is, I decided that as a victory over Napoleon before Brussels would probably win the campaign for the Allies, I took a chance in behalf of the Allies. See Day 6. A 50-50 judgment call.)

Nor are the Prussian Corps safe. The Provisional IV Corps is once more on the march, towards Charleroi, now evacuated by the Prussians. VI Corps is also still capable of operations.


Day 6: 20 June 1815:


Great events along the Charleroi-Brussels highway. The Allied II Corps meets Napoleon upon his newly won field of Waterloo. It's an even fight (9 dice each), and an Allied victory here will almost at once decide the campaign in their favour. The Fates decree otherwise. The Anglo-Dutch are brusquely rebuffed, losing an infantry formation against no loss to Napoleon. Back goes II Corps to Brussels.


A short distance to the south the French I Corps, slightly outnumbered, clashes with the Prussian IInd.


The battle to decide whether the road south is closed or remains open is inconclusive, both sides losing an element.  


During the course of the day, what is left of the Allied Cavalry Corps takes a stand at Ninoves. That fight can have but one outcome. Swept aside, nothing remains to halt the French advance upon Alost. 


As a result of the defeat at Waterloo, II Corps retreats through Brussels and onto the westward road to Ghent. They are too late. It will be another day at least before ever they can fight their way through the enemy already in residence at Alost. Behind them Napoleon's Imperial Guard spends the night of the 21st in the forests just south of the city.


Though it remains possible for the Prussians, together with the Allied I Corps to sever at least the most direct road links to France, there remain elements of I, VI and IV Provisional Corps at least to cause the enemy some trouble keeping the road closed. Meanwhile there is nothing at hand to sever the Mons-Alost line.


Napoleon's entry into Brussels, together with the fall of Alost, decides the campaign. Napoleon has won the first round of the War of the Seventh Coalition. 


Next time, perhaps a debrief...?


Wednesday, April 12, 2023

The Hundred Minutes Campaign

A misnomer, as it took a whole lot more than 100 minutes just to prepare, but this is, as the title might lead you to guess, a cut down, laid back, bathtub in a shoebox version of the Hundred Days' Campaign. On one table. The whole thing. There was even a 'Battle of Quatre Bras' and  'Battle of Waterloo'. But there were a fair few other combats besides. This was another indulgence of an idea that has been with me now for several years.  


French Army about to launch itself across the Sambre and 
into Belgium


Actually - not quite the whole thing. My table map (see below) was a cropped version of a hex-grid campaign map I put together some months ago. It excludes Ghent in the west and Liege in the east, where begin two of the Allied Army Corps, but I believe it includes all the likely battlefields. The excluded Corps, the IInd Anglo-Dutch and IV Prussian Corps, will both require 2 full game turns to arrive into the map area at Alost and Huy respectively.


Map and Table Set-up:

The table was set up on the basis of this hex-map.  There were some changes, mostly simplifications of road and river networks.  Only the Meuse and Sambre Rivers actually appeared on the table; I really need more river sections! I think the map could have used a River Dyle, running past Wavre, not that it would have impacted on the campaign as it played out. 
My table map.

The Armies:

In terms of figures, I had the idea of much larger army corps in terms of figures than I eventually ended up with.  But 9-12 infantry, 2 cavalry and 2 gunners for a 'standard' French Army Corps, though it could just 'fit' a hex grid area, was really too large, especially as the Allied formations (my thinking ran) would have to be larger.  There is another problem with this concept using figures: even at maybe half a dozen figures and a model cannon, the battles would be really be single army corps facing off.  But what that led to was plenty of action!

Anglo-Dutch:
General Officer Commanding (GOC): Duke of Wellington


I Army Corps (at Enghien): 6 infantry, 1cannon, 1 gunner 
II Army Corps (off map, at Ghent): 6 infantry, 1 cannon, 1 gunner
Reserve Corps (at Brussels): 6 infantry, 1 cannon, 1 gunner
Cavalry Corps (at Ninove): 6 cavalry, 1 cannon, 1 gunner

Anglo-Dutch Totals:
18 infantry, 6 cavalry, 4 cannon, 4 gunners, plus the Iron Duke himself.

The Anglo-Dutch - looking uncommon Anglo-Saxon -
at their starting points.  II Corps is off the board 
to the right of Alost


Prussian:
General Officer Commanding: General-Feldmarschall Prinz Blucher
I Army Corps (at Fleurus): 4 infantry, 1 cavalry, 1 cannon, 1 gunner
II Army Corps (at Namur): 4 infantry, 1 cavalry, 1 cannon, 1 gunner
III Army Corps (1 hex south of Ciney): 4 infantry, 1 cavalry, 1 cannon, 1 gunner
IV Army Corps (off map, at Liege): 4 infantry, 1 cavalry, 1 cannon, 2 gunners...

Prussian Totals:
16 infantry, 4 cavalry, 4 cannon, 5 gunners, plus Marschall Vorwaerts himself

Allied Totals:
34 infantry, 10 cavalry, 8 cannon, 9 gunners 


Prussians at their starting points.  IV Corps 
is off the board east of Huy.


French Army:
In Command: Emperor Napoleon
I Army Corps (at Mauberge): 4 infantry, 1 light cavalry, 1 cannon, 1 gunner
II Army Corps (north of Beaumont): 4 infantry, 1 light cavalry, 1 cannon, 1 gunner
III Army Corps (at Beaumont): 4 infantry, 1 light cavalry, 1 cannon, 1 gunner
IV Army Corps (at Laneffe): 4 infantry, 1 light cavalry, 1 cannon, 1 gunner
VI Army Corps (entering table on road south of Beaumont): 4 infantry, 1 cannon, 1 gunner
Imperial Guard (on road just south of Beaumont): 4 infantry, 2 cavalry, 1 cannon, 2 gunners
I Cavalry Corps: 2 light cavalry
II Cavalry Corps: 2 medium cavalry (dragoons)
III Cavalry Corps: 2 heavy cavalry (cuirassiers)
IV Cavalry Corps: 2 heavy cavalry (cuirassiers)

French Totals: 24 infantry, 14 cavalry, 6 cannon, 6 gunners.


In terms of figures, the French are relatively over-represented, on reflection, perhaps too much so.  I blame those tiny French Cavalry Corps, but I was not going to limit them to a single figure each. On the other hand, I got a pretty balanced sort of game out of it!  
Overall view of the campaign theatre.


The French right wing, north of Philippeville.


The rule set I used for this campaign was one I have used before to test the idea of 'map war gaming' with figures.  Its inspiration of course comes from the Command and Colours/ Memoir '44 types of games.  Here's the link to that article - Sluggard Valley campaign - but as I have made a few small adjustments to the rules - most notably the inclusion of Army Commanders, I'll revisit them here.

Hundred Minute Campaign Rule Set:

1. Movement IGoUGo but each turn, dice for who goes first. (Optional. For this 'Hundred Minute' Campaign I made it simple IGoUGo, the French beginning).

2. Army Corps moved a maximum of 2 hexes along a road (1 hex cross country if forced to do so). Cavalry Corps move a maximum of 3 hexes along a road. They moved 'en bloc' occupying just the one grid area, even when on the march.

3. Combat is joined by opposing forces in adjacent hexes.

4. Engaging or attacking the enemy counts as a 1-grid area move, as one side 'moves' into an enemy occupied grid area. The 'move' is notional, the attacking side remaining in the grid area it occupies at the outset of the battle. So if an army corps moves 2 hexes to a point adjacent to an enemy held hex, there is no battle. 
 
5. Each side rolls one die per figure, plus one for each arm represented. If an army commander is present, add one further die to the combat allocation

    Examples:
(i) An army corps of 4 infantry, 1 cavalry and 1 cannon (with gunner) rolls 9 dice: 1 for each of the 6 figures, plus 3 for the 3 separate arms represented.  
(ii) A French cavalry corps of 2 mounted figures rolls 3 dice: 1 for each of the mounted figures, plus 1 for the cavalry arm represented.
(iii) General-Marschall von Blucher, accompanying II Corps engages the enemy. II Corps then receives 4 (infantry) + 1 (cavalry) + 1 (cannon) + 3 (3 arms represented) + 1 (Blucher) = 10 combat dice.

5A. An army attempting to force a river crossing halves its standard allocation of combat dice (rounded up).  For this campaign, there was no bonus for defending or penalty for attacking a 'town' grid area. (I did consider that perhaps some such rule might have applied to attacking Mons, Charleroi, Namur and Brussels, but decided that the battles would take place, as it were, in the fields outside of town. As it was there was considerable action around Charleroi.)

6. Combat
Combats are competitive; both sides roll -
A roll of '1' = enemy artillery hit
A roll of '2' = enemy cavalry hit


A roll of '3' = enemy cavalry hit
A roll of '4' = enemy infantry hit
A roll of '5' = enemy infantry hit
A roll of '6' = enemy Army Commander hit

Having rolled the dice, each die pip score is cancelled by a same pip score by the other, until only the unmatched scores remain. The remaining hits then result in figures being removed. A roll of '4' is not cancelled by a '5' roll, and both sides stand to lose an infantryman.

7 (Recommended, but not used for this campaign). 
At the end of each move, or perhaps a fixed number of moves (IGoUGo pairs), the losses are totted up on both sides, and each receives back, for each arm, the lesser of of the respective sides' losses.  These are distributed among the units as the player sees fit.  There ought to be some maximum that a unit can not exceed.  I suggest 4 infantry, 2 cavalry and 2 guns for an 'Army Corps', and 5 cavalry for a 'Cavalry Corps'.  (I didn't actually use this rule, but it might serve to reduce the attritional effects.  See also the end of this posting).

8.  Units that receive more losses than they inflict in terms of numbers of units, must retreat two grid areas. The reason for this is to allow defeated units to break clear of the victorious enemy, which, following up can reach the adjacent grid area, but not bring on an immediate battle.  See Rule 4.

9. Victory Conditions -
To be decided when I 'call' the campaign!