Wednesday, April 20, 2022

Byzantiad - New Troubles for the Empire

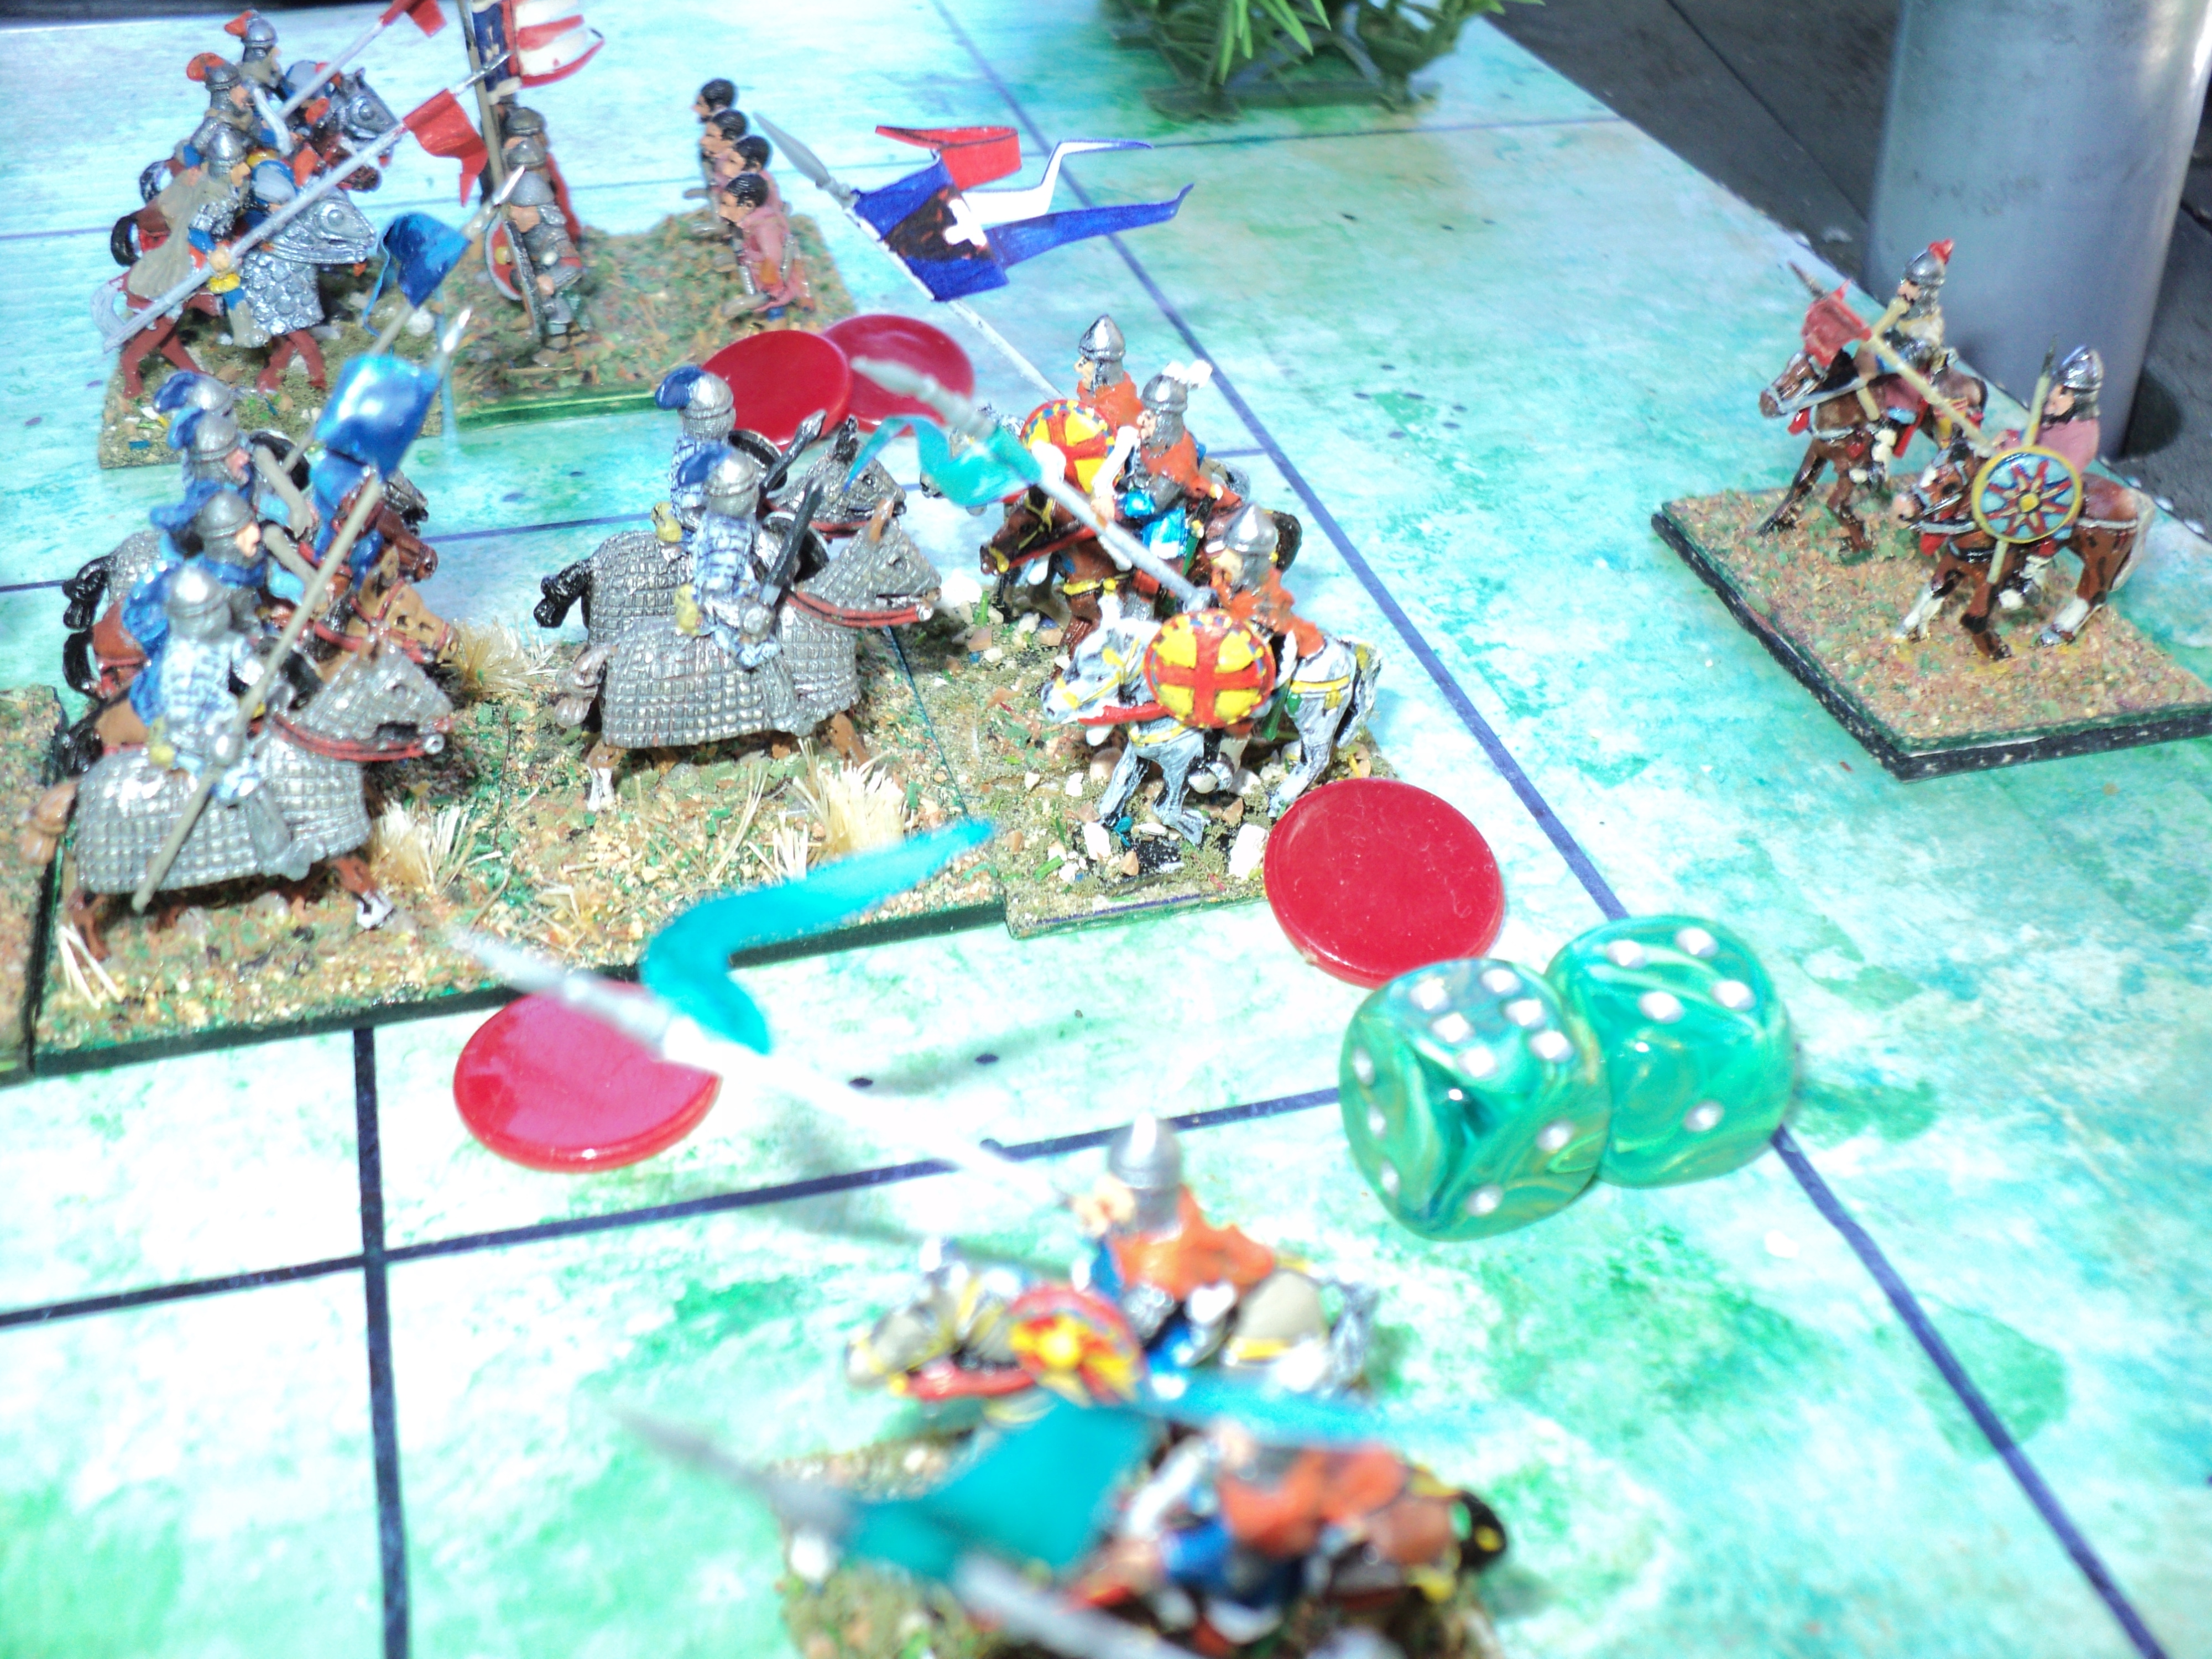
"The traitorous George Kantankeros having slipped from the Emperor's clutches across the border to Benevento, in the land of the Lombards, he attempted to induce by empty promises of gifts and honours the help of Lombard prince to restore him to his usurped despotate. As Kantankeros arrrived almost alone, and with nothing but the clothes he wore and the horse he rode, his promises meant little to the barbarian monarch. Whilst the Emperor remained a short while in Apulia settling affairs and appointing a new governor, the Lombards were disinclined to try his metal. Instead, Prince Liutprand, surnamed 'the Lucky', sent a small embassy with gifts of his own and dulcet expressions of friendship. The embassy also offered to hand over Kantankeros, in chains or otherwise. Reading the straws in the wind, the former governor took advantage of the loose constraints under which he had been placed (don't leave town) and quietly quitted Lombardia, returning to Campania. There he began his campaign to bring himself back into power."

Michael Psellophanes, Byzantiad.


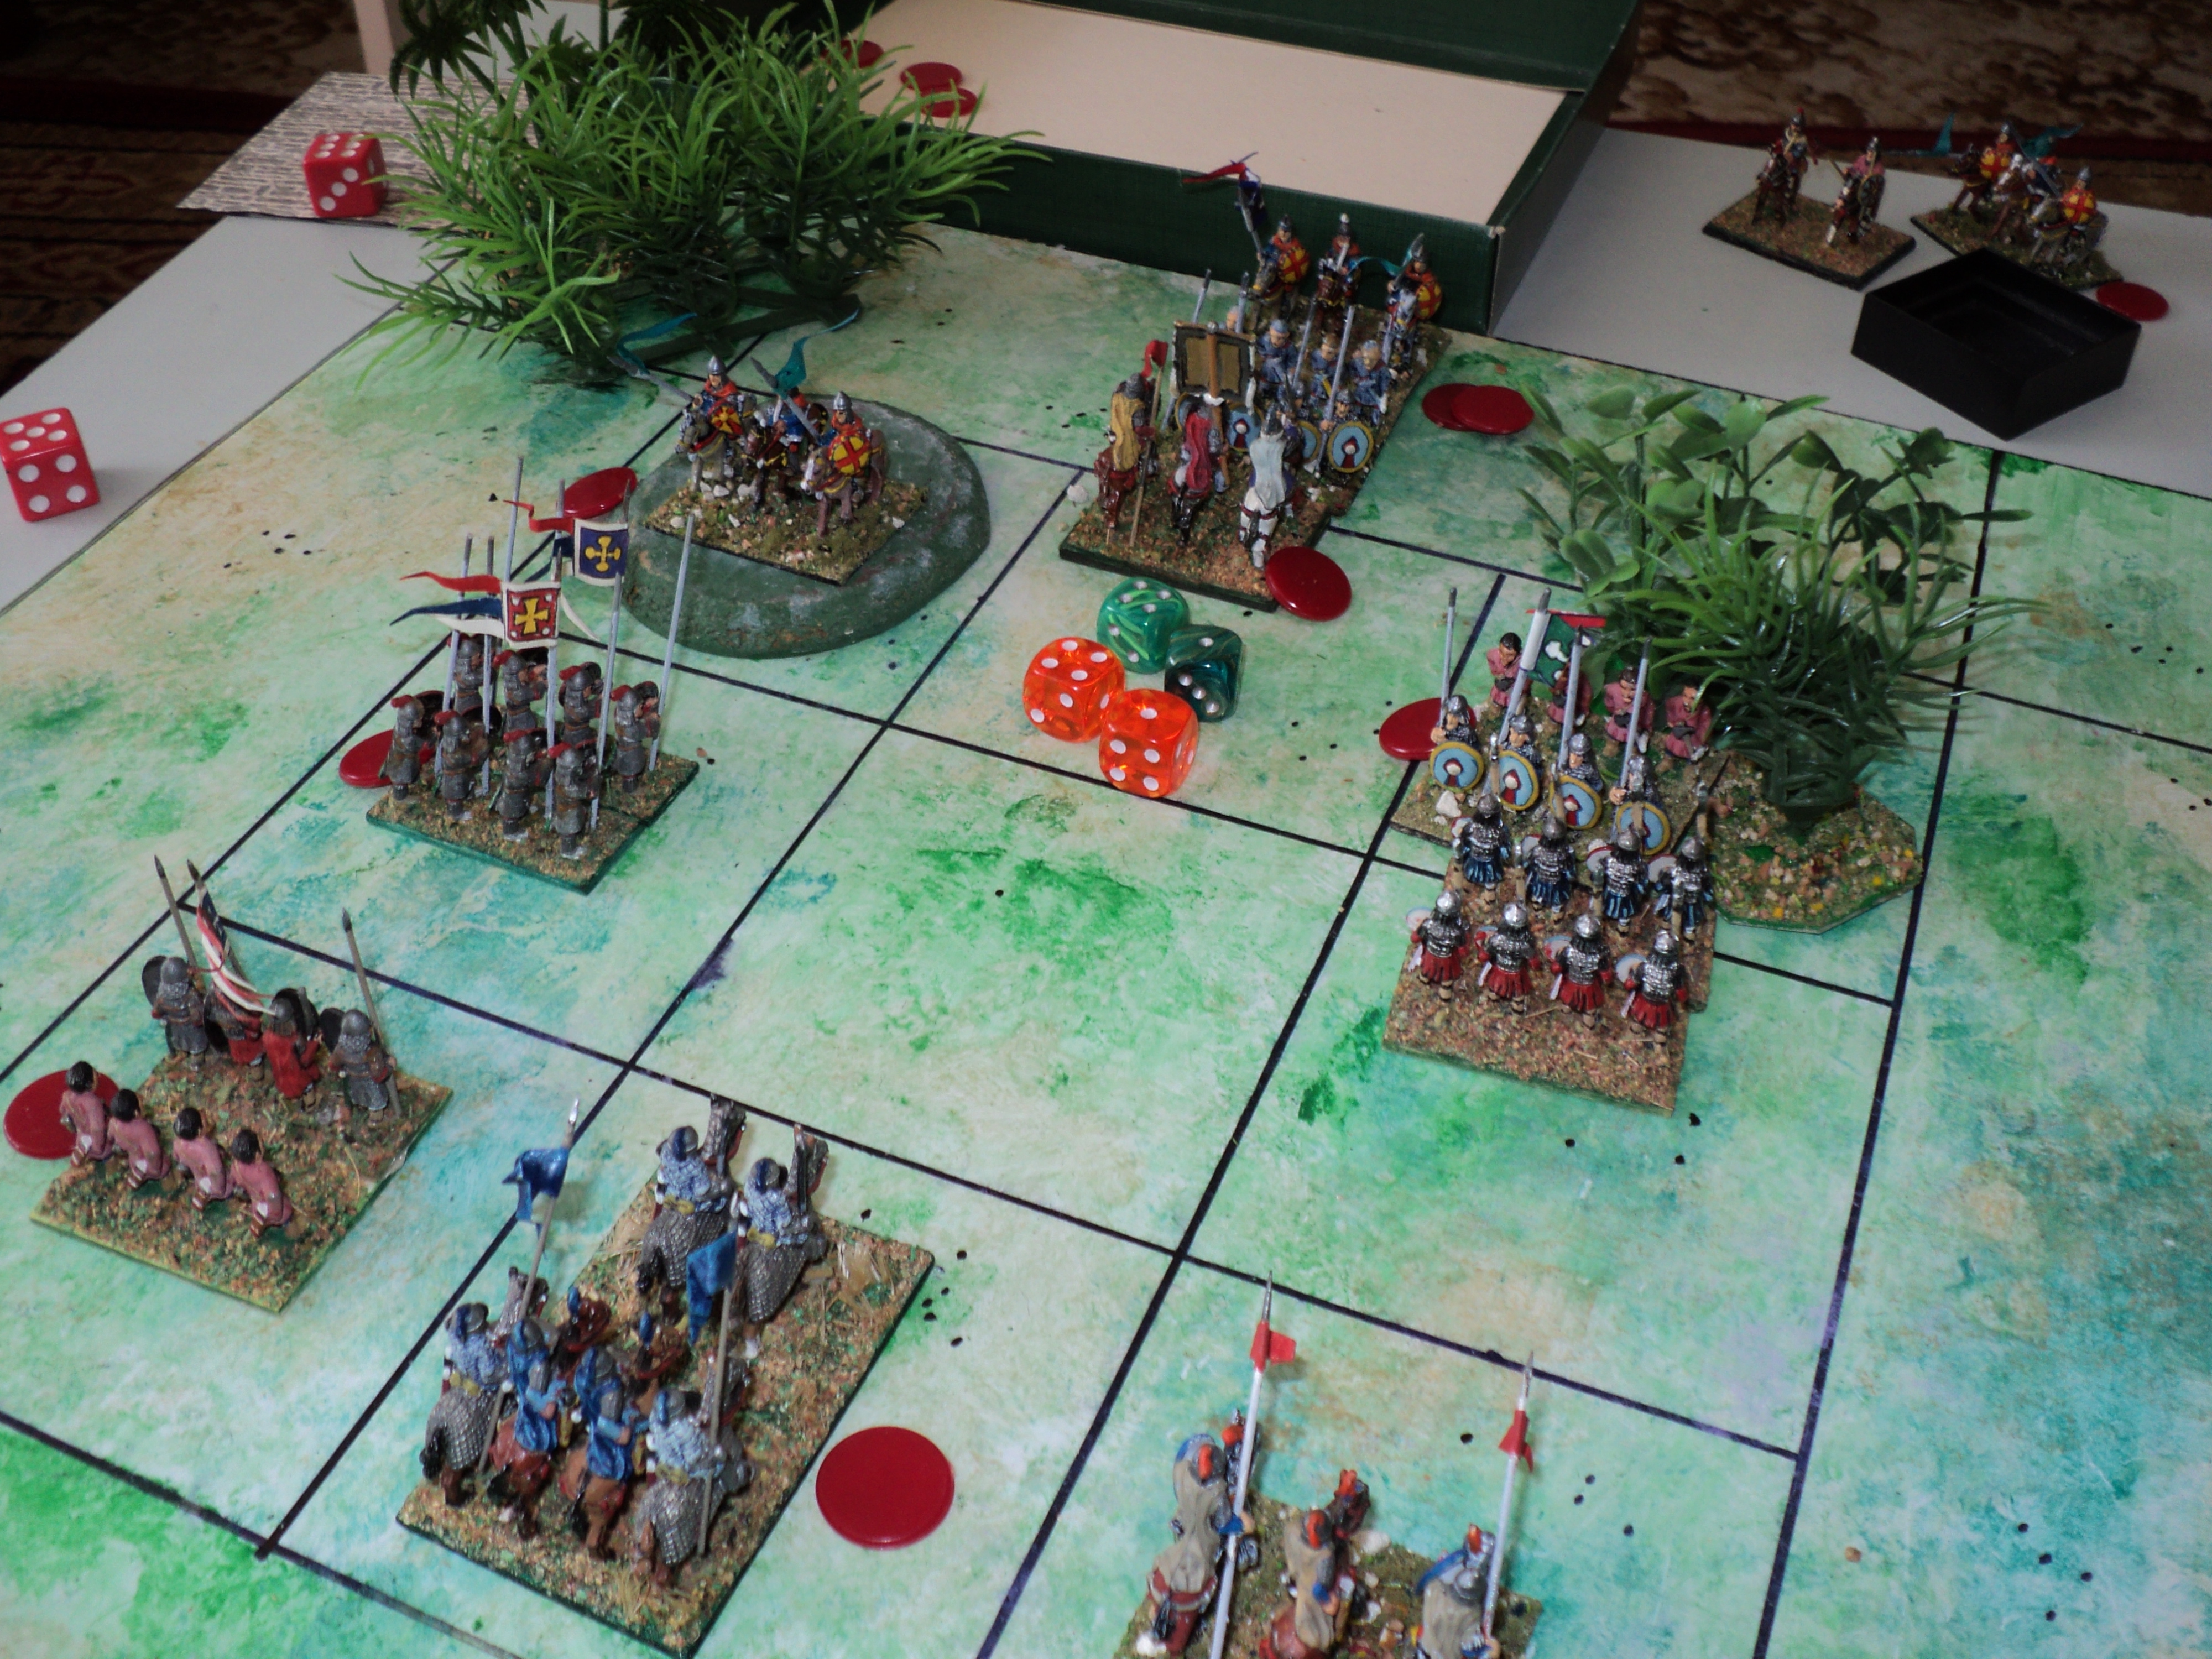
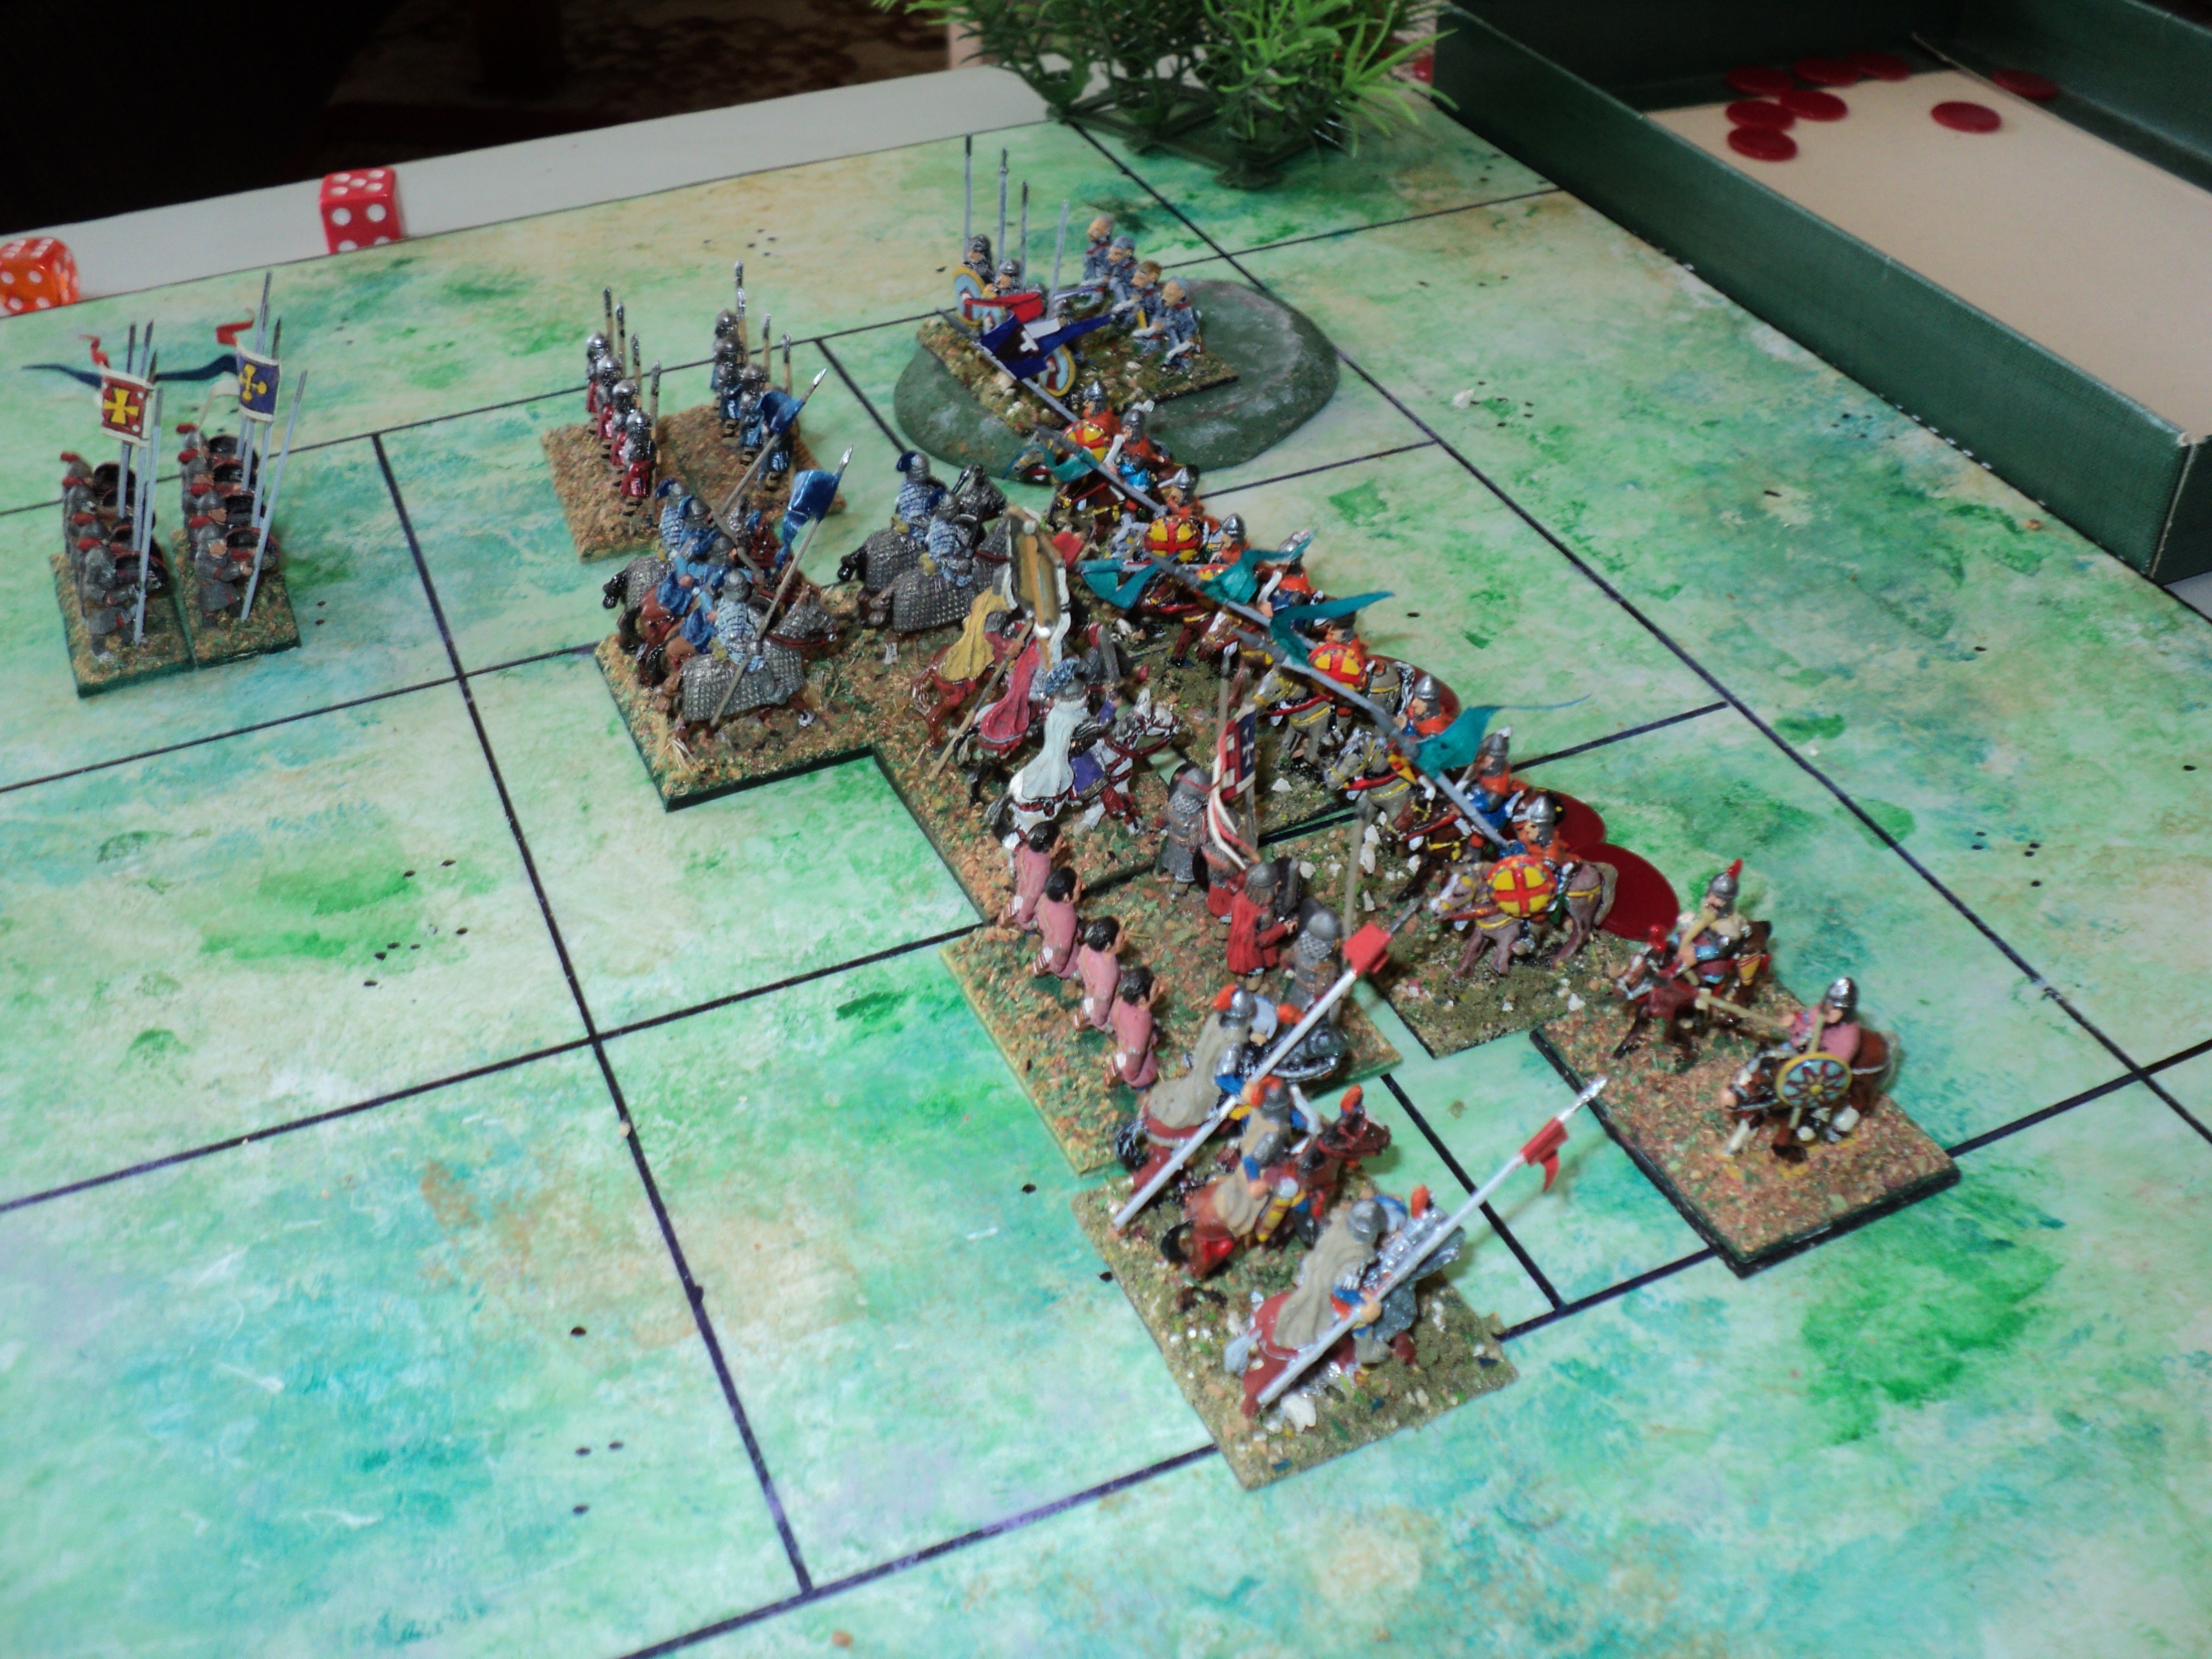
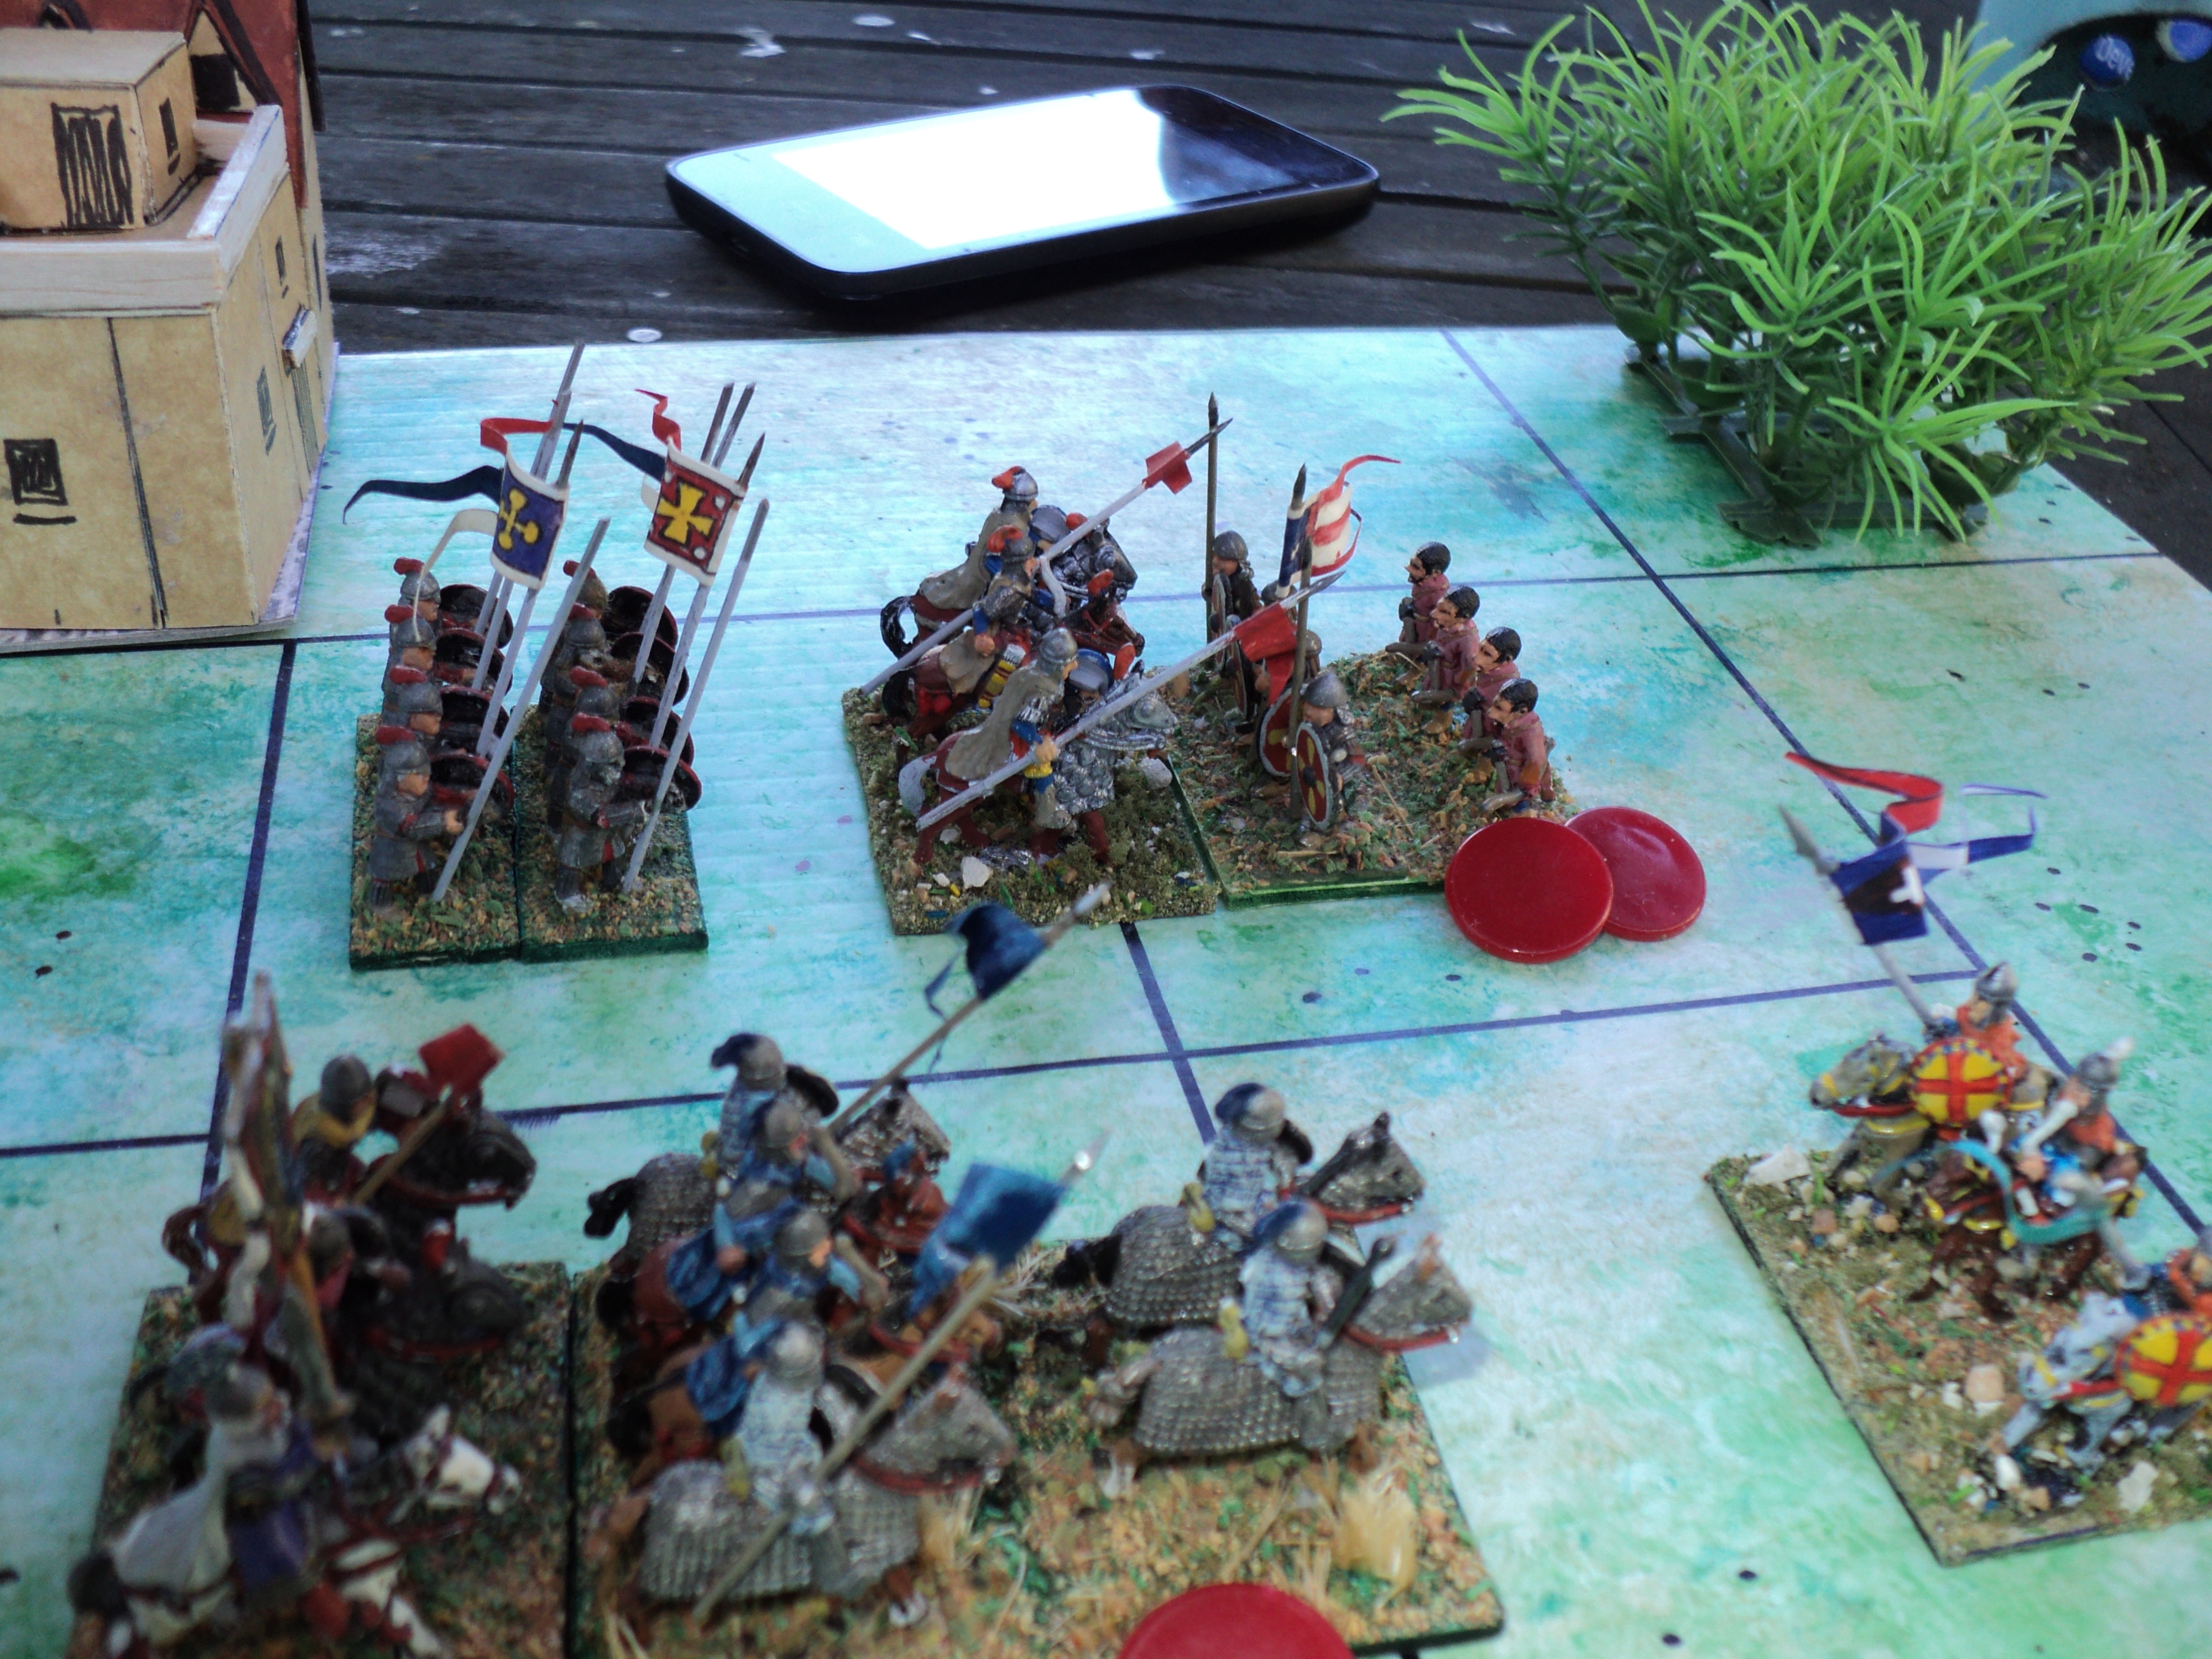
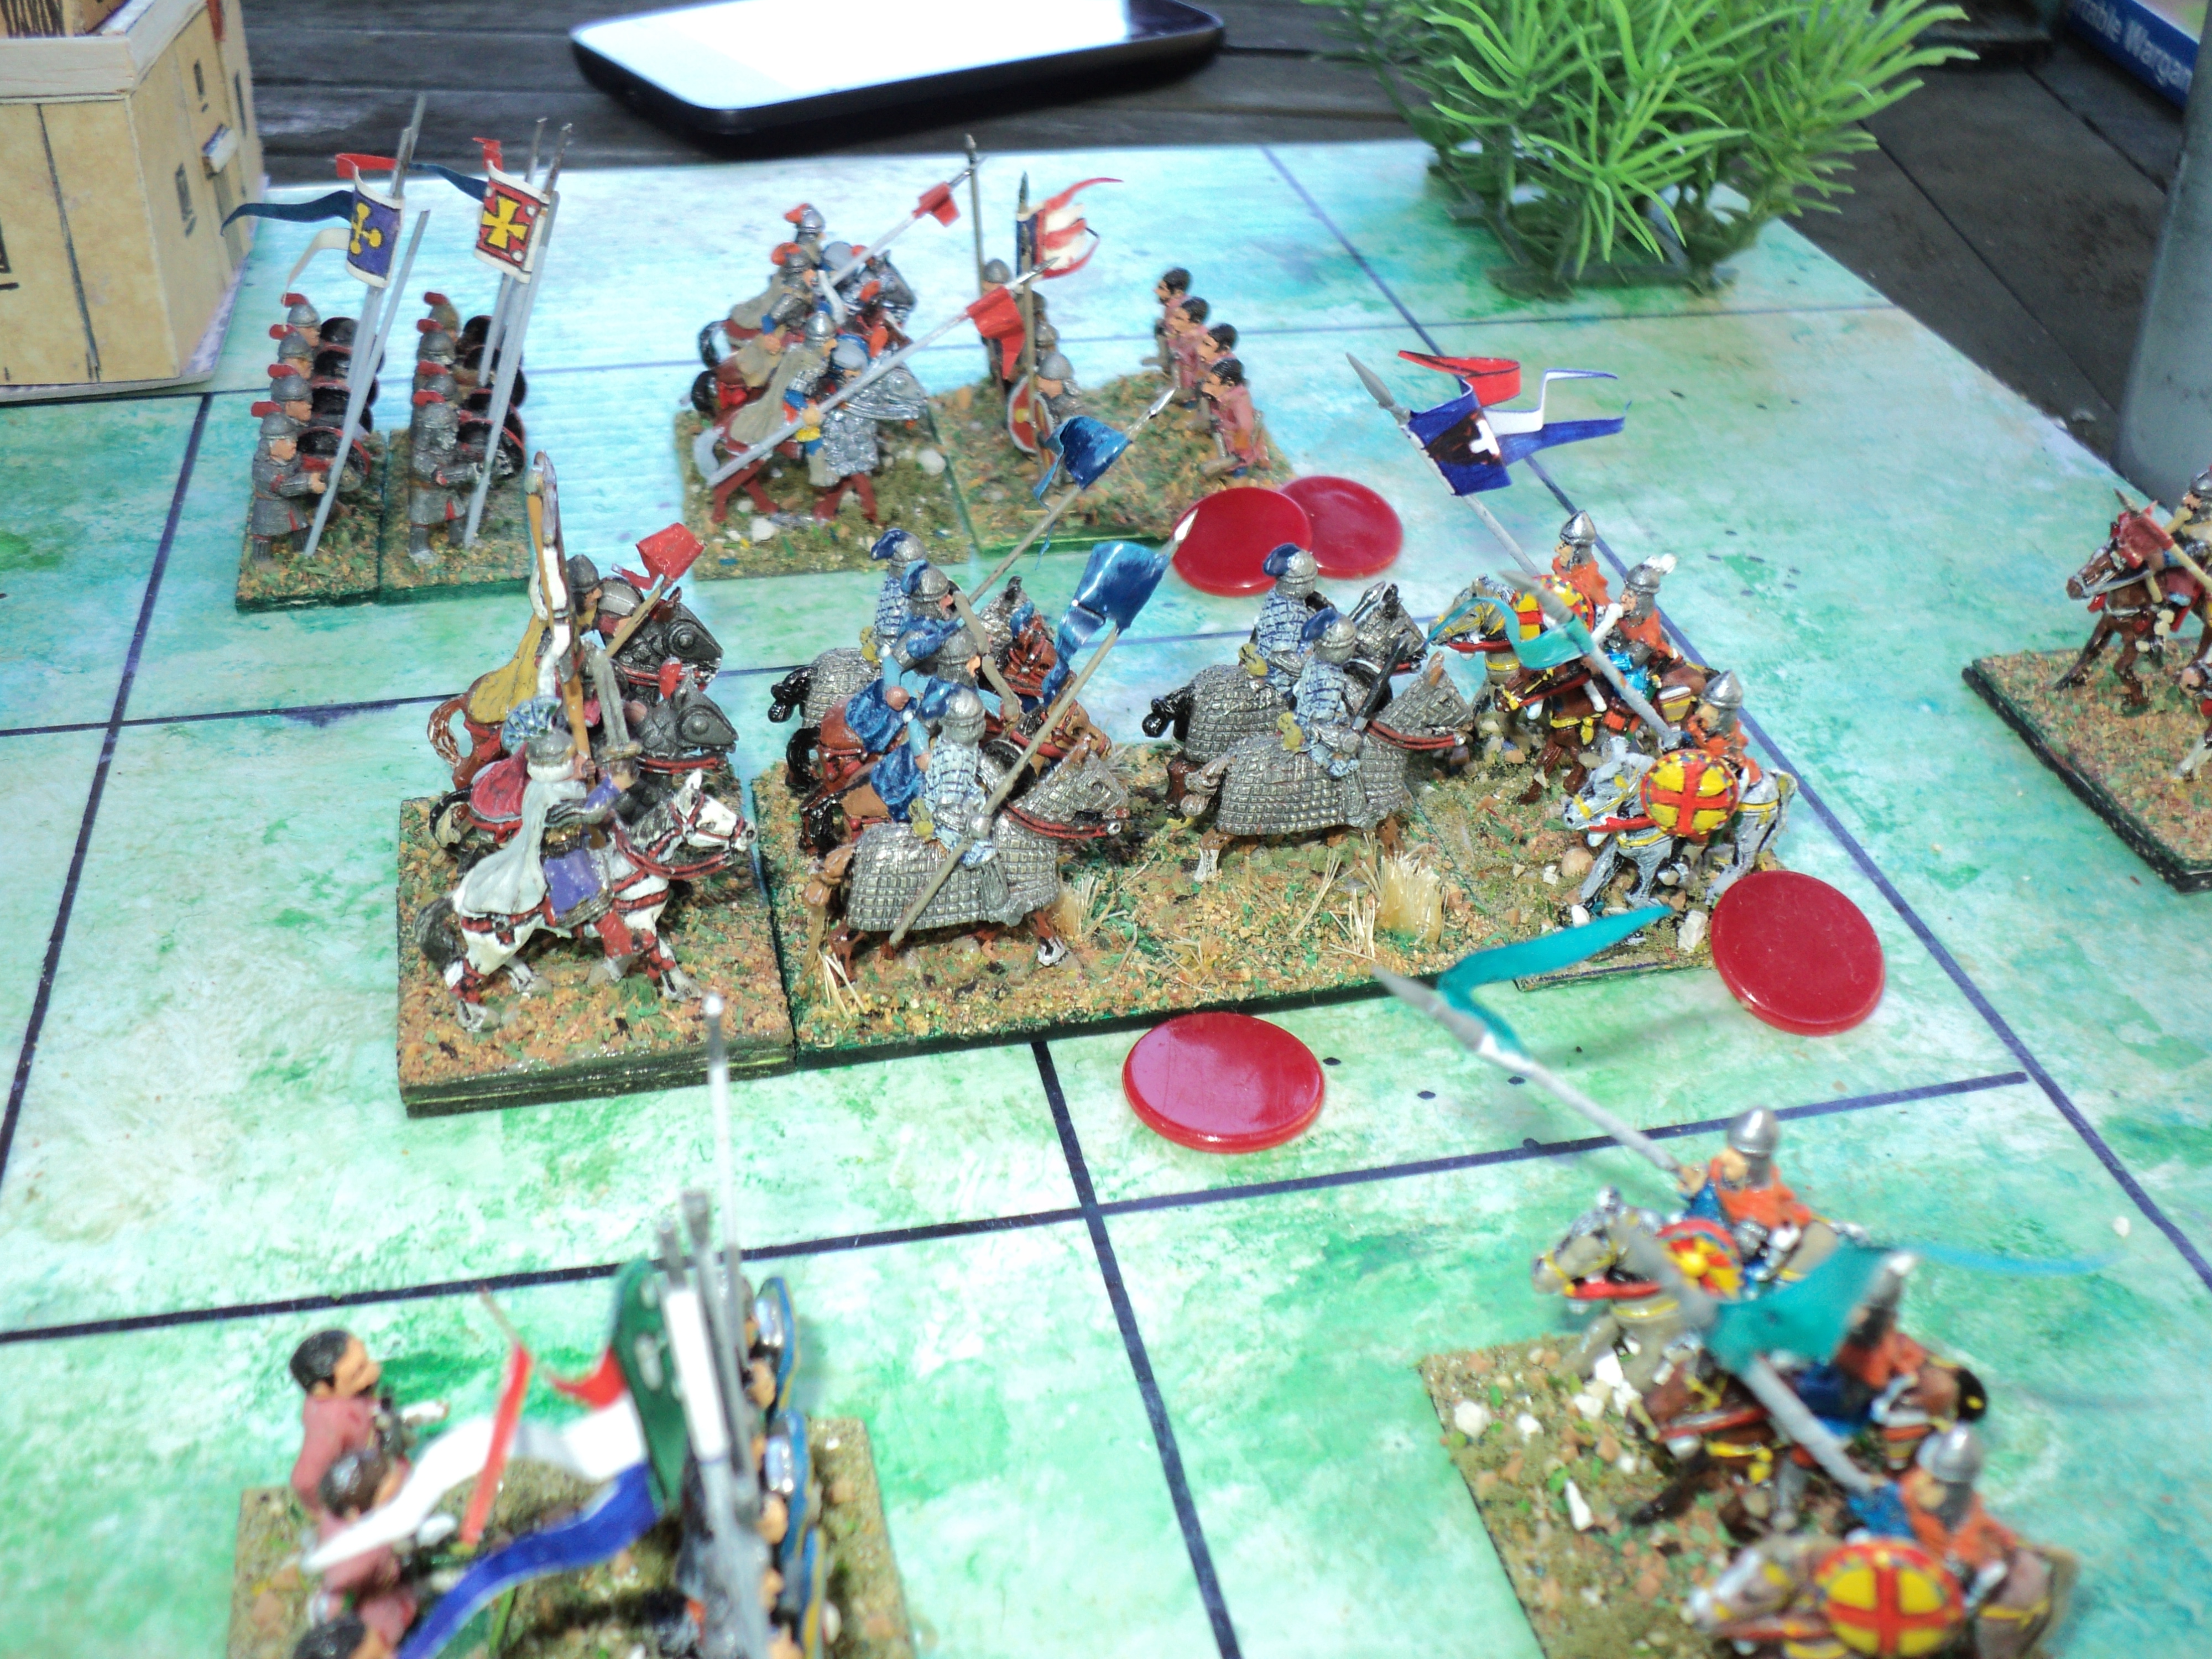
The Empire having negotiated successfully hazards and crises of April, 1001, a further series of perils and dangers emerged from without and within. Although the Italian provinces were not wholly pacified, the Emperor found himself with another revolt to deal with; yet another sought to to sever itself from the Imperium, and, worse, the Empire found itself in a state of open war on its eastern frontier.  I thought I would begin this posting with a part of Psellophanes's narrative, and then show how these matters come to pass by a series of dice rolls.  For the first such series, I refer you to this posting:
The Narrative Begins 

Each 'barbarian' had rolled a die to indicate their attitude towards the Empire, from 1 very friendly, to 6 openly hostile. These scores could be adjusted up and down periodically, to determine whether these attitudes had changed. A score of 0 or less indicated an ally, or at least a people cooperatively friendly; 7 or more meant open war, and not just pin-pricking raids. These new rolls were applied as follows:
D6 = 1 or 2, adjust score (hostility level) down 1
D6 = 3 or 4, no change in attitude
D6 = 5 or 6, hostility level increases by 1.

Here were the results:

Xenographical Affairs:


1.  Lombards - 4.  Rolled a 1: Hostility level 4-1 = 3.  Hence the above narrative.  Kantankeros fails to get any sympathy or support from Prince Liutprand the Lucky.
2.  Bulgars - 2. Rolled a 4: Hostility level unchanged.  Still on good terms with Empire.
3.  Pechenegs - 6.  Rolled a 1.  Hostility level 6-1 = 5.  Still on frosty terms with Empire, but, possibly chastened by recent events, staying at home for now
4.  Rus - 1. Rolled a 2: Hostility Level 1-1 = 0. Willing to go into bat for the Empire against a hostile foe. We'll certainly come back to this!
5.  Abasgian - 2.  Rolled a 5: Hostility Level 2+1 = 3.  Relations with Empire still amicable 
6.  Armenians - 4.  Rolled a 6: Hostility Level 4+1 = 5 Relations becoming strained...
7. Seljuks - 2. Rolled a 5: Hostility Level 2+1 = 3 Still on good terms with Empire
8. Fatimids - 6. Rolled a 6! Hostility Level = 6+1 = 7. A state of war now exists between the Fatimid Caliphate and the Empire.  There are two possibilities: the Caliphate has declared war or, possibly more likely, the Empire has made the declaration in reprisal for the recent raid.  If the latter, this will involve the Great Domestic of the Schools leading the invasion with his army on Nicaea.

The same system is use to test the loyalty of the Imperial provinces and their Governors.

Provincial Affairs:

1. Brindisi - A new roll, the rebellion having been defeated. Rolled a 5.  Not good.  Perhaps Kantankeros commanded some local popularity and support; the province remains disaffected, but not in open revolt. It seems that having escaped the Emperor's wrath, he has returned to stir up a new revolt. The Emperor hopes his new governor, Romanos Dioikysos, can assert and maintain control.  He has another revolt to deal with.
2. Mystras - 5. Rolled a 6.  Of course it did. Disloyalty Level 5+1 = 6.  Open revolt.  With the Emperor just on the other side of the Ionian Sea, forsooth!   This will be another campaign to subdue a rebellious province.
3. Thessaloniki - 4.  Rolled a 2.  Disloyalty Level 4-1 = 3 Loyal. No worries there. 
4. Nicaea - 1.  Rolled a 3.  Attitude unchanged: still staunch.
5. 
Cherson - 5.  Rolled a 6.  Damn.  Disloyalty Level 5+1 = 6.  Open revolt; declaration of independence.  A real nuisance!
6. Koloneia - 1.  Rolled a 5.  Disloyalty Level 1+1 = 2.  Nothing to worry about there.

7. Seleucia - 5.  Rolled a 4.  Disloyalty Level unchanged at 5.  Still disaffected, but have external problems to cope with.

8. Constantinople - New Roll: a 3.  Population tranquil.  

There you have it: Mystras and Cherson getting bolshy and the Fatimid Caliphate at daggers drawn.  
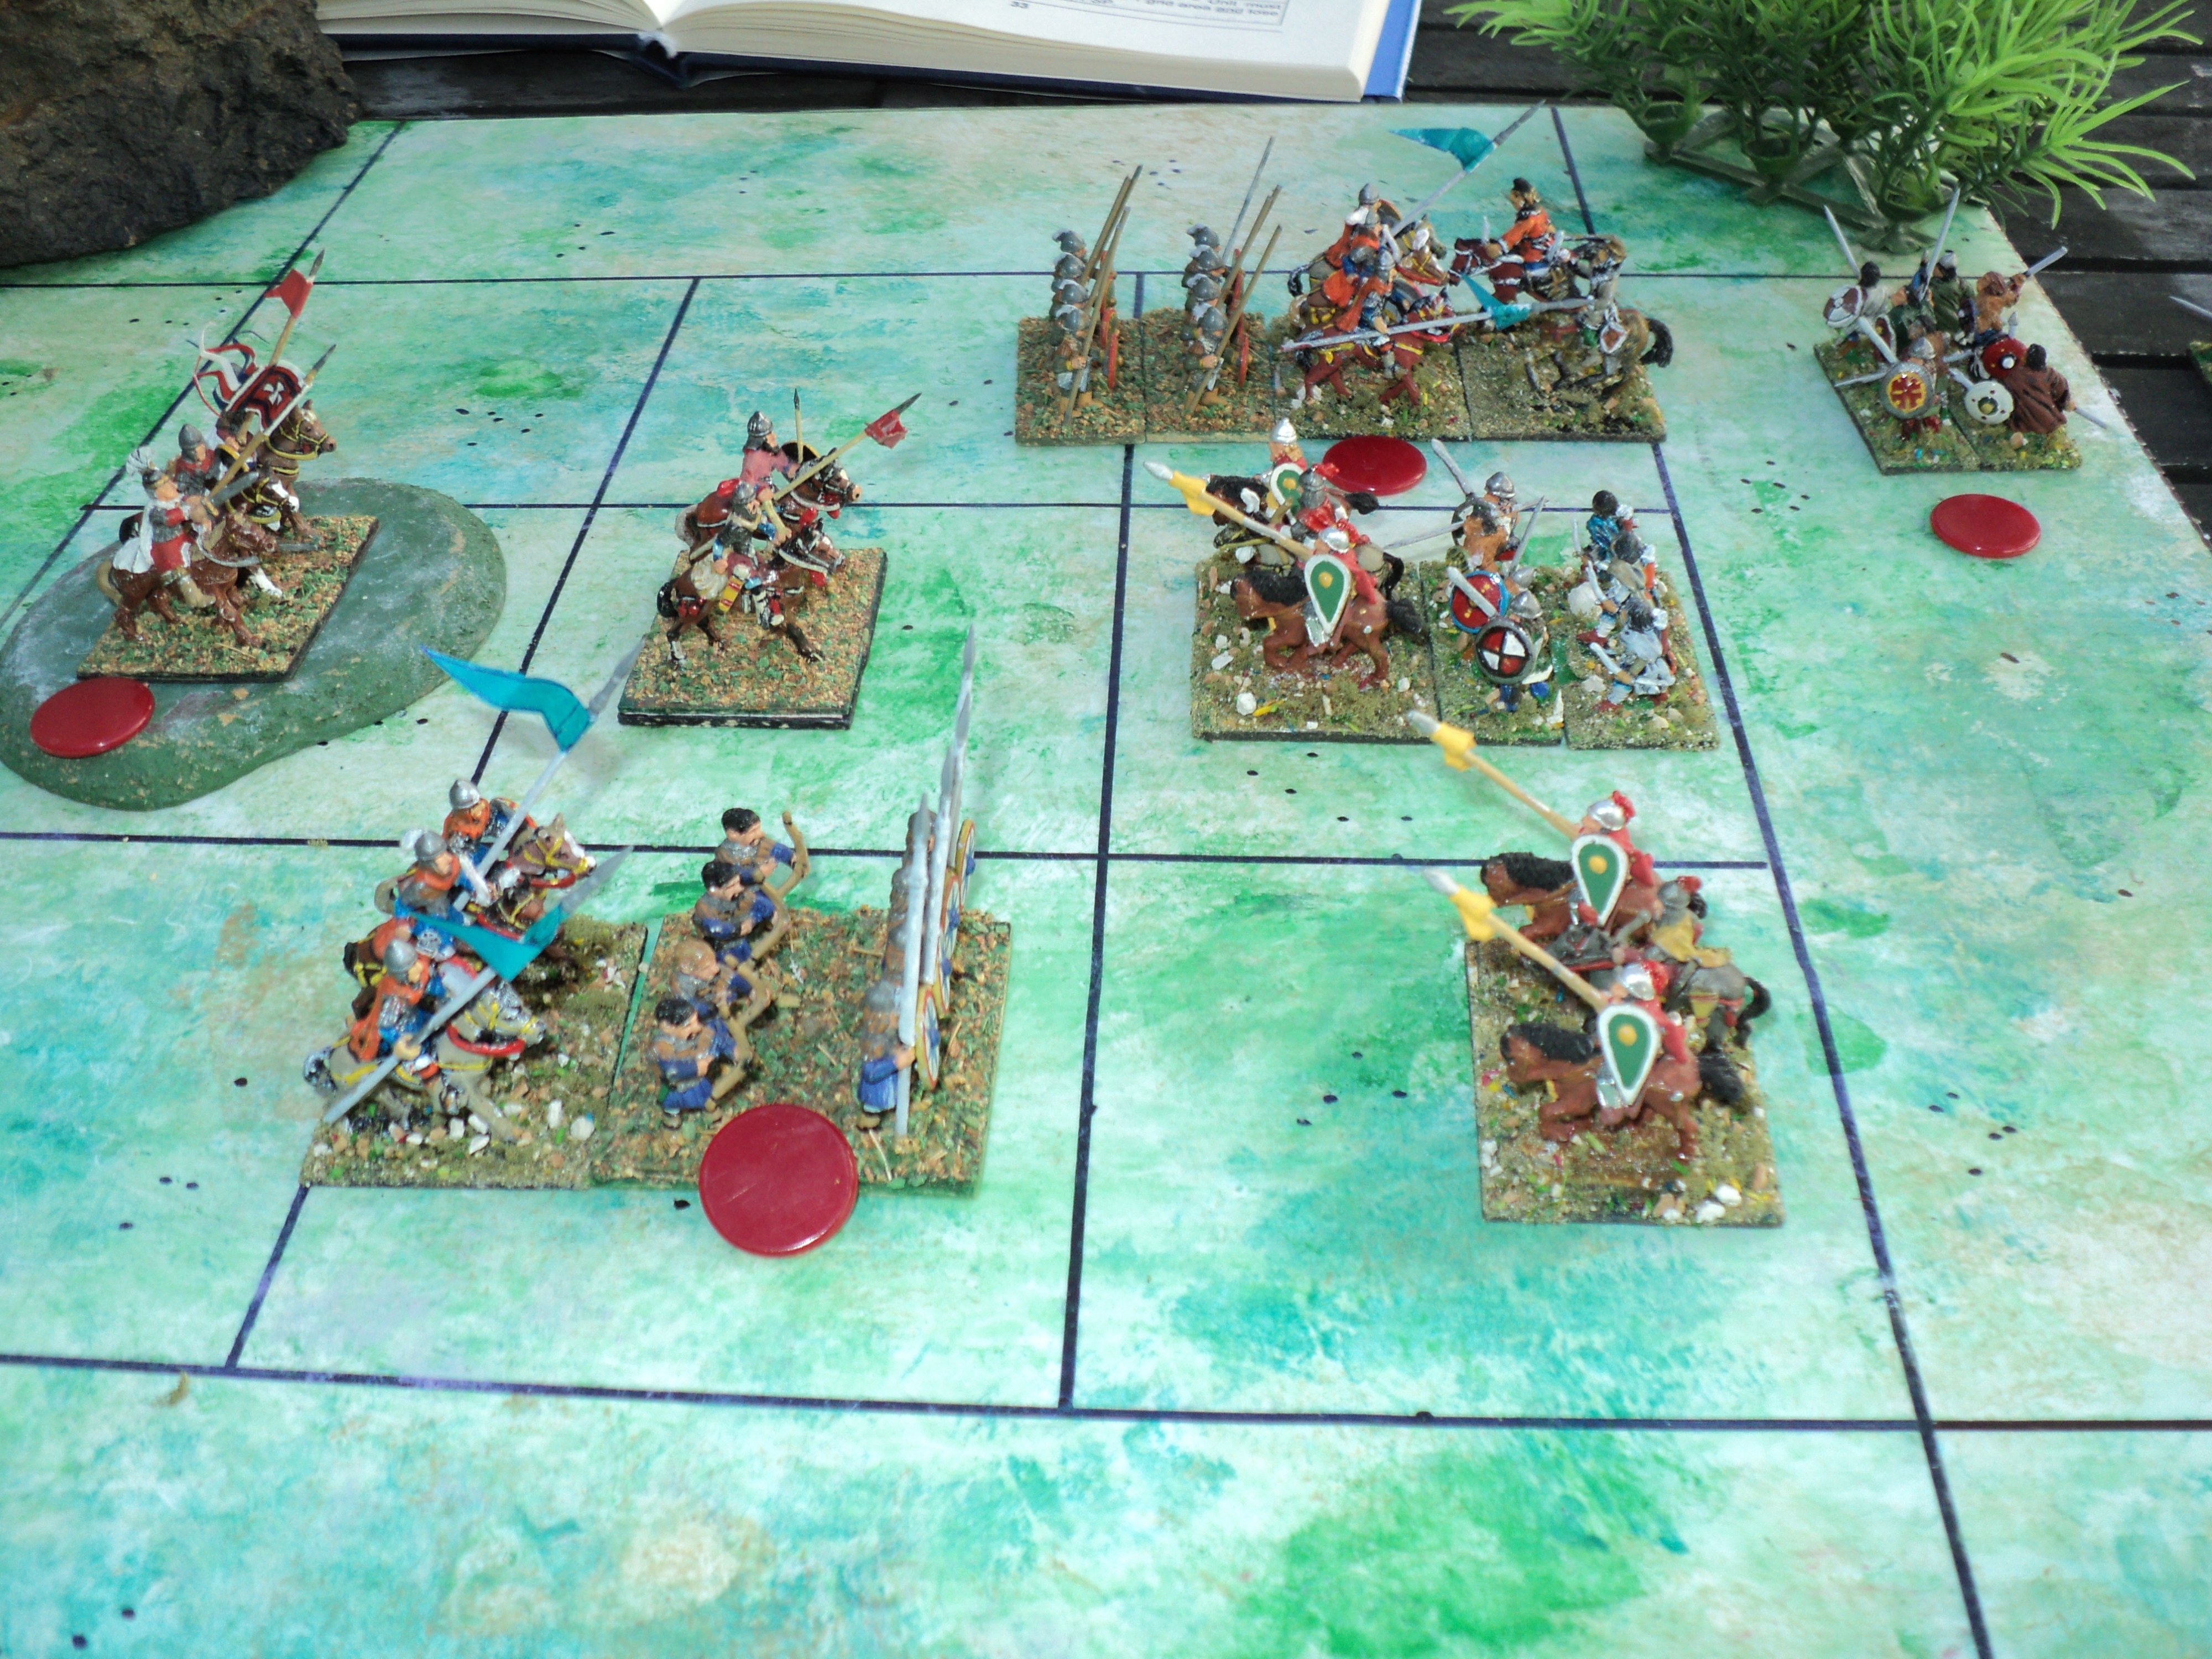
"During the course of events throughout April, the Emperor despatched an embassy to the Prince of Kiev. The Ambassador, Oleaginos Elaios, received instructions to offer the prince certain treasures and honours, that he might strike a blow towards the Patzinaks.'The Patzinak piles insolence upon infamy, rapacity upon robbery, arson upon arrogance,' quoth the Ambassador. 

Eager to remain on good terms with the Empire - Blatoslav had, for dynastic and other reasons, eyes for the Emperor's porphyrogenite sister - the Kievan Prince was only too eager to fall in with the embassy's suggestions. Right soon, he gathered a host, and with it set off at the end of the first week of May, down the Dniepr River, and thence into the Patzinak steppe.


Greeks bearing gifts


Leaving his newly appointed governor, Romanos Dioikysos, with a sufficient cadre upon which to build his local thematic garrison, the emperor betook his Imperial army back across the Ionian Sea unto the Pelopponese, where awaited him yet another revolt requiring his attention. Landing at Patras, he marched towards Corinth. Shortly before reaching that city, he found the Army of Mystras astride the road and barring the way...."
Michael Psellophanes, Byzantiad


I will take up Psellophanes's narrative of the Fatimid War another time. The alert reader might observe that there has been no response (yet) to the insurrection at Cherson - a very dangerous situation, especially should its governor get extra ambitious...

To be continued...


Tuesday, April 19, 2022

Byzantiad - Insurrection in Italy: Final Battle

Imperialists and rebels arrayed for battle
"Following his defeat at Tarentum (the Battle of Langobardia) the rebellious Georgios Kantankeros retreated with his army to Bari, where he determined to make a final stand. He had found more spear and bow armed foot to build up his army, and with it occupied a strong line not far south of the sea port. On the right, one of his units of skoutatoi, backed by kavallarioi, occupied low hill with gentle slopes. In the centre he massed the bulk of his cavalry, where he stationed himself. On the left, the seaward flank, stood a tract of woodland, within which he placed his second body of skoutatoi. Although not especially adapted to fighting in such terrain, Kantankeros supposed they might yet give a good account of themselves, even against the Imperial marines. Finally, a small body of light horse formed his reserve.
The rebels awaiting the Imperial onset

"Upon observing the rebel line, the Emperor planned a major attack along the open field, and left the marines solely to engage the skoutatoi in the woods. The remaining infantry, his own skoutatoi and Varangian Guard, were to clear the enemy off the hill, whilst he himself, together with the kataphraktoi, undertook to ride down the rebel centre. A unit of kavallarioi made up his reserve."
Michael Psellophanes, Byzantiad
Skoutatoi vs Skoutatoi in battle
The earliest probes the rebels easily threw back, even cutting up the kataphraktoi, though one of Kantakeros's cavalry units was also driven in.  Disadvantaged by the slope, the Imperial skoutatoi  were also repulsed, and fell back from the hill.  They drew back behind the Varangians, who then took up the fight.  
The Imperialists advance

The subsequent attacks were far more successful. Although the marines made little progress through the wooded country - a deadlock that was to last the duration - the Imperialists thrust back the rebel centre. The Varangian Guard also threw the enemy infantry from the hill, creating a confused mass of horse and foot to the rebel rear. This is where the two-unit limit in the rear areas can prove decisive. As usual, I allow one turn for the embarrassed defenders to fight their way back into the field, provided they have the initiative. Wanting this, Kantankeros lost two units of his army, though he did manage to regain some ground in the centre.
Rebels piled up in their rear areas

A cavalry counter attack even drove the Imperial skoutatoi away from the hill and into the plain, and the Emperor's own troop took some loss.  
Rebels try one last counter attack...


Were the rebels, as they had twice before, to show resilience and stubborn defiance in the face of apparently imminent defeat?  Whilst the lone cavalry unit sustained the rebel right wing, a mixed force of horse and foot took the battle to the Imperial centre (the 1-3 initiative dice in the picture, orange for the Imperialists), which sustained some loss. But when the kataphraktoi fell back a second time to regroup, Emperor Dementius led his heavy cavalry in one final attack.
The Emperor breaks through the rebel centre

It was immediately decisive. The rebel centre reeled under the blow. Driven back with loss, unable to recover the ground, neither horse nor foot were able to renew the fight.  The Imperialists broke through, the rebel wings were left isolated, and the whole rebel army took to flight.  
Heavy loss on both sides, but both leaders 
remain unhurt


"That was the end of the pretensions of the erstwhile governor of Calabria and Apulia. Surviving the battle, and escaping capture withal, George Kantankeros fled north, beyond the Imperial frontier, and into the lands of the Lombard Duke. If the caitiff rogue hoped thence to find help, or even a sympathetic hearing from the Lombard court, he was to be bitterly disappointed..."
George Kantankeros fleeing the field at Bari,
pursued by the Emperor's own troop of horse.

To be continued... the Political situation; and why Kantankeros failed to find support in Lombardy.


Sunday, April 17, 2022

Byzantiad - Insurrection in Italy: Battle of Langobardia


The armies lined up for battle: Imperialists on the right
Kantankeros's rebel army on the left

Following his defeat near Brindisi, the rebellious George Kantankeros fled with the remnants of his army to the northwest. In the region of Langobardia, he hoped to gather more strength with which to preserve his realm and, withal, his life and freedom. A few days sufficed for the Emperor to put affairs in order at Brindisi, and therein to establish a base of operations. That task done, he set out with his army to settle accounts with the rebellious Governor.
Michael Psellophanes, Byzantiad

The armies from behind Imperial lines.

Though unable to gather his whole strength, Kantankeros had added a cavalry unit to the force he had fielded at Brindisi. He hoped this time to give a better account of himself. All the same, it was a formidable army the Emperor had brought across the Ionian Sea, the cream of the Imperial military.  
The Imperialists attack!

The cream of the Imperial military was eager, at that, to engage their adversaries, and advanced rapidly across the plain to reach the rebel lines. They were drawn up with the skoutatoi ('protected bowmen' as I call them) occupying an elevation of the right flank, and the cavalry along the rest of the front. The light horse were on the left. The Imperial army advanced with the skoutatoi, backed by heavy cavalry on the right, the Emperor's own troop backing up his extra heavy kataphraktoi in the centre, and on the left, the Varangian Guard and the marines set to assail the high ground.
Experimental pic with units side-by-side
instead of in tandem.

At this point, the eagle-eyed reader will observe a change in the 'posing' of the pictures, with units aligned side-by-side in each square, rather than in tandem. I have to admit it looks well, though of course only one close combat is adjudicated in each, the 'second' element counting towards support the first. But then, how does one decide which is the 'first' or 'primary' fighting element at any given time? Once I'd sorted out this turn, I went back to the 'tandem' arrangement. After all, it does suggest successive battle lines. Mind you, with the 'linear' arrangement, in any given combat with two units in the square one could simply 'pick one', rather than designate beforehand which is supposed to be the lead unit. This might be worth looking into.

After close combat.


First blood went to the Imperialists, inflicting heavy casualties upon the rebel centre, but worse, the heavy horse on the left were routed from the field. The rebels' only success was to repulse the first attacks by the Varangian Guard upon the hill.
Heavy losses among the rebels; but that hill is proving
hard to take!


The marines took up the fight on this wing, surging up the slopes, with the rallied Varangian Guard returning to the fray. As the struggle continued in the centre with no further progress on either side, the light horse holding a tenuous left flank also suffered some loss. At this point of the battle, the rebels had lost four strength points, the Imperialists, none!
Heavy Imperial pressure all along the front

Even though the marines were in their turn repulsed by those stout skoutatoi on the hill, the trend of the battle seemed unlikely to alter its course. But the Goddess Hexahedra is ever fickle - quite without memory, according to tradition. One may never predict what is to happen based upon what went before. It was probably true to say this battle didn't alter its course, but perhaps one could say a dam seemed to be placed across it. 


The first slight hint that the Imperialists were not going to have matters all their own way appeared on the right. The arrows of the light horse began to pick off the bows and spearmen among the skoutatoi facing them. This hint, however, was perhaps hidden by the rout of the lead cavalry unit from the rebel centre. Kantankeros was left with his own bodyguard to face the might of the kataphraktoi and Tagmatic kavallaioi commanded by the Emperor in person.

A second rebel unit bites the dust!
The deadly arrows of the rebel prokoursatores proved too much for the Imperial skoutatoi, and they soon broke up and fled. This was hardly a disaster, though, as behind them stood a body of kavallarioi.  Surely they would be more than a match for light horse that had already taken some stick? The 'score' at this point was Imperialists, 2SP lost; Rebels, 5SP lost.
But now it id the turn of the Imperialists to
bemoan losses.  The skoutatoi rout.

The Imperialist army once more closed with the enemy. The Varangian Guard mounted the third assault upon the infantry-held hill, with the help of the rallied marines. For all their earlier reverses, losses on this flank were negligible on both sides (i.e.nil SP). Meanwhile, all along the line, the rebels were presenting a thin and seemingly permeable front.
Imperial attacks resumed.

But that line was proving harder to crack that the Emperor awaited. True, the light horse were for the moment driven from the field, but the losses among the Imperial army were beginning seriously to mount. For that insignificant success - the light horse would soon be back - the Imperial loss had grown to 4SP; the rebels' was still on 5.  
The first sign the Rebel line is wavering...

The battle line wavered as rebel units, driven back, rallied, and returned to the charge. First it was the light horse, then Kantakeros's own troop, and then the defenders of the hill, with the third assault, forced altogether from the feature. But they had exacted a toll: one SP from the Varangian Guard. Now the 'score' was 5 SP lost to both sides.  

Still grimly hanging on...
The Varangian Guard storming the hill defended 
by rebel skoutatoi


As the Guard fell back once more to rally and reorganise, the marines were left to occupy the hard-won high ground. Meanwhile, the rebels had more or less restored their line (the victory criteria I make contingent upon who has the initiative at the time, either the second half of an IGoUGo turn, or who wins the initiative roll. So far the rebels had been lucky).

The hill is lost!

For all the difficulties the rebels succeeded in throwing in the Emperor's path, they were barely hanging on. It seemed merely a matter of time before the final collapse would ensue.  

But not yet!  A counterattack by the rebel skoutatoi drove off the marines, and recovered the high ground. The Imperial left had it all to do again! Instead, they were to suffer their third repulse of the day,  as the marines were driven back upon the Varangian Guard.
The hill changes hand a second time - but 
for Kntankeros, the battle is lost

The final blows were struck on the right and in the centre.  Although damaging the heavy cavalry facing them, the light horse were finally put to the rout, and abandoned the left wing altogether.  In the centre, a terrific battle led to both sides having to fall back. (This is shown by the two pairs of sixes, orange being Imperial, green for the rebels.  The first pair are the combat dice: both scored hits without having to calculate for adjustments.  The second pair were the outcome: both sides forced back. Both sides could have taken the SP hit instead, but it would have made no difference.  The loss of the light horse decided the battle.  The total loss on both sides now stood at Imperialist 5SP; Rebel, 7SP).
Fierce fighting in the centre


So the survivors of Kantankeros's army drew off to the west, the rebel Governor himself suffering no hurt in the combat. For the second time, though, his troops had, in the face of apparently imminent defeat, proved stubbornly difficult to overcome. Failure to capture of kill the rebel leader meant there would be at least one more battle before the boot and heel of Italy could be reclaimed by the Empire...


To be continued ... Battle of Apulia


Saturday, April 16, 2022

Byzantiad: Insurrection in Italy (1)


Imperial beach landing near Brindisi


"After due preparation, the Imperial army, accompanied by the Emperor, and carried by fleet transports escorted by droman warships, made a safe landfall close by the city of Brindisi, on the east coast of Apulian peninsula. So rapid was the imperial response to the sedition of George Kantankeros, that the rebel had not betimes gathered all his strength. Yet he was determined to stop the imperial army on the beaches if he could, and drive it into the sea."  Michael Psellophanes, Byzantiad 


Imperial marines landing near Brindisi

 The size of the Rebel army in this first battle of the 'Apulian War' was determined by die roll. These 'wars' go for three battles at a time, representing maybe a month's campaigning. Of course, it may continue subsequently, depending upon the 'attitudinal' changes that might occur xenographically or domestically - that is to say, as determined by the campaign move dice rolls. It is assumed that the attacker has available his full strength, 6 units. The defender begins with 4 to 6, adding one in subsequent battles to a maximum of 6. Against the Fatimid raid, the defending provincial army began with 5, and in the subsequent battle its 6 units drove the Fatimids back across the Orontes River.

First blood to the Rebel Army

For this expedition, I departed slightly from my 'standard' Imperial army, substituting for the light horse unit a body of 'marines', spear and javelin armed sea-going soldiers capable of fighting at sea. Lighter than their closer-order brethren, the skoutatoi, they were better suited to fighting in bad or difficult going. Here is the organisation:


Byzantine Imperial Army:

Commander: Emperor Dementius Katanyxis with Heavy Cavalry, 3SP (elite)
Cataphracts, 3SP (elite)
Heavy Cavalry, 2SP (average)
Varangian Guard spearmen, 3SP (elite)
Skoutatoi 'protected bowmen' (spear, bow), 2SP (average)
Marines from the fleet, loose order spearmen, 2SP (average)

6 units, 15SP

This is a very powerful force!
Imperial cavalry charge rebel foot...

Kantankeros brought with him:

Commander: Kantankeros, heavy cavalry 3SP (average)
Heavy Cavalry, 2SP (average)
Light horse (lance, bow), 2SP (average)
Protected spearmen (spear, bow), 2SP (average)

4 units, 9SP

You would think, wouldn't you, that so overmatched this army wouldn't last long. Nor did the early events indicate otherwise. But... you never know...
... and scatters them to the wind.

Now, as my standard practice, the 'invading' force begins with the initiative, and goes first, the initiative being rolled for in subsequent turns. There is some argument in favour of reversing that for seaborne landings, or maybe subjecting the first move also to a die roll. Bear in mind, though, that there is a 50-50 chance the defenders will win the second initiative roll, and so be the first to get two moves in a row.  
Imperial drive in the centre

A quick word on the board. The terrain rolled for was blank - I rolled a '1'. But it did occur to me that the corner sections of the board could at least give the impression of a plain set among other accidental features - hills, woods ... towns. So the town you see - let's call it Brindisi, or a suburb thereof - has no game significance other than to make the board visually a bit more interesting. The battle took place close by a city, shall we say.
Looking desperate for the rebel Kantankeros
The Imperial army advanced from the beaches with kavallarioi leading the Varangian Guard on the left; the extra-heavy kataphraktoi advancing in the centre, accompanied by the Emperor's personal troop, and, on the right, the skoutatoi, supported by the marines. Outnumbered as he was, Kantankeros placed his own infantry on his right, facing the heavy cavalry and Varangian Guard, himself in the centre and his other unit of kavallarioi on his left. In reserve he kept his prokoursatores light horse, ready to intervene when needed.
Kantankeros barely escapes capture

Although first blood went to the rebel army - a hit upon the kataphraktoi - fortunes rapidly turned against them. The imperial heavy cavalry quickly rode down the rebel foot, forcing the early commitment of the light horse to try and preserve the line. Kantankeros's own cavalry unit also took some hurt, the rebel leader himself barely escaping capture (the 10 rolled on the green dice above). Only on the left were the rebels holding.
Rebel light horse stops Imperial left
from breaking through. 
There they were more than holding.  Scoring a hit, they then forced the skoutatoi back upon its supports, almost as far as to the landing beach.
Imperial right wing driven almost
to the landing beaches

After such heavy early losses, it seemed that the rebel army must surely suffer a quick and early defeat. Not these fellows. The light horse pitched into their heavier adversaries and, to everyone's shock and horror fairly routed them from the field. They had taken some loss themselves, and still had the Varangian Guard facing them, but the light horse had, by some miracle, restored the line.
Imperial left flank kavallarioi routed 

So had Kantankeros's personal cavalry unit, driving back the heavier cataphracts behind the Emperor's own horse. So the battlefront had become skewed, the Imperial left on the brink of breaking through the light horse, the centre stymied for the moment, and the right driven back almost to the shore.


The Rebel resurgence didn't end there. The fight in the centre found the Emperor himself driven back towards the landing beaches, but the Rebel cavalry were too exhausted to follow up. The close combat had resulted in 'force back' results for both sides - not unexpected with the pluses for generals and supports.  

Such good fortune could not last, of course. With the support of the marines, the skoutatoi fended off their attackers, and drove them back to their start line. (About to dice out the combat on the Rebel right, I noticed the Imperial cavalry there ought to have been removed.  Fortunately I saw this before the close combat dice rolls!)
Imperial centre and right driven back
 to the landing beaches 

Now the Imperial army seemed to catch its second wind. Lumbering forward, the kataphraktoi thundered into Kantankeros's personal command and forced it back from the field. The Varangian Guard forced back the light horse. The battle might have ended there, but the rebels still had one chance of keeping the field. Back came the last ditch counterattack.


Imperial centre renews attacks

It was the last throw of a gambler left with little more to lose. The Light horse broke upon the spears of the Varangian Guard, and scattered into the countryside.  Kantankeros's own command failed to make any impression  agaist the powerful Imperial centre, and they also drew off - in good order still, but the battle decisively lost.  


Rebel army finally defeated; Kantankeros escapes
to fight another day...

Considering the disparity of force, this proved a remarkable battle. The early indications were that the Imperialists were in short order about to sweep the rebels from the field. Then the latter's counter-attacks drove more than half the Imperial Army almost back to the beaches. But there was never really any doubt as to the final outcome.  

So now the Emperor had reestablished at least a foothold upon the separatist province of Apulia. The victory had cost 4 Strength Points; the Rebel army had lost 6.  The following day, the Imperial Army marched northwest, toward the the Langobardian seaport of Tarentum.

To be continued,
the Battle of Langobardia

Sunday, April 10, 2022

Byzantiad - Trouble at Antioch (2)

Ineffective opening volleys of Fatimid arrows


"Following the inconclusive action at the hill of St Symeon, the Byzantine and Fatimid Egyptian armies hung around the area for the next few days. The Strategos of the region, Constantine Constantinopoulos, awaited a reinforcement of heavy cavalry; the Amir Doumai Ed Din, continued, rather cautiously, to raid and rieve the countryside about. Satisfied he could now face the Egyptians on roughly equal terms, the Strategos once more advanced to offer battle. The armies met, as before, at the hill of St Symeon.

Byzantines' first attacks

The opposing forces were the same as those of the previous battle, but for the addition of a body of heavy cavalry to the Byzantine army..."  
Michael Psellophanes, Byzantiad
losses mount on both sides

Seizing the early initiative, the Egyptians advanced in two waves, the 'abid at left and centre with their spears and bows, and the light horse on the right, where they pelted the peltastoi with arrows.  The Egyptian archery proving wholly ineffective, Constantine unleashed his plan. He had formed up as before with the infantry on the flanks, and the prokoursatores light horse covering the centre. But these were merely a screen behind which lay his striking cavalry.  


The return archery covered the charge of the heavy cavalry all along the front, passing through the gaps in the columns of infantry. On the left, the Berber horse incontinent fled behind the Dailami spearmen. The following up kavallarioi crashed into the loose order formation taking and inflicting some loss. On the other flank, the 'abid were equally discomfited, though the Byzantine horse did not follow up quite so vigorously. In the centre, Constantine's charge failed to break down the 'abid foot, who met the initial onset stolidly. 
Fatimid counterattack on their left and centre

Thus encouraged, the 'abid on the left advanced to restore the line, whilst the Amir himself brought his personal command forward to bolster the centre. Heavy fighting continued with the Egyptian right refusing to give more ground. When the centre 'abid finally drew back, Doumai Ed Din (Doumayyeddin) charged to cover their withdrawal. Although outnumbered, he gave Constantine several moments of anxiety, and inflicted some loss, though without forcing him back.

Fatimid 'abid driven in...
... but Constantine's horse 
takes a knock


Gradually, however, the Byzantines began to assert a dominance over the field. Backed up by the peltastoi on the left, the kavallarioi drove in the Dailami spears, and struck the light horse behind them. In the centre, although Constantine's cavalry were driven back to the hill covered by his light horse, the Amir himself was glad to pull back onto his 'abid line. On the right, the skoutatoi took up the cudgels against the advancing 'abid. Both sides' infantry suffered heavy losses, but they were too much for the Egyptians, who finally broke and fled.

Left flank 'abid take heavy losses
and are routed


From now on, indications were that the Byzantine tide was on the make, beginning on their right, where only a single unit of ghulam cavalry stood between the advancing skoutatoi and kavallarioi and the open country beyond.  Seizing the initiative, they ramped up the pressure all along the line.
A lull in the battle 


An aside here.  The main feature of the 'initiative roll' is that one side or the other will get two moves in succession, and that can reap dividends.  During the Pecheneg raid, the Byzantines could hardly buy a successful initiative roll, I think winning it just once in each, with the consequence of course that the Byzantines' 'two-movers' were followed at once by the Pechenegs'. No wonder the Byzantines had, despite their advantages, such a hard time of it. In this second battle against the Fatimids, the initiative changed hands several times, but the Byzantines took better advantage of it (i.e. their combat dice were better!).
Byzantines seize the initiative

The Byzantines now piled in all along the line, giving and taking heavy losses. The left flank cavalry broke and routed, but not before dealing heavy blows upon the Berber light horse. In the centre, the Amir's cavalry took some stick, and on the right, the Egyptian ghulams were just barely holding the Byzantine onslaught.  At this point losses amounted to 4SP to the Byzantines, 6SP to the Fatimids.


Fatimids, desperately hanging on, drive off 
left wing Byzantine cavalry 


In desperation, the Dailami spearmen returned to support the Berbers, and there managed to hold up the Byzantine spearmen.  Elsewhere, it was to be a different story.


On the right, the exiguous Egyptian front gave way as the Byzantines drove the ghulams from the field. In the centre, Doumayyeddin's cavalry fell back also, to be joined by the retreating 'abid, as the following up Byzantine horse chivvied them back.  At this point, there were now three Fatimid units in the reserve zone, which under the rules, might accommodate two. Probably as 'last in' the 'abid foot ought to have been the unit removed. But, not having any real basis for a decision subjected the matter to divine arbitration by the goddess Hexahedra - I rolled a die. The result was that the Amir's own cavalry departed the scene. This did not count for SP loss, merely that the army commander (unhurt in all the fighting) was no longer available to let the light of his countenance encourage the troops. Oddly enough, the SP score was still 6-4 in favour of the Byzantines.
One too many units in the Fatimid rear zone 


Now it was a matter of who won this initiative this time. It was the Byzantines. Given not even a problematical chance to recover their fortunes, the Egyptians drew off in defeat.  

Byzantines retain the initiative to keep
the Fatimids from counterattack. 
There ended the Fatimid incursion around Antioch, with little success to show. All the same, it gave food for thought to the Tripolitan Amir Doumayyeddin, and his master the Caliph in Cairo...