
I thought here I would 'redo' the army lists in terms of the troop types described in the previous posting, with strength points. I have found occasion since first publishing it to modify the EXCEL table in my previous posting. Otherwise the Army lists have simply been copied across from the earlier posting, and relisted in Portable Wargames 'Byzantiad' format.
Byzantine Provincial (Thematic) Army:
2 x Thematic Heavy Cavalry regiments - @2SP = 4SP (one may be 'poor')
1 x Protected Bowmen - 2SP
1 x Bow Light Horse - 2SP OR 1 x Cavalry - 2SP
1 x Loose Order Spear/Javelins unit - 2SP OR Lance/Bow Light Horse - 2SP
6 units, 13SP
Byzantine Imperial (Tagmatic) Army:
1 x Commander: Domestic of the Schools (δομέστικος τῶν σχολῶν) with Tagmatic Heavy Cavalry - 3SP (elite)
2 x Tagmatic Heavy Cavalry regiments - @2SP = 4SP
2 x Protected Bowmen regiments - @3SP = 6SP
1 x Lance/bow light horse - 2SP
6 units, 15SP
6 units, 13SP
Byzantine Imperial (Tagmatic) Army:
1 x Commander: Domestic of the Schools (δομέστικος τῶν σχολῶν) with Tagmatic Heavy Cavalry - 3SP (elite)
2 x Tagmatic Heavy Cavalry regiments - @2SP = 4SP
2 x Protected Bowmen regiments - @3SP = 6SP
1 x Lance/bow light horse - 2SP
6 units, 15SP
Byzantine Imperial (Tagmatic) Army:
1 x Commander: The Emperor with 1 Tagmatic Heavy Cavalry unit - 3SP (elite).jpg)
1 x Tagmatic Heavy Cavalry regiments - 2SP
1 x Commander: The Emperor with 1 Tagmatic Heavy Cavalry unit - 3SP (elite)
.jpg)
1 x Tagmatic Heavy Cavalry regiments - 2SP
1 x Cataphract regiment - 3SP (elite)
1 x Varangian Guard Close Order Spear regiment - 3SP (elite)
1 x Protected Bow regiment - 2SP
1 x Lance/Javelins Light Horse - 2SP
6 units, 15SP
1. Lombard/ Norman
1 x Commander: King or Duke with Charging Cavalry = 3SP (elite)
2 x Charging Cavalry @ 2SP = 4SP
2 x Spearmen @3SP = 6SP
1 x Bowmen - 2SP
6 units, 15SP
 |
| Normans ... or maybe Lombards. |
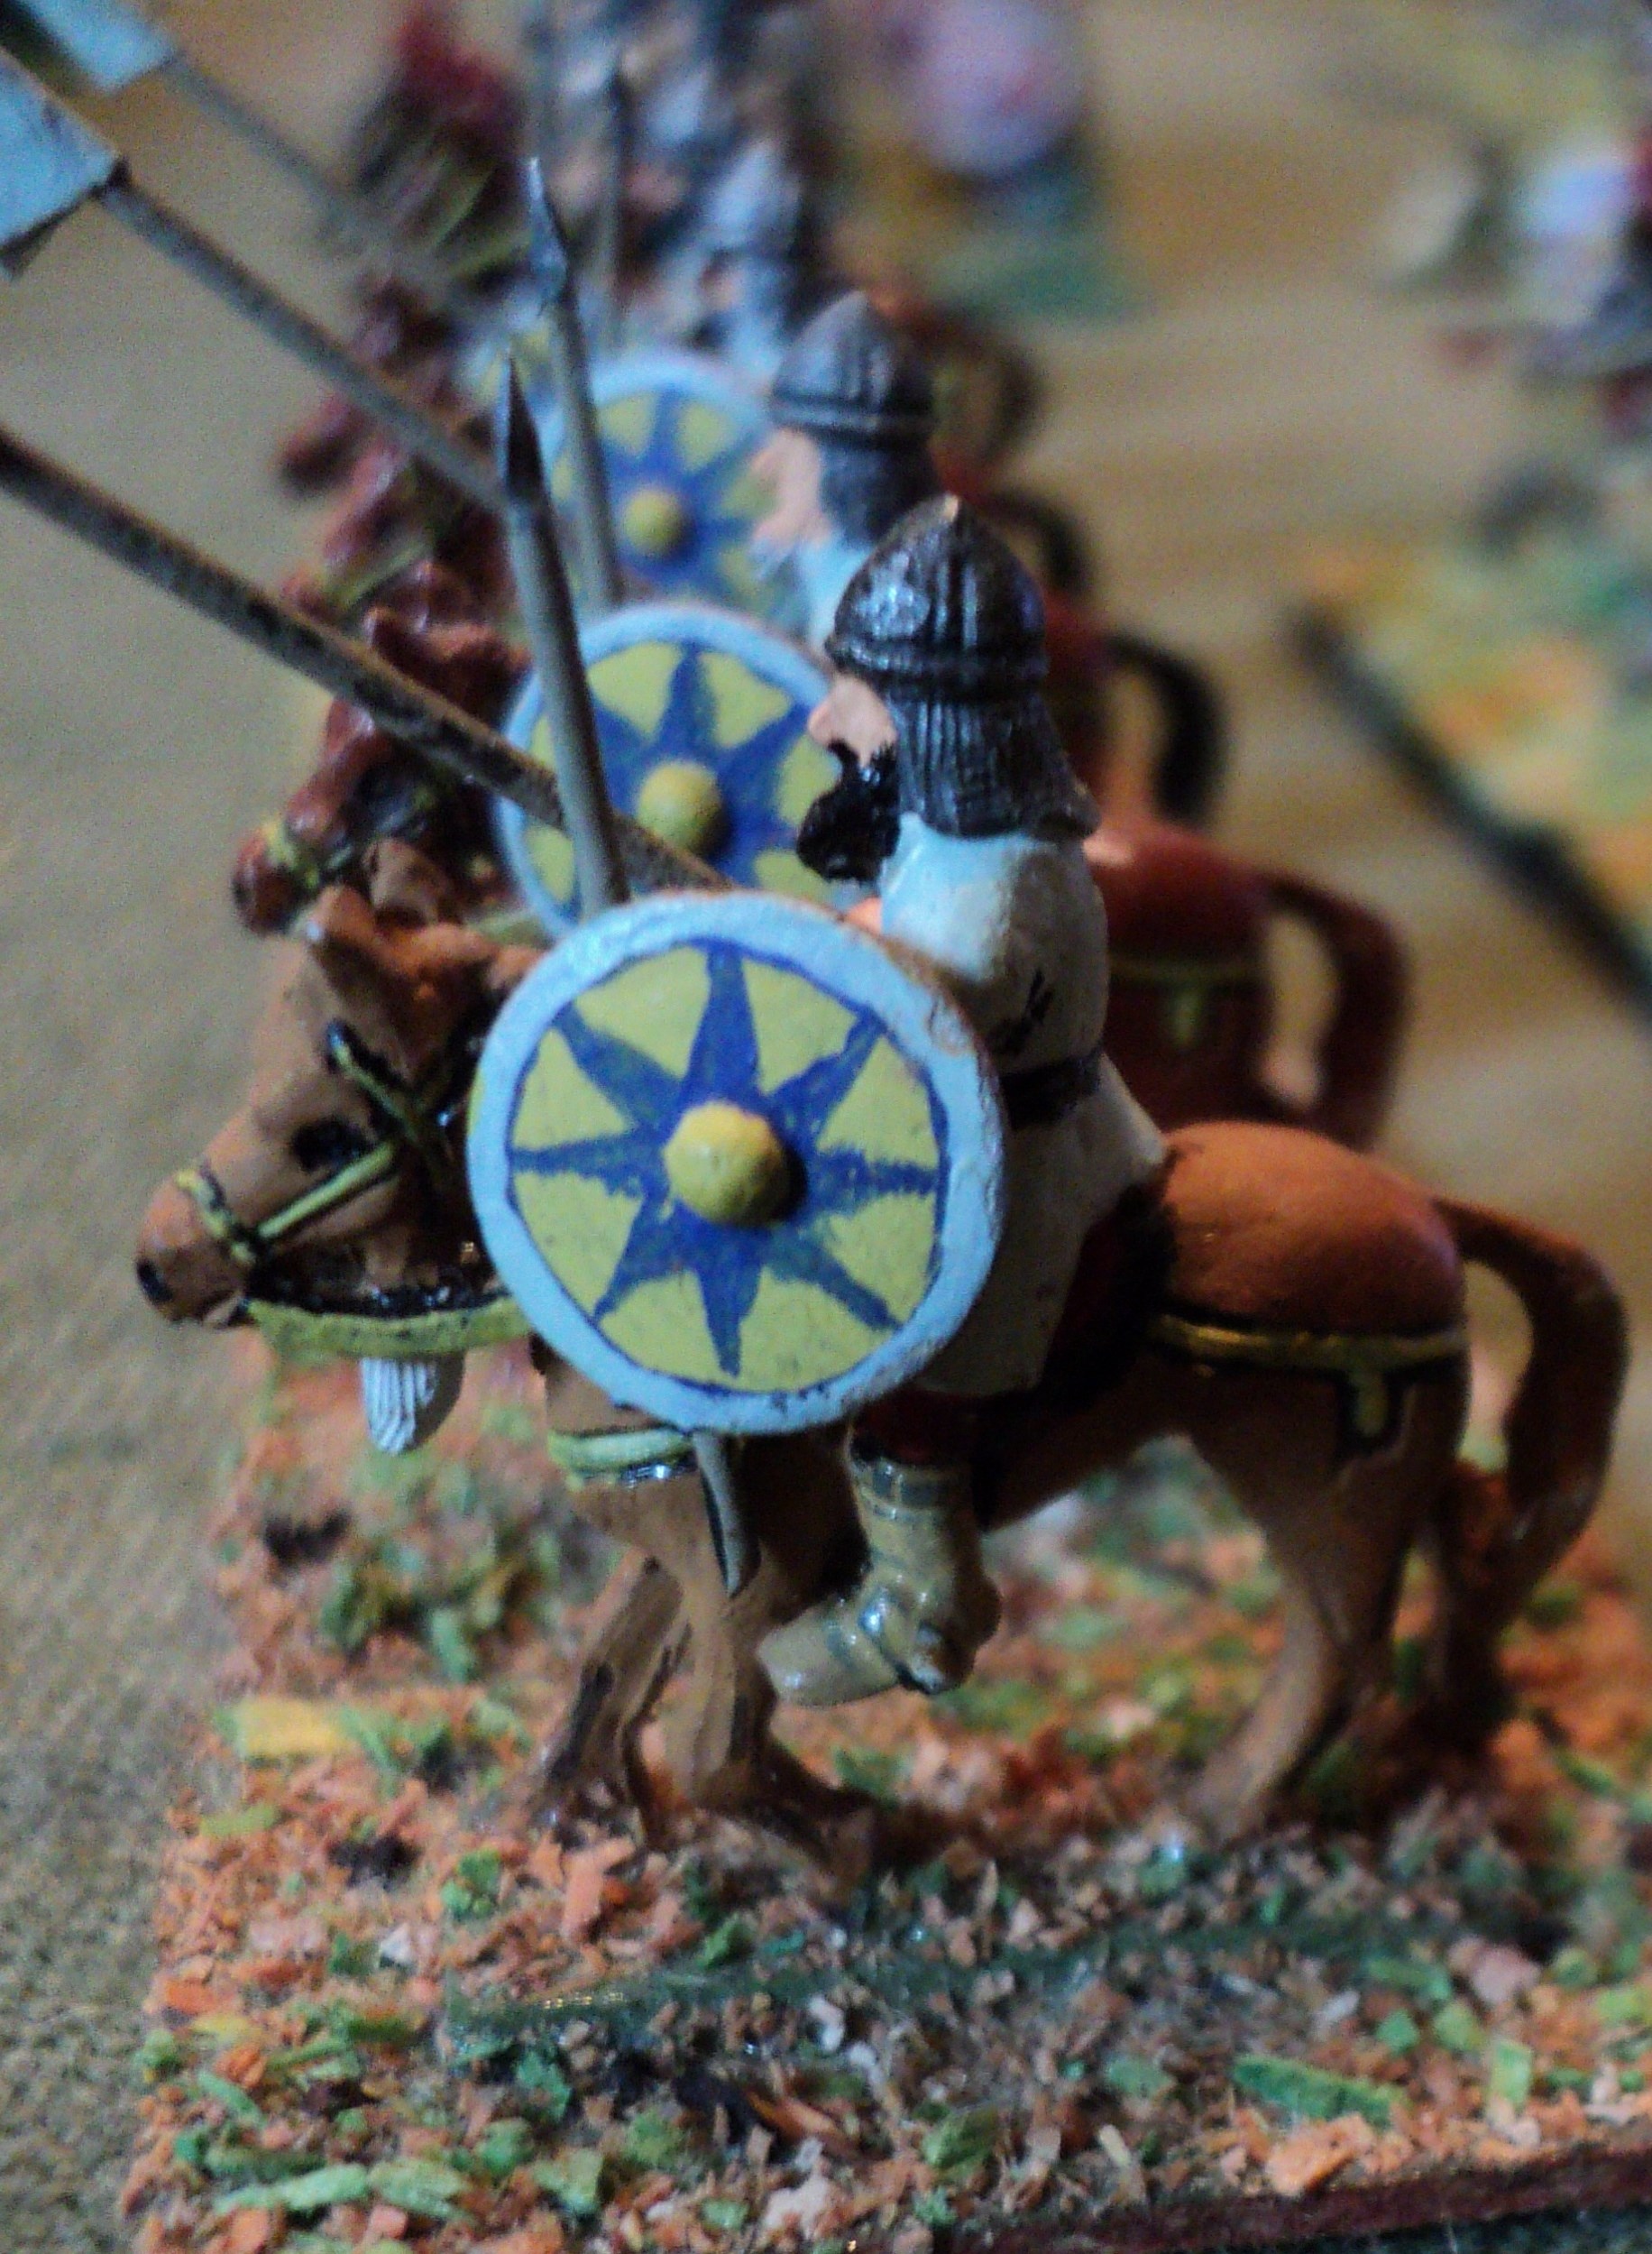
2. Bulgar Empire:
1 x Kavkhan, OR the Tsar if objective is conquest or defence of the realm with Heavy Cavalry = 3SP (elite)
1 x Heavy Cavalry= 2SP
1 x Heavy Cavalry= 2SP
2 x Close Order Spearmen @3SP = 6SP
2 x Bow Light Horse @2SP = 4SP
6 units, 15SP
3.Pechenegs:
1 x Commander: Khan with Noble Heavy Cavalry - 3SP (elite)
6 units, 15SP
3.Pechenegs:
1 x Commander: Khan with Noble Heavy Cavalry - 3SP (elite)
4 x Bow Light Horse @2SP = 8SP
1 x Bowmen @2SP OR War Wagon @3SP
6 units, 13-14SP
4. 'Kievan' Rus
1 x Prince of Kiev with Axemen @ 4SP (elite) or Heavy Cavalry @3SP (average)
4 x Close Order Spearmen @ 3SP = 12SP
1 x Close Order Spearmen @ 3SP or Axemen @ 3SP or Bow Light Horse @ 2SP
6 units, 17-19SP
1 x Bowmen @2SP OR War Wagon @3SP
6 units, 13-14SP
4. 'Kievan' Rus
1 x Prince of Kiev with Axemen @ 4SP (elite) or Heavy Cavalry @3SP (average)
4 x Close Order Spearmen @ 3SP = 12SP
1 x Close Order Spearmen @ 3SP or Axemen @ 3SP or Bow Light Horse @ 2SP
6 units, 17-19SP
5. Abasgians/ Georgians
1 x Commander: Prince with Charging Cavalry - 3SP (elite)
1 x Charging Cavalry - 2SP
2 x Close Order Spearmen @ 3SP = 6SP
1 x Commander: Prince with Charging Cavalry - 3SP (elite)
1 x Charging Cavalry - 2SP
2 x Close Order Spearmen @ 3SP = 6SP
1 x Bowmen - 2SP
1 x Bow light Horse - 2SP
6 units, 15SP
6. Bagratid Armenian
1 x Commander: Prince with Charging Cavalry - 3SP (elite).jpg) 1 x Heavy Cavalry - 2SP
1 x Heavy Cavalry - 2SP
1 x Bow Light Horse - 2SP
2 x Close Order Spearmen @3SP = 6SP
1 x Bow Light Infantry - 2SP
6 units, 15SP
7. Seljuk Turk
1 x Commander: Sultan with Heavy Cavalry - 3SP (elite)
4 x Bow Light Horse @2SP = 8SP
6 units, 15SP
6. Bagratid Armenian
1 x Commander: Prince with Charging Cavalry - 3SP (elite)
.jpg)
1 x Bow Light Horse - 2SP
2 x Close Order Spearmen @3SP = 6SP
1 x Bow Light Infantry - 2SP
6 units, 15SP
7. Seljuk Turk
1 x Commander: Sultan with Heavy Cavalry - 3SP (elite)
4 x Bow Light Horse @2SP = 8SP
1 x Bow Light Horse or Bowmen or Bow Light Infantry - 2SP
6 units, 13SP
8. Fatimid Egyptian
1 x Commander: Appointee of the Fatimid Caliph with Heavy Cavalry - 3SP (elite)
6 units, 13SP
8. Fatimid Egyptian
1 x Commander: Appointee of the Fatimid Caliph with Heavy Cavalry - 3SP (elite)
1 x Heavy Cavalry - 2SP
2 x Protected Bowmen @ 2SP = 4SP
1 x Loose Order Spearmen - 2SP
1 x Bow Light Horse - 2SP
6 units, 13SP
2 x Protected Bowmen @ 2SP = 4SP
1 x Loose Order Spearmen - 2SP
1 x Bow Light Horse - 2SP
6 units, 13SP
 |
| Bulgars? ... or Abasgians? |
One might observe from this list that some armies are more formidable - at least in aspect - than others.
1. 'Political moves'.
This is where allegiances and hostilities are determined. At present, the plan is to roll for these whenever a particular campaign 'ends'. I have to admit, the criteria for 'ending' a campaign might not be clear cut! These 'moves' will represent about 1 month's events.
2. 'Campaign moves'. This is generally an invading force moving from battlefield to battlefield along the connecting lines. The defending forces will be assumed to have marched up betimes to face the invaders. I have given the 'Barbarians but one army, but in fact they might sometimes have two: an invading force and a defending force, depending upon events. These will represent about 1 week's events.
In general, 'Campaign Moves' are suggested by the progress of battles, not of army movements.
It is possible that some distance restriction will have to be placed upon the availability of defending forces, especially Byzantine Imperial. However, it is not unreasonable to suppose that the Imperial Army based in Constantinople could intervene within about a month in Italy if called upon.
Just today someone in the facebook group (The Portable Wargame) asked about adding +1 to dice rolls for shooting without moving. Not having considered the matter, I was, upon reflection, inclined not to do so, mainly on the grounds of scale. I have also more than half an idea I forgot to add this factor in my recent 'raid' campaign games (though I did use other modifiers).
Something about Campaign 'moves'.
1. 'Political moves'.
This is where allegiances and hostilities are determined. At present, the plan is to roll for these whenever a particular campaign 'ends'. I have to admit, the criteria for 'ending' a campaign might not be clear cut! These 'moves' will represent about 1 month's events.
2. 'Campaign moves'. This is generally an invading force moving from battlefield to battlefield along the connecting lines. The defending forces will be assumed to have marched up betimes to face the invaders. I have given the 'Barbarians but one army, but in fact they might sometimes have two: an invading force and a defending force, depending upon events. These will represent about 1 week's events.
In general, 'Campaign Moves' are suggested by the progress of battles, not of army movements.
It is possible that some distance restriction will have to be placed upon the availability of defending forces, especially Byzantine Imperial. However, it is not unreasonable to suppose that the Imperial Army based in Constantinople could intervene within about a month in Italy if called upon.


.JPG)
.JPG)


.jpg)


.jpg)


