The rapid advance of the British mounted troops had enabled them to establish a preliminary line northwest from that angle of the St Arnac village. Very soon the RHA guns were in action, knocking over several from Ross's veteran Light battalion.

Unfortunately, I took no pictures during the early action, which erupted in response to rather unexpected opportunities. The map will, I hope, clarify the action.
It would be some time before there could be any solidity to that line, as the infantry were still coming up by road and across the fields. Nor did it help that the Heavy Dragoons - no doubt those recruited from the wild Irishmen to be found about Enniskillen - thundered off, to the dismay of General Craufurd, to try conclusions with the French Cuirassiers away to the west flank.
The armoured French horse met them confidently in line, and smashed the dragoons so comprehensively as to eliminate them from the British order of battle.
Emboldened by this success, the French Dragoons, both line and light (Chasseurs), stormed the still tenuous enemy battle line about St Arnac. Riding close to the village, the heavies had to brave a flanking fire from British infantry occupying the NW quarter, but then were suddenly amongst the guns. Bravely wielding trail spikes and rammers, the gunners were little match for the rampaging horsemen. The British Corps found itself minus its horse battery for the rest of the day.
The Chasseurs were almost as successful as their heavier brethren, also sweeping into the British Light dragoons, and throwing them back with heavy loss. Unfortunately, the Chasseurs allowed themselves to be carried away by the moment (a deliberate 'suck it and see' action on my part that won't be repeated in a hurry). Charging on into the Hussars, their disordered lines were broken up and flung back with ease.
The British then retrieved some of the honour by throwing back the French Dragoons in turn. With The Cuirassiers disordered by their encounter with the British Dragoons, and the Chasseurs and Dragoons wavering, if not altogether broken, General Craufurd could at least count on the French cavalry west of the river to remain out of the battle for some considerable time.
We now resume the pictorial narrative, with the British attempting to reestablish a battle line. By now, however, the French horse artillery were lining the east bank of the Belleau River, just where they could fire into the British flank with impunity. The Hussars remained nearby (out of picture), just daring the battalion guarding the north bridge to intervene.

On the main front, the French continued to advance in lines and columns.

With a French battalion entering the southern end of the St Arnac village, the scene was set for a close quarter fight for possession of the place.

Just as the French entered the village, the British battalion already occupying the NW quarter crossed the main street to meet them. Indecisive as the opening exchanges were - little loss to either side (i.e. none in game terms) - the French were already better placed to up the stakes. The following pictures show the unfolding action ...


Thrown out of the village, the British commanders at this point abandoned their objective (to sweep the valley), and began to draw off. The game now became a fighting withdrawal by the British; a pursuit by the French.

This proved to be quite an interesting exercise for both sides. A major feature of Colin's rule set is the command and control by generals at brigade level and above. That generals have a very limited command radius, and the restriction this places upon units (and subgenerals) that are outside this radius, proved a considerable problem, given that these were forces of all arms, and each side had just two commanders. Ross had already to juggle priorities between his detached hussars and horse guns on the east bank of the river, and his main body on the west side. I had similar problems concerning what I was demanding of the horse, the foot, and some of the rearward units coming up.
Although Ross gave vent early on to some disgust at this situation, I felt that he - we both - handled the situation as well as we might have done. The British more compact position made things a little easier for them, but only relatively, I suspect.

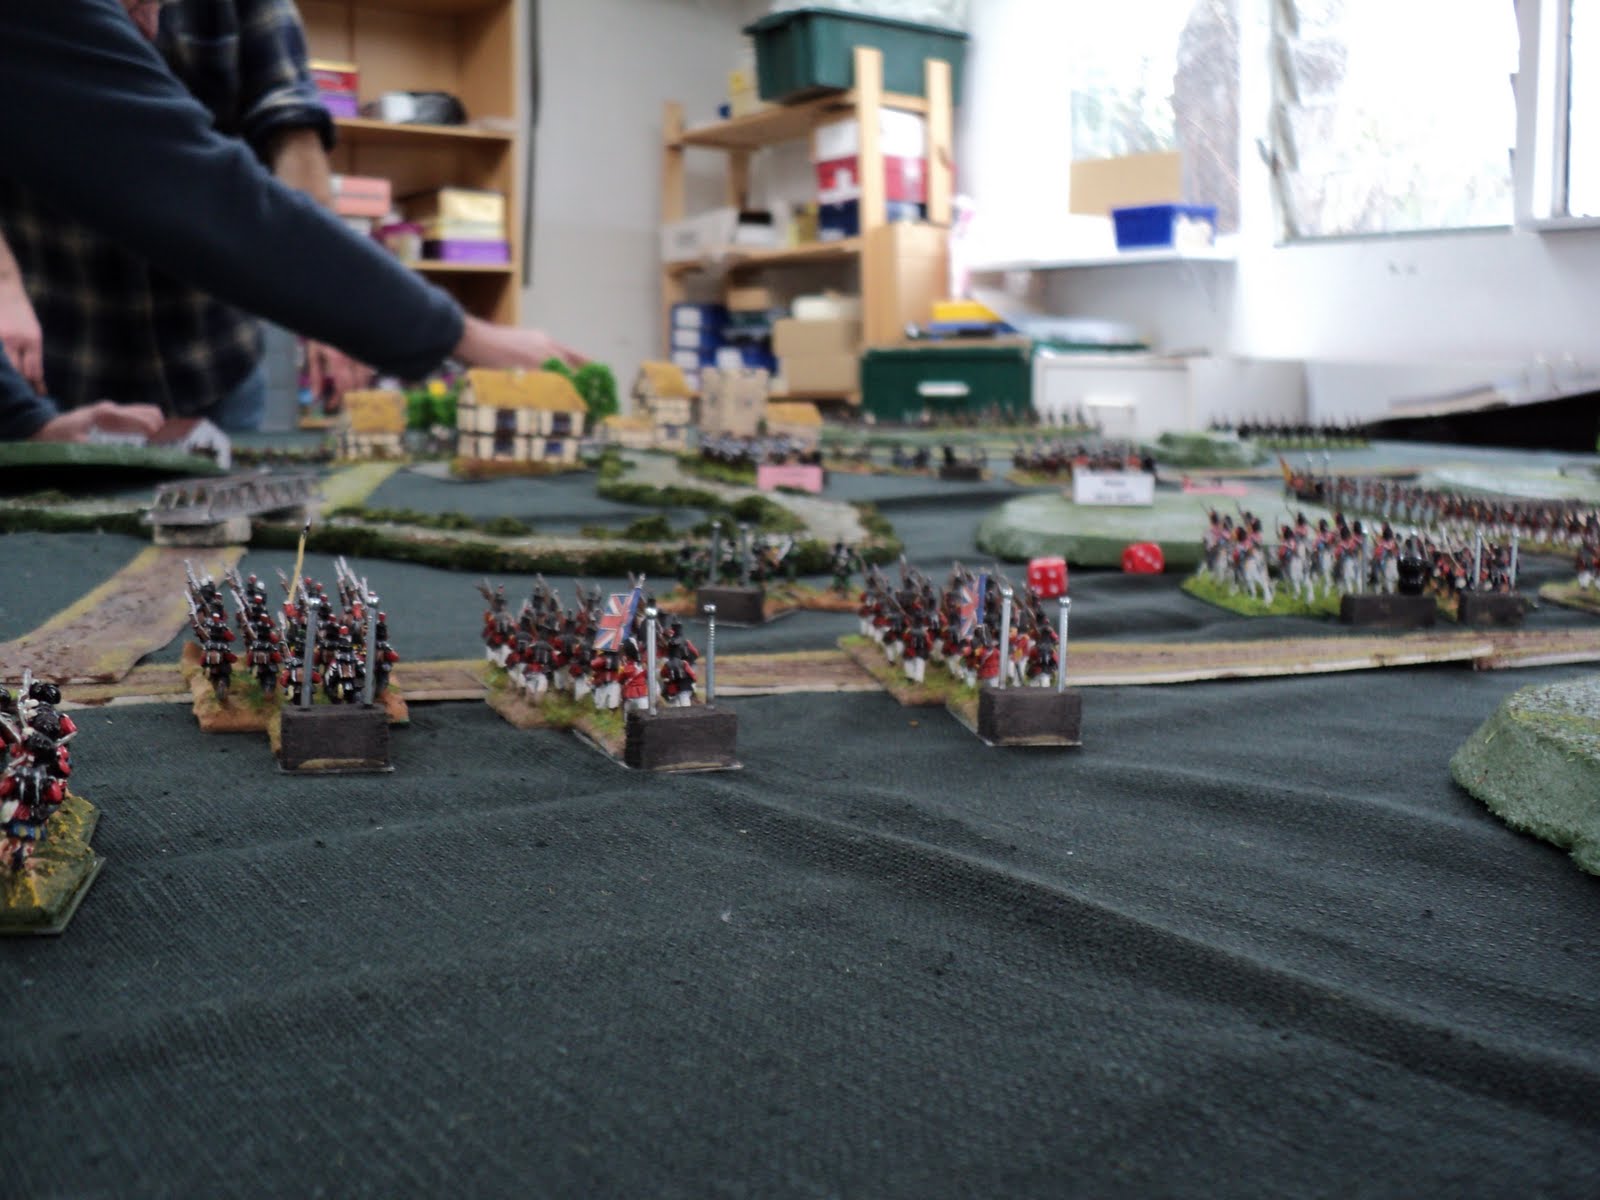
The withdrawal begins. Craufurd lines up 3 battalions, backed by the 9pr company on the hill, to cover the withdrawal of their comrades. In the far distance, a battalion continues to guard the north bridge leading into the British left rear. They would do so staunchly under terrible gunfire for almost the entire afternoon.
Near Deuxvoies, the light horse await a possible enveloping move by French Cuirassiers.


In that last picture you can see the Cuirassiers just entering the frame to the far left.
Now the French were pressing the British northwards. But owing to the juggling of commands (Charlot, for one, was continually riding back and forth between his cavalry wing, thrown far forward on the left, and his foot, pressing in upon the British reaguard), that the pressure could not be maintained fully. Ross was similarly placed. No doubt the British also had to take care with their arrangements as well.
It was at this point an event occurred that was very disconcerting to the French. Charlot (me) had sent forward his light infantry skirmishers to engage the British line, still in front of the hill, covering the main withdrawal. The musketry exchange that followed turned up an anamaly in the rules, but even had they been as I expected, the skirmishers would have come off a distant second best. As it was, they were blasted back out of range, leaving a good half their numbers in front of the implacable British line (Next 2 pictures; middle distance).


If Charlot's pursuit had suffered a setback, Ross was doing rather better. The victors of the St Arnac fight continued their advance, chivvying back the Rifles, until they were quite flanking the British rearguard line.

The British decided it was high time the rearguard line pulled back. Soon they managed to pull clear of the French pursuit.


These last few pictures show the British gradually breaking off contact with the French, who were not quite able to keep up with their more spread out forces.
The British commanders derived a deal of satisfaction from their successful withdrawal, especially as, once it had begun, they were handing out as many hard knocks as they were receiving. It is my long-held belief that a good test of a rule set is whether one can conduct under them a withdrawal in the face of enemy pressure: a fighting retreat, shall we say. In my view, 'Vive l'Empereur' stood up well to the demands placed upon them...