Showing posts with label First Blacklands War. Show all posts

Thursday, March 18, 2021

The First Blacklands War - Table of links

The First Blacklands War having reached a conclusion, here is a 'Table of Contents' series of links to the thirty-four (!) postings that made up the campaign narrative.  My thanks go to Bob Cordery whose idea this was. 

The first week of the war


Fleet action


First battle


Each successive line is a separate link, the list following the chronological order of their posting.  Just 'left-click' on a line to link to the blog article.

Tuesday, March 16, 2021

The First Blacklands War - The End


The Storm of Scutari

The besiegers have infiltrated the town,
aided by anti-Imperialist townsmen


General situation in the Blacklands
after five weeks of war.


Having apparently inserted themselves into besieged Scutari through obscure postern gates left open in the southwest quarter of the fortifications, the infiltrating Black Mountaineers thought to have effected a surprise as they advanced along the line of the west wall. In this I allowed the attackers a kind of 'free hit', attacking the defenders in flank, the close proximity of the south wall defenders to be ignored for one turn. All it required was for them to score a '4' upon a D6 to effect a hit, and possibly to eliminate the defender altogether.  
 
Attacks against the north face of the town

The signal to attack was given by a salvo from the Black Mountains' sole artillery - their mountain guns, proper siege weapons not to be had. It was owing to this lack that the siege, already of two weeks' duration, had been unlikely to end by breaching the walls. Upon the signal the infiltrators began their charge, whilst at the same time, the whole of the remainder of the army, concentrating in the north and east of the town began their storm.

Attacks against the east face.

The first, most easily reached, objectives were the demi-lunes before the walls. The east demi-lune threw back the first attack with loss, but were unable to sustain the second that quickly followed. The northern demilune, subjected to as much gunfire as the Mountaineers could fling at it, also succumbed early on.
Failing to achieve surprise, the infiltrators face a
counterattack by twice their numbers.


Had events within the town fallen out as favourably, no doubt the place would have been overrun and the garrison surrendered in due course. It appears that the hoped for surprise was incomplete - if the whole emprise had not been betrayed, withal - for the infiltrators were met by a surprisingly resolute resistance (they failed to roll the necessary '4'). Unable to push on, they were themselves assailed in flank, and pushed into the unoccupied southwest bastion. There they were to remain bottled up for the duration of the battle.
Infiltrators driven into an unoccupied bastion.

The capture of the demi-lunes had neither of them been achieved without heavy loss, but the attacks continued to be pressed with determination, against both northern bastions.

The East demi-lune is the first to fall, but not 
without cost to the Mountaineers.

..then falls the north demi-lune.

In the face of stiff resistance the Mountaineers pushed their way into the northeast bastion, the defending artillery out, and into the main town.  
The northeast bastion now falls...

Following up, they inflicted some loss upon the gunners and their guns, but were themselves driven in rout from the bastion (the attackers lost their second and remaining SP; the artillery, lacking a retreat, also lost one).
... but the attackers driven out.

The first wave having receded from the contested bastion, the second wave surged in before the guns could be brought in to reoccupy it.  Once again the fighting was fierce and bloody.  The combat dice were the duplicates of the previous (a 5 and a 6 rolled). Both side lost SPs, enough to eliminate the Garrison's artillery, and to halve the attackers' strength. 

The second wave of attackers overrun the bastion 
before the garrison can reoccupy.

As they overran the guns and surged into the town, prospects seemed to be looking bright for the besiegers. The northwest bastion had also fallen, albeit with heavy loss. But along the main north wall itself, the attackers remained held up in the ditch behind the demi-lune. General Bogotan was soon to insert himself into the action there, in the hope that his presence might tip the balance.


The battle for the Northeast sector of the town.  
Meanwhile the Northwest bastion has also fallen.

Nothing loth, the Garrison Commander also thought his august presence might be the thing to sustain a desperate defence. For the moment at least, the Mountaineers seemed on the brink of victory, if they could but press further into the town. The garrison's resistance seemed to be weakening. It had reached its exhaustion point - 6SP lost - but the attackers, with no great superiority in numbers to begin with, were themselves beginning to flag. They had also lost 6SP; just one more, and that would be the end of the attack, unless the garrison surrendered betimes. Three bastions and two demi-lunes having fallen, that seemed by no means improbable.

The commanders join the fight for the north wall.

There was to be no surrender. Exhausted though they were, the garrison brought the close quarter fighting at the southwest bastion to a successful conclusion...

... which is reoccupied by the garrison.


The infiltrators driven out from the southwest bastion...

... just as, aided by the protection of the walls, the on-going close combats to right and left drawing off threats to either flank, and encouraged by their commander, the defenders of the north face of the town threw off their assailants. Lucky to survive, General Bogotan was caught up and carried along in the rout, back to his own lines.  
The defeat of the north wall attack - the '4' is
enough at least to force back the attackers...

The storm has failed. Just barely, but the failure was as complete as it was dire. The Allied plenipotentiaries in Genevra were to be left with nothing more than a tenuous hold upon Vardar province to bring to the council.
... but the 'hit resolution' destroys the attacking unit.
General Bogotan is forced to flee.

The End of the War

In their capitals, Kings and Princes were aghast, the negotiators in Genevra left without any worthwhile leverage, the whole six-week war having achieved nothing towards the territorial aggrandisement of even one of the Allies.  In Ionople, of course, the Sultan would have been cock-a-hoop, had cock-a-hoop-ness been in the style of Sultanry, and the grins of his representatives in Genevra reduced their opposites to incoherent, spluttering rage.  

Much blame was to be heaped upon the General who failed at Scutari.  Despite the insistence of the other potentates, the Black Mountains Prince was rather disinclined even to admonish, let alone cashier or execute his army commander, who might be difficult to replace with one with equal ability.  He knew as none other, that his peremptory order handed his commander a near-impossible task.

Ship carrying Turcowaz plenipotentiaries up the 
Illyrian Sea on the way to Genevra 
(detail from old Diplomacy map)

For his part, the Sultan was inclined to forbearance in the peace negotiations that were to follow. Insisting upon the acceptance of the status quo ante bellum, he permitted himself to be overborne upon the subject of reparations, accepting the barest minimum that, in his view at least, accorded with his honour and dignity as ruler of the Settee Empire. The instructions he had relayed to his Genevra embassy were to demand treble that minimum, but to allow themselves, of course with 'extreme reluctance' to be beaten down to his 'line in the sand.' The World in general agreed that His Imperial Magnificence might justly have stood out for settling upon more than he did.

Even so leniently treated, in the following months the Allies rather chafed under their financial treaty obligations. Persuading themselves they had been harshly and unreasonably treated, they once more began to harbour against the Settee Empire resentments that seemed to justify their casting covetous eyes upon the Imperial provinces. The murmur towards a second attempt against the Settee Empire were not long in being heard once more in the Blacklands' capitals...

To be continued?  Maybe. 


Saturday, January 30, 2021

First Blacklands War: Convoy


A week after breaking out from the Dardanelles Strait, the protected cruiser TNS Hamidiye was lurking far to the south in the open Mesogesean Sea, and heading further south, past the small island of Kassos.  As luck would have it - there seemed no other explanation for the fortuitous encounter - as the Hamidiye came clear of the island, its lookouts at once spied, at no great distance to the southeast where it had been previously masked by the island, a small Hellenic convoy, heading due west.  Obviously those ships would soon have altered course to pass through the strait between Kassos and Creta, thence on to Piraefs, the port of Athenae.   


It was 'Helm aport!' at once aboard the Hamidiye.  The convoy comprised four vessels, the armed merchant cruiser SS Iphaisteio, and 3 unarmed merchantmen.  Slow as these lumbering vessels were, there was little hope in outrunning the faster light cruiser.  Commanding the convoy aboard Iphaisteio, Commander Yiannis Xiphias at once ordered the convoy to alter course to the south, and, steering his own vessel such as to bring his broadside guns within range, made for the rapidly closing enemy.

This was something of an indulgence: I simply wanted to 'do' a 
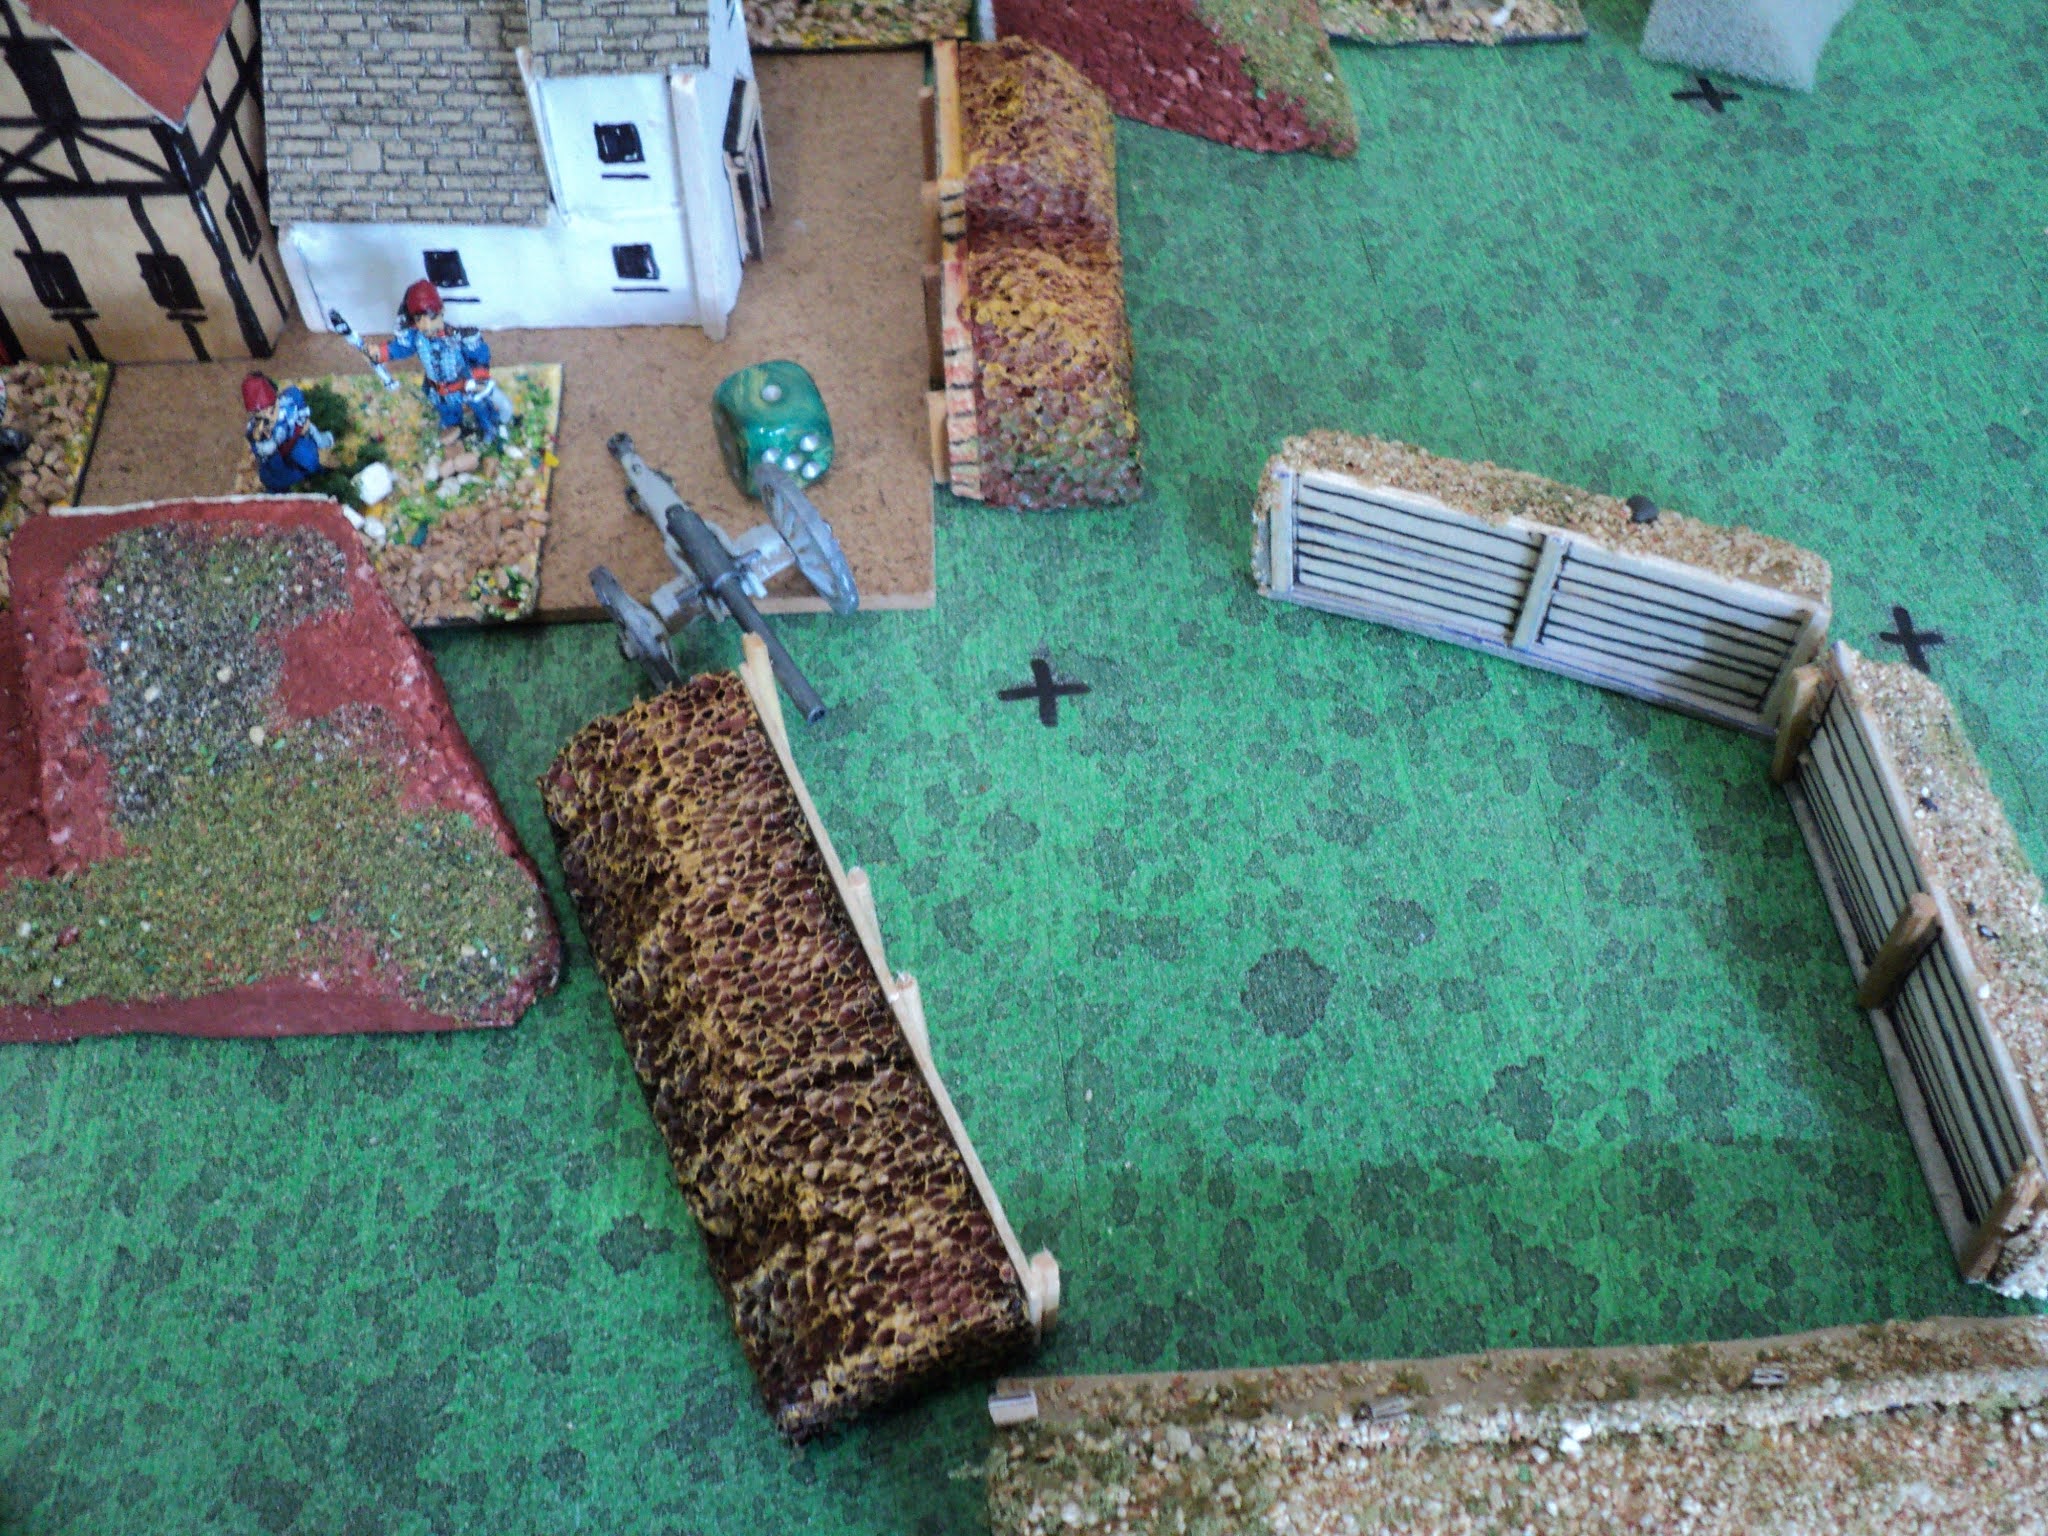
HMS Jervis Bay type of action. To be sure, it could go but one way, but what the hang, eh? As it happens, Paul Jackson had stopped by to have a look at my newly acquired Turing Tumble toy (a birthday present six weeks early), and I thought I'd rope him in to the action commanding the commerce raider.

Here are the Stats;
Turcowaz: Captain Rauf Orbay:
Speed: 3 hex maximum.
 
Hellenia: Commander Yannis Xiphias:
SS Iphaesteio   Flotation 6/1 Main Broadside  3  2  2  1  x
                                               Main Fore/Aft   1  1  1  1  x
                                               2-dary B/side     1  1  1  1  x
SS Ithaca         Flotation 6/1  Unarmed
SS Skythios      Flotation 4/1  Unarmed
SS Lefkada      Flotation 4/1   Unarmed

(I had the EXCEL file copied in fine, but, discovering a slight error, corrected the file, then tried to replace with the correction.  Of course it wouldn't 'take'.  What did I expect?)

In a change to the original Gridded Naval Wargames I made all merchant vessels' speed 2-hexes maximum.  I figured that if they could match the raiders' speed, the chances of their escape were just too high. I also decreed that a vessel whose Flotation Points (Value) had been reduced to 0, was not sunk, but became salvageable, perhaps, given time, by its own crew.

I actually made one other change - actually a mistake - but I'm inclined to think not an unreasonable one.

The encounter occurring about early to mid-afternoon, I gave the raider 15 turns to do whatever damage he could

So to the action:  SS Iphaisteio at once took on the enemy raider.  As the range rapidly closed, the Hellenic vessel altered course to the southwest to bring both its main and secondary broadsides to bear at maximum range. She even got off the first salvo, but without effect. As it transpired that was her last. Hamidiye's immediate reply started fires along the main deck, but, more seriously opened a large hole along the waterline. Winning the initiative thereafter, Hamidiye's next salvo effectively knocked out the forward gun turret, and two more hits left the escort cruiser dead in the water, a flaming wreck.
Of course, I ought to have allowed Iphaisteio a last salvo, and a lucky hit might have done enough damage to permit the convoy to scatter and get away.  At any rate, her fight was over, now.  Hamidiye might have stayed a few minutes longer to finish the job, but instead at once set off due south to haul in SS Ithaca.  That vessel hadn't got very far, and Hamidiye rapidly closed the range to point blank. Two salvoes were enough to send the merchant ship to the bottom. 
By this time, the smaller merchant ships had made off to the southeast. SS Skiathos was also soon overhauled. Making its best speed past that vessel Hamidiye sent in a couple of salvoes that also reduced Skiathos into a flaming raft. The raider then set off after the single remaining vessel of the convoy. Narrowing the distance to about medium range, Hamidiye sent after the fleeing SS Lefkados a salvo that scored a minor hit somewhere aft.
By this time, the afternoon was far advanced - perhaps 9 or more turns having passed by. The sun beginning to fade behind the Mesogesean early evening haze, Captain Rauf Orbay chose to retrace its steps and finish off the floating wrecks left behind.  At his approach, the crew of Skiathos hastily took to their lifeboats, whereat a single salvo finished off the vessel.
Then came the long haul back to the flaming Iphaisteio.  That vessel died hard.  In the gathering twilight, the flames might have helped the raider's aim.  But it was to take three salvoes, the last at point blank range, finally to sink the gallant escort cruiser.  
By then, of course, SS Lefkados had got clean away to the open sea and into the night.  Captain Rauf Orbay declined to order a pursuit, but himself took his ship southward, away from the islands, after which he planned a short visit to the Peloponnesos.  The sinking of three quarters of a convoy, and damaging the rest, would look well on his report to the Admiralty...

Well, perhaps not the most exciting naval action, and getting the lumbering merchant ships to scatter turned out to be a deal harder than I thought, but had Turcowaz naval gunnery aboard Hamidiye been less formidable early on (in one salvo, he rolled 3 'sixes' for hits), maybe one more vessel could have escaped.

For his part, Paul was so enthused by the action, that he resolved to build a small navy of his own.  Last Tuesday evening, whilst I added two more torpedo boat/ destroyers to each of my Hellenic (Leon and Aetos) and Turcowaz (S167 Numune and S168 Gayret) fleets, and made a start of a second Hydra class vessel, Paul put together a small freighter, and a destroyer-sized warship that might stand for destroyer, armed trawler or perhaps a minelayer/ minesweeper.

Something about the rule set.

I'll take the time here to discuss something about the original Gridded Naval Wargames 'Pre-Dreadnought' rules, in particular how Flotation Points (FPs) are assigned. The author, Bob Cordery, determined the FP by type of vessel. Quite arbitrary, but perfectly reasonable. However, I noticed a considerable disparity of weight between coastal battleships Hydra and Mesudiye, even though their dimensions of length and beam were fairly comparable, and their designations - coastal defence battleship - the same.  

It seems Mesudiye displaced roughly double the tonnage of Hydra. Now, I have in a different (simple) rule set, determined that FP might be geared to displacement, some of that weight assumed to be going towards armour.  But the method I used for that 'other' rule set simply wouldn't work here. After a deal of playing around with numbers I came up with this:

FP = √W
       5
Where W is the tonnage of the vessel. Yes, this is quite arbitrary, but, the result, rounded, is designed to accommodate the size of vessels from, say, 500 tons (or even less) to well over 10,000.  It seems to 'fit' pretty well.
The outcome is to increase the FP slightly for the larger ships, but let us see what it looks like for my Blacklands War navies:

Hellenic:
Lemnos - modern pre-Dreadnought.  Tonnage = 13,000  FP = 23 CP = 6
Georgios Averof - armoured cruiser.  Tonnage = 10,000 FP = 20 CP = 5
Hydra - coastal battleship.  Tonnage = 4000 FP = 13 CP = 3
Panthir Class - destroyer.  Tonnage = 880 FP = 6 CP = 1.

Turcowaz:
Turgut Reis - older pre-Dreadnought. Tonnage = 10,000  FP = 20 CP = 5
Mesudiye - coastal battleship.  Tonnage = 9000 FP = 19 CP = 4
Hamidiye - protected cruiser. Tonnage = 4000 FP = 13 CP = 3
Muavenet  class - destroyer.  Tonnage = 700 FP = 5 CP = 1.

At the moment, the Turcowaz fleet looks the more powerful, but the addition of a second 'Hydra' (call it Psara) will go to equalising them.

I have yet to test this suggested system.  That might have to wait for a 'Second Blacklands War'...
 

Thursday, January 28, 2021

First Blacklands War - Battle of Vladicin Han (2)

The action as we left it in the previous post.

We left the narrative last time with the action having reached a momentary deadlock: both flanks stalled, and in the centre the battle raging for the ridge just southwest of Vladicin Han. Stranded on account of the field battery between themselves and a safe retreat, 5th Bejelan Infantry found themselves flailed by incoming rifle fire from the ridge and from the woods overlooking their left flank.

For their part, their opponents of the veteran Turcowaz 3rd Infantry, were finding their position equally uncomfortable: field artillery to their immediate rear along the ridge, and another flanking them astride the road as it turned westward behind the high ground.


The field of battle.


The imminence of 5th Infantry's disintegration persuaded General Bojovic to withdraw the field artillery from before the town, back across the bridge. The 'golden bridge' thus provided, 5th Infantry - such as remained (1SP) soon availed themselves of it. Their place taken by 6th Infantry, the enemy Turcowaz on the hill were not long to enjoy their victory. Once the Bejelan Medium Artillery joined in, and the 1st Field redeployed into battery action, their combined weight battered the Turcowaz artillery into silence. 
Overall view...

At first abandoning the position, they tried to reoccupy their battery position along the ridgeline, only to lose more horses, personnel and guns.  
9th Turcowaz Infantry and 2nd Cavalry sideslipping
to their right to prevent any crossing via the railway
bridge. 10th infantry occupy the woods flanking the road

Then it was the turn of the Turcowaz medium artillery, but it was not long before they too shared the fate of their lighter brethren - knocked to pieces by double their strength of shellfire, and shredded by machinegun and rifle fire from across the road. Third Infantry remained alone on the ridge, reduced to a third of the strength with which they began. From the cultivated fields adjoining the town, 6th Infantry at last nerved themselves for an assault upon the elevated position.
Bejelan 8th and 9th Infantry arriving;
1st Fld Arty withdrawing to the east side of the river.
Unfortunately, it seems I chose this moment to let the excitement of the action take over, and forgot to take pictures. Sixth Bejela Infantry swept over the ridge and the remnants of 3rd Turcowaz, and onto the flank of 2nd Field Artillery, which had shortly before silenced their counterparts across the river. Fighting desperately. the gunners almost fought off their opponents, but, already weakened by past battles, they too were finally overrun.

Having cleared the high ground, 6th Bejela
Infantry strike Turcowaz field artillery in flank


Their centre driven in, the Turcowaz Army had little more to offer by way of counter-action. On the right, the silencing of the enemy artillery beside the railway bridge brought 9th Turcowaz onto the hill opposite, to engage 4th Bejela by distant rifle fire.  The cavalry were on hand to discourage the enemy 2nd and 4th from crossing.  The situation in this sector remained deadlocked.
Firefight near the railway bridge, but the 
Turcowaz centre had been driven in.

Events were taking a turn for the better for Bejela along the Monastir Road, as well. Third Bejela Infantry got the better of its musketry duel with 25th Bashi-Bazouks. Driven back into the woods, the cover therein availed them nothing. Within a short time, the unit disintegrated. Behind them, 15th and 16th Infantry had lined the woods overlooking the road, but seemed unable or unwilling to help out their irregular comrades. 

The fact is, in this battle, the martial shortcomings of Ali Riza Pasha became painfully apparent. In his previous battles, he had been fortunate in his initiative and activation dice rolls. Not this time. In initiative he was probably out-rolled two to one, or close to it. But his initiative rolls were woeful. With a minus for his ability rating, half his rolls at least must have been low, and I remember but one high roll, and that late in the day. His far more 'able' counterpart, General Bojovic, rolled rather more than his fair share of high activation rolls, again especially as the battle wore on. When you can activate 9 units for your opponent's 6, matters are likely to go fairly well, even when they have gone ill hitherto...

Bejelan forces regroup into line: 2nd and 4th 
Infantry lining the east side of the river; that
line continued on the opposite bank by 8th and 6th.
If Ali Riza lacked something in the handling of his army, he was not wanting in courage. As enemy infantry triumphantly advanced down the road, the Pasha joined 15th Infantry to oppose them, throwing them between the oncoming Bejelans and the baggage train just beginning to pull out. In the close quarter battle that ensued, twice did bullets pass through his attire (twice I had to roll for risk to his person), but he remained unruffled and unhurt. Eventually the Turcowaz held, and 6th Bejela Infantry pulled back to the high ground. There they might have remained, as the Turcowaz Army was clearly beyond any further offensive action. Unfortunately for them, they came under renewed fire from 10th Turcowaz in the woods on the other side of the road. Already much diminished during the course of its attacks, 6th Bejela disappeared from the high ground and scattered. Thereafter, the Turcowaz Army pulled back to form a rather tenuous line some distance south of the ridgeline they had earlier occupied.

The 6th Bejelan Infantry scattered by rifle fire; but
the Turcowaz Army reforms a thin -
 and gunless! - line to the south

Close of the action: the Turcowaz draw off, 
Bejelans too exhausted to pursue...
Having cleared the high ground and woods lining the southern side or the Monastir Road and forced back Second Turcowaz Army, the Bejelans had won an undoubted victory. The 37,000-strong Turcowaz, though defeated, were not, however, routed, and were able to draw off in good order. Even so, the loss had been grievous: 8000 casualties (16SP, halved) and its artillery decimated (all 4SPs lost).  

According to none other than Carl von Clausewitz, there are times at which the cost of victory may be such as to compel a retreat.  Such was the case, as General Bojovic surveyed the damage.  His army (46,000) had also lost some guns (2SP worth), though fewer than had the enemy, but all of 8,500 (17SP, halved) dead, wounded and missing.  There would be no march to Monastir, no summons to surrender, no siege.  Resting upon the field overnight, his exhausted army began the next day their weary march back to Vardar Province. By some miracle, Ali Riza Pasha had in defeat pulled off something approximating a strategic victory... 

To be continued:  Convoy!


Sunday, January 24, 2021

First Blacklands War - Battle of Vladicin Han


The events of the first month of the First Blacklands War had on the whole gone well for the Turcowaz Empire. Though battered by several invasions, the Turcowaz armies, against all expectation, had beaten them back. No Hellenican or Chervenian now stood on Imperial soil; the Black Mountains and Bejelan forces, their invasions already repulsed, were each attempting a second. The Black Mountains had the remote and isolated city of Scutari under a none-too-secure siege, and the Bejelans, having consolidated their two badly mauled armies into one, were marching south, through Vardar, into Northern Macedonia, in the hope of taking Monastir City, the provincial capital.

Situation and moves, first week of November

By now, a degree of mutual exhaustion seemed to be settling over the whole conflict. During the first week of November, two of Chervenia's armies were retreating into their own country for rest and recuperation, as was Hellenica's sole army after their defeat at Kozani. Indeed, the Hellenic government of Ephtherios Overzelos was beginning to wonder whether the campaign was worth continuing. Embarrassed in one naval action and worsted in two subsequently, the campaign at sea was going as badly as that on land. Now a fast Turcowaz commerce raider - ITS Hamidiye - was at large in the Eastern Mesogesean Sea.  
Battlefield of Vladicin Han.  


For their part, however, the Turcowaz armies were, too, becoming badly worn down.  Having seen off the Hellenes, Second Army had to turn about, retrace its steps and attempt to take on the freshly reconstituted Bejelan Army. So far Ali Riza Pasha, not known for his martial capacity, had performed well above expectations with two victories to his credit. Could he pull off a third?

After the mauling received near East Thrace, Fourth Army was retreating to Salonika. The equally damaged First Army was abandoning its raid into South Chervenia.  Apprehending a contact with an Army issuing forth from Sofia, Nazim Pasha elected at once to retire into Rhodope, rather than take the longer route into North Macedonia. Probably that was just as well, for he might well have run into the much more powerful Bejelan force, or even the Ist Chervenian Army marching from Sofia.  For the moment, and for the next fortnight, only the Second and Third Armies would be available for operations. There was certainly no prospect of relieving Scutari at any time soon. Turcowaz was scarcely better off than the Allies.

General view of the battlefied, looking northwest, 
as the heads of the armies march up.

With most of the armies of both sides retreating, or marking time, the only battle of note to begin November took place in Northern Macedonia.  The Bejelan Army had taken the route to Vladicin Han, a small town but important crossroads, whence the west road would carry the army to Monastir.  It was to intercept the Bejelan Army that Ali Riza Pasha directed his own forces thereto.
Head of the Tucowaz column.

The Second Turcowaz Army comprised this order of march:

Turn 1:
  • 2nd Cavalry (trained) = 3SP
  • 3rd Infantry (veteran) = 3SP
  • 3rd Field Artillery (trained) @ 1SP with Army Command @6SP = 7SP
  • 26th Bashi-Bazouk Infantry (green) = 4SP
Turn 2:
  • 9th Infantry (trained) = 3SP
  • 10th Infantry (trained) = 3SP
  • 4th Field Artillery (trained) = 1SP
  • 15th Infantry (trained) = 3SP
Turn 3: 
  • 16th Infantry (trained) = 3SP
  • 7th Medium Artillery (trained) = 2SP
  • 3rd Transport Column = 1SP
  • 4th Transport Column = 1SP
Turn 4: 
  • 25th Bashi-Bazouk Infantry = 3SP
Totals:
  • 14 Units: Median 7-1 ('Poor' general) = 6 Activation Points
  • 37 Strength Points: Exhaustion Point = -13SP
Head of the Bejela Column.

They had a formidable foe to face, the Bejelan Army comprising:

Turn 1:
  • 1st Cavalry (trained) = 2SP
  • 2nd Infantry (trained) = 4SP
  • 3rd Infantry (trained) = 4SP
  • 1st Machine Gun Company (trained) @ 1SP plus Command @6SP = 7SP
Turn 2:
  • 1st Field Artillery (trained) = 2SP
  • 4th Infantry (trained) = 4SP
  • 5th Infantry (trained) = 4SP
  • 6th Infantry (trained) = 4SP
Turn 3:
  • 2nd Field Artillery (trained) = 2SP
  • 10th Medium Artillery (trained) = 2SP
  • 1st Transport Column (pack horses/ mules) = 1SP
  • 2nd Transport Column (pack horses/ mules) = 1SP
  • 3rd Transport Column (carts and wagons) = 1SP
Turn 4:
  • 8th Infantry (green) = 4SP
  • 9th Infantry (green) = 4SP
Totals:
  • 16 Units: Median = 8 + 1 ('Good' General) = 9
  • 46 Strength Points: Exhaustion Point -16EP.

Bejela occupies the town...

Route march along a road gave an extra movement allowance to all troops provided the entire move was along the road. I made no allowance for the proper depth or intervals of individual units, and even allowed two units into the same grid area if they could fit (not possible with the horse drawn units of course). As the columns stretched along 12 grid areas of road or thereabouts, I figured that was enough to represent our route marches. On reflection, though, it might have been more 'realistic' to allow but one unit, of any type, onto 1 road hex whilst on the march - a thought for another time, perhaps.
... as the rest of the column moves up behind.

The successive sections of troops off table but following on from the first arrivals, did not require activation to enter the table, it being assumed that the route march was their 'default' state. Once having arrived, though, then they did require activation. This method permitted a fairly rapid deployment of the heads of the columns, which would be slowed as the reinforcements arrived.  
Move 2, and the Turcowaz column has yet to deploy.

So it was that armies clashed at the crucial crossroads around Vladicin Han, the Turcowaz arriving just in time to intercept the invaders. The heads of the Turcowaz column quickly seized the ridge southwest of the town, at the moment the leading Bejelan units were entering the place, the cavalry exiting by the south road. The Turcowaz cavalry covered this move by charging their counterparts and chasing them into and beyond the town.  
Turcowaz seizes the ridge and lines it with 
infantry and field guns.

The following Bejelan units were more circumspect. Second Infantry lined the riverbank whence they could bring under fire the southern approach road and eastern end of the ridge beyond.  The 3rd passed through the town to take up positions in a small wood to the west, whilst the machine gun company established itself in the fields close by the built up area. First Field artillery took up a battery position upon the outskirts of the town facing the ridge, whilst 5th Infantry carried on through to clear the pass between ridge and river - the victorious Turcowaz cavalry having withdrawn, betimes. Forcing 9th Turcowaz Infantry back beyond the bend that took the south road behind the ridge, the 5th turned to flank the ridge itself, where stood the veterans of 3rd Turcowaz Infantry. 
Bejela establishes a bridgehead about the town. 
Although their cavalry have taken a drubbing,
the Army extends the bridgehead west and south.


The ensuing firefight between 3rd Turcowaz and 5th Bejela proved costly to both sides - neither able to retreat on account of obstructions behind them. Meanwhile, both sides extended their lines to both flanks. Led by 25th Bashi-Bazouks, 15th and 16th Infantry penetrated the wood west of the main ridge, overlooking the Monastir road. The Bashi-Bazouks actually reached that road and began advancing along it towards Vladicin Han itself.  Flanked by 3rd Bejela Infantry and faced by machine guns, that advance was quickly halted. The Bashi-Bazouks fell back with some loss.
The battle develops...

To the east, 2nd and 4th Bejela lined the riverbank either side of the railway bridge.  Unwilling themselves to make the crossing, they awaited the approach of the enemy.  So far, nowhere along its length, was the river found to be fordable (This was decided by a die roll for every river grid edge except where there was a bridge, a 'six' revealing a ford.  Do you know, for not one of the ten river edges, did I roll a 'six'.  As the onus of effecting crossings came down upon the Bejelans, that rather cramped their style... a little).  The enemy were, however, content in this sector of the field to maintain a watching brief.
Firefight! 3rd Turcowaz vs 5th Bejela
Ninth Turcowaz Infantry and the cavalry stood at a distance from the railway bridge, ready to contest the crossing. The Bejelans brought up a field battery in support of 4th Infantry, but soon found themselves caught up in an artillery duel with Turcowaz field guns standing between the main ridge and 9th Turcowaz's wood.  
Both sides pinned down in the centre...
For a time, so matters stood: a small, but bloody, battle taking place at the east end of the ridge, the Turcowaz flanking move from the west stopped and driven back, and the Bejelan left flank waiting along the riverbank. Losses had so far redounded to the advantage of Turcowaz, but not so much as to offer a predictor of victory... 
Event slow to develop on the flanks...


To Be Continued...