|
Kosaka's 'Operation Woodpecker' force
approaches the guarded river crossings. |
The Fords of Armenomiya
As the battle raged in the plain to the north of the Chikuma river, what was happening to the 'Operation Woodpecker' force led by Kosaka? Ascending Mt Saijo and finding the encampment there abandoned by the Uesugi army, they could hear the sounds of battle in the distance. Marching quickly to the fords of Amenomiya, Kosaka's men found that Kenshin had left small rearguard covering the river crossings under one Amakasu Omi-nokami Kagemochi, one of his staunchest commanders.
Opposing Forces:
Kosaka's 'Operation Woodpecker' flanking force:
1 Mounted Samurai yari (spears) = 3SP
2 Foot Samurai yari @4SP = 8SP
1 Foot Samurai yumi (bows) = 4SP
6 Ashigaru yari @3SP = 18SP
2 Ashigaru yumi @ 2SP = 4SP
1 Ashigaru tepo (arquebusier) = 2SP
3 commanders: Kosaka (mounted), Saburohei (mounted), unnamed (foot)
Totals
12 units; 5 activation dice (3 commanders, 12 units)
39 Strength points: Exhaustion Point, -13; Rout Point, -20
 |
Kagamochi's rearguard covering the fords. The bowmen
and arquebusiers lurk in the woods on the far bank. |
Kagemochi's Rearguard:
1 Mounted Samurai yari = 3SP
1 Foot Samurai yari = 4SP
3 Ashigaru yari @3SP = 9SP
2 Ashigaru yumi @2SP = 4SP
1 Ashigaru tepo = 2SP
3 commanders: Kagemoshi (mounted), 2 others, (foot)
Totals: 8 units; 4 activation dice (3 commanders, 8 units)
22 Strength Points: exhaustion, -7; Rout, -11
Before continuing, a comment upon the activation dice. My standard practice is to allocate the number of commanders equal to the whole number of 6 stands making up the army. According to this practice, the Takeda force would have had two commanders, including Kasaka hinself; and the Uesugi rearguard just one. By going along with the Command & Colours scenario, this meant that even with just an average activation roll, Uesugi would be moving all but one unit. With an extra activation die, Takeda's larger force was almost as flexible. On the other hand, the loss of a single unit would cost Takeda one of his activation dice.
This action turned out in effect almost a straightforward IGoUGo action... almost.
 |
| A strong force covers the middle ford. |
 |
The lone unit of ashigaru bowmen covering the west ford
is facing overwhelming numbers of Takeda men rapidly
advancing. |
 |
| Takeda attack towards the middle ford. |
 |
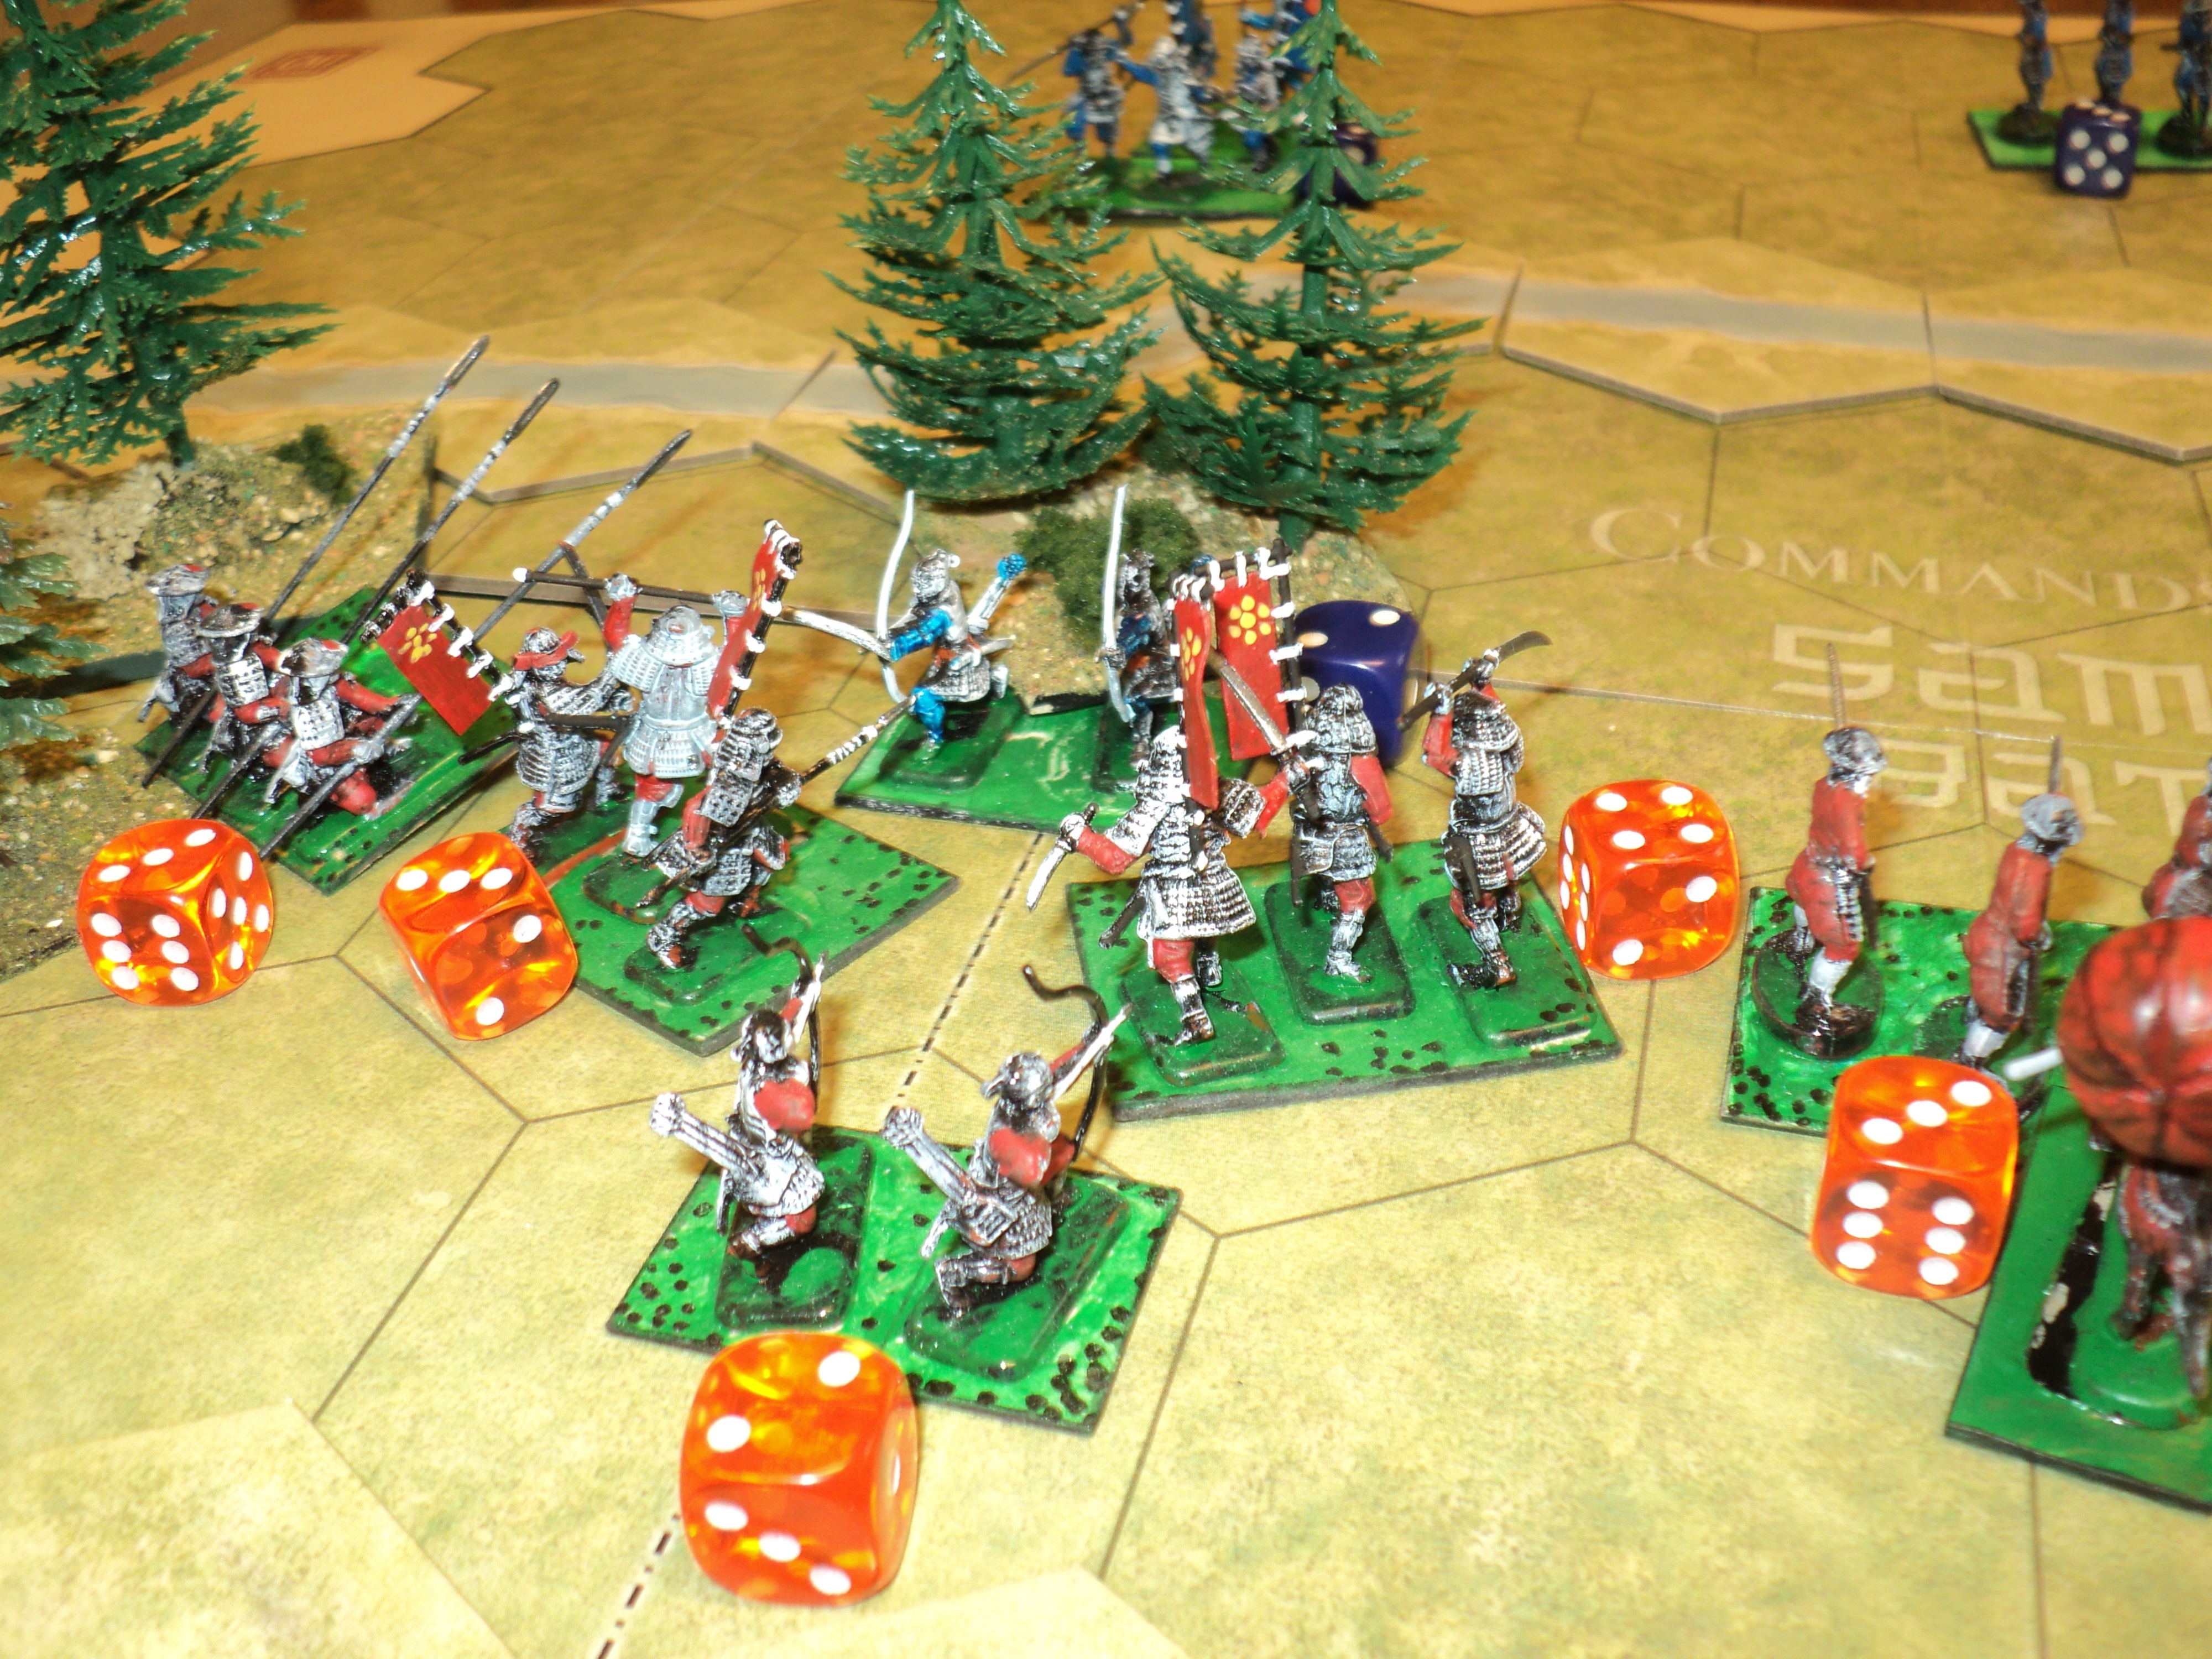
Takeda spearmen overwhelm the bowmen in the woods,
and press on to encounter commanded ashigaru on the riverbank |
 |
Winning back-to-back activation rolls, Takeda men
press on to attack the defenders of the ford. Both sides take losses. |
 |
On west flank, Uesugi men rush across the ford
to reinforce the beleaguered bowmen |
 |
Uesugi reserves cross the uncontested east ford
to fall upon the Takeda right. Around the middle ford,
units of both sides becoming depleted. |
 |
West ford again: outnumbered Uesugi men push
back the leading Takeda units. The latter have some hard
fighting in store to force the crossing! |
 |
Determined Uesugi resistance also throws back
Takeda from the middle ford. For the moment,
Uesugi have the numbers here!
|
 |
Fierce fighting continues at the West ford. Although
a Takeda ashiguru unit is thrown back with loss, the
Uesugi bowmen are finally overrun. The remaining defenders
are in danger of being cut off from the river crossing. |
 |
Kosaka joins the wing attacking the middle ford, and sends
foot samurai into the flank rear of the Uesugi horse. |
 |
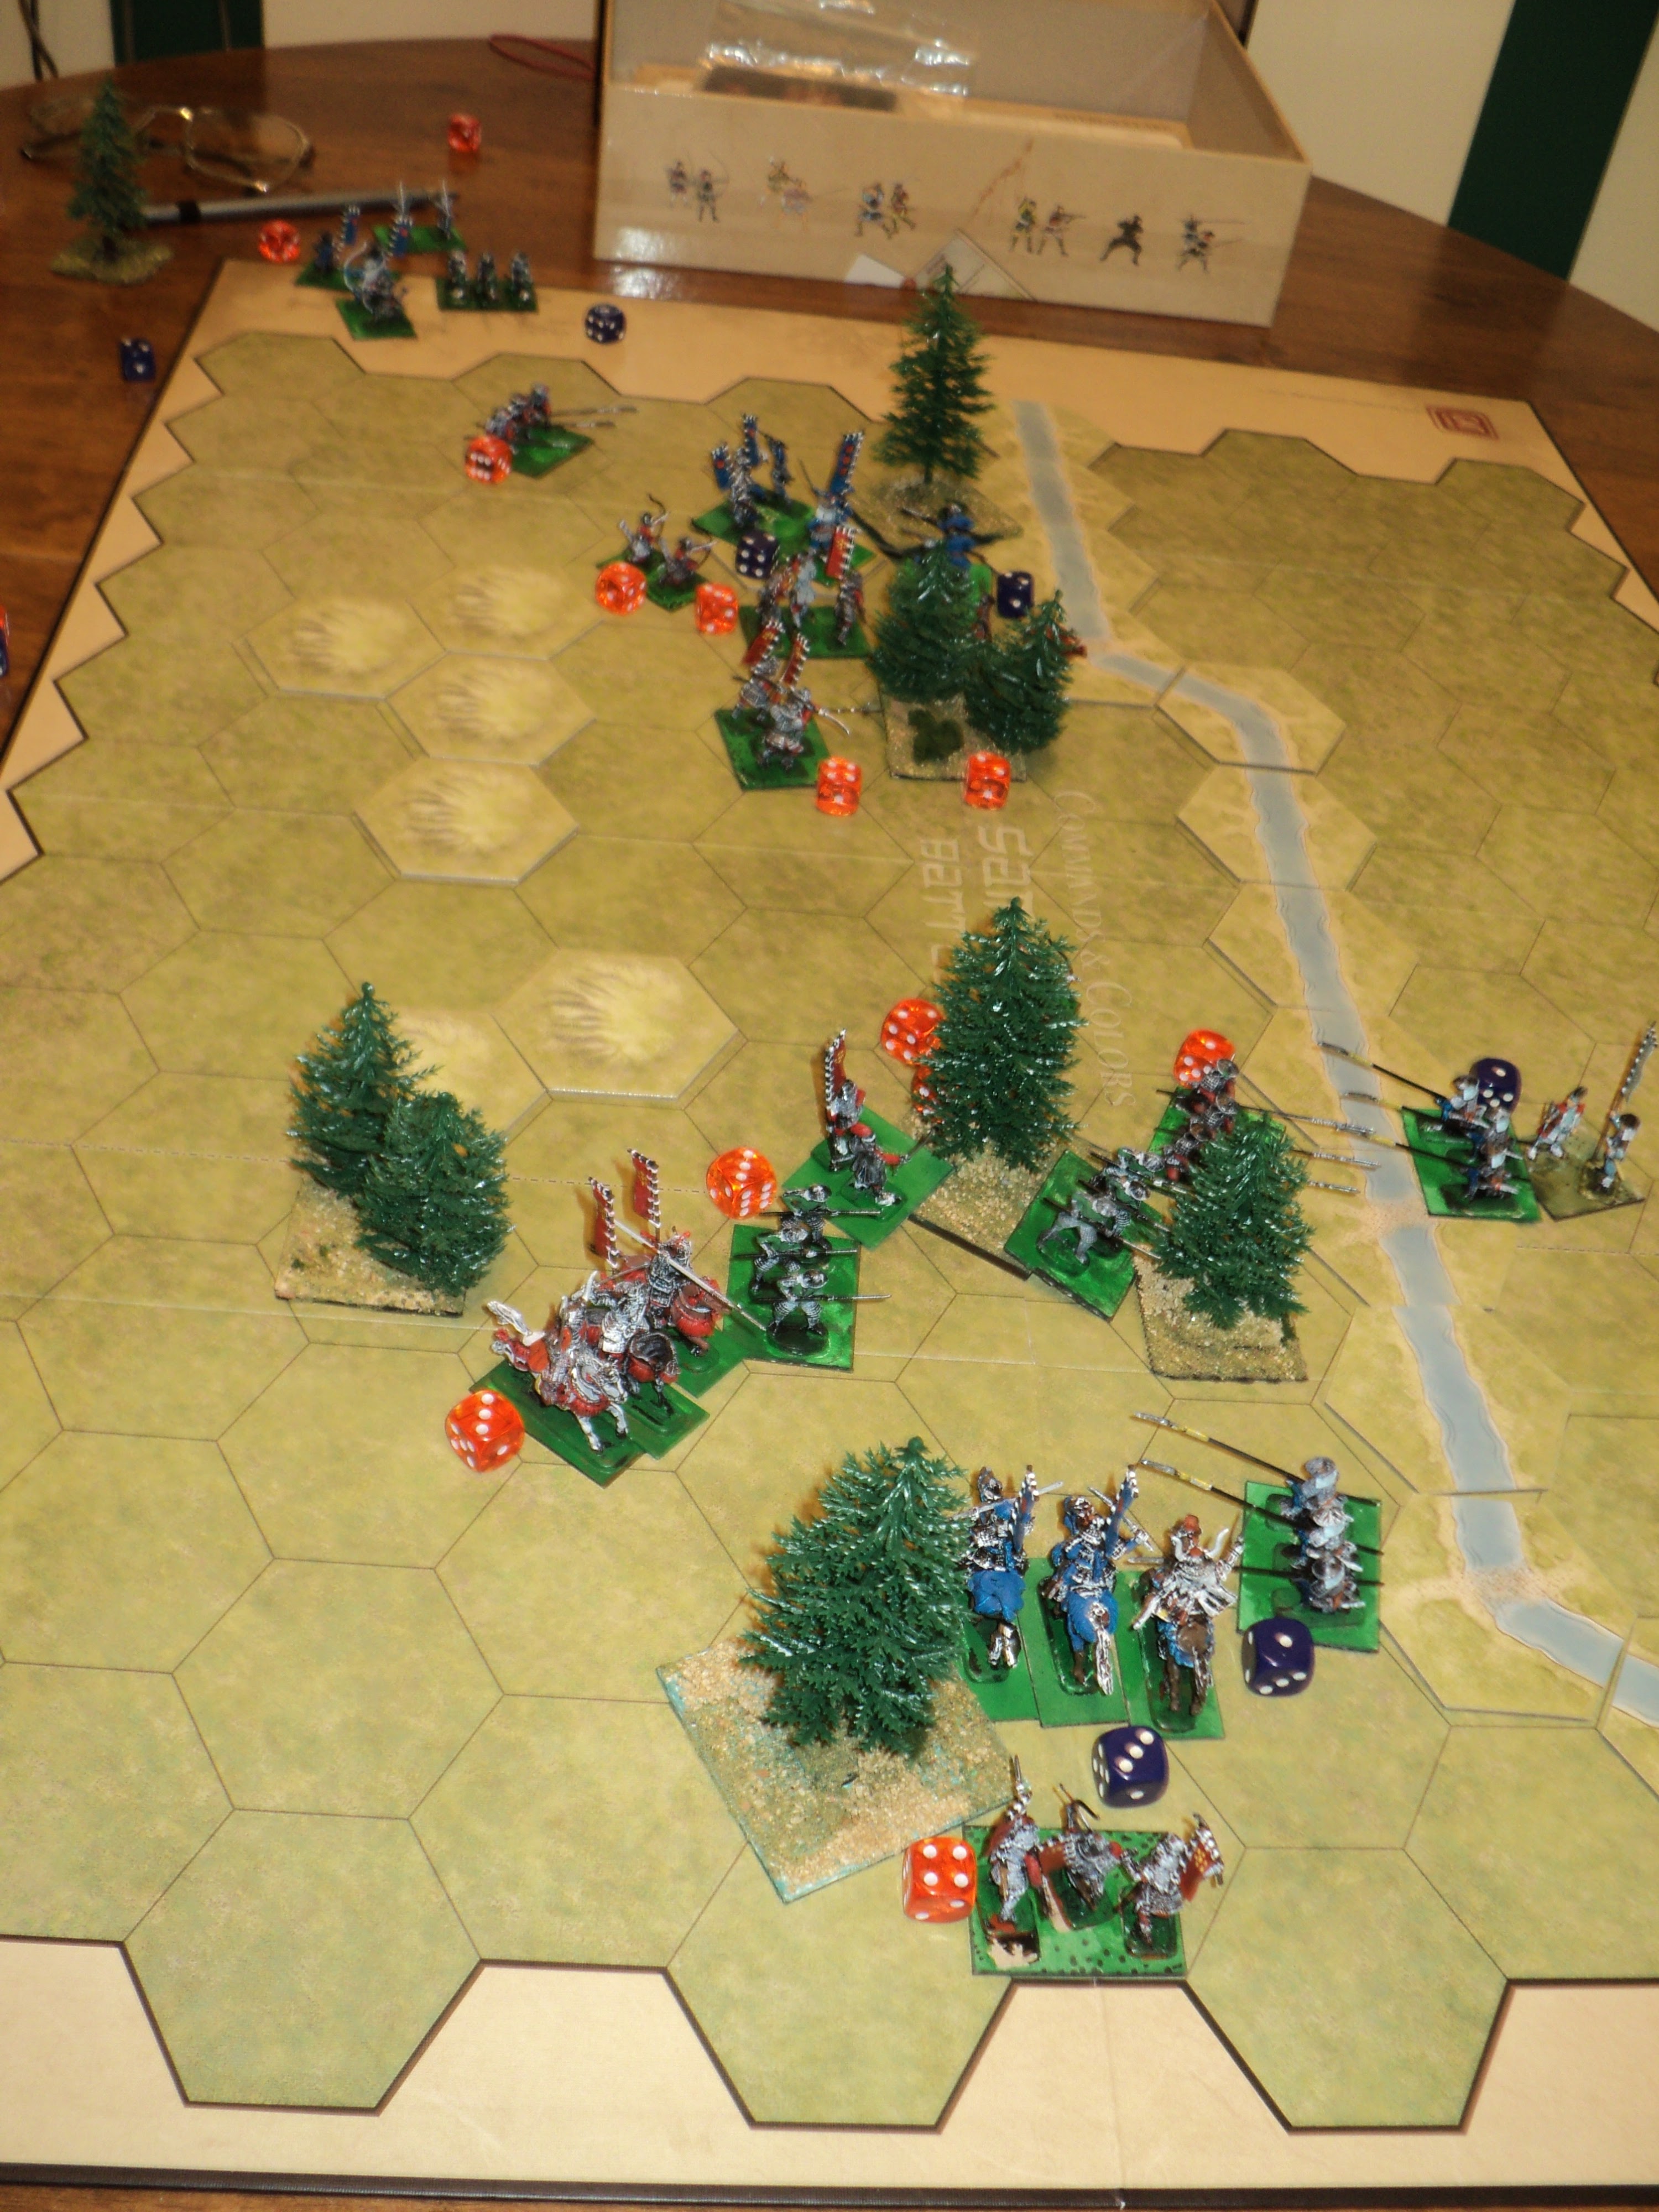
Overall situation. Stout resistance by Uesugi's
men are holding the fords still, but
at a cost. The two archer units and the arquebusier have been destroyed
and 13SP lost. Takeda losses amount to maybe 8SP, having lost one unit only. |
 |
Despite taking the fight to their opponents and stoutly
holding the fords, losses among Kagemochi's rearguard
(13 SP) are such as to bring on a collapse. The remnants
break and flee. |
This was a very quick and decisive victory for the Takeda forces, but they had the numbers, of course. The Samurai Battles scenario notes comment: 'The fighting was fierce as the Uesugi rearguard was almost wiped out trying in vain to stop the crossing.'
After the strange turnup of events of the morning, could Kansuke's 'Operation Woodpecker' plan after all come off?
'Operation Woodpecker'
 |
Takeda (Red) and Uesugi (Blue) face off. But
who is that crossing the distant river? |
After all the heavy fighting of the morning, gradually forcing the enemy back and driving them out from successive lines, the Uesugi army was not prepared to see the sudden Takeda incursion into their right flank - over the very fords they had crossed a few hours before. The surprise was perhaps not altogether complete, for, before Kasaka's pincer move could fall upon the Uesugi flank, the whole wing turned about to take the fight to their enemy.
 |
Perhaps wounded or winded during the recent actions
(see previous post) Uesugi Kenshin conducts the rest of the battle
from his pavilion. |
Opposing forces:
Takada Main Army:
1 Mounted Samurai yari = 3SP
1 Foot Samurai yari = 4SP
5 Ashigaru yari @3SP = 15SP
2 Ashigaru yumi @2SP = 4SP
1 Ashigaru tepo = 2SP
3 commanders
Totals:
10units, 4 activation dice (3 commanders, 10 units)
Strength points: 28SP; exhaustion at -10SP, rout at -14SP.
Kosaka's Flanking Force:
1 Samurai yumi = 4SP
1 Samurai yari = 4SP
2 Ashigaru yari @ 3SP = 6SP
1 Ashigaru yumi = 2SP
1 commander (Kosaka)
Totals:
5 units, 2 activation dice (1 commander, <6 units)
Strength Points: 16SP; exhaustion at -6SP, rout at -8SP.
Note:
As the two wings of the Takeda army were separated but the Uesugi army between, I rolled separate activation dice for them. This had some interesting effects, as you will see.
 |
Kosaka's flanking force ready themselves to fall upon
the Uesugi flank |
Uesugi Army
2 units Mounted Samurai yari @ 3SP = 6SP
1 unit Foot Samurai yari = 4SP
3 units Ashigaru yari @3SP = 9SP
2 units Ashigaru yumi @2SP = 4SP
1 command pavilion = 4SP (Uesugi Kenshin)
3 commanders (including Kenshin in his pavilion)
Totals:
9 units; 4 activation dice (3 commanders, 9 units)
27 Strength Points, exhausted at -9SP; rout at -14SP
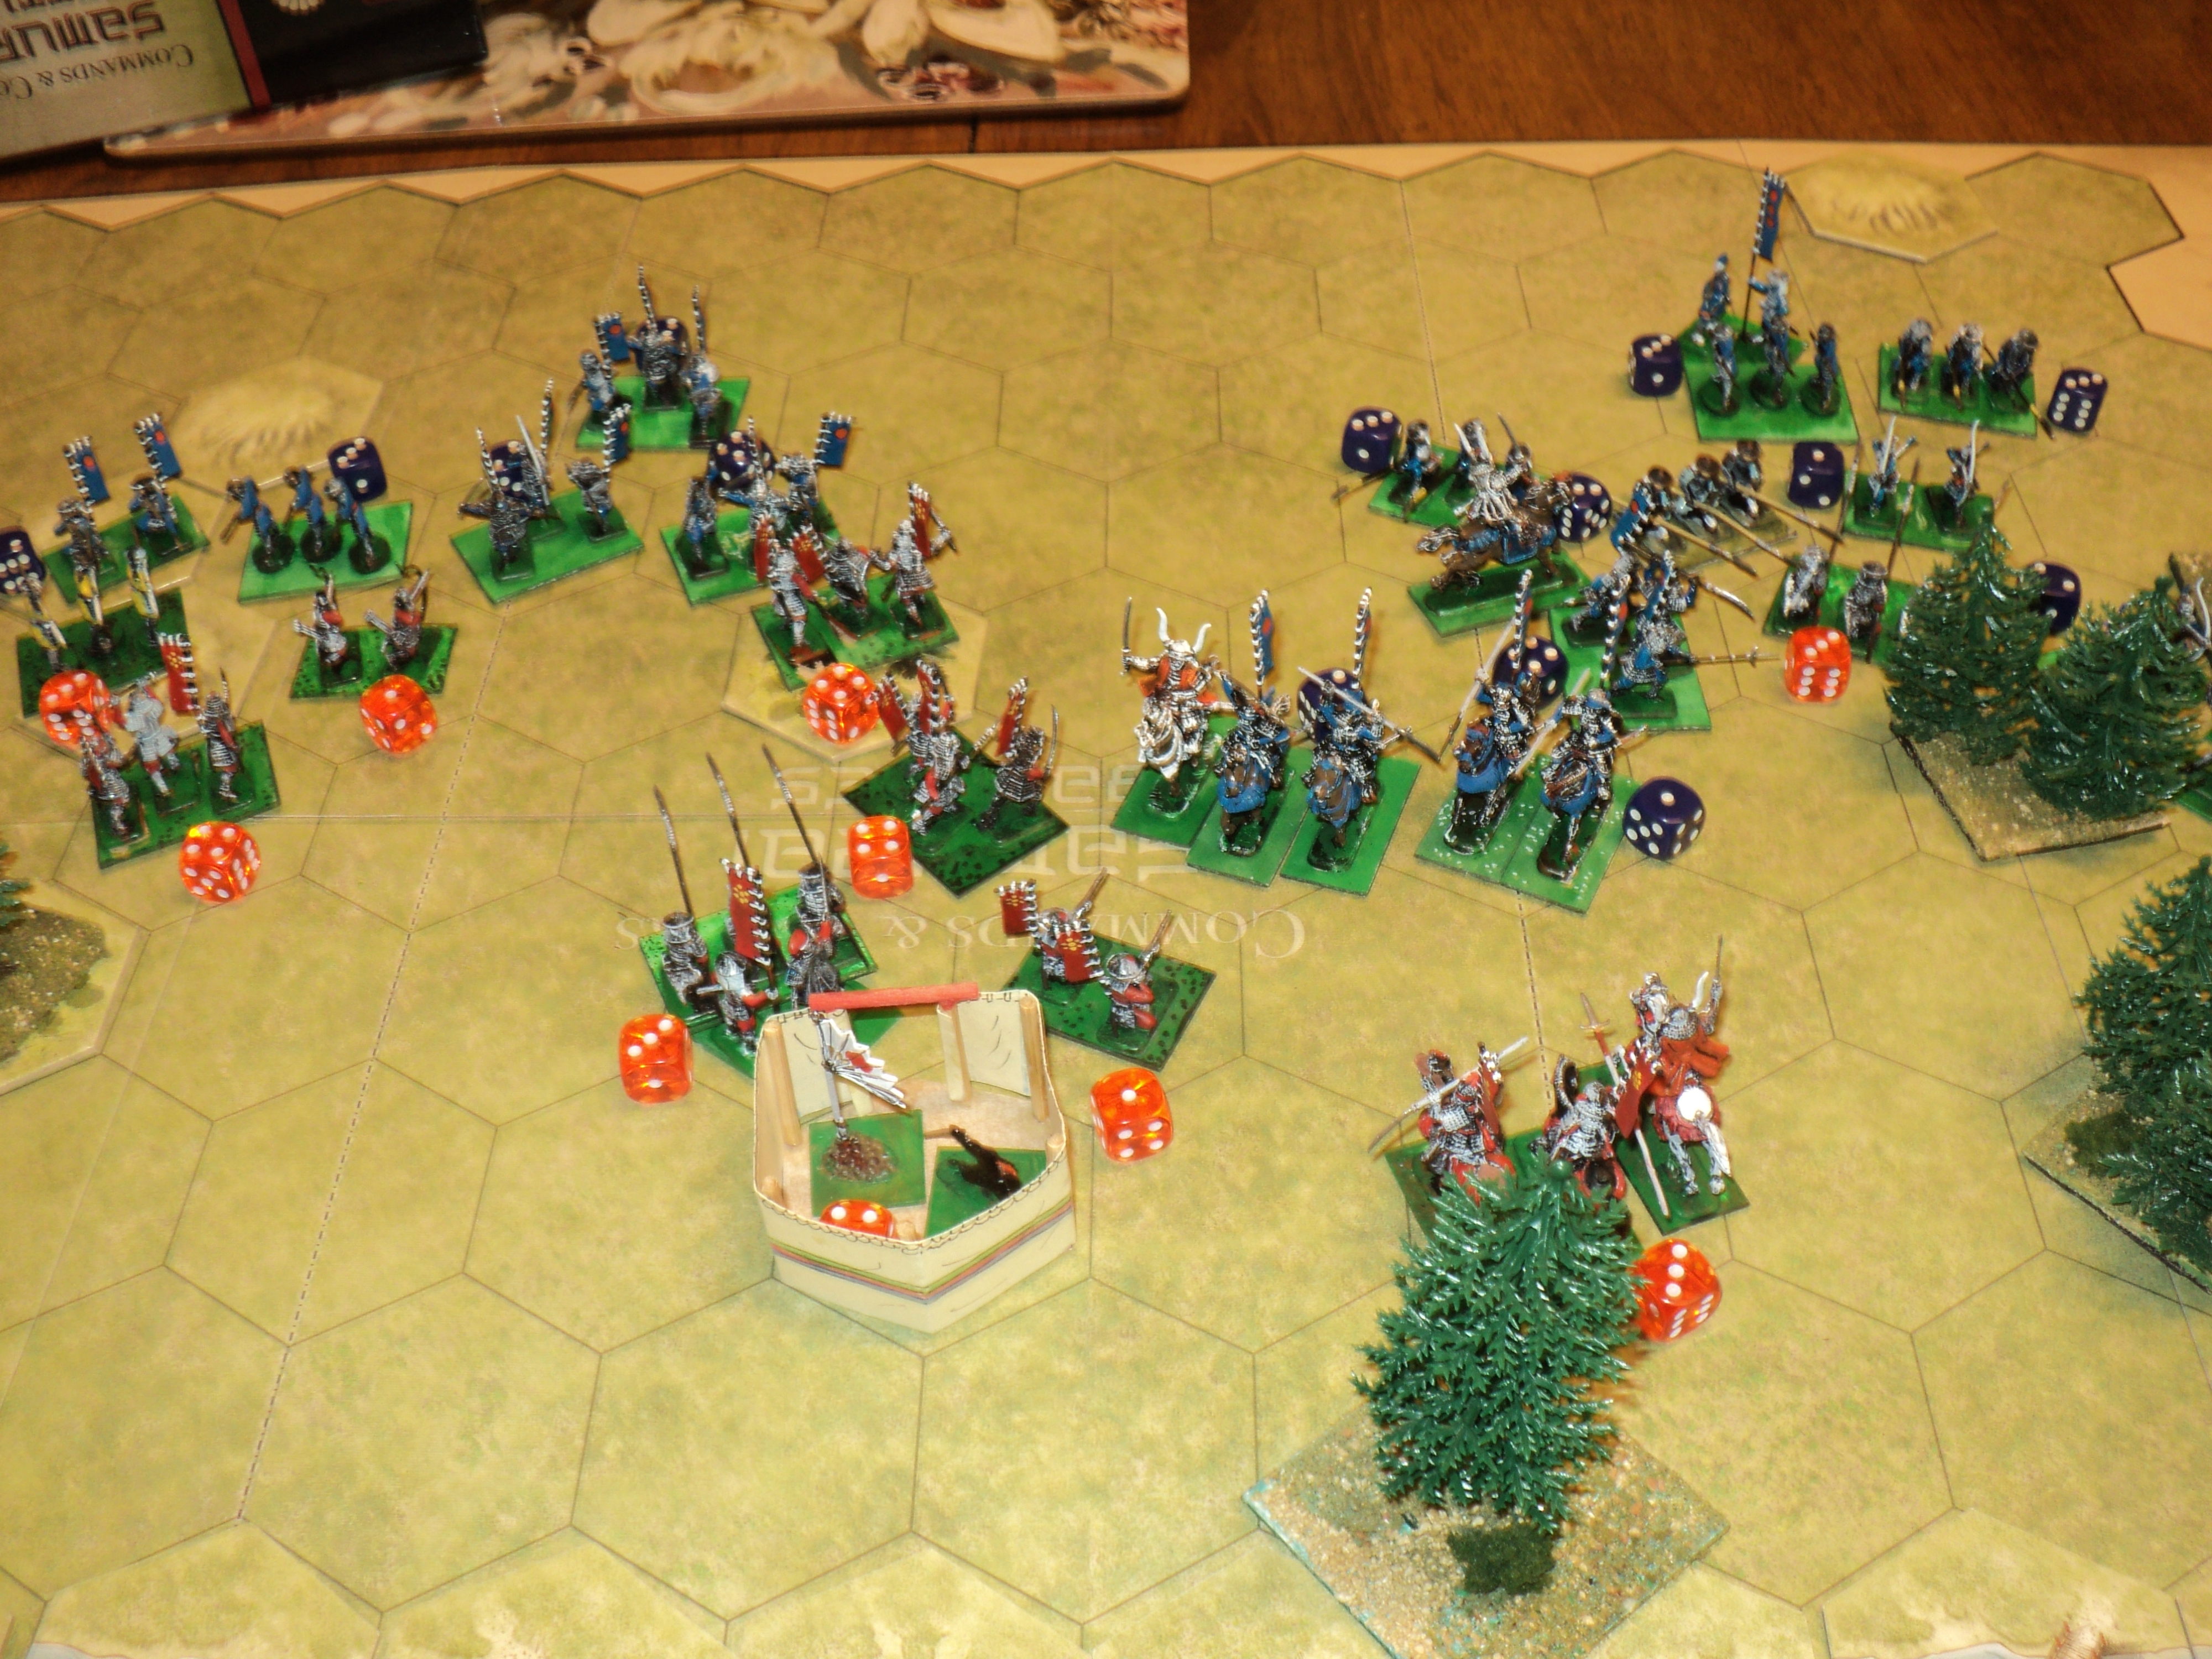
Having scattered the small force guarding the Chikuma river fords, Kosaka's flanking force gathered themselves to fall upon the Uesugi right flank. Observing the developing threat, Kenshin at once directed his right wing four units to counter-attack before that threat could properly develop. At once Kosaka's force found itself in a desperate fight along the riverbank.
This, of course, left a gaping void on the Uesugi right. Kenshin's plan, then, was to concentrate the other half of his army against the Takeda right. Having the first move, and a great activation roll to begin with (for the whole battle, the whole army was able to move), Uesugi were able to bring almost their whole army to bear against only parts of their more numerous foe.
In response Takeda Shingen was inclined to leave Kosaka to look after himself, and to concentrate the whole of his main army against the Uesugi left. The manner of the latter's oblique attack meant that Takeda's men were arriving arriving in disjointed and piecemeal fashion, especially as the separate forces rolled such that 5 and 2 units respectively could move, shoot or fight.
Wresting from their adversaries the initiative, Takeda were able quickly to bring the whole of the Uesugi left wing (ignoring Kenshin's ciommand post) into action. And then disaster struck. Leading an attack upon the enemy mounted samurai, the Takeda right wing commander, one
Michi-no-Senshi was struck down, never again to rise. His ashigaru unit took some loss, but Takeda were now at least in a position to contain the Uesugi left.

...
It was becoming plain that Uesugi's gamble had failed. Two desperate battles were being fought: one close by the river, the other at no great distance from Kenshin's tent. But not all Takeda were engaged. True, Saburohei had five units in action on the right, with an extra body of ashigaru yari in reserve close to hand. Kosaka was at least hold his own, and even driving the enemy back in places.
But there was a strong reserve, distant from the action - four units under the command of Nobukie.
Even though Uesugi managed to grab back the initiative, scoring big activation rolls into the bargain, there was little enough that they could do to overcome the superior numbers they had to face. A samurai unit even threw back a unit of bowmen and threatened to break through the embattled Uesugi line.
Nor was
Sutorenjia Mukōhadan able to stem the oncoming Takeda flow from the river bank. Although at one point his mounted samurai had driven a unit of ashigaru almost into the river itself, the whole right wing was gradually being forced back.
 |
Uesugi Turn 2 activation roll. Halved = 9 units
the whole army. |
 |
Turn 3: Uesugi win back the initiative (6-2) and roll
19 = 9 units again. |
 |
Turn 3: Takeda roll: 8+5. The main army can
activate 4 units; the flanking can move 2.
|
From the above sequence, one might well infer that Uesugi were putting up a whale of a fight, the whole army engaged. For their part Takeda's counterpunching was everywhere disjointed and piecemeal. The activation rolls were well and truly in Uesugi's favour. Of course, Kosaka was never going to activate more than three of his five units in any one turn, and that was what was keeping in balance the battle of the riverbank.
On the other hand, Takeda's combat dice were pretty effective. Uesugi had on this front already taken at least 3SP losses, but, unable in their own turn to bring more than two units into combat, so had Takeda.
Takeda were a deal better off on their right. Ignoring Kenshin's command post, 4 activation points were enough at least to engage all the available Uesugi units. They quick dispatched a body of spearmen, then of bows. Having disposed of the latter, a unit of foot samurai were able to strike the rear of enemy samurai already engaged in from by Takeda's mounted warriors.
All the while, Nobukie was holding back his reserve of four units. of course, with more favourable activation dice, nothing would have held him back. But the truth is, Takeda were doing fine without him.
Turn 4, and the initiative swung back in Takeda's favour. The activation dice: fair, bearing in mind that the loss of a commander had reduced the activation dice to 3 for the main body. Five units could act. But Kosaka could activate none at all! One, halved, rounded down equals zero. Too bad.
But the fact was that Uesugi's losses had well and truly sunk the army well beyond its exhaustion point. If Kosaka was unable completely to breakout from the river line, Soburohei was completing the destruction of the Uesugi left. The addition of ashigaru spearmen finally annihilated the last of the surrounded foot samurai. Apart from Kenshin himself, the only surviving unit available was the embattled mounted samurai, far distant from his command post.
Fighting hard, the mounted samurai had inflicted heavy losses upon their enemies - two of the three Takeda units facing them already much depleted. But if the chronicles were later to relate the valour of this unit, and the heroic defence along the river bank, the Uesugi army was done. The collapse was sudden and total, as the remains of Uesugi Kenshin's army broke and fled, hotly pursued by the Takeda army.
The Uesugi defeat was total. The loss of 14 Strength Points - 6 in that last turn - brought their army to their rout point. Takeda losses were 10 overall, 4 from Kosaka's flanking force, and 6 from the main body. Neither had been reduced to its exhaustion point.
Overall, the early Uesugi success had been hard fought and indecisive. Once Takeda's two wings were able to cooperate - as originally planned for a different location - the Uesugi forces were outnumbered, and, despite a valiant defence, finally overwhelmed.
In these last battles, the number of commanders meant that for the most part almost the whole army might be activated in any given turn. That was certainly the case with the Uesugi army in that final phase of the battle. On the other hand Takeda was unlucky with its activation rolls, barely half the army activated in each turn. Had I thought it through more, I might well have dropped the unnamed commanders from the activation dice roll count. But then we would not have got that strenuous battle put up by Uesugi until their final collapse.
Next time: something completely different...