Showing posts with label Hex Grids. Show all posts

Wednesday, June 12, 2024

The Portable White Mountain (2)

 So begins the narrative of White Mountain: a refight of the battle that kicked off a European-wide war that lasted 30 years. The text will be by way of captions for the pictures immediately preceding.


Facing the Imperialist host, the Bohemian Confederation Army lines the forward slopes of the Witteberg - White Mountain. Observe the very Swedish look to the Confederation Army. I had to use Swedish 'proxies'. I could instead have called the feature 'Cremefarbenberg' - Off-white Mountain - and the armies the bitter enemies, the Austerian Empire and the Kingdom of Severia.


Before them, the Imperialists advance: gun batteries in front; horse interspersed among the tercios. Note that, absent horsed teams, the guns of neither side can move. A bit of a nuisance for the infantry, but no real obstacle to friendly cavalry.


Beginning with the initiative, the Imperialist activation dice roll is truly dismal. The number of dice rolled is equal to the number of generals (three) plus whole multiples of 6 units (23/6 => 3), that is to say, 6 dice. That score is divided by 2, so the 6 dice must have rolled 14 to get to the 7 displayed in the battle box. All four gun batteries having fired, that left just three units to be activated. The Imperialist right flank cavalry, two cuirassier and one harquebusier units, move forward. That's it.

The second cuirassier unit beginning near the rear of the Imperialist army has a long way to catch up! The hope is that the Confederation's line might be outflanked and rolled up.

Well... the Confederation's activation roll wasn't a whole lot better than the Imperialists'. But as the artillery, masked by tercios in front, didn't fire, the army has a lot more flexibility. Question, then: should they wait on the defensive, or take the fight to the enemy? I'll give you three guesses...


Of course, they take the fight to the enemy. On the left, four cavalry units thunder out to meet the three oncoming Imperialist horse units. Close by the Remy hamlet a swirling cavalry fight develops that was to last more than half  the duration of the battle, with heavy losses on both sides.


In the centre, two Confederation horse units attack one of the Imperialist gun batteries. They do some damage, but are in turn  counter-attacked by couple of harquebusier units.  Partly to clear the front of the centre gun emplacement, the centre Confederation tercio pushes forward and veers to their left, aiming for the gap between Remy and the nearby copse. The Imperialist gun battery there has already taken some toll upon the left hand Confederation tercio, standing guard over the left flank.  


A couple of Confederation cavalry units attack the cuirassier and harquebusier units on the Imperial left in front of the Ruzyne village. Both sides take early hits.

Turn three: the Confederation activation roll is pretty good this time. The situation on the Imperialist left and left-centre: under attack by four Confederation cavalry units, with more coming up. Gradually the forward Confederation tercios also grind forward.


General view after three turns. Cavalry battles have developed all along the Imperialist front, which has the effect of stymying their push forward. The fighting is pretty savage, with most 'hits' being counted as SP losses. They mount up pretty quickly!


Reaching the Imperial battery between Remy and the wood, the Confederation tercio come under attack from two harquebusier units. The harquebusiers don't charge home; they do what they do best: engage the enemy in a fire fight. 


Behind the battle lines about Remy, stand an Imperialist gun battery and tercio, awaiting the outcome...


The cavalry battle on the Imperialist right is thinning out, with fearful losses to both sides. The Imperialist harquebusiers have disappeared, and one of the cuirassiers units is badly depleted. The Confederation cavalry is in not much better shape. One of their cavalry units has also been dispersed, another - faced by a fresh cuirassier unit - is barely staying in the fight.


To the left of the copse, the Imperialists mount a telling fire action counter-attack upon the two Confederation cavalry units there. The latter badly need help, but it is not forthcoming.


The opposite is true about Ruzyne. Somewhat isolated beyond the village, the two Imperialist horse units find themselves under attack by Confederation charging Confederation cavalry. Both have taken hits. 


Much of the Confederation's cavalry having carried the fight to their opponents, they are holding up the Imperialist advance. Meanwhile, the bulk of the Confederation stands to await the outcome. This was partly due to the generally woeful activation rolls on both sides, the Confederation Turn 3 roll being something of an exception. The early exchanges marginally in Imperialist favour, during Turns 3 and 4 the losses were fearful. Both sides lost heavily, but the Imperialists got the worse of it. The 'score' so far: Confederation lost 17SP, the Imperialists 21! 

The larger picture shows the general situation at the end of Turn 3.

By now the Imperialist horse on the right has been badly worn down - just 3SP remaining of the 11 they began with. The Confederation horse still have 7SPs of their original 12.  


Then, at the beginning of Turn 5 (and a reasonable - that is to say, about average - activation roll by the Confederation) one of the cuirassiers breaks and scatters, leaving a tired lone unit facing three, and odds of 6 to one.


Turn 5 and one of the better Imperialist activation
rolls: just half a pip-score below the
statistical average!
Even so, the last remnants of the Imperialist horse don't go without handing out a few licks of their own. Surrounded, facing odds of five to one, they finally break. But just 5SP remain of the Confederation horse, and two of the three units are badly depleted. The fourth unit has long since disappeared.


Meanwhile, on the other flank, matters are also going well for the Confederation. The harquebusiers conquered, three cavalry units assail a lone, battered unit of cuirassiers. The nearby tercio might have plodded around the village to lend a hand, but not whilst the situation nearer the centre remained problematic. 


Instead, a unit of harquebusiers began filing across the river bridges and through the town...


... to fall, betimes, upon the flank rear of the Confederation unit itself attacking the flank of the cuirassiers.


Matters begin looking up for the Imperialists in the left centre as well. Although taking heavy losses themselves, the harquebusiers have been gradually asserting an ascendancy over their adversaries, helped of course by the musketry of the tercio between the two horsed units. 


The encounter between horse, foot and guns near Remy was also stalled in a prolonged fire fight. Between them, the two harquebusier units have lost half their strength. Although having lost 2SP themselves, the Confederation tercio, with another looming up to assist, is maintaining itself amid gunfire and assaults from front and flank.

At this point, the end of Turn 5, we will defer the conclusion for another time. Losses have been heavy on both sides, with the Confederation down 25SPs, the Imperialists down 27. Pretty steep, considering that the Imperialist tercios in particular have hardly seen action!

To be concluded...

Monday, June 10, 2024

The Portable 'White Mountain' - A 30YW Battle.

Early action, from behind Confederation lines:
cavalry fights on both wings and in the centre

Exasperated by the Emperor's project to reassert the authority of the Church of Rome, Bohemia determined to break off from Catholic Austrian Empire and to form its own independent  kingdom. This rebellion against Imperial authority led to the first major battle of the Thirty Years' War: Witteberg, or 'White Mountain'. Led by Count Johann von Tilly, Charles du Bucquoy and Guillermo Verduga of Spain in a thrust towards the home of  Bohemian revolt, the Imperialist Army of the 'Catholic League' found itself intercepted by the forces of the Protestant Confederation at the White Mountain.

Drawing up along the forward slopes trending downwards toward the Scharka Stream, the Confederation emplaced several batteries behind earthworks. These were, it seems, masked by horse and foot, according to some sources I have encountered. This may have been deliberate, possibly to protect the guns and to conserve powder and shot until the Imperialists might have forced their way through, over, or by, the masking forces. The Confederation right was covered by a walled plantation of some sort; the left was open.

The Imperial Army's front was somewhat impeded by a copse or small wood in front of their centre, and slightly further off in front of the right wing, by the hamlet of Repy. The stream covered the Imperialist left, the somewhat isolated left wing reinforceable via the Razyne bridge crossings.

Altogether the Imperialist Army was slightly the larger, with more foot and guns than the Confederation possessed. Although the Imperialist had more horsed troops, the overall strength in this arm was almost equal, and the Confederation had the extra unit. Here are their Orders of Battle:

Lookin along the Imperialist start lines


Imperialists:

4 x Cuirassier (Reiter) 6-figure units @4SP  = 16SP
8 x Harquebusier 9-figure 'Dutch cavalry' units @ 3SP = 24SP
7 x Tercio 8-pike, 12-shot foot units @ 6SP = 42SP
4 x Artillery battery units @ 2SP = 8SP
3 x Commanders (Tilly, Verdugo and Bucquoy) 

23 units + 3 commanders => 6 Activation D6s
Strength Points overall: 90SP 
Exhaustion Point: minus 30SP
Rout Point: minus 45SP


The view from beyond the Confederation left wing


Bohemian Confederation:

13 x Charging Cavalry 6-figure units @ 3SP = 39SP
6 Tercio 8-pike, 12-shot foot units  @ 6SP = 36SP
3 x Artillery battery units @ 2SP = 6SP
3 x Commanders (Anhalt, Schlick and Thurn) 

22 units + 3 commanders => 6 Activation D6s (22/6 + 3 => 3+3 => 6)
Strength Points overall: 81SP (the gun emplacements might add 6SP to strength)
Exhaustion Point: minus 27SP
Rout Point: minus 41SP.

Overall there were 474 figures on the table: 258 Imperialist, 216 Confederation.

Before embarking on the narrative, a comment seems called for about the game system I used for this action. This action used the Portable Pike & Shot rule set but with changes I suggested at the and of April concerning the artillery and the horsed troops.

Artillery:

All were the heavier 4-figure stands that I use, that have a range of 6 (hex) grid areas. The firing arc is the hex immediately in front, and beyond that includes the row of hexes adjacent either side up to a maximum of 6 hexes from the gun. Short range is 2 hexes.

Cavalry:

My sources suggesting that the Confederation horse favoured the 'cold steel charge', I made them cognate to the 'Swedish cavalry' - calling them 'Charging Cavalry' - as defined by the rule set. The Imperialist horse comprised Cuirassiers and 'Dutch cavalry', the latter favouring fire action.


Close combat: Imperialist cuirassiers (4SP) vs 'Bohemian' charging cavalry (3SP).
The Bohemians (white die) score a hit. Had the dice been reversed,
both would have scored hits.

Close combat not being compulsory, the harquebusiers could shoot in their own turn at enemy horse to their front, but were able to contest the close combat in the enemy's turn. The charging cavalry receiving a +1 for fighting other types of cavalry have of course the edge over the other types (even the cuirassiers for all their extra SP). But the harquebusiers able to shoot without reply in their own turn more than makes up for that (between them, a 6% difference in 'hit' probability taken over 1 IGoUGo Turn). Probably the equalising factor is the charging cavalry's option of following up upon successfully destroying or forcing back the enemy. At any rate I am pretty satisfied by the method I have come up with. Note that forcing back the enemy only through fire action does not entitle the victors to follow up.

My convention for bringing on a close combat is to move the attacking unit such that the front edge crosses the hex grid area occupied by the enemy. This counts as a whole hex as part of the attacking unit's move. A cavalry unit beginning 4 hexes from its intended victim takes its whole 3-hex move to stand immediately adjacent to i. v.'s hex. Having completed its move it may not 'move' that extra part-hex to bring on a close combat. It will have to take whatever incoming from the enemy, then charge home. 

What is happening internally is that the cavalry clashes are brief, with the harquebusier pistoleers using their caracole technique as the opportunities present. Their more belligerent opponents will, of course, be gathering themselves for another go at getting themselves within sword-point reach.

Early cavalry action near Remy village. Both sides 
have take some stick.  The Confederation has lost 3SP:
the Imperialists 4SP.

In the course of the action, a large cavalry battle developed upon the Imperialist right flank that absorbed the attentions of three Imperial and four Confederation horse units. The latter were victorious, but badly depleted.  The survivors were eventually driven off by gunfire.

This seems a convenient moment to pause, to begin the battle narrative next time.
To be continued...


Tuesday, September 15, 2020

Relief of Tarnopol, April, 1944.

General view of Soviet positions.  Tarnopol
is in the far distance.

About a week ago, Paul 'Jacko' Jackson and I got together one evening to fight out a scenario based on something I had seen associated with the Rommel group. This was the attempted relief of Tarnopol, to rescue remnants of several German units trapped in the town, and cut off several kilometres behind the rather fluid Russian front line.  
Map of the battlefield as set up on my hex table.

This line was held by 15th Rifle Corps: two infantry Divisions, 9th and 366th. They were to be deployed in defensive positions, somewhat dug in, east of (i.e. above) the red line (inclusive) according to the above map. They comprised:

XV Rifle Corps:

Corps Command: General Officer, staff and scout car, see VI Guards Tank.
9th Rifle Division:
    Command: Div Cdr, plus Scout car = 3SP
    3 Infantry regiments, each 6 stands, 6SP = 18SP
    1 45L46 Anti-tank gun stand, with tractor = 2SP (light anti-tank)
    1 76mm Field artillery, with tractor = 3SP (counts as medium anti-tank)
    1 ISU152 assault artillery = 3SP
366th Rifle Division:
    Command: Div C.O. plus scout car = 3SP
    3 Infantry regiments, each 6 stands, each 6SP = 18SP
    1 45L46 Anti-tank gun stand, with tractor = 2SP (light anti-tank)
    1 76mm Field artillery, with tractor = 3SP (counts as medium anti-tank)
    1 ISU152 assault artillery = 3SP

These formations were permitted 10 hexes worth of defensive works, which were the eight earthworks and two barbed wire entanglements shown in the maps.

In support of XV Rifle Corps lay VI Guards Tank Corps just off the eastern (i.e. top) edge of the map.  This powerful formation comprised:

VI Guards Tank Corps:
    Command: Corps C.O. staff, scout car and jeep. 
    Counts as overall commander @ 6SP
    1st Tank Battalion: 4 T34/76 tanks @ 3SP (medium tank, medium anti-tank) = 12SP
    2nd Tank Battalion: 4 T34/85 tanks @ 4SP (medium tank, heavy anti-tank) = 16SP
    Motor Rifle Regiment: 4 SMG stands = 4SP
    Guards Mortar Battalion: 1 BM13 Katyusha rocket portee @ 3SP
    1 Field artillery battalion: 1 76mm Field artillery with tractor = 3SP (counts as light Anti-tank)

Totals: 102SP, exhaustion on -34.


The German start line was west of the map, 'below' the blue-grey line, exclusive. They will have carried out their relief mission if they successfully carried and held four of the five objective points marked by the white stars. Two of these, the Russian commander declined to hold in strength.
Map of the early action.  North is off the left 
edge of the map.

To carry out his relief mission, the German Corps commander was given a battlegroup of Fourth Panzer Army, comprising 8th Panzer and 9th 'Hohenstaufen' SS Panzer Divisions, with self-propelled artillery support, and a unit of Nebelwerfer rockets.

Axis:

Battlegroup Commander: General der Panzertruppen, with staff and half-track command vehicle 6SP
8th Panzer Division:
    Div Cdr in half track 3SP
    Panzer Abteilung: 3 PzIVH tanks @ 3SP = 9SP (medium tank, medium anti-tank)
    StuG Abteilung: 3 StuGIIIG @ 3SP = 9SP (medium AFV, medium anti-tank)
    1 Panzergrenadier battalion gepanzert: 4 stands plus armoured halftrack = 5SP
    2 PzGr battalions motorised: 4 stands plus medium truck @4SP = 8SP
    1 Pioneer Battalion gepanzert: 4 Pioneer stands plus armoured halftrack = 5SP

9th SS Panzer Division:
    Tiger Company with:
         1 Tiger I tank @ 5SP (heavy tank, heavy anti-tank)
         1 PzIIIN tank @ 2SP (light tank, light anti tank, counts as infantry gun) 
    Panther Abteilung: 2 Panther tanks @4SP = 8SP (heavy tank, heavy anti-tank)
    Jagdpanther Abteilung: 3 Jagdpanther AFVs @5SP = 15SP (heavy AFV, heavy anti-tank)
   2 PzGr Battalion, gepanzert: each 4 infantry stands plus armoured halftrack @5SP = 10SP
   2 PzGr Battalion, motorised: each 4 stands plus medium truck @4SP = 8SP

Artillery Support:
    1 Wespe unit = 3SP
    1 Hummel = 4SP
    1 Nebelwerfer = 4SP

Total: 104SP, Exhaustion point -35SP.

Notes: 
1.  The 6-stand Russian infantry units represented regiments, and were given 6 strength points.
2.  The 4-stand German infantry units represented battalions, and were given 4 strength points, except when mounted in armoured halftracks, for which they were upgraded to 5SPs.
3.  The original Rommel scenario gave the PzIVs and StuGs to the SS Division, and the Tigers etc to the Wehrmacht.  As that seemed to me unhistorical, I switched them, though I admit I could be quite mistaken in this matter.
4.  The PzIIIN was my own addition to the Axis formation.
5.  The unit to which I assigned Jagdpanthers, was allocated in the Rommel scenario 'heavy tank hunters'.  It is likely that what was intended was anything from Nashorns, towed 8.8cm FlaK guns, or even Ferdinands. Jagdpanthers had not long entered service by April 1944, but I figured their presence just plausible.
6.  The Nebelwerfer and Katyusha rocket launchers were treated as mortars for range, were capable of firing only on alternate turns, but rolling double the dice.
7.  For this action I used SP to determine the number of combat dice rolled. In effect we used a kind of hybrid Portable Wargames/ Hexblitz game system. As a result, the action rattled along fairly crisply.
8. The Soviet Tank Corps arrived on the table edge on move 2, as called for in the original scenario. Upon reconsideration, it might have been better to have randomised the arrival time, say to a roll, from Turn 2 onwards, of a D6, with a '6' being rolled to arrive.
9.  The original scenario placed the Soviet HQ in the table edge town. Instead, I took the place to be Tarnopol, and placed a couple of German infantry stands therein to represent the garrison to be rescued.  They were not otherwise involved in the action; the Russians were not allowed to enter the precincts.
10.  In armoured duels, anti-tank shooting at 'heavier' graded armour subtracted 1 from the 'to hit' dice. In the duel between a T34/76 (3SP; Med Armour, Med AT) against a Jagdpanther (5SP; Heavy Armour, Heavy AT), the Russian would roll 3 x D6 looking for 6s; the German 5 x D6 looking for 5s and 6s.  The outlook for the T34 would be pretty bleak!

Germans on their start line.

The narrative will be brief. The Axis advanced with the 8th Panzer on the right and 9th SS Panzer on the left.  The Soviet 25th Regiment, exposed on its high ground ahead of the main position, came in for a heavy bombardment from Axis ordnance. Although they repulsed an early infantry attack, it was plain the regiment could not remain there long, Reduced to half strength, they pulled back, under continual pressure, until they reached the barbed wire. Unable to negotiate this obstacle betimes, 25th Regiment succumbed to a final barrage, to be stricken from the 9th Rifle Division's order of battle.

On the other flank, 1098th Rifle Regiment also found the pressure from German infantry and armour too much to hold their fortified position. Back they went, into the marshlands to their rear. German panzergrenadiers followed them therein, but soon left again to await developments from the approaching armoured battle.

General view of the battlefield, including the just 
arrived 9th Tank Corps, and some very welcome 
logistics elements.

During all this time, the Soviet artillery was subjecting especially the German infantry to a steady and effective gunfire from field and assault artillery. This considerably slowed the Axis advance. All the same, 26th Rifle Regiment was driven out of its partly fortified, partly forested position, well to the rear
By this time, 9th Tank Corps had entered the battlefield, the lighter T34s plus field artillery on the northern flank, the heavier T34s, Katyusha and SMG unit on the southern.  


When 26th Rifles were driven out of their position, two companies of T34/76s swept around the flanking woods to engage the German Jagdpanthers. This more or less went as might have been expected. I don't recall they hurt the German armour - possibly one platoon fell back, but the Russian tanks took 4 hits. Only one was damaging, though; the rest were treated as 'retreats', and back went the target company 3 hexes; the other went back later, during the Soviet turn. Thenceforth, German activity was limited to attempting to pound the soviet defence lines on the northern flank. Panthers drove the anti-tank unit out of the riverside village, but couldn't make up their minds to cross the stream to test the Soviet hill defences beyond. Meanwhile one T34 company had taken up position in the fortifications formerly occupied by half of 26th Rifle Regiment.

There was more action in the south. The defile between the forests and the marshlands wide enough to accommodate but two tank companies side by side, tended to limit the weight of the Soviet counter-attacks there. All the same, they did knock out one PzIV platoon, and damaged several StuGs as well. For their part, the German armour gave almost as good as it took, wiping out the lead T34/85 company.
By this time, a count indicated, to my surprise, that the Germans had reached their exhaustion point; the Soviets were still well short of theirs. It was the Soviet artillery that had done the damage, and that damage had been done to the German infantry.

As played, this was not a well balanced scenario. The odds are simply too stacked against the Germans, especially played in this format. Historically, both sides fought each other to a standstill. Only some 9 men of the Tarnopol garrison ever reached their comrades to the west.

Were I to do it again, I would make the Soviet rifle infantry 'poor' partly to suggest many were barely trained conscripts, partly to indicate units that had already been through the mill. The Guards Tank Brigade would be average, but maybe the T34/85s I'd count as 'Elite'. The Germans I'd rate as 'Average' across the board, with maybe the Tiger I and its companion PzIIIN counting as 'Elite'. These 'Elite' designations I admit to being quite arbitrary. 

Meanwhile, the First Blacklands (Balkans) War is awaiting its first battle, that the narrative may proceed.  I hope I can get that done shortly.


Sunday, June 21, 2020

High Seas Incident - a test.


Facing west, the Aithiops coastline is a short distance beyond
the table's far edge. HRMS Blunderer in the forground,
ANV Kickapoo and Lafayette hugging the distant coastline.
Log of HRMS Blunderer:

"Date: Wednesday,14/Oct/1874  Time 1800 hours.
Estimated position: 11° 25' S, 41° 37' E, some 8 nautical miles SE off Cape Delgado (East Aithiops coast) 
Course: 0°  (due North)
Overcast cloud, clear skies on the north and west horizon, light to moderate breeze from the south, Visibility fair.
Barometer falling, weather thickening from the south, wind rising.
Smoke on the horizon close under Cape Delgado, thought to be ironclad vessels recently acquired by the Azeitona Colony.  Bearing down towards smoke to intercept and investigate..."

Looking directly south.  The faster Kickapoo leads the
two vessel Azeitinian squadron.

The arrival of two ironclad riverine warships by the Azeitona Colony had long been suspected in Table Town - a development that rather appalled the Governor of the Cape of Good Grief Crown Colony.  With his powerful coastal battleship, HRMS Blunderer, the Lord Hughnon Reddit-Allreddy's writ could be extended a thousand miles and more up western and eastern coasts of the Benighted Continent, with particular attention paid to the none-too-welcome intrusion of the Azeitonian colony at the mouth of the Limpopo River.  But the presence of even one ironclad on the southern Aithiops coasts would a constraint upon that writ.  True, they were unlikely to be ocean-going vessels, but they would be quite capable of effective harbour defence and inshore work...

'Upon due consideration, ' Lord Reddit-Allreddy declared in a missive to the Colonial Office back in Ruberia, 'the presence of Azeitonian warships upon the coasts of Aithiops is not to be borne...' 

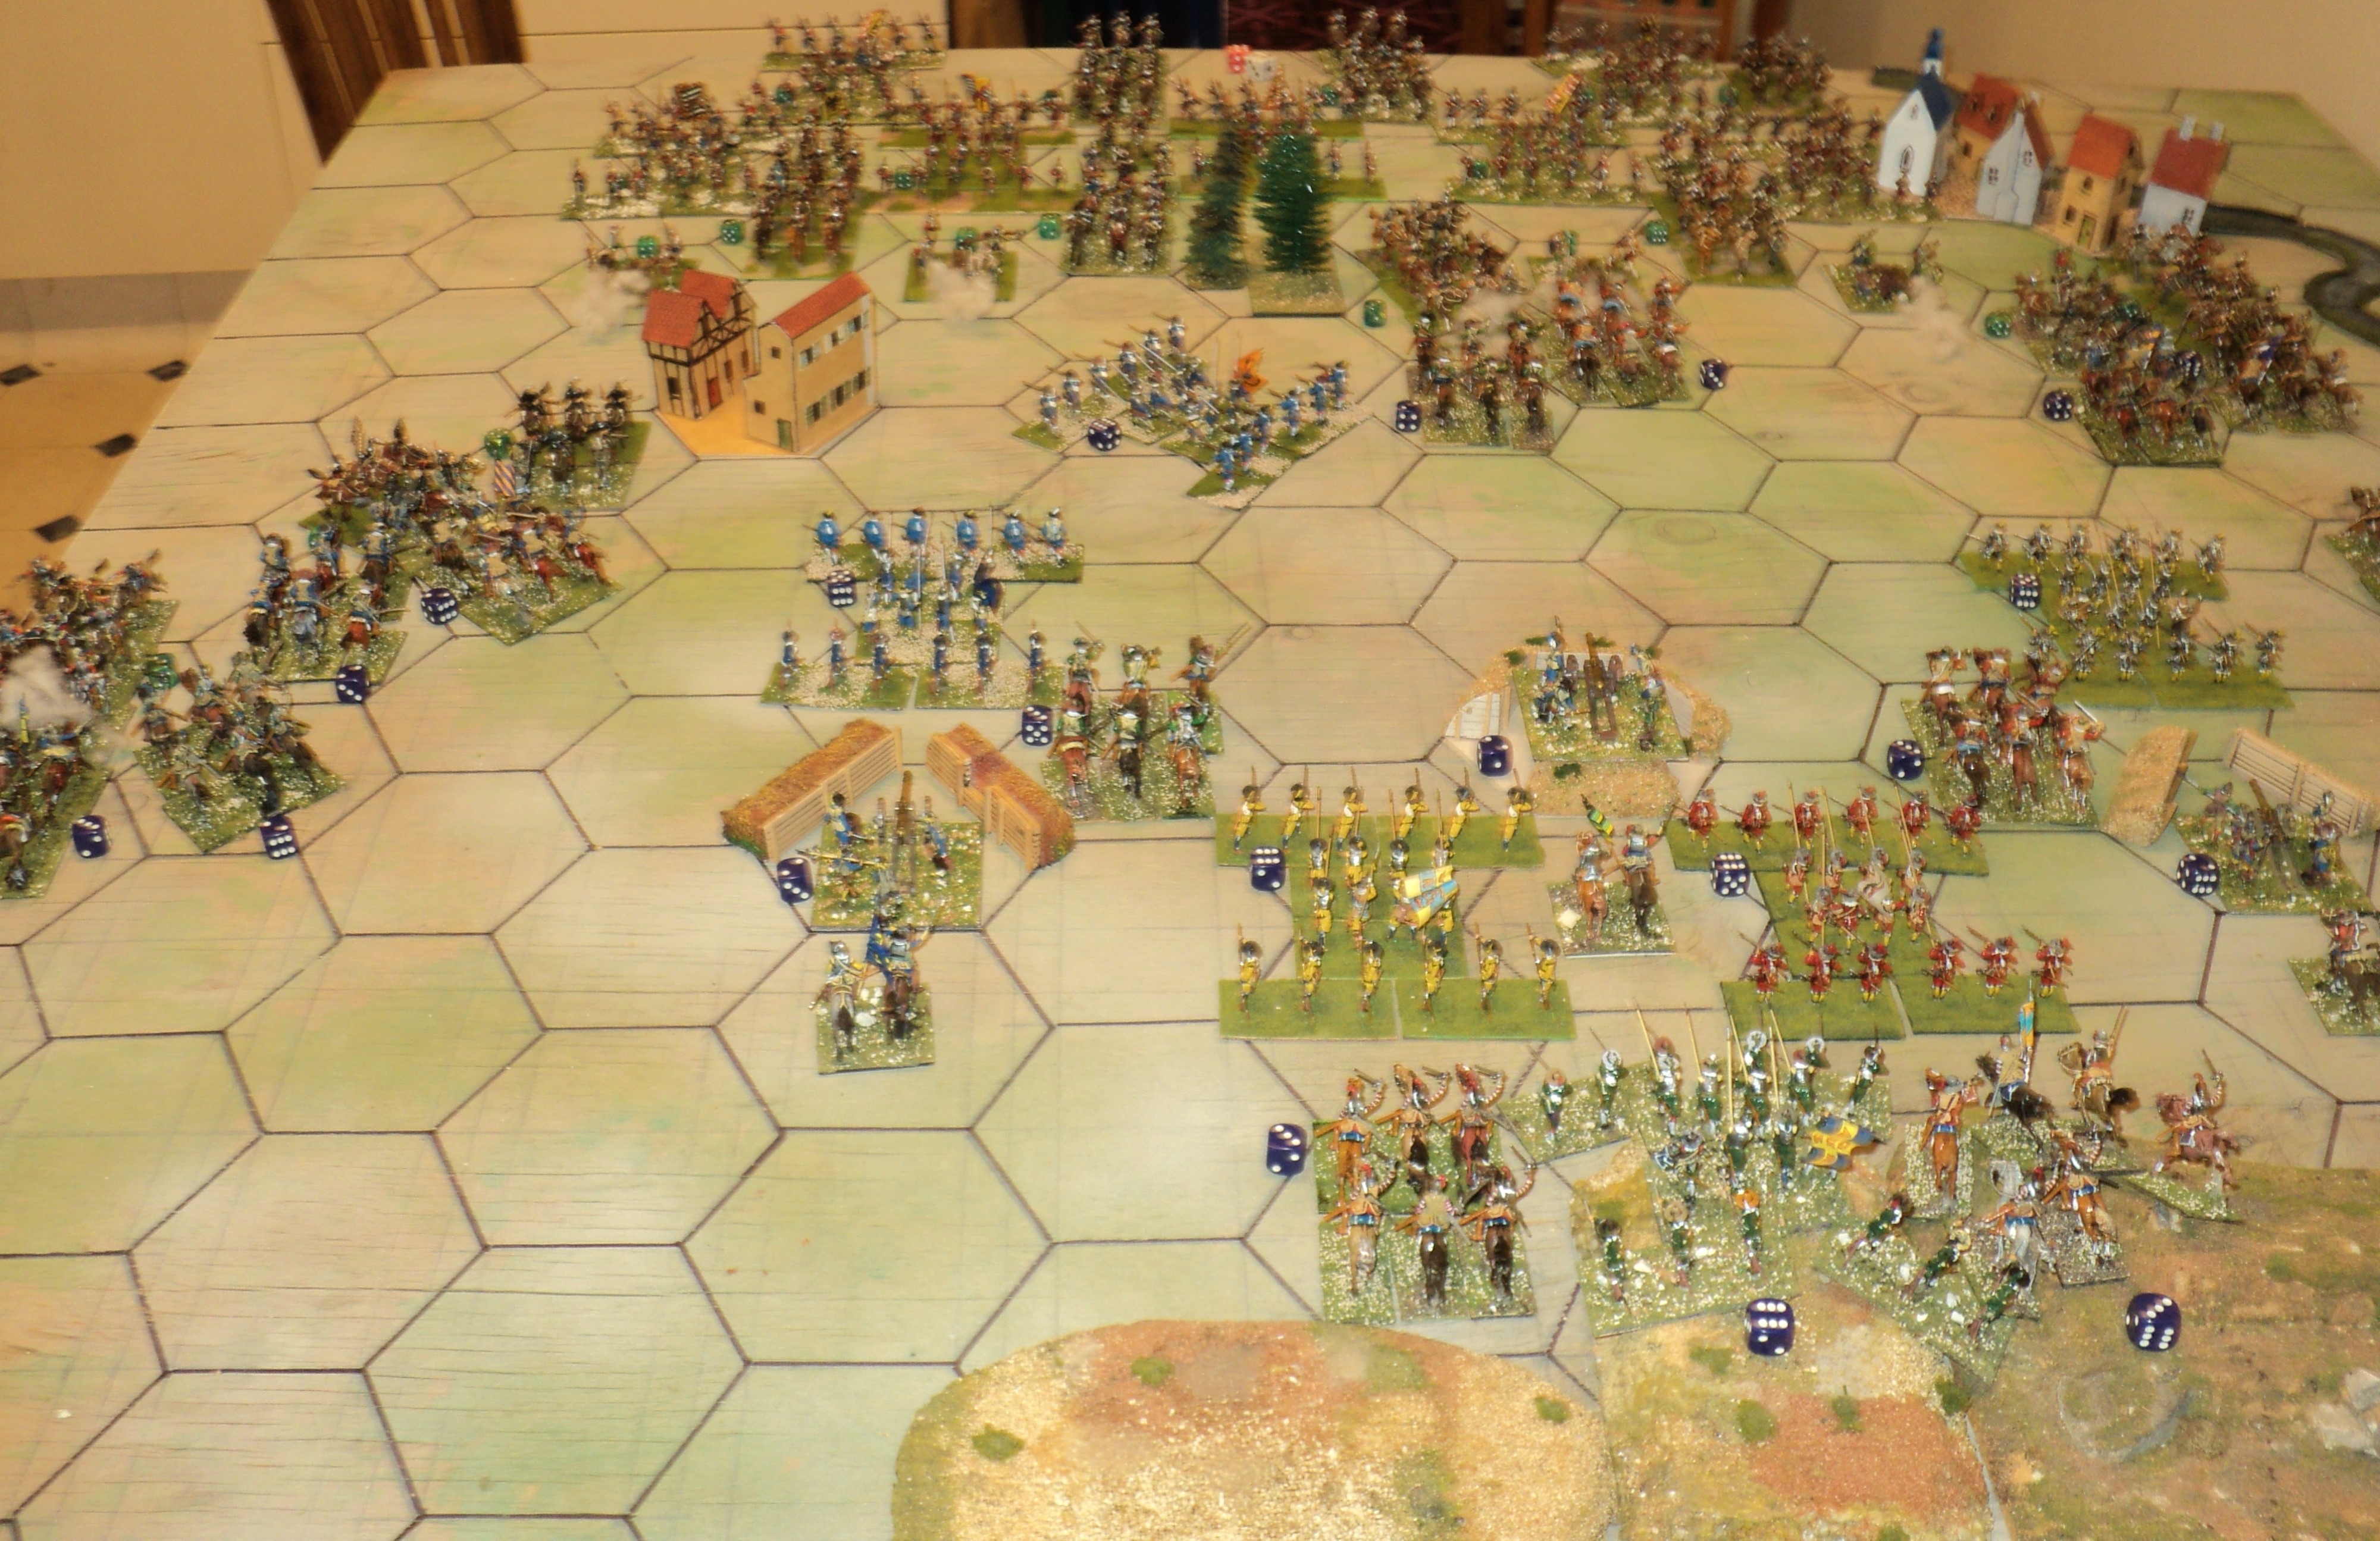
The rules in use (GNW) and the context - Colonial Aithiops.
For their part, the acquisition of two ironclads was something of a relief to the Azeitonian Colonists and their Governor.  The pair would be a boon to coastal defence against the depredations of Zanzingabar corsairs and Turcowaz slave raiders, and assistance to expeditions via the Limpopo River into the unexplored Continental interior.  Only the longer established Ruberian colony, far to the south, might be apprehended.  There was no doubt their coastal battleship, Blunderer, was a formidable vessel.  He hoped that maybe Milord Reddit-Allreddy would quietly ignore the presence of two warships - designed solely for defence, of course...
'Hey, up! Here's a fight!'
'Milord' Reddit-Allreddy had no such intention. He ordered Captain Weatherby Jack, Commodore of the Cape Squadron, to take his flagship and investigate these two Azeitonian warships, with the view to determining their threat, and what subsequently to do to diminish that threat. So, the pink dawn of Friday, 9th October 1874, would have seen HRMS Blunderer slipping out of its anchorage in Fallacious Bay, and setting course eastward along the coast. A thousand miles later, towards the late afternoon of the Wednesday following, and about to raise Cape Delgado, the lookouts spied the plumes of smoke. The Azeitonian warships were at sea.
HRMS Blunderer finds the range, and scores an early hit!
This was, of course, to be a shakedown exercise along the coast, partly to exercise the crews, partly to test what really were riverine vessels in coastal waters, and partly too, to map the relatively unexplored coastline. The surprise appearance against the grey southern skyline of darker clouds of smoke heralded the approach of a large vessel.  Disappointed, the ironclad commanders were not altogether surprised to see the Ruberian battleship hove over the horizon. At once that vessel turned to bear down upon the little Azeitonian squadron. Themselves not unwilling to test their metal - Azeitonian sea-going tradition at least as antiquitous as the Ruberian, if a little less martial - the two ironclads turned to port, to meet the oncoming Blunderer.
ANV Kickapoo has to run a gauntlet before getting in range...

Before resuming the narrative, let us examine the vessels of both sides. We'll begin with the contentious addition to the Azeitonian Inshore Squadron.  They were two ironclads, one a twin-turreted Monitor class Azeitonia Navy Vessel - ANV Kickapoo. Its turrets housed smoothbore 11-inch guns within 8-inch protection, by far the thickest armour cladding the vessel. Its top speed was 8 knots (2 hex-grid areas).

The other, ANV Lafayette, a dramatic-looking ship was of similar size, was of altogether different design. Its guns were all behind casemates, two 11-inch smoothbores forward, two 6.4-inch Parrott Rifles as stern-chasers, and three 9-inch smoothbore guns in the broadside. Its major weakness was its lack of speed - 4 knots only (1 hex-grid area). Though both were armoured, neither could boast the protection enjoyed by the Blunderer; not even the 8-inch turret armour of Kickapoo was a match.

Blunderer's second salvo even more destructive, as she
makes a sharp turn to port.  But Kickapoo manages to
put one aboard Blunderer.  Meanwhile Lafayette struggles to close the range.

HRMS Blunderer was a very formidable warship. Boasting four rifled 12.5-inch guns in 2-gun turrets fore and aft, this battleship was faster (14 knots - 3 hex-grid areas per turn), and better protected with heavy armour protecting the hull as well as the turrets.  It's one disadvantage in respect of the ironclads, was it much deeper draught, though that could scarcely weigh in the balance against its advantages.

To summarise:

ANV Kickapoo:

  • Flotation Points: 17
  • Speed: 2 hex grid areas
  • Gunnery Range: Broadside: 6 hex /7D6; Forward: 6 hex /4D6; Aft: 6 hex /4D6
ANV Lafayette:
  • Flotation Points 14
  • Speed 1 hex grid area
  • Gunnery Ranges: Broadside: 4 hex /5D6; Forward: 6 hex /4D6; Aft: 6 hex /4D6
HRMS Blunderer:
  • Flotation Points: 24
  • Speed 3 hex grid areas
  • Gunnery Range: Broadside: 8 hex /9D6; Forward: 8 hex /5D6; Aft: 8 hex /5D6

In developing these data, I used the method as prescribed in The Portable Colonial Wargame, but instead of dividing by 4 as Bob Cordery does for his 'one-hex' sized war ships, I divided by 8 for my 2-hex sized fellows. My vessels are twice the length of his, but represent much the same sort of thing.  I used the  Gridded Naval Wargames'  gunnery system.   It worked fine for this action, but whether it will for combined ops has yet to be tested.

The observant reader will have noticed the peculiar gunnery ranges of the Lafayette. This is due to its 10 guns being fixed in place, unlike the swivel turrets of the other two vessels. That ship's 2 forward 11-inch smoothbores would have the same firepower as one of Kickapoo's turrets. I had a feeling that Blunderer's rifled guns should have a much greater range than the smoothbores carried  by the Azeitonian gunboats, but could find no confirmatory data.  Only the Lafayette's stern chasers were rifled on the ironclads' side, and they were about half the calibre as the Blunderer's guns. Altogether I scaled down Blunderer's strength (or upscaled the ironclads) quite a bit. This action fell in the cusp between Bob Cordery's Ironclad and Pre-Dreadnought periods, and accordingly some compromises had to be made.

Having made another sharp turn - to starboard this time,
Blunderer places itself on the opposite course to Kickapoo.
But the range!  Practically point blank!
In conditions of indifferent visibility and fading light, it is perhaps understandable that misunderstanding might lead to a shooting match, especially given such bellicose characters as Captain Weatherby Jack, and Capitão-de-Mar-e-Guerra Joaquim Marques.  Commanding Lafayette, Capitão-Tenente Luis Monteiro, was eager enough for any action that would advance his career...
At close range Kickapoo gives as good as it gets.  Blunderer scores
more hits, but Kickapoo gets in a more damaging strike.
As the ranges closed, the first salvos were fired - no preliminary salutes here.  First blood went to the Ruberians, who, with greater speed and firing range, might have stood off and shot the Azeitonians to pieces.  As it was, the latter's speed differential led to the two ironclads becoming separated. Turning to a southwesterly course took Blunderer out of the range of Lafayette's forward guns, but then she turned sharply back onto the northerly course to exchange short-ranged pleasantries with Kickapoo.  
Distant Lafayette gets off an ineffectual salvo from
its forward battery.
That the latter had already taken some heavy hits from Blunderer's guns, didn't seem to affect its gun crews. In the short-range exchange both inflicted considerable hurt upon the other. Fires broke out upon both vessels.  The longer ranged fire from Lafayette's forward battery was ineffective.
The range rapidly closes between Blunderer and Lafayette
and opens up between Blunderer and Kickapoo.
Perhaps one of Kickapoo's shells had affected Blunderer's steering, for she was to remain on the northerly bearing for the remainder of the action, apart from a slight change of course near the close. By the time Kickapoo had turned to larboard to cross the Blunderer's 'T' from astern, the latter had put a fair distance between itself and the monitor, and was engaging Lafayette closely.  
Blunderer thumps in a devastating salvo, 5 hits, two of them
'major' against Lafayette's two.  But Kickapoo's unopposed
fire is deadly accurate.
The first broadside from Blunderer wrought fearful damage. Quite apart from perforated funnels and splintered lifeboats, Lafayette took heavy casualties among its crew, and sprouted several leaks from holes and started timbers. In return Lafayette scored a couple of moderately damaging hits. From its position athwart Blunderer's wake, Kickapoo did rather more damage, further compromising, it was found later, the battleship's steering.
Effective fire at long range from Kickapoo.


Turning away, Lafayette presented Blunderer with the chance to cross in its turn an enemy 'T', having just enough control for a slight change of course to the north-west.  By this time, Blunderer was out of range of Kickapoo's guns, and was able to concentrate at close range upon the slow ironclad.
Blunderer manoeuvres to rake Lafayette.
Blunderer took good advantage of it, but the Lafayette's stern chasers proved to be well served. Every shot from its final two salvos struck aboard the battleship.
Lafayette is fighting hard a losing battle! 


By that time, though, Lafayette had been almost mortally hurt (11 FPs lost out of 14). As she tried to break off the action, Blunderer turned again to northward, having strayed too near the shore line for comfort. Both ships exchanged final honours as the distance increased between them. Once again, Lafayette's stern-chaser crews demonstrated that casualties among their number failed to diminish their gun-laying skills.  

But Blunderer's gunners had also served their guns well throughout the whole action. Its final salvo finally put Lafayette out of action, left dead in the water, in a sinking condition. Here I added a slight tweak to Bob Cordery's Portable Naval 'Wargames Pre-Dreadnought' rules. If and when a vessel's Flotation Points was reduced to zero - exactly zero - it was not sunk, but left dead in the water, where it might be surrendered, salvaged or scuttled. If reduced to below zero, then it was held to have foundered.  
Blunderer might have returned to the action to put Lafayette under - or accept her surrender - but by now the weather was closing in with the darkness of early evening.  His ship had taken far more damage than Commodore Jack had reckoned upon. As Blunderer disappeared into murk of a rain squall and the gathering dusk, Kickapoo drew up to Lafayette, and taking that vessel in tow, undertook the long, hazardous journey, back to Vertiginus City.

The state of the vessels at the close of the action might be imagined by the following:

ANV Kickapoo: 17SP reduced to 9SP (8 hits)

ANV Lafayette: 14SP reduced to 0SP (14 hits)

HRMS Blunderer: 24SP reduced to 8SP (16 hits)

In the Courts Martial that naturally followed, neither side was willing to find fault with their own commanding officers, not with their unprovoked aggression towards each other, the battle that followed, nor in the manner of its closure. Capitão-de-Mar-e-Guerra Joaquim Marques was treated as a conquering hero by the Colonists, and was to be awarded the Military Valour Medal in due course. The 'reprimand' Captain Weatherby Jack received was calculated more to expedite that officer's career than to retard it, naval judgement being held rather in less esteem than combativeness.

Meanwhile heads illumined by midnight oil in Table Town bent over ill-lighted maps plotting how they might take, sink or burn those plaguey Azeitona ironclads...