
The Play test, continued from here.
 |
| Crossing the Danube: Loison's Division, Marshal Ney and light cavalry. Beyond, around the villages, await the Austrians. |
The Division of Loison, followed by the Corps Artillery, Marshal Ney himself and the Corps light cavalry marched westwards along the south bank of the Danube River to force a crossing close by Elchingen village, whilst Dupont's division pushed westward towards Albeck (just off the table along the road heading north.
 |
| In the far distance, Dupont's Division about to attack the Austrian left. |
 |
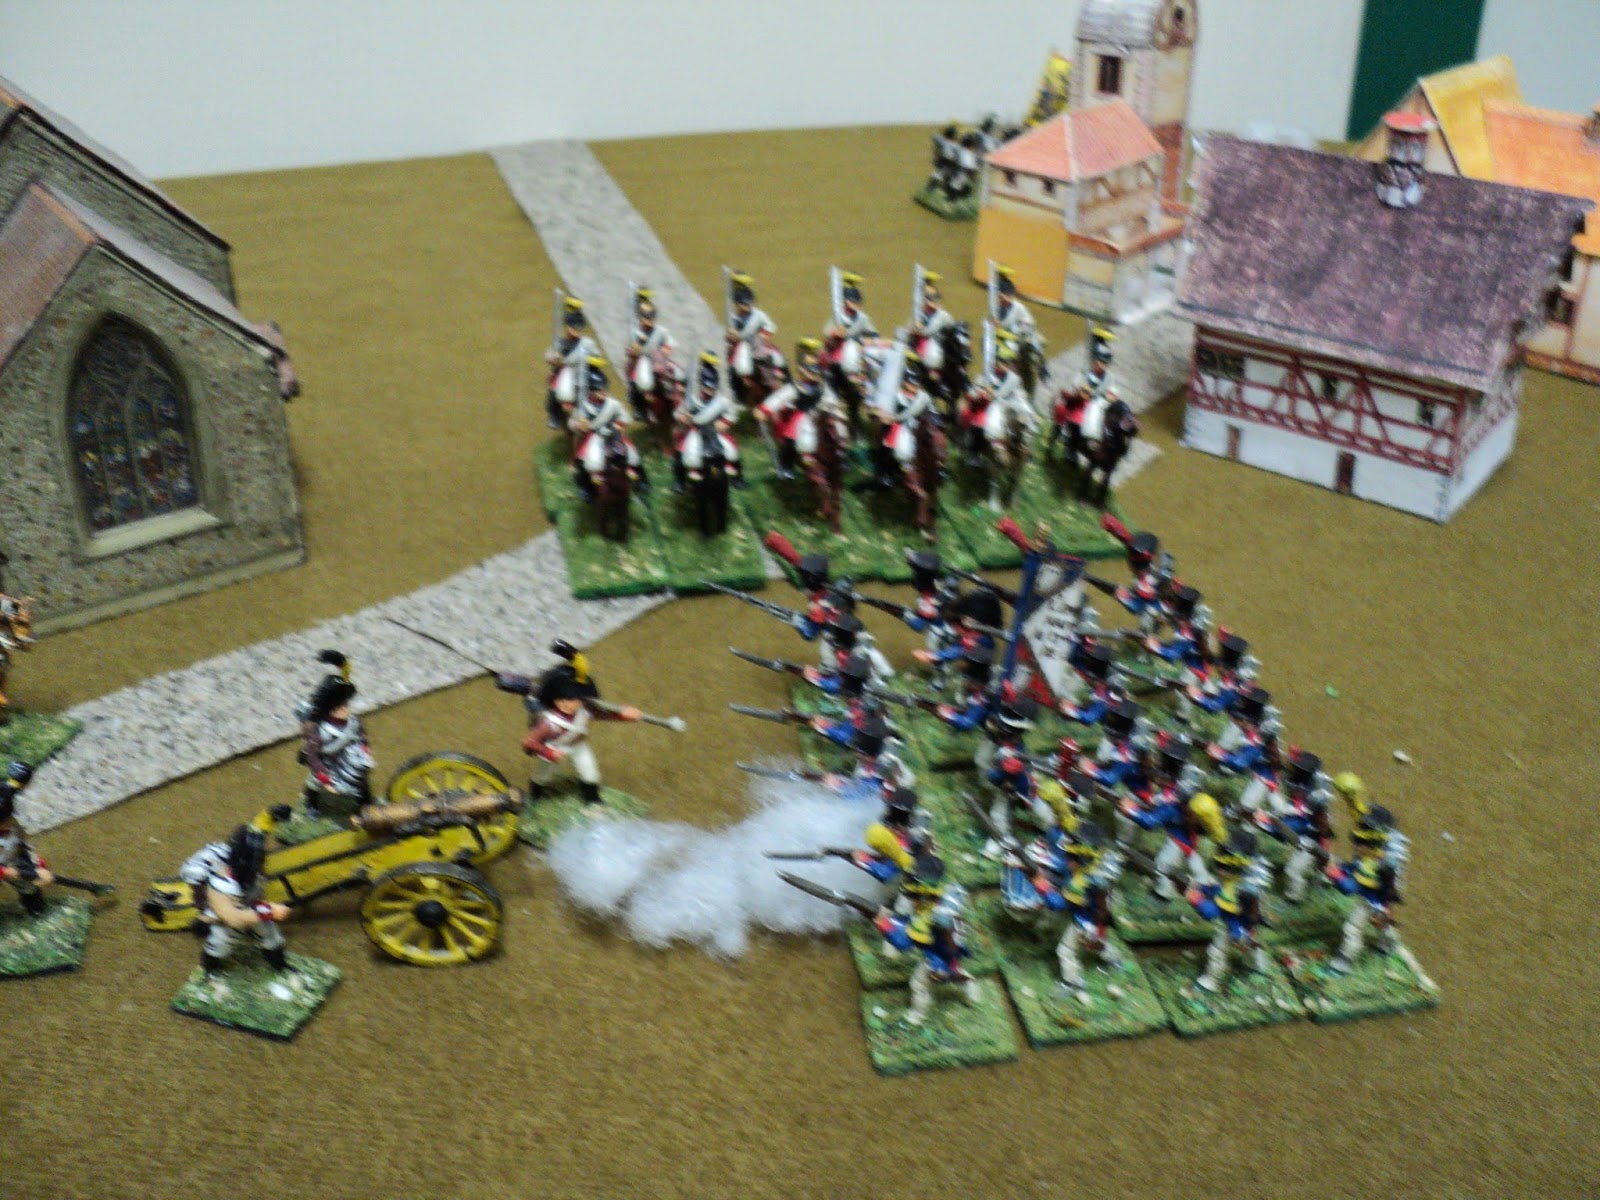
| Dupont's division advancing close by Unter-Elchingen |
The brigaded voltigeurs (4 figures) led off the French attack to protect the rest of the corps troops as they crossed. They were soon augmented by as many chasseurs of the light infantry (I enacted that one French Division would have an extra skirmishing capability, which allowed 8, rather than 4, skirmishing figures to become available). This proved quite a stiff fight, though the fact was that the Austrian Grenadiers' extra firepower (3 dice per 2 figures, 6s to hit, as against 1 die per figure), was more than compensated for by the light infantry's dispersion (ignore the first 'hit').
 |
| First engagements: French voligeurs (brigaded companies) encounter the Austrian grenadiers. First blood went to the Austrians. |
The grenadiers were drawn up in two lines, and were also supported by the Austrian artillery. The latter proved mightily ineffective all day (we might have to look into this, as the French Artillery didn't achieve a whole lot, neither). The first line of grenadiers might have closed the range to drive off the importunate voltigeurs and chasseurs, but perhaps that is an option we could try another time. Suffice to say that after drawing first blood, the grenadiers were out shot, pretty much, in the ensuing firefight.
 |
| Austrian cuirassiers and fusiliers march to engage Dupont's Division. |
 Meanwhile, the Austrian cavalry and the fusiliers were ordered to confront Dupont's Division, approaching the Austrian left rear. This led to something of a dilemma for Dupont: whether to retain his column formation, or form square in the face of the enemy heavy horse. In the event he chose the latter.
In front of Elchingen, the first line of grenadiers, losing the musketry duel, were driven in upon its supports (This also led to some consideration having to be made how this is going to work. I had them halt still facing front, immediately before the second line, but it might have been better to have them pass through to stand immediately behind. If that meant that the second line had to move forward to leave enough space between themselves and the buildings to accommodate them, that sounds reasonable. ) Behind the French light infantry, the remainder of Loison's Division had formed up in an assault column and was about to advance. The light cavalry were now beginning their crossing. All this while the French artillery kept banging away across the river without much visible effect.

As Dupont's Division formed square (I chose one large Divisional square here; the jury is out whether forming two 'brigade squares' ought to be an option) the Austrians closed the range. The French knocked over one Austrian fusilier, but otherwise the mutual musketry duel didn't amount to much.

At about this time - 11 a.m. (Turn 4) - Mahler's Division was putting in its appearance from south-east of Unter-Elchingen. The three following pictures offer a panoramic view of the battlefield.
 |
| Here comes General Mahler! |


Although the grenadiers saw off the skirmishers with loss, they were almost immediately assailed by at least double their numbers of close order infantry. Crippled by their own losses, the grenadiers were so reduced that at last, their resistance broken, they were reduced to a crowd of fugitives fleeing through the town and the Grober Woods beyond.

The Austrians were meanwhile pressing home their own attack against Dupont's Division. Not wishing to engage the square too closely, the Austrian cavalry stood off whilst the fusilier column closed in, first to musketry range, then to closer quarters.


It was not until Mahler's Division got to within musketry range that the Austrian guns had any effect, but by then the Cuirassiers had broken off their engagement with Dupont's Division (leaving the fusiliers to complete their victory) and were coming down upon Mahler's flank.
By now Loison's Division was closely engaged with the grenadiers' second line, taking a number casualties the while, but hurting the grenadiers rather more. Within a short space of time, the defenders were driven out of the town...

... where the light cavalry completed their discomfiture.

The Austrian left driven away, Loison and the cavalry turned towards the centre, where Mahler was in the midst of his own battle. Brought across the river betimes, the Corps artillery dropped into action in support of Mahler.

It was a case of honours shared on this part of the field. The close quarter musketry, with artillery support, knocked over so many gunners (2 out of 4 figures) that the battery had perforce limber up and make off. But the infantry got the worse of their encounter with the Austrian cavalry (as a wargames unit, these guys have a terrific history - an almost unblemished record) . Losing 3 figures to 1 (at least they got one!), Mahler's Division lost the fight, and had to retire.
But somewhat surprisingly, their high morale (roll of 6) ensured that they fell back in good order, turning to face their enemy (I do think maybe the cavalry ought to have got more advantage for striking their opponents in the flank, though columns are possibly less vulnerable to cavalry attack than are lines, especially in the flank. Something to think about anyway).

At this point, it was clear that although victorious on their left, and having fought the French to a standstill in the centre, this action was already lost to the Austrians. Mahler's division was far from broken; Loison was still full of fight, and the French light horse was barrelling through Elchingen town onto the Cuirassiers' flank (A column of march/ passage of a defile formation is not usually in war games permitted to enter into a close quarter fight. But apart from wondering how else one expects to force a defended defile [Remember Lodi Bridge?], it seems to be an ideal formation with which to strike into the flank of an enemy line).

By the same token, there was little the French could do to interfere with the Austrian withdrawal, and so here the action ended.

Altogether, although several issues came up in this action concerning mainly the combat mechanics, on the whole this seemed a fairly satisfactory 'first pass' play test. The losses seemed pretty realistic, too: the French losing 15 figures all up (Dupont lost 7 of those, the other two Divisions 4 apiece), and the Austrians 14 (I think the Grenadiers lost 9 of them, being pretty much destroyed as a fighting unit). Taken as percentages, that takes 17% from the French and 28% off the Austrians - pretty reasonable for a hard-fought, smallish action.
Nice looking game and a good report.I liked the experimentation with sepia and black and white in the pictures, but it struck me that some passes with a filter to make it look like an oil painting seem in order. I lifted one to play around with and I'll let you know about the results. If it looks good I'll email you a copy if you like.
ReplyDeleteSounds very good! The effects I have here a just from the standard Microsoft 'Live Photo Management' software. I quite like the fairly simple things one can do with it. My camera can take movies, so I may experiment with that some time...
DeleteCheers,
Ion
And there was I thinking that the black and whites were original woodcuts....
ReplyDeleteGreat game report!
Thanks, Tim. Plenty to work on there. The most promising aspect was that a game comprising just 140 figures in total had the feel of a reasonably sized action. I'm thinking of Pultusk, next, or maybe Durrenstein, though Austrians will have to fill many of the Russian ranks in either case...
DeleteImpressive looking game and great to see those Minifigs in action!
ReplyDeleteAlthough not all my Napoleonics are Minifigs, or even metals, the Minifigs remain my favorites.
DeleteHello Ion:
ReplyDeleteThanks for this very fine and good looking bat rep. I am making some progress on my 6mm Napoleonics and would like to get a look at your rules when they coalesce into something written, as this is the sort of scale I want to play in.
Cheers,
Michael
Hi Michael -
DeleteI think I might have sent a copy of my 'Corsican ogre' rule set, but they are for 25mm figures, and battalions of, say 16-30-odd figures each. They really wouldn't 'do' for 6mm. The 'BB4ST' set I haven't really thought of in terms of 6mm figures, but I tell you what: you might like to take a squizz at the 'Vive l'Empereur' rule set that has been (is being) developed locally. These are designed for 15mm but might work for 6mm. They do require a form of labelling and indicators for morale status and ability to act, though. These devices look OK in 15mm, but not so sure about 6mm.
The copy I have on my machine of this is way out of date, but I may have something newer in the archives.
Cheers,
Ion
I'd be happy to look at anything you want to send me via mad padre@gmail.com.
DeleteWe should play chess again, while I think of it.
MP