

.jpg) |
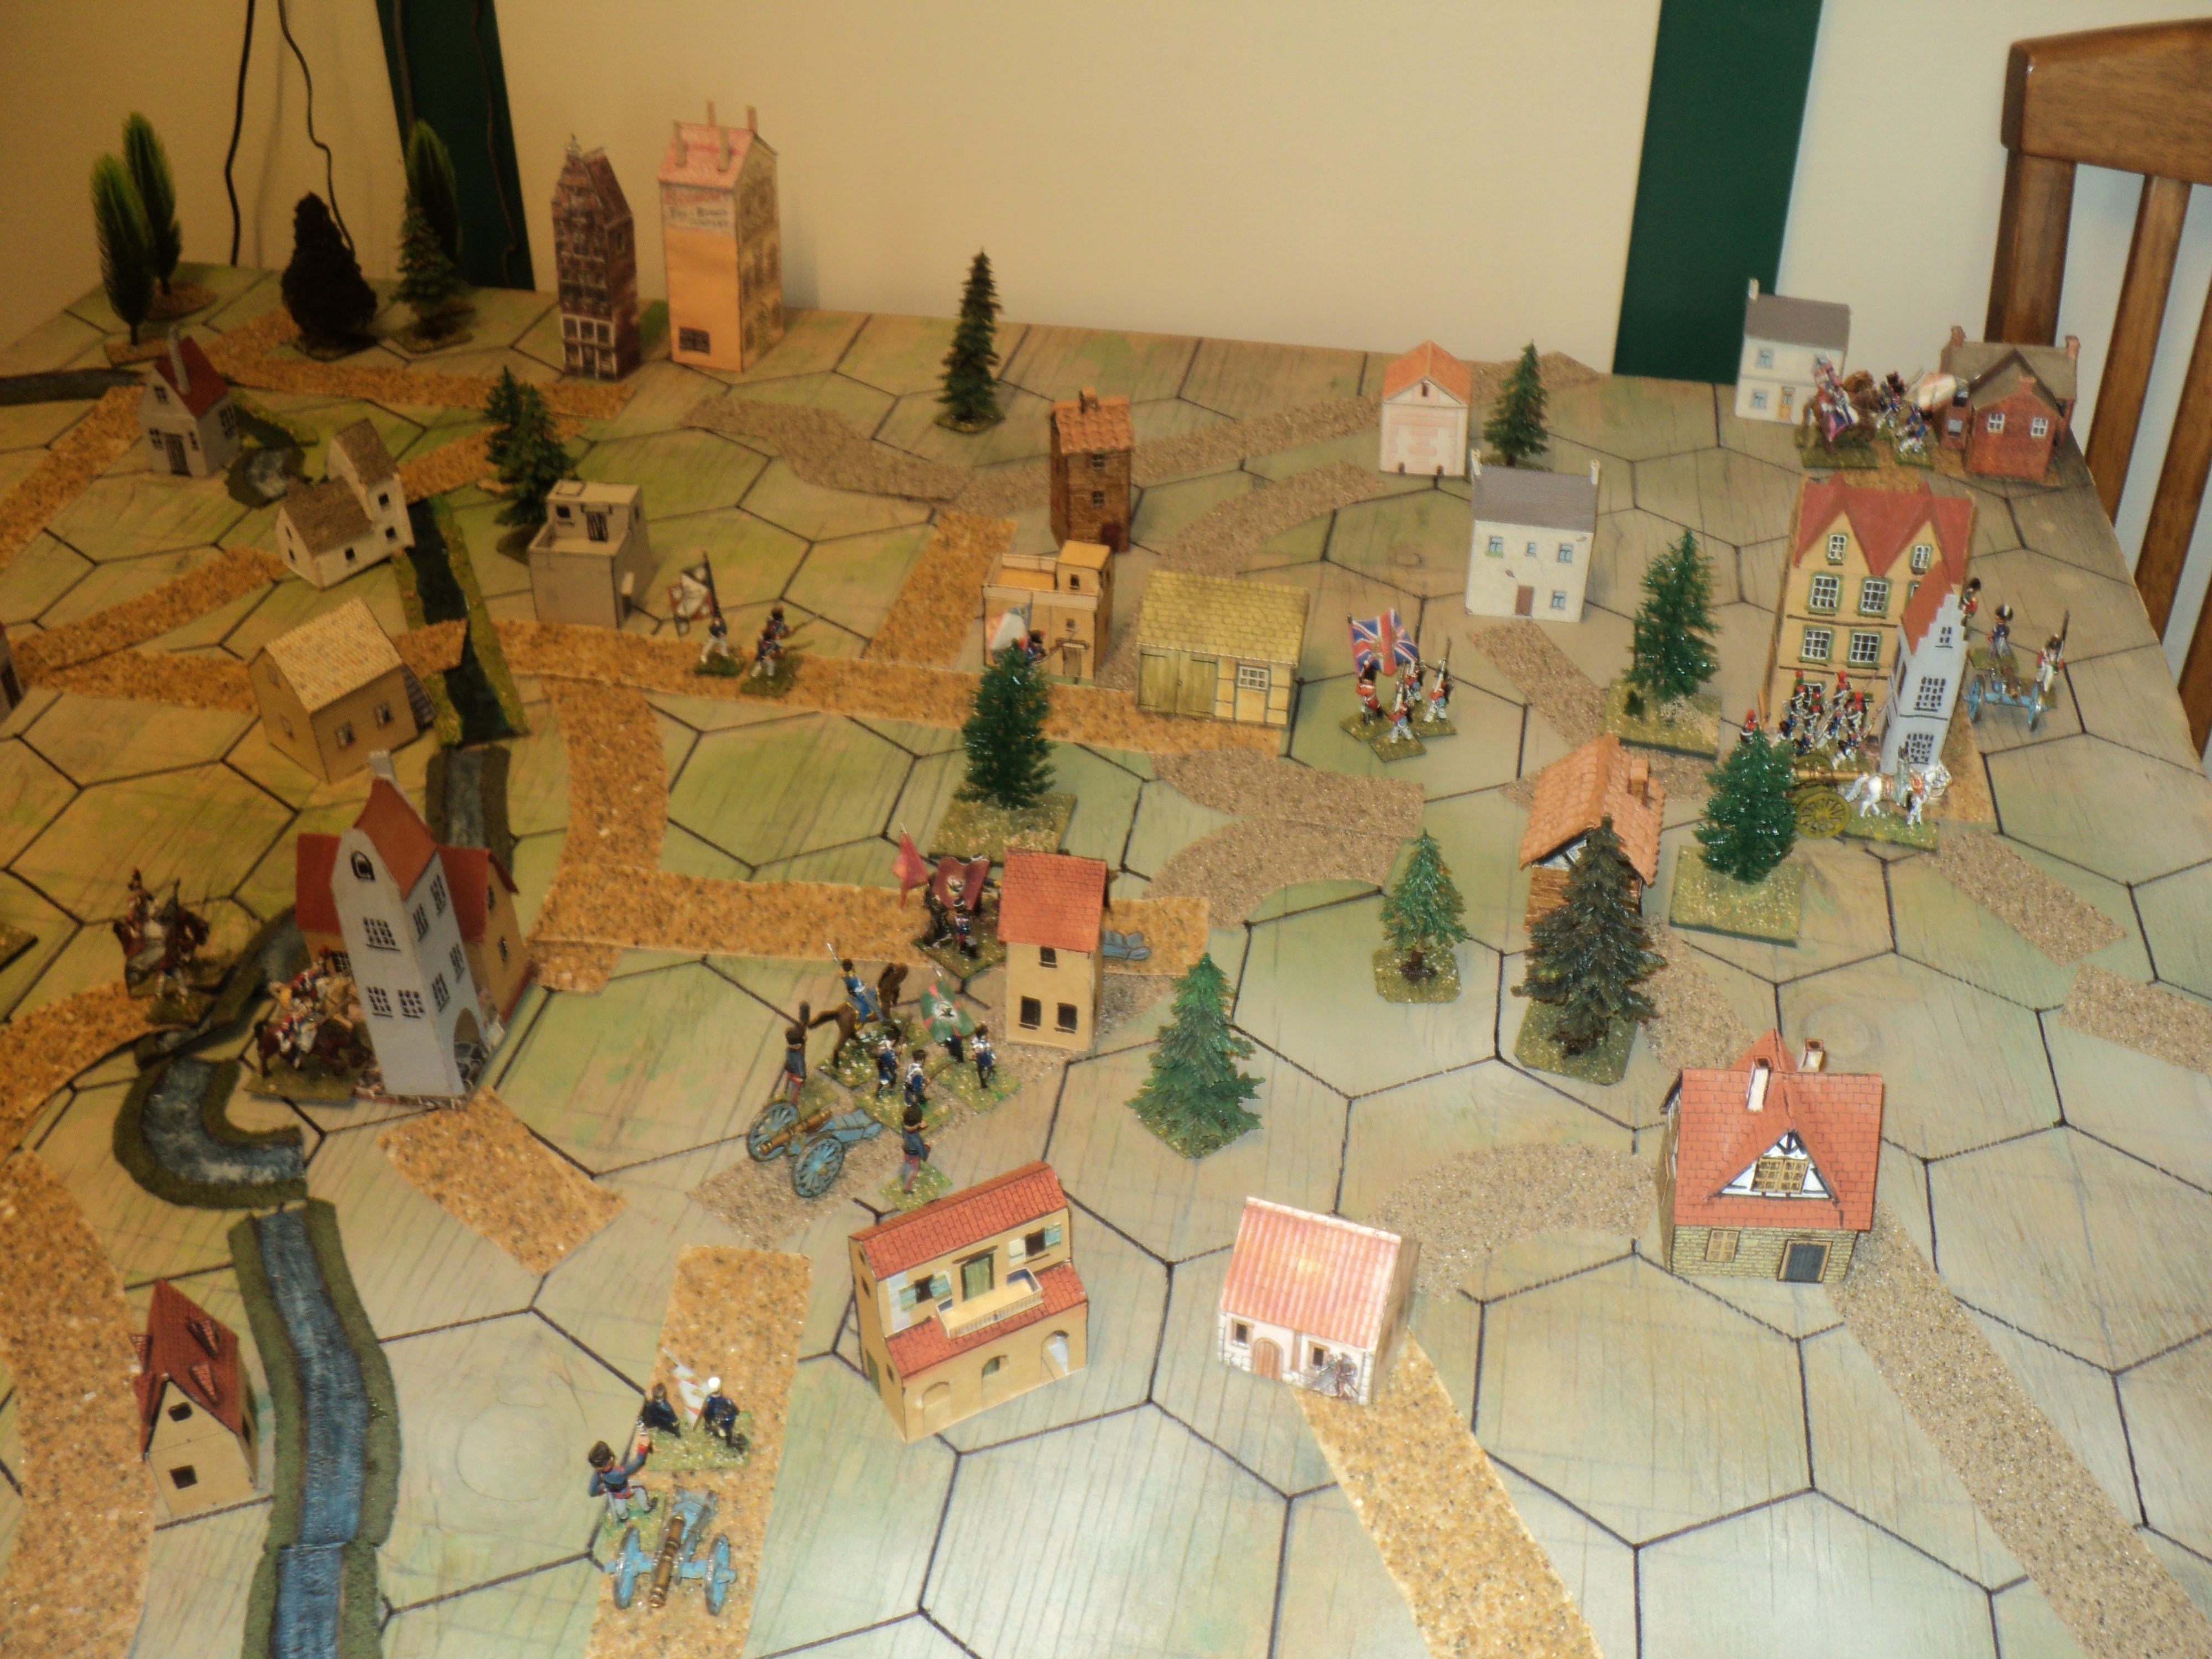
| Hundred Minutes' Campaign - opening positions. |
The result of the action at Yvoir is that the II Cav Corps is removed from the Armee du Nord order of battle, but III Corps loses 2 infantry in the process. The French roll three fives - 3 infantry hit - only one of which is cancelled by the Prussians' roll. Possibly the French succeeded in catching the Prussians on the march, before being overwhelmed by superior numbers.
The Prussians win their first victory, however Pyrrhic. (Aside: this was a very low probability result, the statistical expectation being that the cavalry would hit one infantry, with a very fair chance of it's being cancelled, and about a 50-50 chance of the II Cav Corps remaining a force in being. One supposes that somehow the French cavalry sprang some sort of surprise upon the approaching Prussians, and put up a very stout fight.)

Major developments are shaping around Charleroi and Mons. Having entered the place, the French IV Army Corps find themselves under attack from the Prussian I Corps. However, the combat between evenly matched adversaries is inconclusive. The French hold old out all day at Charleroi. Close behind the leading Prussians at Charleroi, the II Corps, together with Marschall-General Graf Blucher, the Commander in Chief of the Prussian Army, have entered Fleurus.


Fighting begins in earnest at Charleroi and Mons. The Prussian IV Corps arrives in the theatre at Huy; ...


The clash at Seneffe also goes the way of the French. Encountering the powerful Allied Cavalry Corps, III Corps - II Corps having swung off towards Charleroi to join the battle there - destroys one cavalry unit and the artillery, at the cost of one of its own cavalry units. The infantry hits - four and five - are cancelled by the Corps own four and five rolls.


The fighting around Charleroi might have gone badly for the Prussians but for the arrival of Wellington at Quatre Bras. Apprehending an attack by this new force, II Corps at once swings north to engage. (This I think was a mistake, and the II and IV ought to have handed I Prussian Corps a smacking, and let Wellington do what he might afterwards).


.jpg)
able to turn and engage. In the drawn combat that follows, both sides lose a cavalry unit - the Prussian roll of two (cavalry hit) does not cancel, nor is cancelled by, the French roll of three (also cavalry). All those infantry hits count for nothing as the French have none in this fight, but the Prussians fortunately cancel the French 'one' roll to preserve their artillery.

Though undefeated, the French cavalry fall back to Dinant. By this time, the fighting at Charleroi is over, as the Prussian IV Corps approaches Namur

The second battle of Charleroi, following immediately on the first, is a much tougher proposition for the defending IV Corps. II Corps destroys most of the already depleted Charleroi garrison. Prussian casualties are light, but they have to mourn the demise of the Marschall-General himself - wounded twice, and expiring from his injuries. What little remained of IV Corps falls back across the river, first to Laneffe and then all the way back to Philippeville.

By this time, the roads north from Mons and Binche are clear, or, at least are impeded only by the remnants of the Allied I and Cavalry Corps. In this game system I permit depleted formations to merge into a single corps. Upon reflection it seems to me appropriate that the tiny French cavalry corps ought to be able to merge even with an undepleted army corps, although the only real mergers were I Cavalry and III Army Corps, and III Cavalry and IV Cavalry corps merging with the single infantry figure remaining of IV Corps


Day 4: 18 June 1815
Following up the defeated Allied cavalry, III Corps pushes past Soignes to engage the combined remains of the Allied I and Cavalry Corps along the Enghien road. The allies contrive to destroy the French artillery but lose their remaining infantry and two cavalry units as well. Only a single cavalry unit remains of two Allied Corps. They fall back to Ninove, III Corps in pursuit.

Now that the Prussian have occupied Charleroi, to be something of a threat to the French line of communications through Binche, Count Lobau's VI Army Corps swings off the north road to engage the Prussians in the town.


Meanwhile, the remnants of IV Corps having rallied at Philippeville, III and IV Cavalry Corps are converging upon that place to form a provisional formation under command of IV Corps' HQ.

Events are developing more decisively farther to the north. As the III Corps chivvies the Allied Cavalry Corps through Enghien, Napoleon runs to earth the Allied Reserve Corps near Waterloo


Day 5: 19 June, 1815:
Whilst III Corps and the Imperial Guard are driving the Anglo-Dutch Army northward, sinister development are suggesting themselves to the south and east. After celebrating their victory at Charleroi, the Prussian II Corps begins to move north, in the trail of the long departed Allied Reserve Corps. Daybreak of 19th June still finds then short of Quatre Bras. Hard marching has brought the Prussian IV Corps as far as Fleurus, a short distance eastward.


There seems to be nothing to be done about the French menace to the Anglo-Dutch lines of communications through Alost and Ghent to the Channel Ports. Just a single Cavalry Division lies before the powerful French Column advancing inexorably northwards. Possibly a Wellington might have brought II Corps across to keep open that line, and let the fate of Brussels lie in the lap of the gods. But Wellington is no longer commanding. (Fact is, I decided that as a victory over Napoleon before Brussels would probably win the campaign for the Allies, I took a chance in behalf of the Allies. See Day 6. A 50-50 judgment call.)

Nor are the Prussian Corps safe. The Provisional IV Corps is once more on the march, towards Charleroi, now evacuated by the Prussians. VI Corps is also still capable of operations.


Day 6: 20 June 1815:


Great events along the Charleroi-Brussels highway. The Allied II Corps meets Napoleon upon his newly won field of Waterloo. It's an even fight (9 dice each), and an Allied victory here will almost at once decide the campaign in their favour. The Fates decree otherwise. The Anglo-Dutch are brusquely rebuffed, losing an infantry formation against no loss to Napoleon. Back goes II Corps to Brussels.

A short distance to the south the French I Corps, slightly outnumbered, clashes with the Prussian IInd.


As a result of the defeat at Waterloo, II Corps retreats through Brussels and onto the westward road to Ghent. They are too late. It will be another day at least before ever they can fight their way through the enemy already in residence at Alost. Behind them Napoleon's Imperial Guard spends the night of the 21st in the forests just south of the city.


Though it remains possible for the Prussians, together with the Allied I Corps to sever at least the most direct road links to France, there remain elements of I, VI and IV Provisional Corps at least to cause the enemy some trouble keeping the road closed. Meanwhile there is nothing at hand to sever the Mons-Alost line.

Napoleon's entry into Brussels, together with the fall of Alost, decides the campaign. Napoleon has won the first round of the War of the Seventh Coalition.
Next time, perhaps a debrief...?

Hmmm… One of us is most unimpressed at the successes of the Frenchies. D*mn the little corporal.
ReplyDeleteOf course, if Wellington had remained fit and healthy then we can be sure he’d have given Bonaparte a bloody nose.
Your table and toys look great - in particular you have some nice buildings there.
And your artwork is first rate. More please.
Cheers,
Geoff
Cheers, Geoff -
DeleteThe thing could have gone either way, despite my oversight the eliminate three instead of one infantry from the Allied I Corps. I think it was a near run thing.
There are some aspects that I could have done better, especially the 3-day battle around Charleroi. I also think that the entry of II Allied and IV Prussian Corps ought probably to be slightly randomised. One thing that did impress me: the performance of the itty-bitty little French cavalry corps. Legions d'honneur all round, I'd say.
Thanks for you comment,
Ion
Archduke Piccolo,
ReplyDeleteWhat a great campaign report … and you have set the scene for another tabletop campaign. Perhaps Napoleon will hurriedly turn east and take on the Russian and the Austrians next?
I’m going to try out your concept this week, but using divisions rather than corps as my manoeuvre units.
All the best,
Bob
Bob -
DeleteThanks for your comment. This type of game I think would work for just about any size of formation. In response to a comment in the previous post, I mention the 'Army Manoeuvres of 1912', as a possible topic for this system. There I think the units of manoeuvre might best be brigades.
Having no c/1912 figures, it would probably be a campaign between Azuria (invaders) and Ruberia (invadees). The aircraft component could be ignored, or maybe both sides have observation dirigibles... The wind from the north confers the aerial advantage to Azuria.
Well, it's a thought!
I'll have a bit of a think about a follow-up campaign with the addition of Rapp's V Corps.
Cheers,
Ion
Very thoughtful and colorful AAR, the table is super. The rules work with little to adjust for in each combat. Funny how one error in one engagement may have made that big a difference. On to 1912! Sounds even cooler!
ReplyDeletepancerni
DeleteIt's hard to tell just how much difference the mistake might have made. After all, there was a chance that such a result might have occurred anyhow. But the pursuing forces would still have been stronger than the combined Allied corps.
I have found some pretty good material on the 'Army Manoeuvres of 1912', but to 'do' that campaign will require slight rule changes, as the forces won't be individual figures, but 3 and 4-figure stands. The setting will be more like 1880.
I'll do an article on the prep work in due course.
Cheers,
Ion
Excellent stuff, very enjoyable. I've had a couple of thoughts about the high attrition rate, but I'll try it out as-is first. A hard win victory for the Emperor.
ReplyDeleteMartin -
DeleteI have mentioned certain approaches that might be made to attrition rates. In this campaign at the end of each 'day' (i.e. IGoUGo turn), one may tot up the overall losses of horse, foot and guns, and return to both sides the lesser of the respective sides' losses for each arm. The priority will be the corps that received the most losses, up to but not exceeding their starting strength.
Suppose on Day Two, the several combats led to losses:
French: 4 Foot, 2 Horse, 1 Guns
Allied: 4 Foot, 1 Horse, 2 Guns
Then both sides would receive back 4 Foot, 1 Horse and 1 Guns.
What about the loss to generals, then? In both combats in which they were lost, the French threw 2 sixes unmatched by any rolled by the Allies. Maybe some sort of cumulative damage might be called for - e.g. a total of 4 unmatched sixes added for combats the commanders were involved in. E.g. First 'hit', horse shot from underneath the commander, 2nd 'hit' ADC standing beside the GoC is struck and mortally wounded; 3rd 'hit' the GoC takes a slight wound; 4th 'hit, GoC is incapacitated. Makes a story anyhow!
At any rate, I did consider using the system for army losses, but decided not to do so. I really wanted to concentrate on the move and combat mechanics in this one.
Cheers,
Ion
A near run thing indeed! Did you use a unit activation system, or orders? Excellent report and beautiful table. I think your comment on Bob's blog about the replacement Risk pieces was spot on. They would be ideal for a quick and dirty set up for this game.
ReplyDeleteMark -
DeleteI just played this as a IGoUGo solo game, not even rolling for initiative. What formations did tended to be suggested by the combat results or the way things were shaping. Really, the campaign seemed to be playing itself.
But it seems to me that any system of orders, activation, priority chits or initiative rolls would have made the game even less predictable than it was. Were I to do this again, I reckon I would go for 'priority chits', with army commanders as well as army corps formations being allocated a chit. I would probably also add wing commanders on the French side, namely Marshals Ney (Left) and Grouchy (Right).
The purpose of allocating army and wing commanders a chit is that if given an early priotiry chit, the commander might substitute his for another formation under his command in order 'to jump the queue', say.
Incidentally, I have gathered some material for a second such campaign, to wit, the Army Manoeuvres of 1912. This is to be teleported to a time 30 years earlier, in a 'real' imaginary war between the implacable enemies, Ruberia and Azuria. The rule set will have to be adjusted for the 4-figure stands, and will probably be nearer the Portable Wargame than the 'Itchy and Scratchy' style. More on this, later.
Cheers,
Ion
I love this concept! I've been experiencing with a couple of tweeks and I'm very interested in your thoughts on them.
DeleteCombat is very bloody. Perhaps a second die roll once a unit has been hit for outcome. On a 1-3 the unit is destroyed. On a 4-6 it is disordered/ disrupted and forced to retreat. It can still move but doesn't contribute a die in combat until it rallies. It would still count when adding up troop types for combat dice. To rally a unit must not move or fight for one turn.
Hits on generals, roll a die: 1 killed, 2 mortal wound, 3 wounded, a 1-3 results in the general being lost for the campaign. 4 light wound, 5-6 horse killed. 4-6 have no game effect or, the general can still move but adds no dice to combat on the next turn.
For outcome on unit hits troop quality can apply a modification, poor troops -1, elite troops +1.
I'm looking forward to your next game!
Hi again, Mark -
DeleteOn the whole I think my 'campaign movely' reconciliation that I have suggested in my response to Martin is probably simpler and should keep attrition reasonably in check. But given the outcome of this campaign and the timescale I'm not fully persuaded that even such a course is really needed.
Wellington and Blucher both having taken a hit - 2 each actually - rolled one die each for severity. Wellington rolled a 2; Blucher a 6. That Blucher was KIA seems reasonable, but I probably ought to have left Wellington command. Mind you, Wellington ought to have rolled a second time.
A non-cumulative tariff might go:
1. An aide next to Commander is severely wounded.
"My God, sir, I've lost a leg!"
"My God, sir, so you have!"
2. Horse shot from underneath Commander; Commander uninjured
3. Commander receive a minor injury, remains in command.
4. Commander receives a major injury - forced to relinquish command for the duration of the campaign
5. Commander receives a mortal wound
6. Commander KIA
On the matter of troop quality, at the level of this campaign I think it lies too far below the grain. I have considered it, but still not quite persuaded.
Thanks for your feedback and idea, Mark. Appreciate it.
Cheers,
Ion
5. Commander
Great stuff! I think this idea really has legs. I'm going to do my own Waterloo campaign but trying out town to town movement and I'll give the retreat idea a go and post my results. I've experimented with adjusting the unit hit rolls ( you can test alot of battles in no time, just one set of rolls each) I really like having both sides artillery fire first as in the Portable Wargame. It makes them more potent and less likely to cancel each other out. For hits I've been using 1-3 infantry, 4-5 cavalry and 6 artillery, but if the general is present you roll again on a 1 the general is hit and killed, wounded and lost for the campaign. I'm painting up some troops now while also working on Hyborian age armies. Thanks for a great idea, I think this will work great for operational games in almost any time period.
DeleteYou might have 'missed the memo', Mark :)
DeleteThe reason for going 1 = arty 2-3 cav etc was that the arrangement of the dice pips put me in mind of NATO military symbols for artillery, cavalry and infantry. Bob used the idea in his 'Itchy and Scratchy' system, and I also experimented with it in my brief revisit of Barry Taylor's long vanished 'Vales of Lyndhurst' campaign.
The series of articles begins here:
http://archdukepiccolo.blogspot.com/2018/10/memoriam.html
But the rule set is explained here;
https://archdukepiccolo.blogspot.com/2018/10/vales-of-lyndhurst-to-be-continued.html
Some changes were made e.g. to unit sizes and compositions a few postings later (the whole made a 7-article series from October to December 2018).
You might enjoy the read...
Cheers,
Ion
I did indeed! Thanks for the links, I'll check them out!
DeleteDear Archduke Piccolo - Ion, thank you very much for sharing this amazing battle report. All I can is WOW!!! Very well done. Really enjoyed reading it. Thank you. Best Wishes. Quinn
ReplyDeleteGlad you enjoyed the narrative, Quinn!
DeleteCheers,
Ion