

Cambridge Examiner. 17 September. Daybreak.
"The day has begun as it ended last evening, with Cerulean Cavalry pushing up the Ashdon road from Haverhill, and encountering our cavalry. Fifth Dragoons set them at once to the rightabout, the depleted remnants of 2nd Cavalry Brigade fled through the town, and now the enemy horse are quite without their artillery. What remained of their horse guns were overrun, captured or destroyed by our horse.
"The day has begun as it ended last evening, with Cerulean Cavalry pushing up the Ashdon road from Haverhill, and encountering our cavalry. Fifth Dragoons set them at once to the rightabout, the depleted remnants of 2nd Cavalry Brigade fled through the town, and now the enemy horse are quite without their artillery. What remained of their horse guns were overrun, captured or destroyed by our horse.

"After this second victory, the enemy horse retreated behind the Stour River on the Brinkley road. It is very doubtful that we'll be seeing much more of them in this quarter."
Cambridge Examiner. 17 September. Ashdon. Mid-morning.
"With reason to anticipate a renewal of an enemy advance from Haverhill by Cerulean infantry, Col Briggs has brought his command bask to about a mile or so east of Ashdon. There he has formed a line for dismounted defence, covering the village and also the diverting of General Rawlinson's Division onto the Radminster road. The enemy appear to be developing a threat from the region of Stoke-by-Clare and Birdbrook. This, Rawlinson has set out to meet.
Cambridge Examiner. 17 September. Great Abingdon. Morning.
"Placing 11th Brigade with the machinegun company within the town's precincts, Major-Genl d'Oyly Snow has deployed his other two brigades on either flank: the 10th to the right upon the elevated country to the southeast; the 12th on the left, their line stretching almost as far as the Gogs heights. We can see the enemy approaching down the Fulbourn and West Wrattling roads. The GoC 4th Division is confident of holding his line."

Haverhill. 17 September. Mid-morning.
"Scouts and refugee stragglers report the approach of two brigades of Cerulean Infantry from Brinkley, towards Haverhill. It seems that Col Briggs's line will be tested by late morning or early afternoon by the weight of much of the enemy 2nd Division - 5th and 6th Brigades with artillery support. Some apprehension awaits the outcome."

"Rather than await the enemy onslaught, Col Briggs, in the temerarious manner that seems with him to have become habitual, ordered his line to advance to meet the enemy on the road just emerging from Haverhill village. Catching the enemy columns before they could properly deploy, 4th Light Brigade smote the enemy a blow that left more than half the command dead, wounded or prisoners. Such was the enemy's resistance, however, that 4th Light themselves did not come off unscathed. But the enemy have been given, in this part of the battlefield at least, something to think upon."

"Col Briggs and his troopers have covered themselves in glory this day. In less than 24 hours, they have won signal victories in three separate actions along the Ashdon-Haverhill road, sent 3 enemy brigades packing, and overrun a Division's park of artillery. If the rest of the army could have achieved half as much in the time, the Cerulean invasion will have been ignominiously thrown back."

"The Cerulean invaders seem hard to discourage. Repulsed three times, here they come again, the fresh 6th Brigade leading, the battered 5th in support, and behind them the Divisional artillery.


Following up this hard-fought repulse, the Dragoon Brigade struck the left front of the retreating enemy, whilst the battered Light Brigade ventured a mounted frontal counter-assault of their own. Such was the impetuosity of this counter-blow, that only shreds the two enemy brigades staggered back into Haverhill...


Haverhill. 3P.M.- 6P.M. Late Afternoon - Evening.
"Colonel Briggs leading the charge, 5th Dragoon Brigade thundered into Haverhill, scattered the last vestiges of enemy resistance there, and tried to bounce their way across the Brinkley Bridge to come at the enemy field guns beyond. Unable to force the bridge, the dragoons abandoned their counter-attack just as the sun was setting. In the gloaming Col Briggs was seen in the forefront of battle, a shell exploding beneath his horse. Abandoning the town the dragoons drew back at their leisure towards Ashdon. With due care, they carried the body of their commander with them."

"It is with sadness that we mourn the loss of possibly the most promising junior field commander of cavalry our Army had to show. That such a one, not having yet reached a general's rank, should have been placed in command of a Division bespeaks not only of that soldier's capacity and record, but also of the recognition and trust accorded him by his superiors in rank. He first came to notice during the various adventures of our forces in Aethiops and Rajistan, and, having recorded already an illustrious career, had yet a glittering future before him. This nation could ill have afforded such a loss."
East Anglia Evening Standard. 17 September. Breaking:
"It seems that Colonel Briggs was not killed or mortally wounded, as reported, in the late afternoon affray at Haverhill, although he was indeed seriously injured. His troopers gallantly bore him away from the town, whence he received preliminary first aid at the Divisional field station behind Ashdon, before being carried off to the military hospital that has been established near Whittlesford. Reports indicate that the good Colonel is likely to live, and within weeks ought to be able to resume his soldierly duties. We join the nation in expressing its joy at this good news."
Cambridge Examiner. 17 September. Ashdon-Radminster-Birdbrook. All day.


"In the face of the Division's march, the enemy screen, identified as elements of 3rd Cavalry Brigade, fell back alacritously to Birdbrook village. Our 3rd Division followed up with equal vigour - possibly too hastily, withal, for 8th Brigade, pushing rather ahead of the 7th (Highland) on their left, ran into a body of Cerulean infantry on the road outside Birdbrook. Supported by the Gatling company as they were, 8th Brigade soon heard the sound of enemy Gardner guns that had been attached to the enemy 4th Brigade.

"Indications are that 8th Brigade ran into something of an ambush, as, although the impetuosity of our advance reached and carried the machine gun line, the exorbitant cost left barely a quarter of the Brigade's infantry under immediate command. Repulsed, and about to fall back, the men fought off a mounted cavalry charge, but the damage to 8th Brigade, according to sources close to General Rawlinson, suggest a considerable blunting of the Division's striking power.

"Falling back towards Radminster, 8th Brigade was pursued by the enemy. Administering a sharp rebuff to 3rd Cavalry Brigade cost the 8th all cohesion among its infantry (reduced to 0SP), though the gallant Gatling gunners continued to maintain a line.


"The rashness of 8th Brigade may have gone a long way towards undoing the great work carried on by Briggs's cavalry. It is disappointing to learn of such heavy losses among our men, even though the enemy are several cavalry and machine guns the fewer. General Rawlinson is probably wise not to relieve the Brigade commander of his post. His failure was not due to want of conduct, but perhaps an excess of it. Sins of commission are more deserving of forgiveness than lapses into omission. Whilst the battle is yet unresolved, perhaps the Brigadier will be afforded an opportunity for redemption. Let us hope so."
Cambridge Examiner. 17 September. Great Abingdon. Morning.


"That move availed them little, as by noon, they had returned to the west bank of the Granta stream along with the survivors of 11th Brigade.

"On the wings of victory, the enemy commander, Major-General Sam Lomax, turned his attention to what remained of our bridgehead across the Granta. Clearly the formation he commands, the enemy 1st Division, is highly skilled in attack, for, within two hours, its troops had hustled 12th Brigade across the stream, half its strength left behind hors de combat or prisoners of war. Again, they were lucky to save their machine guns.


"Probably Grierson would have been wise to have brought his HQ and guns back to Bartlow, but, report has it, he opined that from Bartlow his guns would be out of range of targets he wished to reach, and his link with 4th Division was already tenuous enough."

Editorial Comment:
"This day has been a dark one for the Cinnabar Royal Army, the brilliance of the Cavalry's success failing to relieve the gloom cast by our repulse at Birdbrook and our abandoning of Great Abingdon. The injury to Colonel Briggs alone is enough to dim that shining light.
"Wherefore these failures? It seems that the rash advance by 8th Brigade put the whole 2nd Division plan at hazard, the other brigades of which were scarcely engaged. But what happened to 4th Division came as a great surprise, defeated across its whole front. Whether this was due to a failure of command or of the fighting soldier, no doubt a Court of Enquiry shall determine, but one is mindful of General Bonaparte's dictum: 'There are no bad troops; just bad colonels.'
Thrown back onto the defensive, no doubt our troops and their commanders will be preparing to meet the enemy onslaught tomorrow..."

East Anglia Evening Standard. 17th September. Dusk.
"The guns have fallen silent, as our army rearranges the lines and beds down for the night. No doubt much the same thing is happening on the 'other side of the hill'. Two miles east of Radminster, 7th Brigade has relieved the 8th astride the Stoke road, reinforced by the Divisional machine-gun company. Ninth Brigade stands in the centre, whilst the 8th, reduced to half its original strength, prolongs the Division's line towards the Ashdon-Haverhill highway.


"Despite the misfortunes of the day, the troops seem to be in good spirits, and their steady demeanour bespeaks a determination to reverse the outcome tomorrow."

"The occasional refugee or straggler arriving across no man's land during the evening indicate some activity among the enemy units overnight. The Cavalry, we are told, has concentrated for the first time, and that about Stoke-by-Clare. Second Division appears to have gathered about Brinkley or West Wrattling, and First Division in and about Great Abingdon. What these reported moves portend - supposing the reports to be reliable - we shall know, I dare say, at daybreak tomorrow."
To Be Continued...
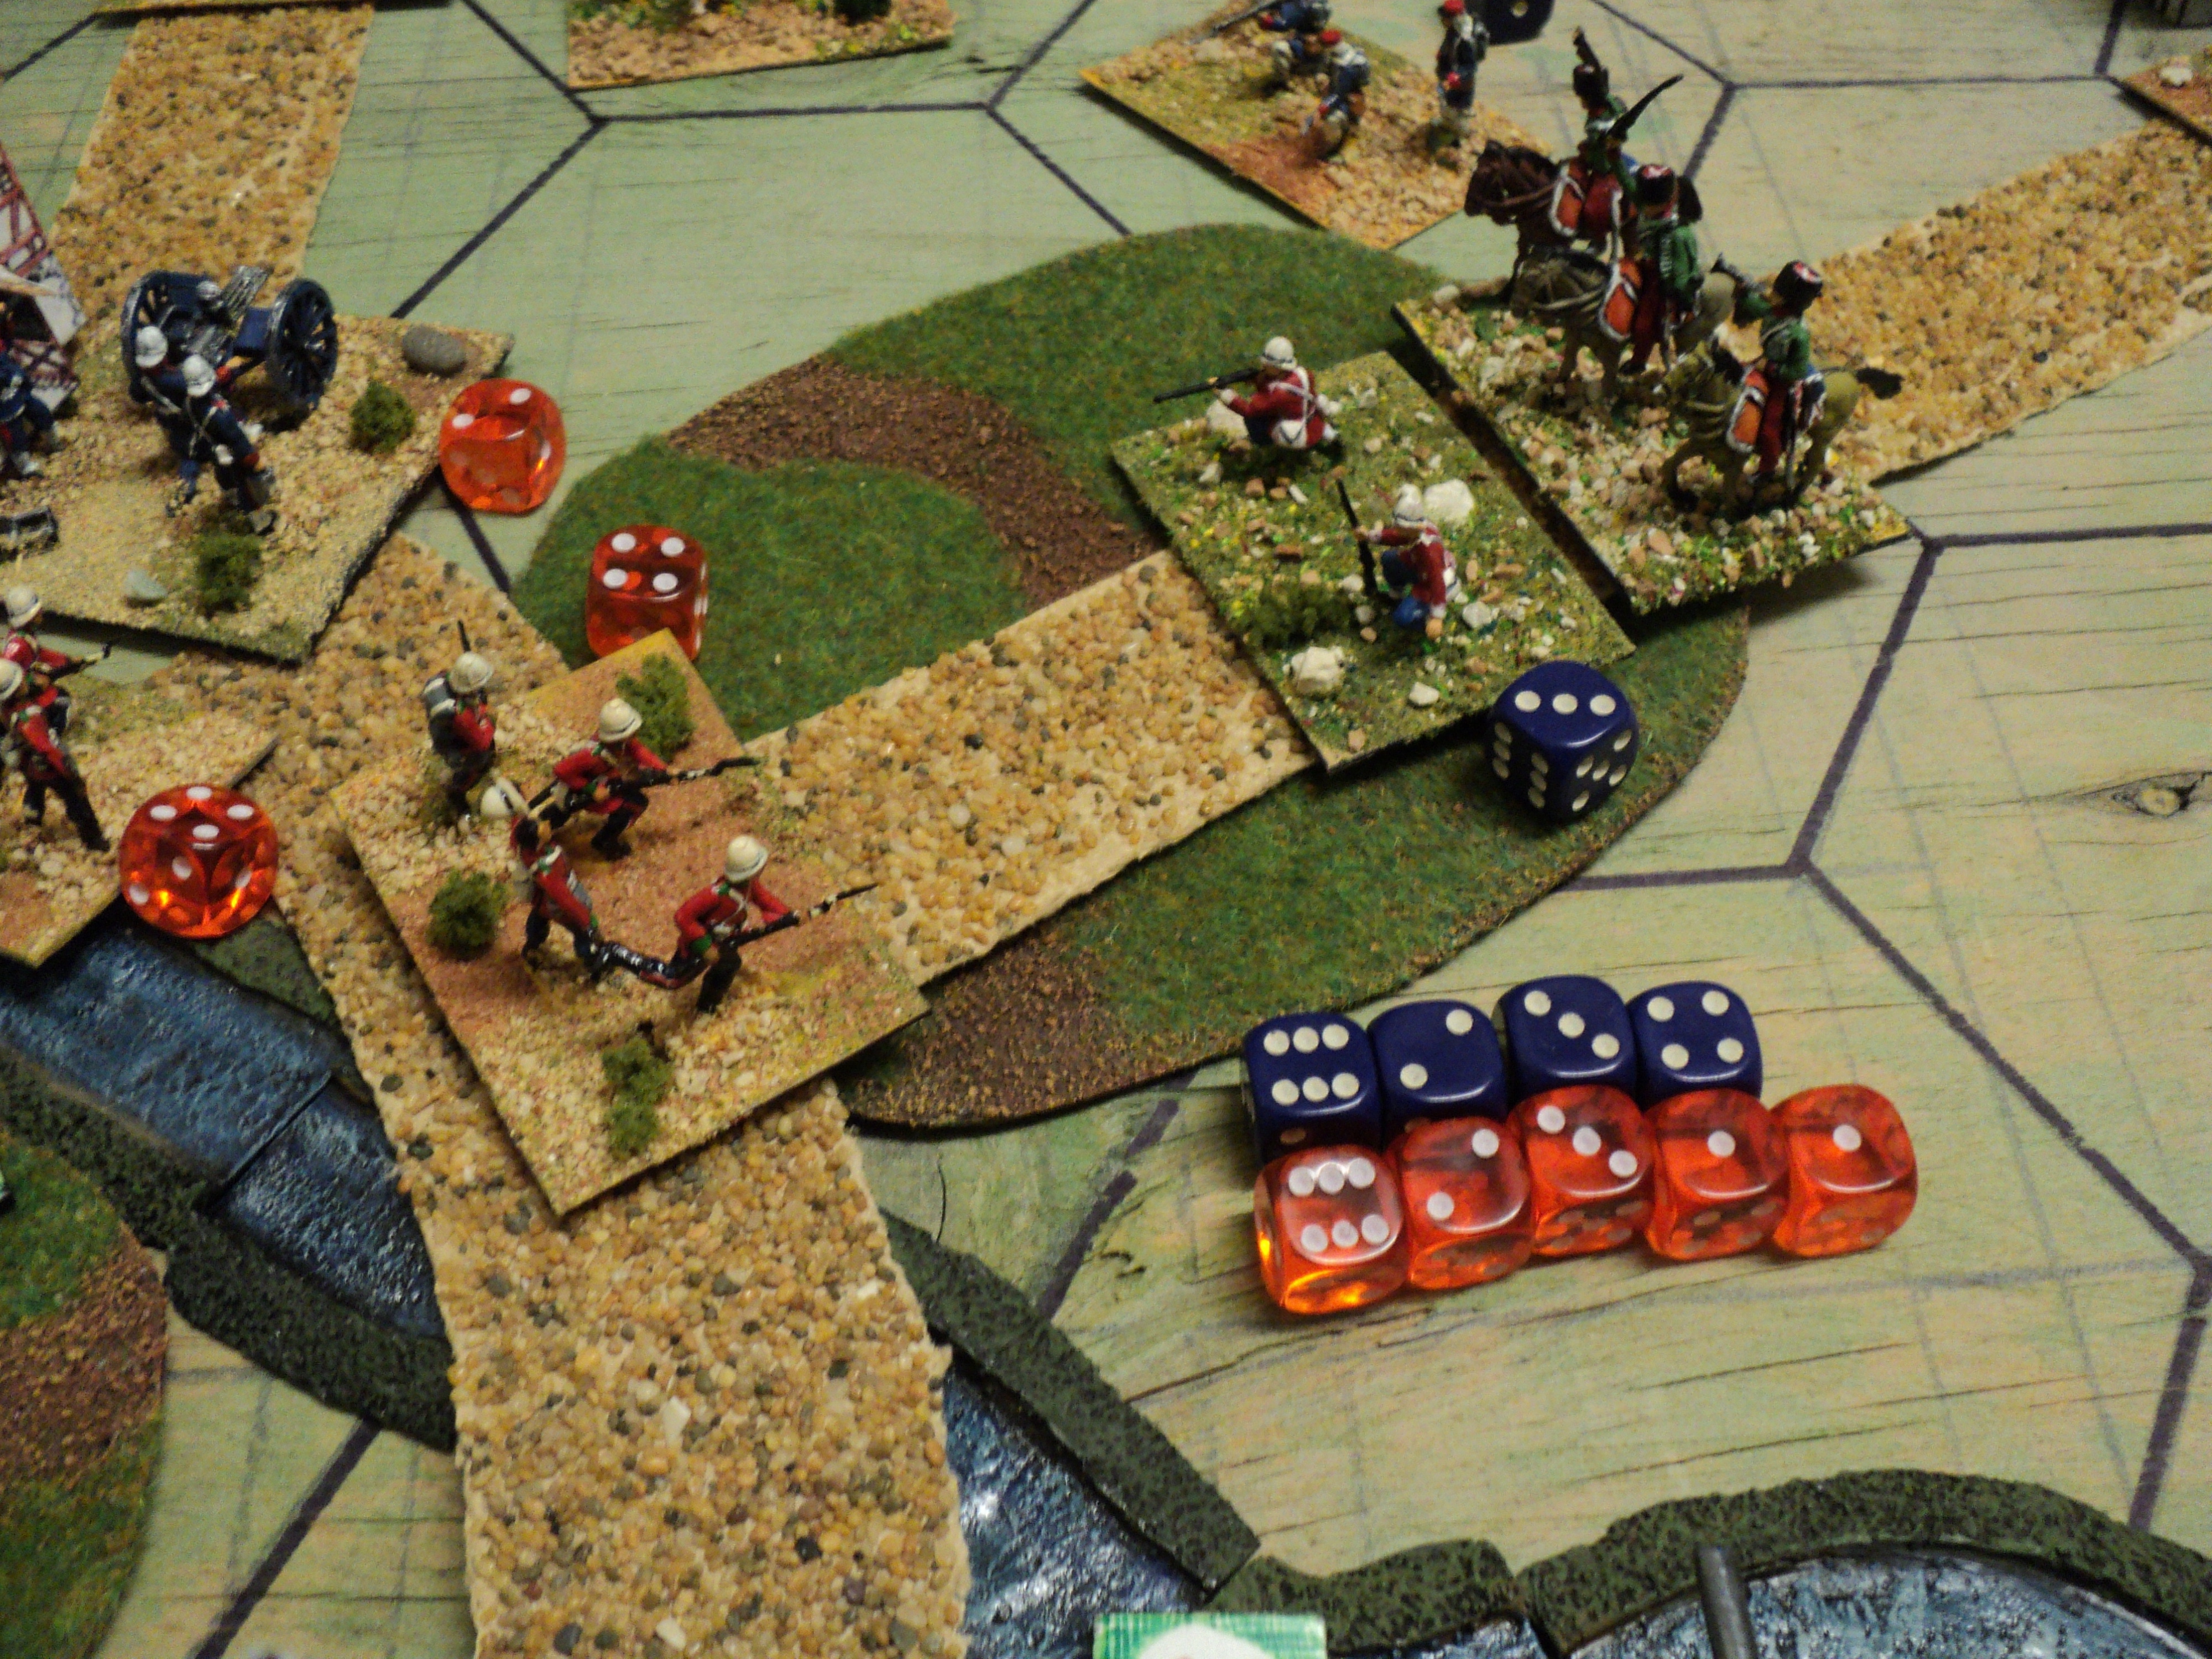
A ripsnorter of a report. What scale are these fellows?
ReplyDeleteThe figures and models are 1:76 or 1:72 scale - mostly ESCI, though there is a handful of Strelets-R figures - the 7th (Highland) Brigade. The machine guns - Gatlings (Cinnabar) and Gardner (Cerulean) - are HaT. The artillery are my own modifications of Airfix ACW artillery.
DeleteReading back through this account, I am aware of a few typos that could stand correction! Thanks for your comment, all the same.
Cheers,
Ion
Cracking stuff once again Ion! I must re-read the original report on the manouevres as I can see it forming a nice basis for a narrative campaign at some point:).
ReplyDeleteSteve -
DeleteThe original reports are pretty spare, but interesting. But you might also enjoy reading Lloyd Osbourne's article 'Stevenson at Play' in Scribner Magazine, December 1898. The idea of News coverage came from that. I've just discovered that in 2015, a 50-page paperback volume 'Stevenson at Play' has been published, and is available from Amazon.
Cheers,
Ion
I was wondering why the name Grierson was tugging at my memory. Of course there is Grierson's famous raid at the siege of Vicksburg but that wasn't it. You've now solved this for me as Grierson was one of the towns that figures in "Stevenson at Play".
DeleteI hadn't heard of the paperback you mention - though I've just ordered a copy as it's pretty cheap - but a long article on this appears in Don Featherstone's "Wargamers yearbook 1966/7" (which I must really get round to scanning so that it can be added to the on line Wargamer's Newsletter collection).
Mike -
DeleteThe names of the commanders of the respective formations were the same as those engaged in the manoeuvres of 1912. Lt-Genl James Grierson commanded the BLUE (defending) army, Douglas Haig the RED invaders. You might recall Edmund Allenby - commanding the Curelean cavalry in this game - who commanded the British and ANZAC forces in the Near East against Turkey.
The name Grierson came up in a question in a Mastermind TV quiz I participated in in 1991. My subject was 'Battles and Leaders of the American Civil War'. I had to identify a cavalry commander who didn't actually like horses very much, I think on account of an unfortunate childhood experience. At any rate, I passed on it. Had the question mentioned his raid around Vicksburg I might have 'got' it.
I discovered the 'Stevenson at Play' paperback only when making a quick check on the Scribner issue. Seemed to be woth a mention. I'm tempted to order one myself, though my last Amazon order fell through for some reason.
Cheers,
Ion
Wonderful game, love the look of the table layout. Excellent! Best wishes - Quinn
ReplyDeleteThank you! From the practical point of view, the layout had its problems, but I was not too displeased at the way some of the photos turned out!
DeleteCheers,
Ion
Your photos are awesome, the reports lend a feel for the units involved. Great AAR!
ReplyDeleteThanks, pancerni. I do like this type of story-telling, as it does I think make the characters more ... real ... somehow.
DeleteAll the best,
Ion
More exciting news from the frontlines Ion. Well done. ⚔️⚔️
ReplyDeleteI reckon the game looks great with your “toy soldier” approach rather than having things exquisitely modelled (such as, say, when railway modellers depict things). I’m sure Mr Wells would have enjoyed joining in 😉
Cheers,
Geoff
You know, Geoff, I rather think he might have done. On the matter of presentation, I am often far more drawn to simple and imaginative than to the 'railway modeller' battlefields. I really don't know why, as there is a lot to admire in the latter. One suspects that the investment of effort that has gone into presentation is not really returned in the actual play. At any rate, I am not inclined to judge extemporised terrain set-ups, board layout and unpainted figures, if what is happening looks interesting.
DeleteCheers,
Ion