|
| There were two elements (2nd and 3rd Turcos) trying the Redina river line. Now there is but one. |
The previous post hinted at the sudden disappearance of 2nd Turco Battalion attempting to storm across the river fords. With 3rd Turcos following into the ford, the 2nd never made it to far bank. Shredded by rifle and machinegun fire, the 2nd melted away, leaving the 3rd to effect a lodgment if they could. It so happens, though, that 4th Turco Battalion, despite very heavy losses, had made the crossing, overrun the 3rd Brigade's Gatling Coy, and were beginning to roll up the defenders' line.
 |
| Turco Brigade has forced crossings at two places, but at heavy cost. However, the Chasseur Brigade is coming up... |

Elsewhere, the Bluvia cavalry were still holding a considerable bridgehead, and seeking to expand it. One hussar unit had, unfortunately, been routed. Their light horse comrades attempted to storm a Redina gun battery close by the Scarletton Woods, whilst the lancers and a cuirassier regiment strove to keep the road clear.

Following up the cavalry, 1st Line Infantry had begun crossing the Middle Bridge - 2nd Cuirassiers having drawn aside to make way. The pontoon bridge completed, 2nd and 3rd Line were on hand to cross. Behind them the Medium and 2nd Field Artillery were giving effective support to the embattled horse.
 |
| The depleted 1st Hussars undergoing rest, refitting and reestablishment at 2nd Field Depot |
 |
| Is Redville about to fall? Again? |
Back at Redville, 3rd Turco's attack across the fords having been repulsed, they had withdrawn and rerouted across the bridge, behind the 1st. Fourth Turcos having finally succumbed to losses, 1st and 2nd Chasseurs crossed the fords unopposed, though the former had taken a hit from gunfire. The defending Brigade had been reduced to a single battalion defending the town, whilst the field hospitals and re-supply trains behind Redville vainly attempted to cope with the increasing demands from deplted and broken units.
 |
| Four depleted units surround the re-supply train - an overwhelming demand! |
 |
| Two Redina battalions looking a bit sorry for themselves at Vermillion City. But what is happening in the background? |
So far, little enough was being reported from Blueburg and Vermillion City. Second Battalion had been enduring a steady drain of losses from the enemy machinegun fire, and 1st Battalion had also come in for some attention. But a really sinister situation was developing to the left of Vermillion, in the shape of two Line Battalions that had crossed the newly built pontoon bridge. Although the crossing had been effected at some cost the unexpected arrival of three infantry battalions proved very trying to the defenders. At some risk, the Bluvians had left 3rd Machinegun Company to defend the bridge. Marshal Andre Azurena had in fact been prepared to accept the loss of Blueburg itself in order to shove the whole Line Brigade across at the pontoon and Middle Bridges.

The bridgehead at the Middle Bridge, looking tenuous shortly before, suddenly looked more promisingly solid. Apart from the three or four battalions having crossed on the Redville front, there were now five cavalry unit - some looking rather weary - and four battalions, reasonably fresh, pushing forward. A fresh Lancer unit felt bold enough to push ahead to the Vermillion-Scarletton road and to assault the Redina engineer train waiting there (and doing diddly squat because their commander {well, I} didn't think to build earthworks or to lay a minefield).
 |
| Masking their evil intent, 4th Chasseurs are getting close the front line. The SP dice seems to have been knocked: it should be showing a 4. |
Meanwhile, the 4th Chasseur Regiment had reached the Middle Bridge. Unbeknownst to anyone but themselves, they were, as earlier related, bent on defecting - as soon as they might encounter a Redina unit with whom they could communicate their intention. As far as their confreres were concerned, they represented a welcome reserve infantry reinforcement behind the cavalry.
 |
| A dire situation made worse by 1st Battalion's treachery. At last the 'six' is rolled to signify its rebellion, the 'two' signifies a mutiny, rather than an intent to change sides. |
At such a critical moment, the 1st Redina Infantry broke out in mutiny. Refusing to accept orders to engage the enemy, or even to move, the battalion simply opted out of the battle. This was a serious blow to General Reddesley's plans to drive the enemy back across the river.

So far, Redina's defence had relied upon just two of the Infantry Brigades in and around Vermillion City (1st Brigade) and Redville (3rd). The Sepoy (2nd) Brigade were being held in reserve around Scarletton. With the river plain being cleared of Redina troops as far back as the Scarletton Woods, and the gun lines there, General Reddesley deemed it meet that 2nd Brigade be at last unleashed.

It was not before time. The large numbers of depleted units rallying - or attempting to rally - around the field depots and the centre of operations meant very few still in action in the field. What was left of 3rd Brigade did manage to drive the Turcos back from Redville, but that was but a pinprick.

Nevertheless, the Reddesley ordered the battered units to abandon their rearming, rest and recuperation around 1st Supply Train, and counterattack the Bluvian invasion near the pontoon bridge. Attacking the engineers, 2nd Hussars, already depleted, found themselves surrounded - engineers to the front, field artillery to their right, Redina light dragoons to their left rear. But so many of the Redina units were down to 1SP!

A more powerful counter-attack was developing out of Scarletton. As 5th Sepoys crashed through the forest behind 1st Field Artillery, the 6th advanced down the Middle Bridge Road, whilst 7th and 8th circled the woods to the left to attack the right flank of the bridgehead. Although the Bluvian infantry were still reasonably powerful, the arrival of 12-16SP of fresh troops was not such as to gladden the heart.


About now, with a crisis seeming at hand, the battle sputtered to a close. After a prolonged struggle, the Redina horse, foot and guns had enough. Having brought the Bluvians to a standstill, the Redinians refused to advance further. The Sepoy counter-assault had come too late.

For a while longer, the Bluvians continued to press, but the fresh defenders were at least enough to hold and inflict casualties until the attacks were at last called off. There the action drew to a close. The disappointed 4th Chasseurs had not quite been able to reach their objective of contacting the Redinian forces in order to defect.

Although the battle ended in mutual exhaustion, the Bluvians were inclined to claim the victory, as they still held positions along the entire far bank of the purple River, save Vermillion City itself. They would not be easy to shift from there without some cession by Redina. The Bluvians could also claim a material as well as the moral victory, judging by the respective losses:
Bluvian losses:
Cavalry 11/18
Infantry 12/48 (16 if one counts the defecting unit)
Artillery 0/6
Machine guns 1/6
Engineers 2/6
Totals: 26 (or 30)/90
(Note that I counted the defections as lost, even though the defecting unit didn't quite make it to the other side. Possibly this was a bit unfair on Bluvia, as it was otherwise not yet exhausted after all)
Redina losses:
Cavalry 6/18
Infantry 24/48 (20 if we count the 4SP of the Bluvia defectors as a gain)
Artillery 2/6
MGs 3/6
Engineers 3/6
Totals: 38 (or 34)/90
On the other hand, had Bluvia in mind to claim Redina's territory by right of conquest, its army had fallen well short of making good on that claim. It was time therefore to receive some sort of blackmail - 'Bluegeld' - against the removal of Bluvian army from the Redina lands...
Here endeth the narrative. A post action analytical report from the Bluvian General Staff will follow. I dare say its most telling recommendations will have to do with improving the performance of the commissariat, ordnance and medical services...


It was not before time. The large numbers of depleted units rallying - or attempting to rally - around the field depots and the centre of operations meant very few still in action in the field. What was left of 3rd Brigade did manage to drive the Turcos back from Redville, but that was but a pinprick.
 |
| Redville garrison repels the Turcos, but two Chasseur battalions are not far off... |

I'll admit right here that my ideas for rebuilding depleted units were insufficiently thought out and inadequate to the demands placed upon them. I think it reasonable that the capacity for the trains and supply centre ought to be limited enough that they become strained as losses mount. But 1SP per turn for each of the three was nowhere near enough. This was especially the case as I was most reluctant to send back into battle units with just 1SP. So even the units sent back with 2SP amounted to a mere trickle.
Having said that, the limited capacity ought to have favoured Redina, whose depots, as defender, were much closer to the front line. It so happened that all day so far the dice ran for Bluvia, pretty much, although the retention of the Sepoy reserve by Redina probably didn't help the latter. Perhaps the retention was less at fault than the timing of their introduction into the fight.
My other omission was entirely to forget my dividing the day (as I discover in my pre-game notes) into four periods of daylight and one of night. Too much excitement, for I estimate, not having counted the moves, that the action last about four 'days'.
Having said that, the limited capacity ought to have favoured Redina, whose depots, as defender, were much closer to the front line. It so happened that all day so far the dice ran for Bluvia, pretty much, although the retention of the Sepoy reserve by Redina probably didn't help the latter. Perhaps the retention was less at fault than the timing of their introduction into the fight.
My other omission was entirely to forget my dividing the day (as I discover in my pre-game notes) into four periods of daylight and one of night. Too much excitement, for I estimate, not having counted the moves, that the action last about four 'days'.

Nevertheless, the Reddesley ordered the battered units to abandon their rearming, rest and recuperation around 1st Supply Train, and counterattack the Bluvian invasion near the pontoon bridge. Attacking the engineers, 2nd Hussars, already depleted, found themselves surrounded - engineers to the front, field artillery to their right, Redina light dragoons to their left rear. But so many of the Redina units were down to 1SP!


The Chasseurs found themselves having to defer their assault upon Redville, to protect the righthand approaches to the Middle bridge, as the whole invasion force across the river were threatened with being driven to the very river bank, if not altogether across the stream. What remained of the Turco Brigade were left to themselves - less their machinegun company, to take the Redville town. That task seemed suddenly to have become harder.

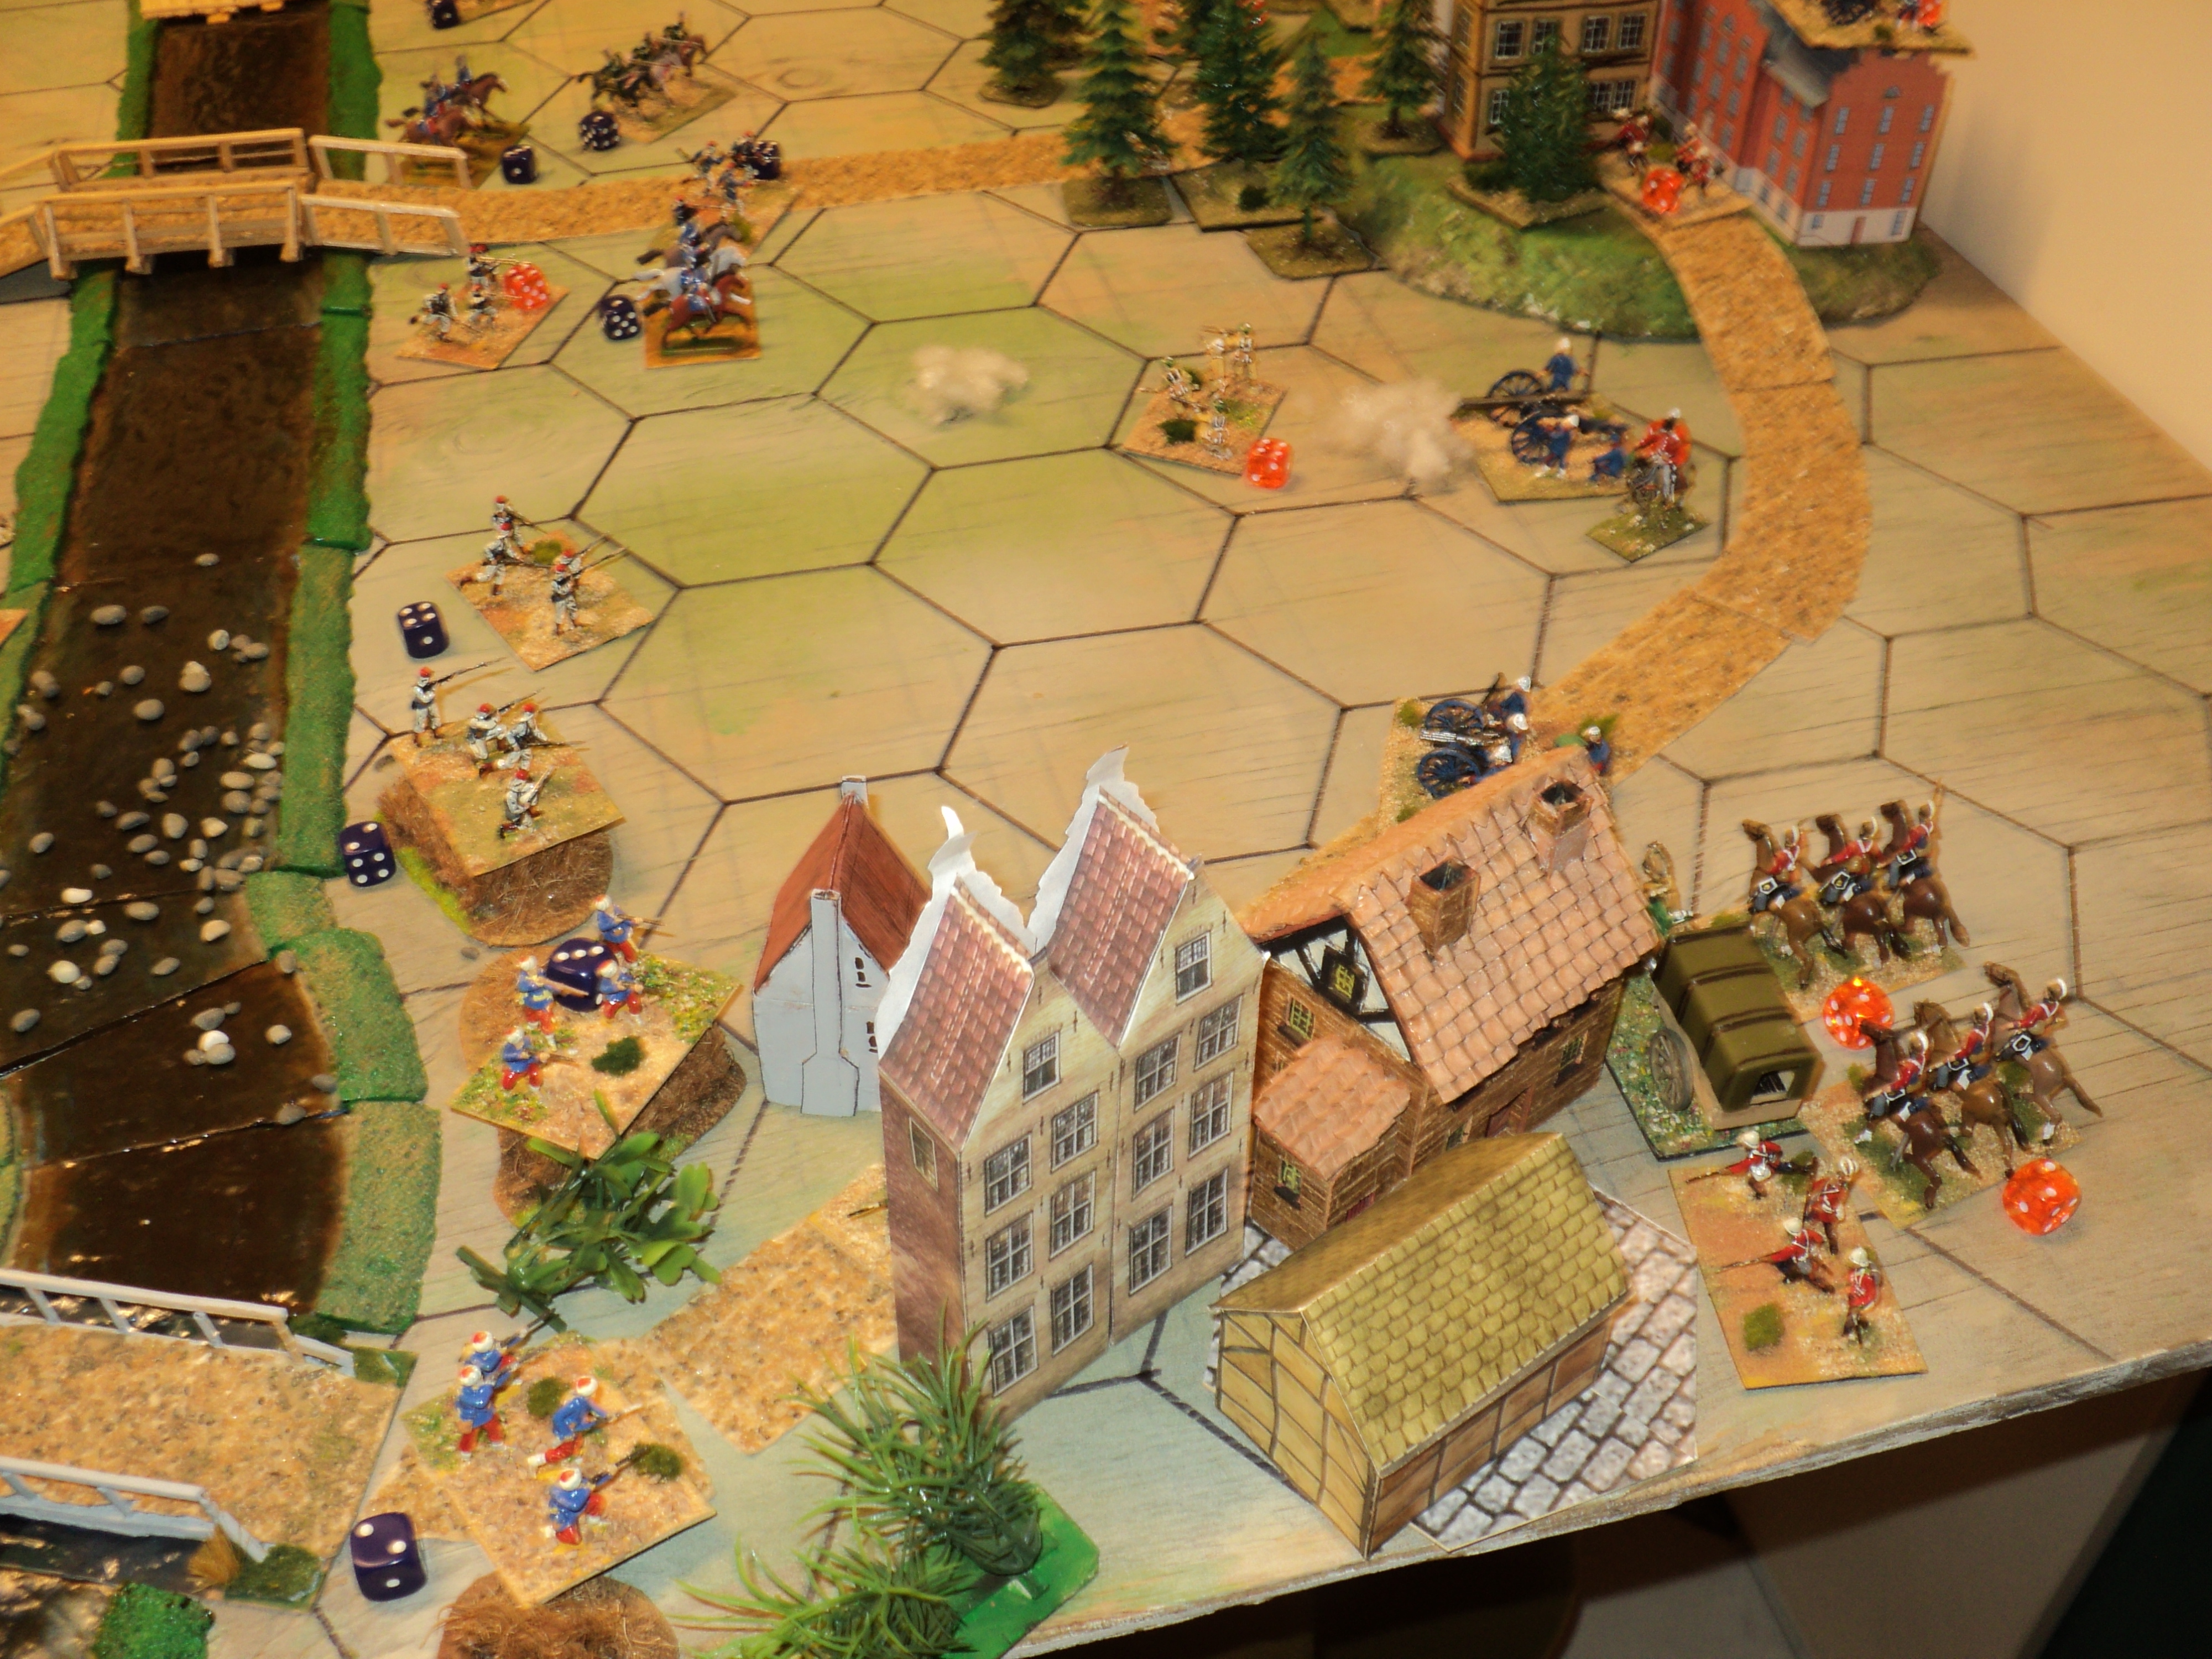

For a while longer, the Bluvians continued to press, but the fresh defenders were at least enough to hold and inflict casualties until the attacks were at last called off. There the action drew to a close. The disappointed 4th Chasseurs had not quite been able to reach their objective of contacting the Redinian forces in order to defect.

Although the battle ended in mutual exhaustion, the Bluvians were inclined to claim the victory, as they still held positions along the entire far bank of the purple River, save Vermillion City itself. They would not be easy to shift from there without some cession by Redina. The Bluvians could also claim a material as well as the moral victory, judging by the respective losses:
Bluvian losses:
Cavalry 11/18
Infantry 12/48 (16 if one counts the defecting unit)
Artillery 0/6
Machine guns 1/6
Engineers 2/6
Totals: 26 (or 30)/90
(Note that I counted the defections as lost, even though the defecting unit didn't quite make it to the other side. Possibly this was a bit unfair on Bluvia, as it was otherwise not yet exhausted after all)
Redina losses:
Cavalry 6/18
Infantry 24/48 (20 if we count the 4SP of the Bluvia defectors as a gain)
Artillery 2/6
MGs 3/6
Engineers 3/6
Totals: 38 (or 34)/90
On the other hand, had Bluvia in mind to claim Redina's territory by right of conquest, its army had fallen well short of making good on that claim. It was time therefore to receive some sort of blackmail - 'Bluegeld' - against the removal of Bluvian army from the Redina lands...
Here endeth the narrative. A post action analytical report from the Bluvian General Staff will follow. I dare say its most telling recommendations will have to do with improving the performance of the commissariat, ordnance and medical services...