
 |
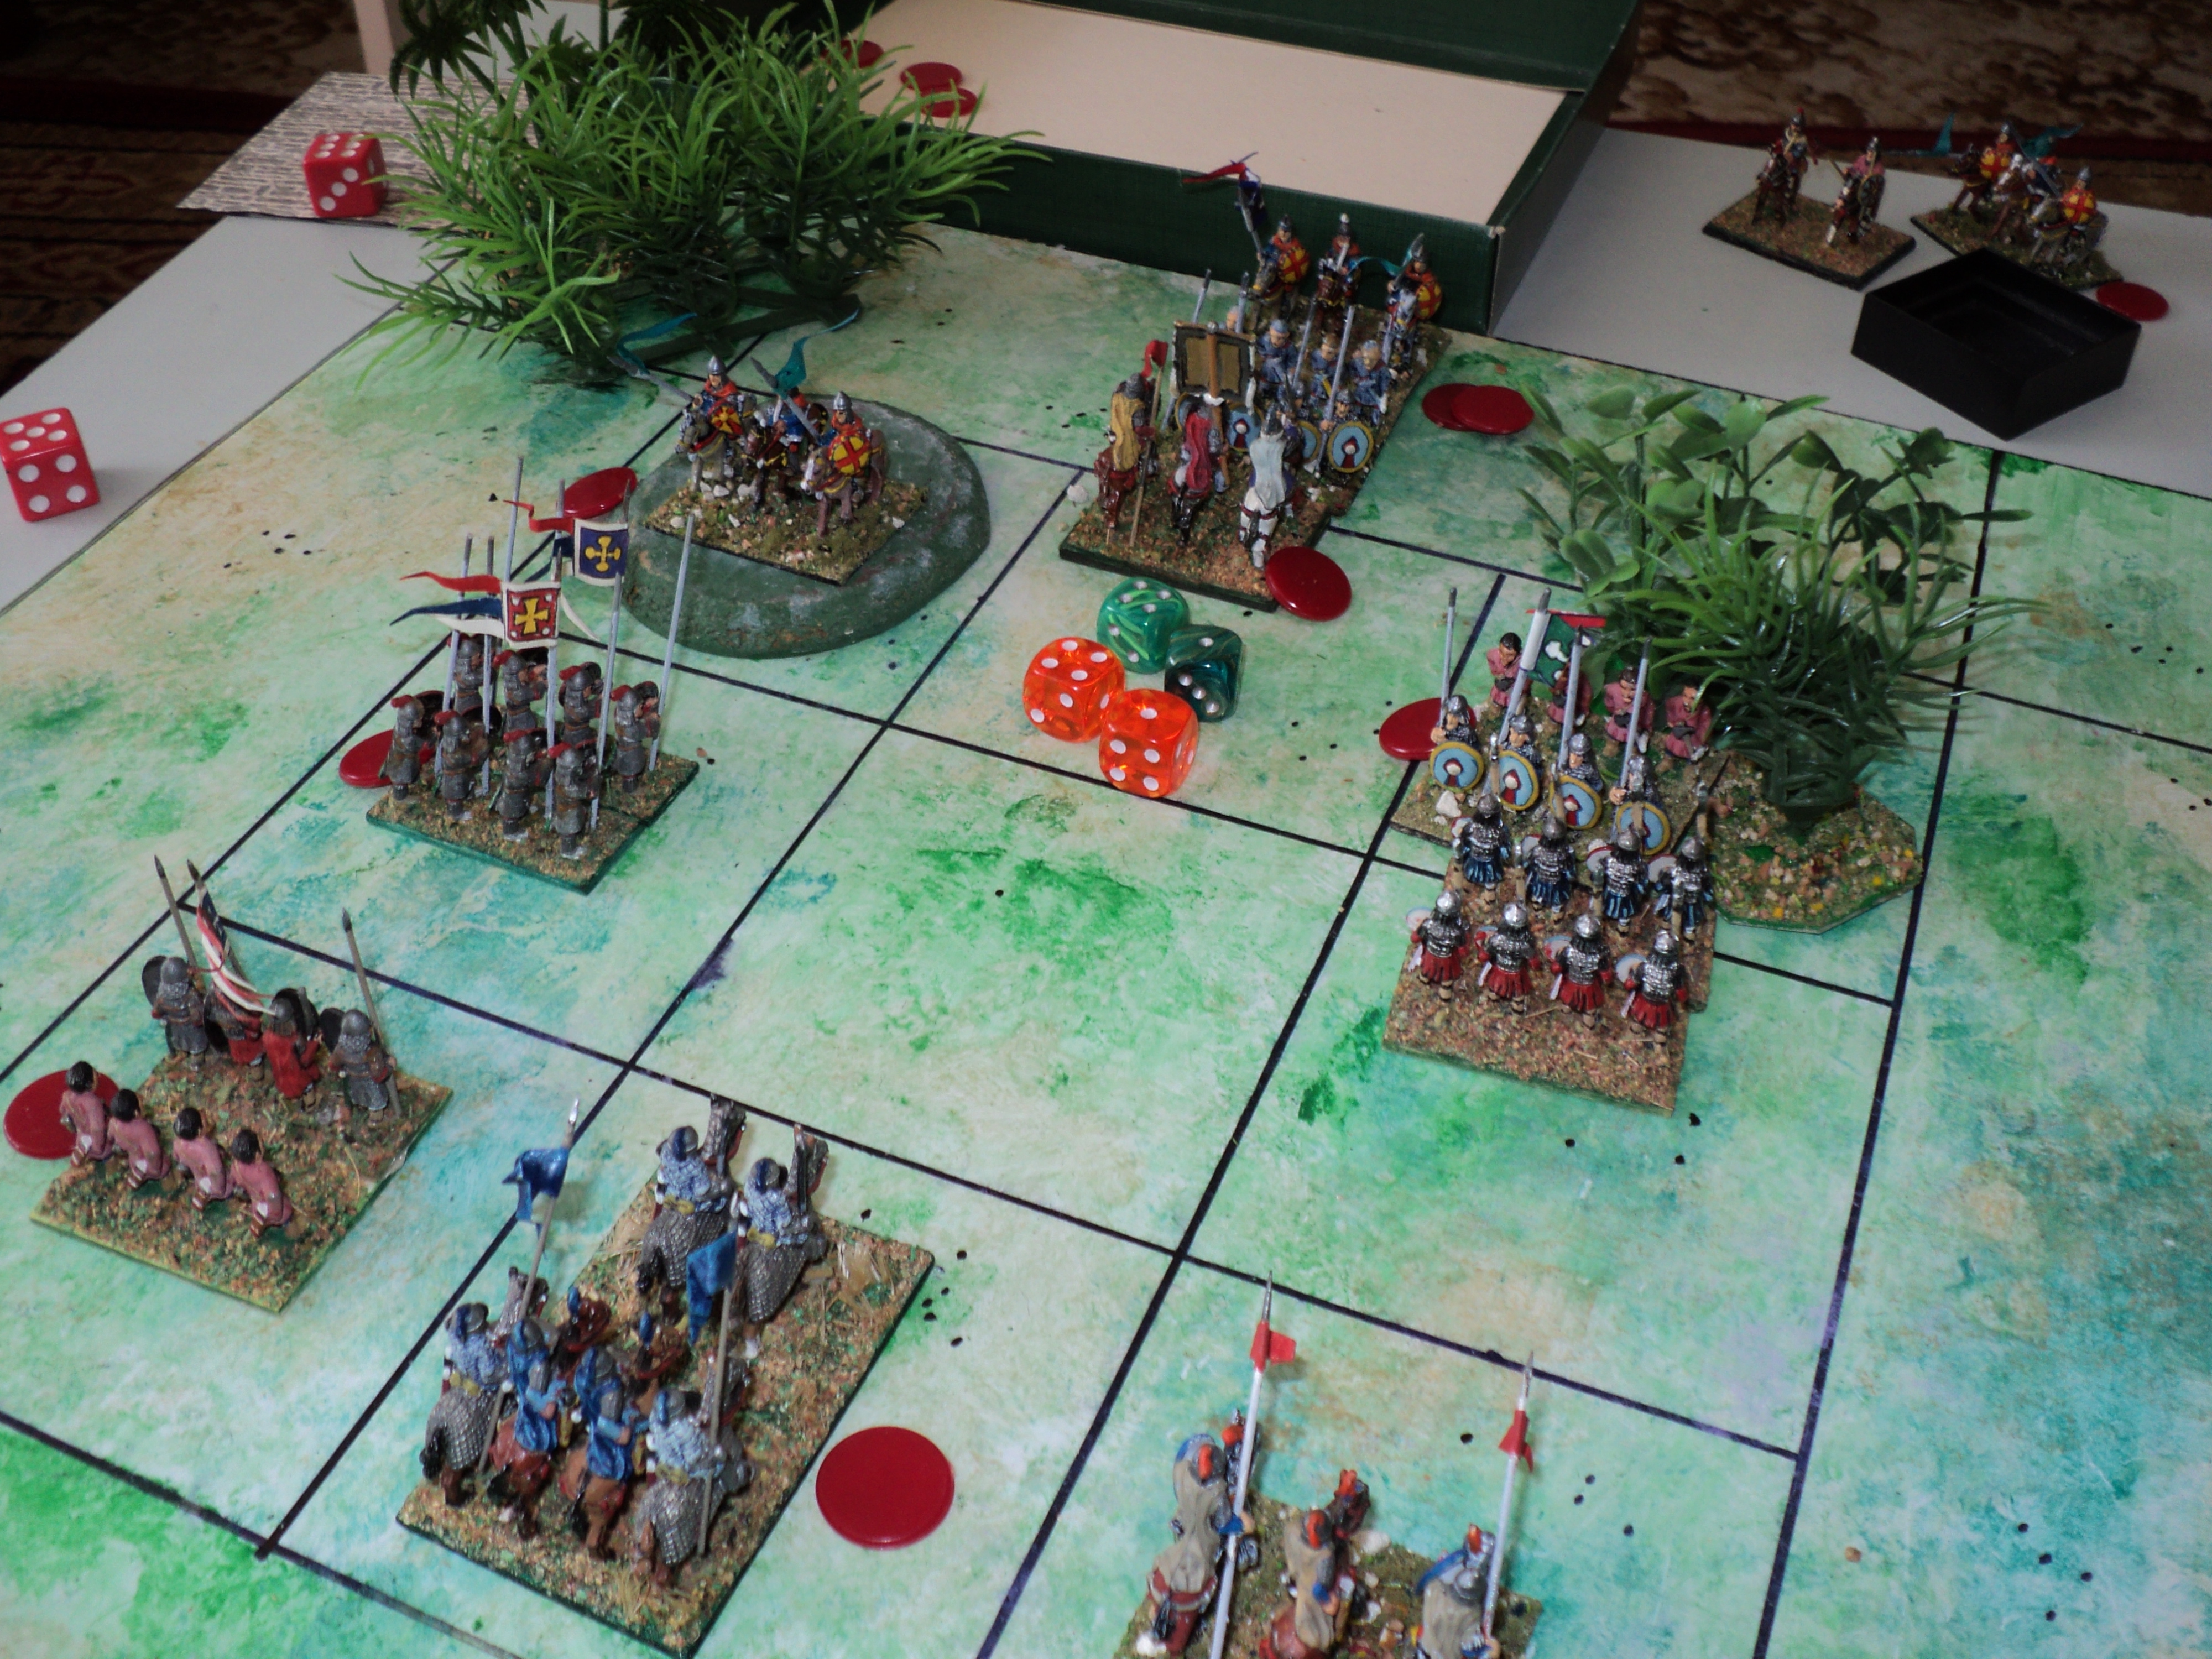
| Imperialists and rebels arrayed for battle |
"Following his defeat at Tarentum (the Battle of Langobardia) the rebellious Georgios Kantankeros retreated with his army to Bari, where he determined to make a final stand. He had found more spear and bow armed foot to build up his army, and with it occupied a strong line not far south of the sea port. On the right, one of his units of skoutatoi, backed by kavallarioi, occupied low hill with gentle slopes. In the centre he massed the bulk of his cavalry, where he stationed himself. On the left, the seaward flank, stood a tract of woodland, within which he placed his second body of skoutatoi. Although not especially adapted to fighting in such terrain, Kantankeros supposed they might yet give a good account of themselves, even against the Imperial marines. Finally, a small body of light horse formed his reserve.
 |
| The rebels awaiting the Imperial onset |
"Upon observing the rebel line, the Emperor planned a major attack along the open field, and left the marines solely to engage the skoutatoi in the woods. The remaining infantry, his own skoutatoi and Varangian Guard, were to clear the enemy off the hill, whilst he himself, together with the kataphraktoi, undertook to ride down the rebel centre. A unit of kavallarioi made up his reserve."
Michael Psellophanes, Byzantiad
Michael Psellophanes, Byzantiad
 |
| Skoutatoi vs Skoutatoi in battle |
 |
| The Imperialists advance |
The subsequent attacks were far more successful. Although the marines made little progress through the wooded country - a deadlock that was to last the duration - the Imperialists thrust back the rebel centre. The Varangian Guard also threw the enemy infantry from the hill, creating a confused mass of horse and foot to the rebel rear. This is where the two-unit limit in the rear areas can prove decisive. As usual, I allow one turn for the embarrassed defenders to fight their way back into the field, provided they have the initiative. Wanting this, Kantankeros lost two units of his army, though he did manage to regain some ground in the centre.
 |
| Rebels piled up in their rear areas |
A cavalry counter attack even drove the Imperial skoutatoi away from the hill and into the plain, and the Emperor's own troop took some loss.
 |
| Rebels try one last counter attack... |
Were the rebels, as they had twice before, to show resilience and stubborn defiance in the face of apparently imminent defeat? Whilst the lone cavalry unit sustained the rebel right wing, a mixed force of horse and foot took the battle to the Imperial centre (the 1-3 initiative dice in the picture, orange for the Imperialists), which sustained some loss. But when the kataphraktoi fell back a second time to regroup, Emperor Dementius led his heavy cavalry in one final attack.
 |
| The Emperor breaks through the rebel centre |
It was immediately decisive. The rebel centre reeled under the blow. Driven back with loss, unable to recover the ground, neither horse nor foot were able to renew the fight. The Imperialists broke through, the rebel wings were left isolated, and the whole rebel army took to flight.
 |
| Heavy loss on both sides, but both leaders remain unhurt |
"That was the end of the pretensions of the erstwhile governor of Calabria and Apulia. Surviving the battle, and escaping capture withal, George Kantankeros fled north, beyond the Imperial frontier, and into the lands of the Lombard Duke. If the caitiff rogue hoped thence to find help, or even a sympathetic hearing from the Lombard court, he was to be bitterly disappointed..."
 |
| George Kantankeros fleeing the field at Bari, pursued by the Emperor's own troop of horse. |
To be continued... the Political situation; and why Kantankeros failed to find support in Lombardy.
Another fine battle and imperial victory. Looking forward to the next campaign story arc.
ReplyDeleteShifting allegiances and hostilities coming up.
DeleteThe Empire struck back - great report again Archduke. Kantankeros is a brilliant name by the way.
ReplyDeleteThe emperor has earned his spurs, for sure. But he ain't out of the woods yet!
DeleteArchduke Piccolo,
ReplyDeleteYet another superb battle report!
What. I. Like about your mini-campaigns is the narrative you weave around the events, all of which is vastly enhanced by your very evocative line drawings.
Where next will events unfold? I can barely wait to find out!
All the best,
Bob
Bob -
DeleteThe story is fairly easy - it's just interpreting the roll of the dice. But I find it also necessary, as part of the campaign project, to give the battles and events context and meaning. It's a little bit like reading one's fortune in the cards: weaving from their symbolism and order of appearance a coherent and meaningful narrative to one's 'audience'.
I am one of that audience.
Cheers,
Ion
Well done Ion - another fast and furious FP3x3PW battle. The immediate threat from Kantankeros has seemingly been dealt with, but still the rogue remains at large - and thus a potential threat to the Emperors continued rule.
ReplyDeleteWill the Lombards surrender Kantankeros to the Emperor or, instead, will they hold him (whether that’s as a guest or as a prisoner) to “suit their own purposes”? Who knows? Well, I suspect the answer will be revealed by your dice 🎲😀
The overall situation continues to change though, as your recent FaceBook PW “spoiler alert” alluded to. I eagerly await the arrival of further updates from the various “trouble-zones”.
As you’ve previously mentioned, it would be helpful, provided you have the spare time, if you could consolidate all the various “house rules” you’ve developed as that would be a very handy resource for others.
And finally, whilst your battle photographs are good - very helpful to quickly provide a snapshot of a particular moment in the battle - I cannot praise your illustrations/caricatures highly enough. Absolutely lovely.
Cheers,
Geoff
Geoff -
DeleteYour suggestion that I consolidate the campaign and battle game rules conventions I have been using is a good idea. It will wait upon a little further narrative, methinks, as I plan to write up the overall situation later today.
As for the like sketches, I rather think the next might depict an embassy ... somewhere... But I enjoy doing them, just as, I suspect, a certain John Skylitzes did for his history.
Cheers,
Ion