


a Hexblitz version of Operation Battleaxe, based on the original 1941 attempt, if not to relieve the Tobruk garrison, withal, at least to clear
the Halfaya (Hellfire) Pass of its defenders. This action was by way of an experiment, to see how a battle over a broad stretch of country might be reduced to my 4-foot square table.
 One approach to transferring the map into a field of hexes, is to draw it, very roughly, on a field of 'offset oblongs' first, and then translate into the hex-field. I have 'on file' a blank hex-field representing my table, upon which I can draw freehand, or use some software (e.g. Microsoft 'Paint') to draw up a map. The coloured stars on the map I'll explain later.
I based this scenario upon something similar I found in the Rommel discussion group. I made a few changes, and the rule set I used was Bob Cordery's Hexblitz, but tailored for a large ground scale.
The action was the Eighth Army attempt to capture the Halfaya Pass and Sollum town, then to push on to take Hafid Ridge and Bardia. Having achieved these objectives, the Commonwealth troops would have been well on the way to relieving the besieged Tobruk garrison - off the map to the north-west.
The forces were:
Eighth Army:
XIII Corps:
HQ: Lt-Genl Beresford-Pierse, 1 Strength Point (SP=1)7 Armoured Division:
Div HQ: Scout car, 1SP
4 Armoured Brigade (detached to 4 Indian Division Command)
4 Royal Tank Regiment 1 Matilda SP=3
7 RTR 1 Matilda (actually used a Valentine substitute) SP=3
7 Armoured Brigade:
2 RTR 1 Cruiser Tank SP=3
6 RTR 1 Crusader Mk 1 Tank SP=3
7 Support Group:
Support Group Artillery: 1 x 25pr gun/howitzer, Quad SP=2
1/King's Royal Rifle Corps (KRRC), motorised: SP=4
2/Rifle Brigade (2RB), motorised: SP=4
Anti-Tank: 1 x 2pr gun: SP=2
Div Troops:
11 Hussars: 1 x Armoured Car (Humber II): SP=2
Engineer Companies (these I left off, but could have been included for mine or obstacle clearance.)
Supply Column: 1 truck, LOG=2
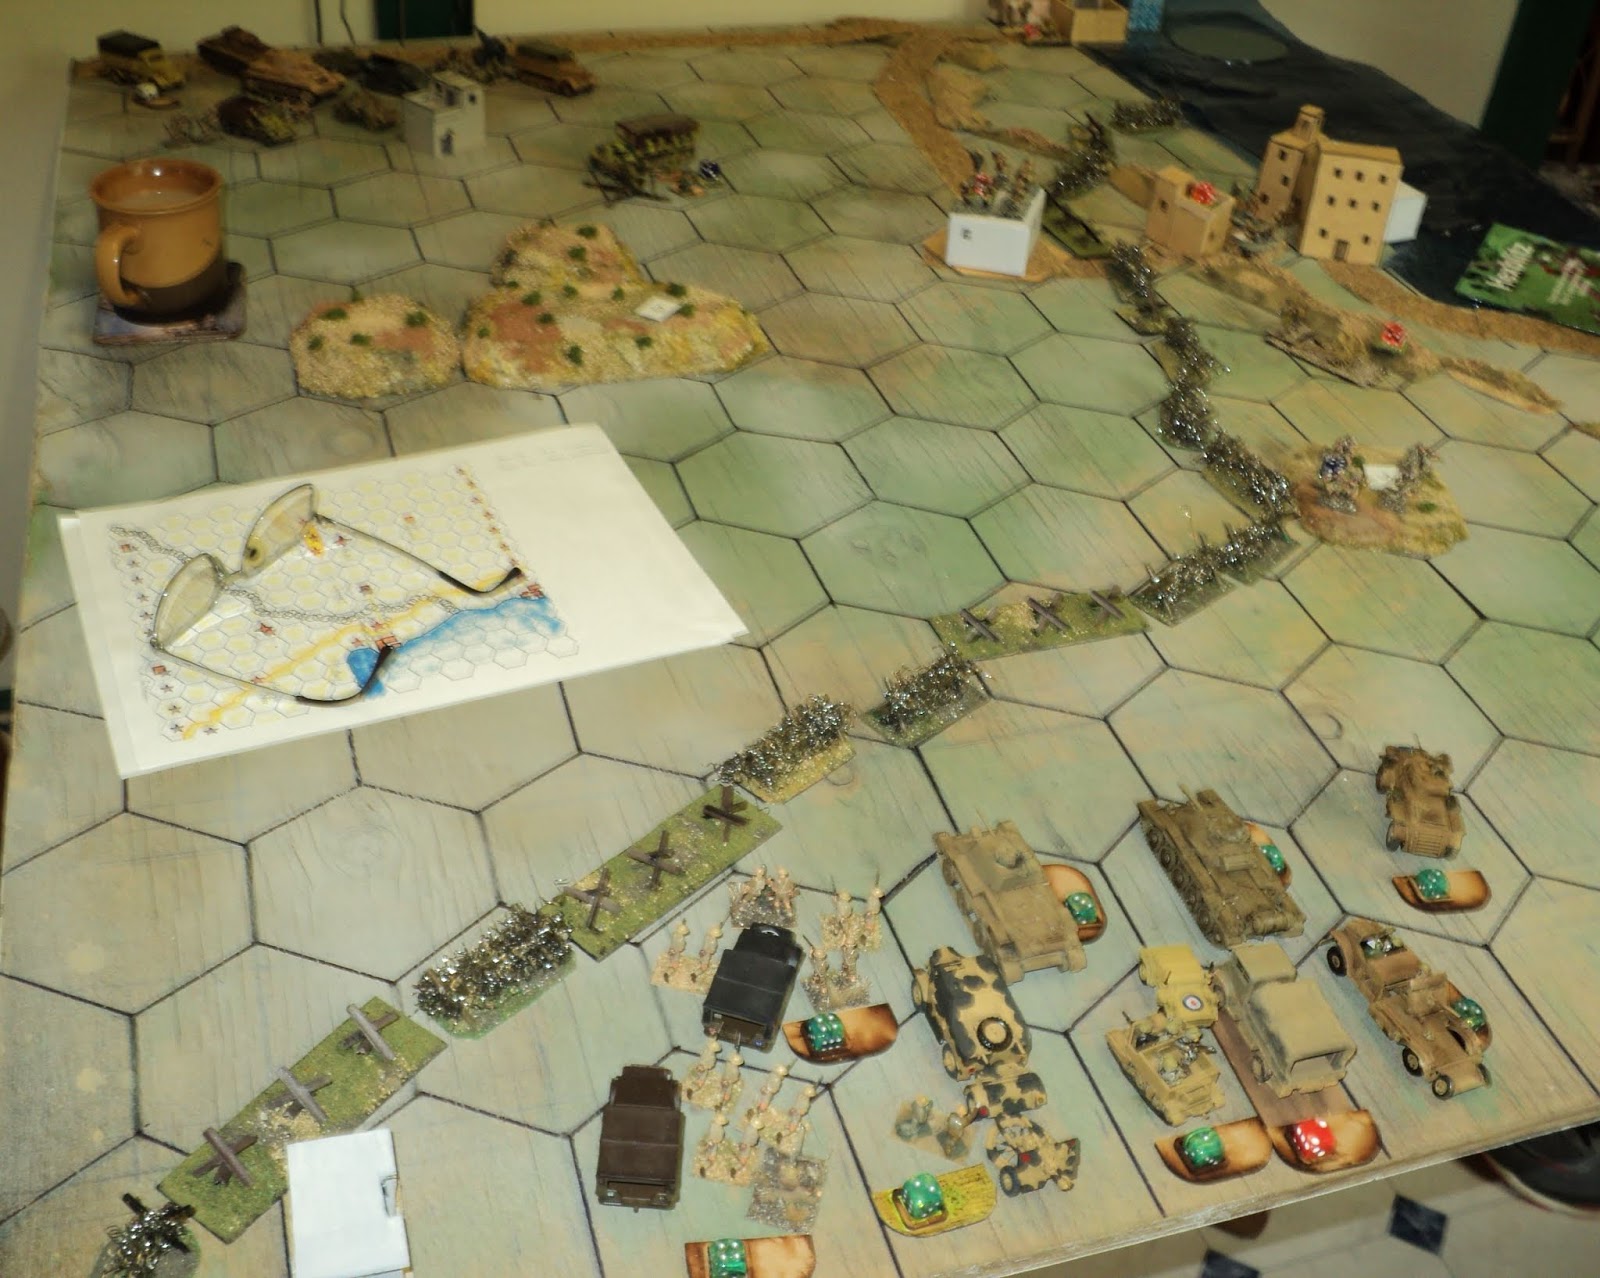 |
| 7 Armoured Division advancing to the Frontier Wire, heading for Hafid Ridge and Fort Capuzzo. |
Div HQ: Scout car, SP=1
11 Indian Infantry Brigade:
2/Queen's Own Cameron Highlanders (QOCH): SP=4
1/6 Rajputana Rifles: SP=4
2/5 Mahratta Light Infantry: SP=4
22 Guards Brigade:
1 Buffs (Royal East Kent Regiment): SP=4
2 Scots Guards: SP=4
3 Coldstream Guards: SP=4
Div Troops:
Central India Horse: 1 x Humber II, SP=2
Field Artillery: 2 x 25pr, Quad @ 2SP: SP=4
Supply Column: 1 truck, LOG=2
 |
| 4 Indian Division - 11th Brigade advancing above and below the escaprment to Halfaya Pass; 3rd Coldstream Guards with tank support, going for Point 206. |
Panzergruppe Afrika:
Afrika Corps:
Corps HQ: Lt-Gen L. Cruewell SP=115 Panzer Division:
Div HQ: SP=1
I/8 Pz Rgt: 1 x PzIIIH: SP=3
II/8 Pz Rgt: 1 x PzIVF1: SP=3
I/104 PzGr Rgt: 4 inf stands, 1 half-track: SP=4
II/104 PzGr Rgt: 4 inf stands, truck: SP=4
33 Artillery Rgt: 1 x 10.5cm howitzer: SP=2
33 FlaK Abt (elements): 1 x 8.8cm FlaK: SP=2
33 Recon Unit: 1 x SdKfz222, SP=1
Supply Column: 1 truck LOG=2
5 Light Division (elements):
Div HQ: SP=1
I/5 Pz Rgt: 1 x PzIIIH: SP=3
2/200 MG Bn: 4 infantry stands, truck: SP=4
Supply Column: 1 x truck. LOG=2
102 'Trento' Italian Division:
61 'Sicilia' Infantry: SP=3
62 'Sicilia' Infantry: SP=3
7 Bersagliere Infantry: SP=4
Anti-Tank Abt (German, attached): 1 x 37mm PaK: SP=2
Artillery: 2 x 100mm piece (one placed in Bardia): SP=2
Well... this is what the forces should have been. Looking back at my photos, I find that somehow the Indian Division was short-changed two battalions.
Trento Division was deployed defending the border - the Bersagliere battalion, bolstered by German antitank guns, dug in at Halfaya pass, whilst the two Sicilia battalions and the Divisional artillery were deployed around Sollum and Fort Capuzzo. The red stars on the map shows where the Axis forces could be deployed. With some exceptions, the Axis had a free hand otherwise where things went. The limits were:
1. 7th Bersaliere was dug in at Halfaya pass, along with Anti-tank.
2. One Italian artillery unit had to be at Bardia.
3. The rest of Trento Division was deployed at or between Sollum and Fort Capuzzo.
4. One 15th Pz Div infantry battalion was dug in on Point 206
5. The four hexes comprising Hafid Ridge and Point 208 could be occupied by elements of 15th Pz Div, one of which had to be the 8.8cm FlaK.
6. The rest of 15th Pz Div began the action along the Via Balbia west of Bardia.
7. Fifth Light Division began the action off-table. From memory, they were to be brought onto the table upon a die-roll of 6 at the beginning of a turn.
 |
| Elements of 15th Panzer Division occupying Hafid Ridge. Only Hafid Ridge and Points 208 and 206 could be occupied; the reat of 15th Panzer began the action from along via Balbia west of Bardia. |
Some rule modifications. The scale of this table was somewhat larger than the standard Hexblitz scale (1:25,000) - more like 1:100,000 - each 4cm hex grid area representing 4 kilometres. This made the 4-hex range for artillery rather on the generous side (!) but it seemed to work.
Still preferring multiple stands for battalions, I have come up with these 'stacking' conventions:
1. If a unit is occupying a single hex, the only units that may occupy the same hex are HQ, spotter or recon units. (I'm thinking of including light anti-tank in these). Only one such additional unit may be stacked
2. A unit may occupy two adjacent hexes, or three in a triangle. Only one infantry unit may do so, but other types of units - armour, artillery, recon, anti-tank etc may be 'stacked' with it, one per hex occupied. (In this Battleaxe scenario, 7th Bersagliere occupied the Halfaya Pass hex plus an adjacent one along the escarpment. 'Stacked' with the Bersagliere, was a unit of German light anti-tank guns, defending the pass. Note that in the scale of this game, the range of the AT guns is to adjacent hexes only).
 |
| 7th Armoured Division, crossing the Wire. |
1. This counted as a minor obstacle. A unit moving up to it had to halt, but could proceed as normal the move following.
2. Rather than lining hex-sides, I am developing a convention - which includes streams and other types of linear obstacles, and roads as well, of arranging them within grid areas, but alongside edges or angles, still leaving most of the grid area clear, or with whatever terrain the area features. The grid area counts as whatever terrain it holds, but obstacle counts against crossing into an adjacent grid area on the other side of it. It also counts against any unit crossing in the opposite direction.
This seems to make it a whole lot clearer where the obstacles are and how they affect movement.
To be continued...
Well explained and looks good too!
ReplyDeleteCheers, Francis. I've seen plenty of prettier set-ups, but mine is so ... versatile!
DeleteGreat idea AP. I have always wanted to play out N.Africa on that sort of level. You have activated my brain cells! Mine will be in 6mm so can afford to up the numbers involved in the limited space.
ReplyDeleteI confess that 6mm is not a scale I much like, even though I have seen fine armies and tables in that scale. I have a fair bit of NW Europe stuff in 6mm that I MIGHT do something with, some day...
DeleteHaving said that, 6mm stands on my 4cm hex-grid would offer a deal more flexibility than my present set-up.
I've done Battleaxe a few times using various rules (including the Rommel version). The best ones were using Megablitz.
ReplyDeleteIt is a nice Div/Corps sized action with a far bit of fluidity.
4km is a decent hex size for battalion sized elements, especially in the desert. In the 1956 British Army Tactical Wargame, a battalion occupies 2km, but can also defend all the 2km squares around it (in daylight). In a prepared assault there is provision to fit up to no less than two battalions and two supporting armoured regiments in a single square htough. The same sort of density a 1940 Panzer Division would assault on (four panzer battalions on a 4km frontage, with four schutzen battalions in support). A bit dense for the desert perhaps.
I could try it using Megablitz some time. But I want to do this one again, using my version of Hexblitz (which is a sort of Hexblitz/Megablitz hybrid, though leaning towards the former). I rather think that the desert being so roomy, the forces involved tended to expand to take up more of the available space...
DeleteI'm resisting the urge to correct the OoB in a pedantic manner....
ReplyDeleteCan we expect a battle report in the near future?
Neil
Cheers, Neil -
DeleteA battle report will come, in the next couple of days. The OOB I used came from Wikipedia (or something similar) and a 'Rommel' game set up. The latter began on the second day of the operation, with Fort Capuzzo in the hands of the Guards Brigade. I was going to do the same, but changed my mind in favour of starting from scratch.
I would have liked more info on starting positions. As it was, my omission of two battalions on the 4th Indian Division front had a considerable impact on events. Possibly I could have added more artillery, too, on the Allied side.
There are some considerations that fell 'between the cracks' of such a course-grained set-up, e.g. the splitting of 4th RTR attacking from above and below the escarpment. Perhaps if I gave them 2 tanks, one and SP=2 and the other at SP=1.
It's a thought, anyhow...