
 |
| A mass of Austrian cavalry. |
Here's a rough diagram of the scenario. The place names are my own invention. As I don't recall anyone paying much attention to the roads, I've left them off the map. North is off to the top.
 |
| Rough sketch of the battlefield |
Orders of battle:
This was something of an encounter battle
Austrian: advancing from the Northwest corner of the board - 2 foot along either edge adjacent to that corner. Line Brigade - 5 Infantry @ 24 figures plus one skirmisher unit, 12 figures = 132 figures
Line Brigade - 3 Infantry @ 24 figures = 72 figures
Grenadier Brigade - 2 Grenadier @ 24 figures = 48 figures
Light Brigade - 2 hussar and 1 chevauleger regiments @ 12 figures = 36 figures
Heavy Brigade - 3 cuirassier units @ 12 figures = 36 figures
2 Field Batteries, each 2 guns and 4 crew = 16 figures (attached to infantry brigades)
1 Horse battery, 2 guns, 8 figures
Totals (excluding commanders) = 348 figures and 6 guns
 |
| Magnificent Austrian light horse: hussars and chevauxlegers |
French (and Allies): advancing from Southeast corner of the board - 2 foot along either edge adjacent to that corner.
1st Infantry -
4 Infantry @ 24 figures
1 skirmisher unit @ 12 figures
1 battery @ 8 figures and 2 guns
2nd Infantry -
4 Infantry @ 24 figures
1 battery @ 8 figures and 2 guns
3rd Infantry -
4 Infantry @ 24 figures
1 skirmisher unit @ 12 figures
1 battery @ 8 figures and 2 guns
Light Brigade -
1 Lancer regiment @ 12 figures
1 Chasseur light horse regiment @ 12 figures
Heavy Brigade -
1 Cuirassier regiment @ 12 figures
1 Dragoon regiment @ 12 figures
Totals (excluding 6 commanders) = 396 figures and 6 guns

The action opened with Paul bring his brigade of Italians and Westphalians towards the central village (which I've called Mittelsburg) supported by his light cavalry - lancers and chasseurs. I brought 1st Brigade to the right of the town, 3 regiments on the far right flank beyond the woods, a skirmisher screen through the woods themselves, and the artillery, with a regiment in support between the woods and the town.


On the other hand, the Austrian horse was unable to prevent the Westphalians seizing Mittelsburg and placing the town in a state of defence.


The first Austrian brigade to appear was a large formation of five regiments, together with a battery of guns.


Between the squares and the village 2nd Brigade had placed their artillery. There seemed to be little enough real threat to their position, but those Austrian light horse did present a nuisance hindering the Italians from any real positive moves on the west flank.


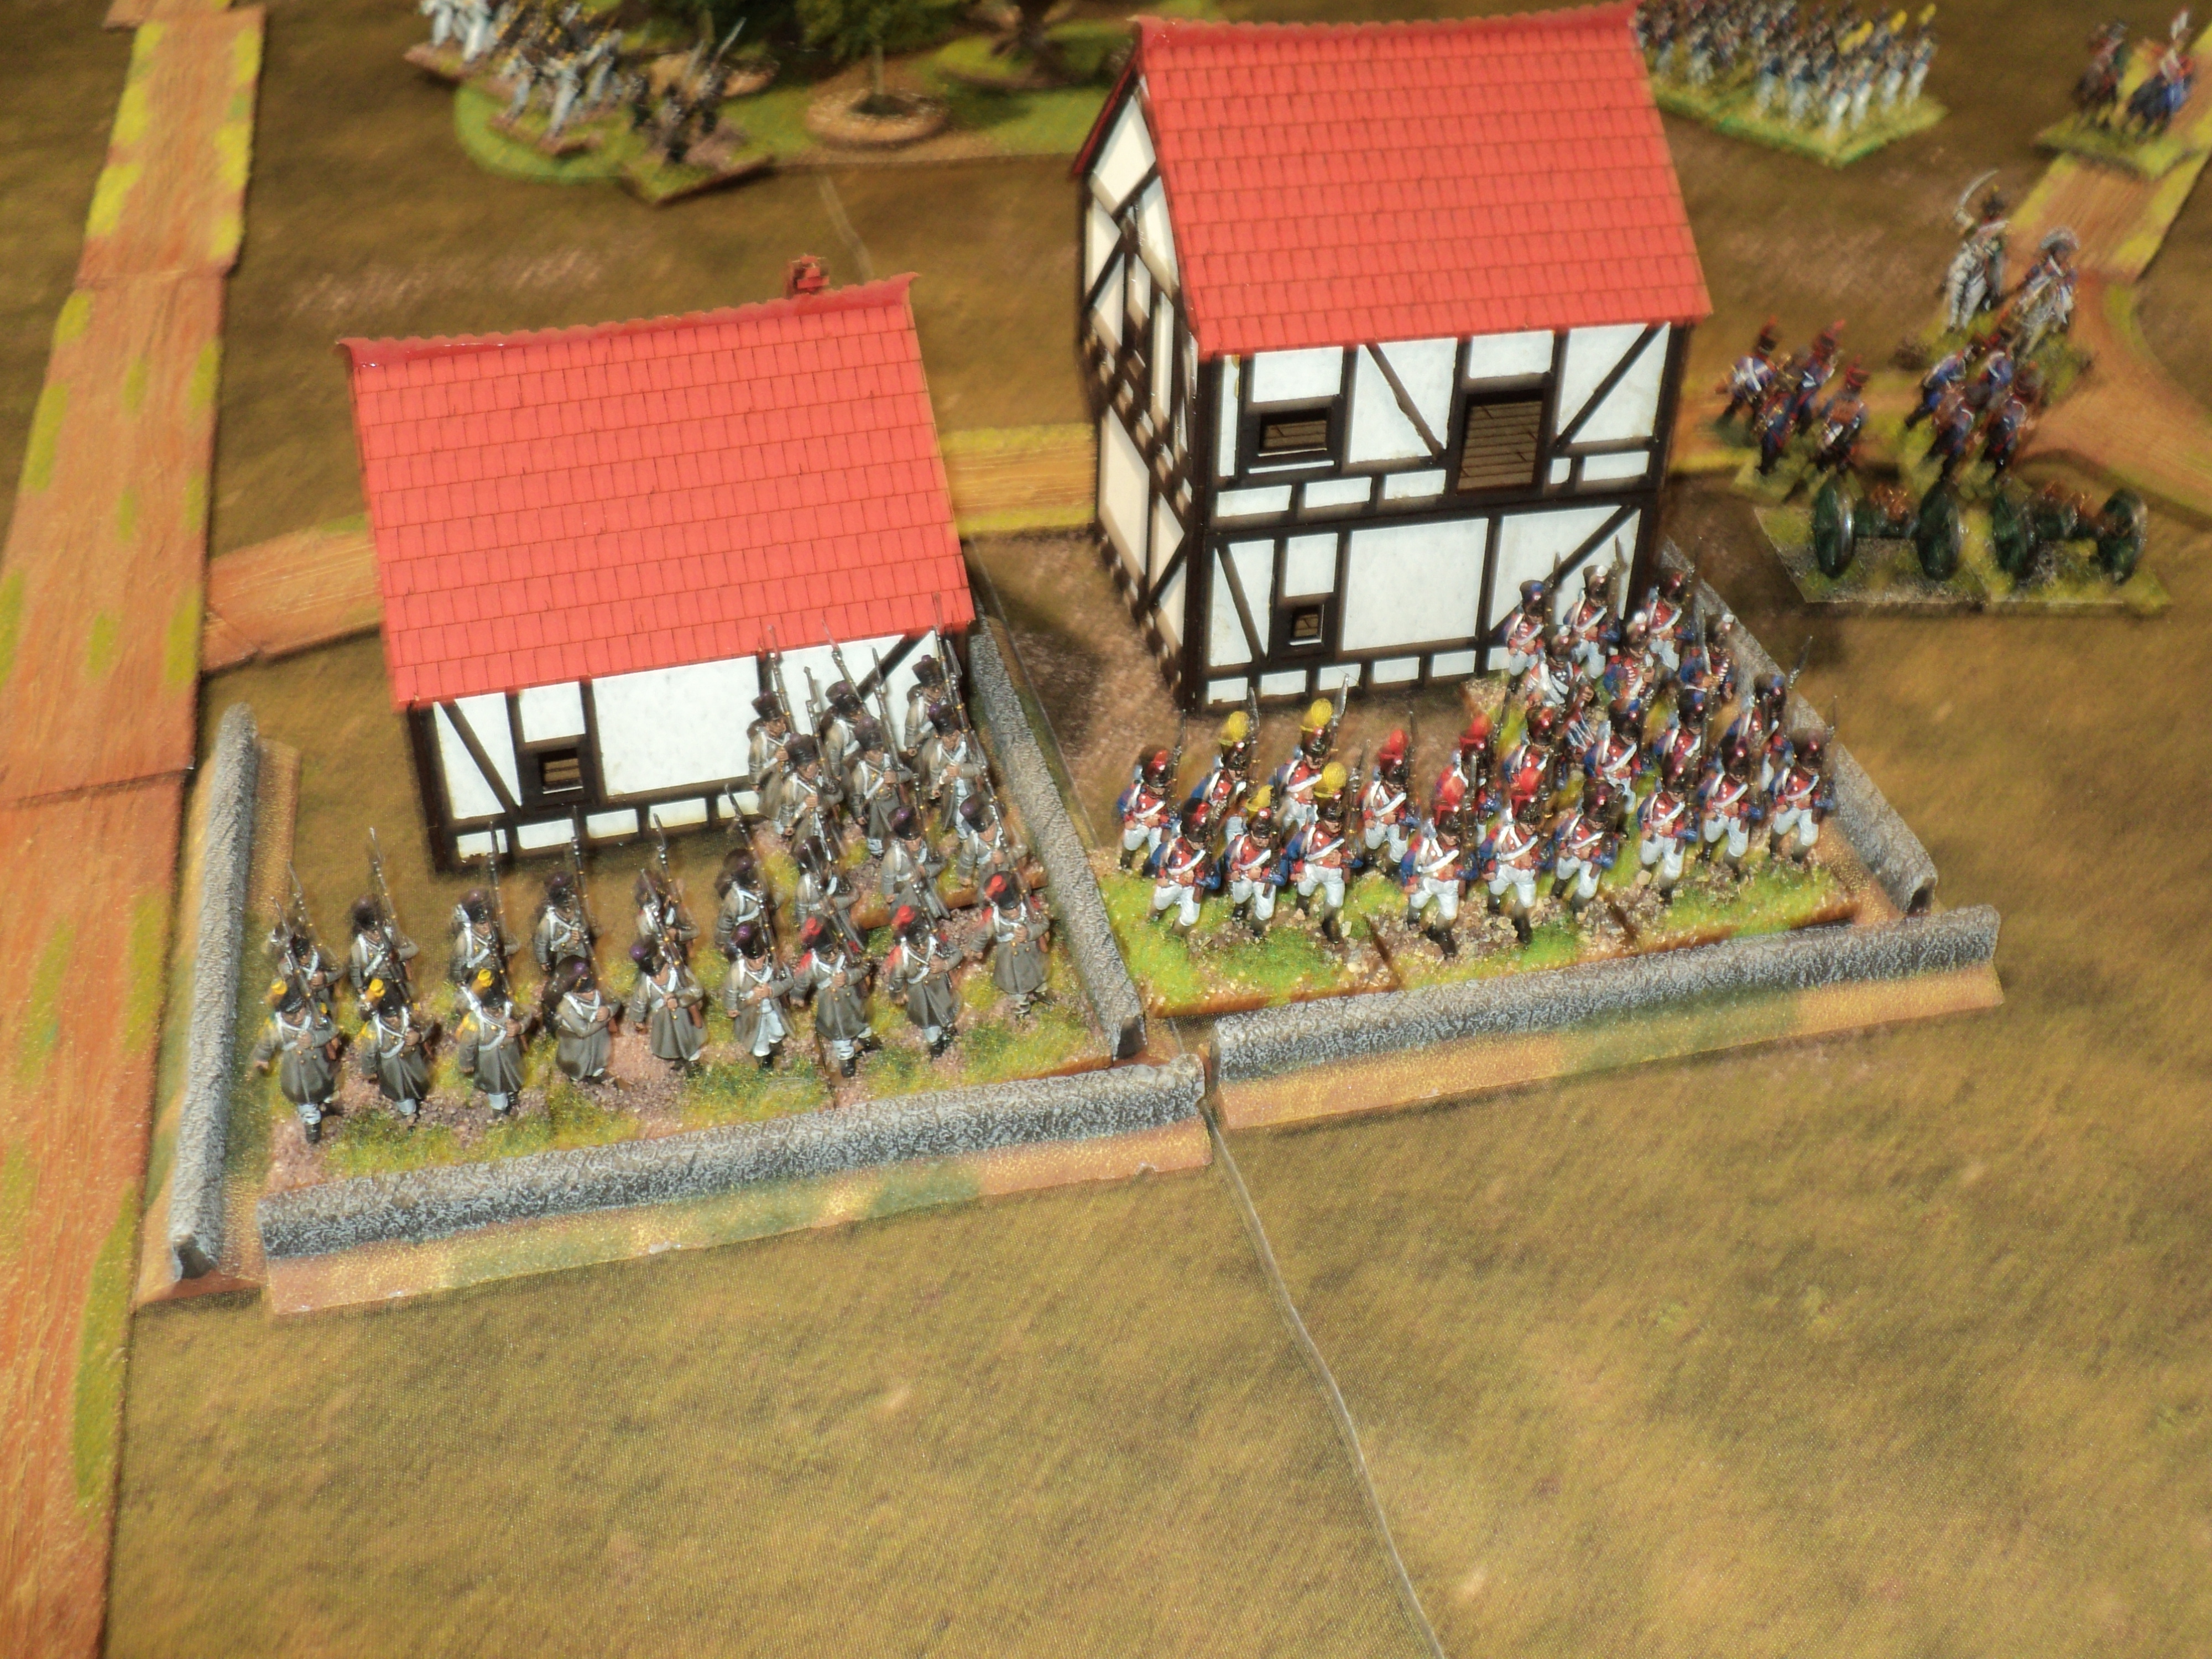
Meanwhile a huge array of Austrian foot had assembled in front of the town. With little preamble, the lead regiment stormed the north end of the place and within minutes scattered its garrison. This success came with a considerable cost to the Austrians, enough that shortly afterwards, the victorious regiment was withdrawn, relieved by a fresh, grenadier, regiment. It was thought that further assaults would evict the Westphalians altogether from the town. That, in the end, was to be mistaken.

Meanwhile, General Dulthud was not lollygagging about. The infantry and guns rolled forward, flanked upon either side by the heavy horse: the cuirassiers on the right, the dragoons on the left. Too late, the hussars realised the danger.

Straight into the Erzherzog Josef Husaren galloped the cuirassiers, their right flank covered by an Italion column. The Dragoons were unable quite to reach the Stipsicz Hussars, but drew close enough to pin them. This was to be the first step of the French plan to sweep the Austrian right clear of cavalry, and to bring up 3rd Brigade, with such of the 2nd that could be spared in a broad advance deep into the Austrian right wing.
 |
| French cuirassiers' first charge. |
Victorious over the hussars, the cuirassiers followed up by sweeping aside the Austrian chevauxlegers lingering upon the west road, and fetching up behind the Austrian right, near Nordheim village. Feldmarschallleutnant von Ott had perforce to detach units to occupy Nordheim village and to present a flank against the lone cuirassier unit.
 |
| French cuirassiers 'menacing' the Austrian right rear |
The French cuirassiers might well have found themselves in a position analogous to that of their defeated enemy, but for the steady advance of the rest of Dulthud's push. The Austrian reaction was sufficiently vigorous to induce the French cuirassiers to retire behind the infantry.

Although steady, the French advance was not quite fast enough to strike across the west road before the Austrians could form a line. Something of a lull descended upon this flank, the Austrians comfortably enough holding the line against French rather piecemeal attacks.

By this time much had happened on the other side of the town. The French skirmishers had quickly been driven from the woods, whereat an Austrian regiment began marching though it in support of an infantry attack between the town and the wood. I seem to recall a quick attack by the lancers that overran an Austrian battery; at least the pictures seem to indicate the disappearance of some of the Austrian cannon. But the the sole French regiment had been forced back (which allowed room for the lancers' charge). The lancers in turn pulling back drew in an attack by no fewer than three Austrian infantry regiments against the 1st brigade artillery.

East of the woods, the earliest probes by the Austrian cuirassiers, easily rebuffed, covered the assembly of Austrian foot as well. Caught in square by the Austrian columns, the lead French unit was overcome.
On this sector the Austrians maintained a steady pressure as French resistance crumbled.
One by one the Austrians eliminated the French columns. Charging past the second column, a fresh unit crushed the third. When another Austrian column attacked, these victorious troops were in a position to strike the rear of the second French column as they were hit in front. Such as who survived of the surrounded French were forced to surrender.
Such was the situation as darkness drew in: both sides enjoying some success upon their left flanks. Mittelsburg itself was still in dispute, neither side able to evict the other from their half of the town. Late in the day, the Austrians had begun to pull back a little on their left. Although the French made no such retrograde gestures west of Mittelsburg, I think on the whole their commanders were glad enough to see the action sputter to a close.
After playing I think 8 turns, a die was then rolled each turn to determine whether it would continue for another. We played a ninth, which mark used to pull back his line a little. Having formed already our right wing reserve line, we didn't press all that hard on the other flank, though a further turn might have led to something of interest. It was a very hot day, so I think after 3-4 hours of action we were glad enough to call it quits!)
 |
| Crumbling French resistance on the right |
One by one the Austrians eliminated the French columns. Charging past the second column, a fresh unit crushed the third. When another Austrian column attacked, these victorious troops were in a position to strike the rear of the second French column as they were hit in front. Such as who survived of the surrounded French were forced to surrender.

Had the Austrians enjoyed as much success in the defile between Mittlesburg and the Eichegeholz woods, they might well have claimed the victory overall. Although they forced back part of the line, the French artillery remained steadfast, and even shredded an Austrian battalion. On the whole, however, the French had been forced off their line. They were barely able to form an exiguous defence line between Mittelsburg and the Sudendorf hamlet.
 |
| French and Italians form a thin reserve line between Mittelsburg town and Sudendorf village |
Such was the situation as darkness drew in: both sides enjoying some success upon their left flanks. Mittelsburg itself was still in dispute, neither side able to evict the other from their half of the town. Late in the day, the Austrians had begun to pull back a little on their left. Although the French made no such retrograde gestures west of Mittelsburg, I think on the whole their commanders were glad enough to see the action sputter to a close.
After playing I think 8 turns, a die was then rolled each turn to determine whether it would continue for another. We played a ninth, which mark used to pull back his line a little. Having formed already our right wing reserve line, we didn't press all that hard on the other flank, though a further turn might have led to something of interest. It was a very hot day, so I think after 3-4 hours of action we were glad enough to call it quits!)
 |
| Things look very promising on this wing, before nightfall ended proceedings |
In the post-battle analysis I think everyone was agreed that the thing was something of a drawn battle. Mark reckoned he had lost 6 units destroyed. We had lost 5 - three of them from 1st Brigade, and one of the Westphalians, plus one other I can't identify (Looking at the final two pictures I think we had lost just 4, but could be mistaken. Possibly Paul or Mark could clarify).
However, fatalities among formation commanders was a bit of a problem for the Austrians. The French lost one. Before withdrawing from near Nordheim, Brigade General Philippe Vicomte Camelotte met his demise, which put the heavy horse out of action for a short time.
Such was the Battle of Mittelsburg, an incident in one of the Franco-Austrian campaigns of the Napoleonic era.
* * * * *
In the meantime, I have still to publish my accounts of the Portable Wargames versions of the Montereau and Gettysburg battles. Although the Montereau battle was played out almost a fortnight back, I think I'll post the Gettysburg action first as the more quickly told narrative. For reasons I shall relate in due course, I'll want to revisit that little project! Although I began the write-up of Montereau a week ago, this one will require, I think, several instalments, unless I decide to abbreviate the whole thing! For the moment: a pictorial sneak preview...
 |
| Gettysburg: second day. Confederates about to launch their late afternoon assaults. |
 |
| Montereau: arrival of Pajol's and Victor's Corps from west and east... |
A fine game there Ion and it would be nice to have some heat here, but can't complain too much as it's not raining for once, even if it's cold it's sunny too! The snippet shots at the end of you other battles look interesting, especially Gettysburg.
ReplyDeleteSteve -
DeleteIt's always too hot or too cold... The Gettysburg project was an interesting one to try out, and it looked pretty good, but I think when I do this one again, I'll need some unit labels. There will be a few little refinements as well that will have to be laid out.
Cheers,
Ion
That was a close battle Ion (I was still rooting for the Austrians). Lots of nicely painted figures, none better than those Austrian hussars. ⚔️⚔️
ReplyDeleteCheers,
Geoff
Geoff -
DeleteMark has a distinctive painting style that looks really spectacular on the table. Like me, he is a member of the 'bright colours' school of painting wargames armies.
The Austrians did well in this one, though the light horse took a shellacking.
Cheers,
Ion
Nice results for the new units. Lots of white coats!
ReplyDeletepancerni
DeleteTo my mind there are but two really martial colours for uniforms: red (of course) and white.
Cheers,
Ion
Excellent. Looks quite a spectacle and sounds like a good set of rules.
ReplyDeletePrufrock
DeleteThe rule set is VERY fast play, and the units can zip around in sprightly fashion - provided that the formation commanders are on the case. A formation (brigade) commander that fails an initiative roll - a not infrequent occurrence - leaves the whole formation very limited in what it can do. I like 'permissive' rule sets, but they can at times have odd effects. But all rule sets have their idiosyncrasies.
Cheers,
Ion
Great report thanks for the game Ion! :)
ReplyDelete