


Four o'clock arriving, the troops in place, Longstreet lurched forward, Hood on the right making for the Devil's Den and the Round Tops. To his left, McLaws aimed for the Wheatfield. Birney's Division would have its hands full. Humphries's Division occupying the Peach Orchard and a length of the Emmitsburg road north of it was the target of Anderson's Division. The I Corps Artillery and half of III Corps' guns supported these attacks.
 |
I didn't bother, by the way, with the 'oblique order' of Longstreet's method of attack, with brigades in pairs lurching forward at 15-minute intervals. For one thing, such intervals fell beneath the grain of the time scale I was using. Even at 1 turn per hour, the time scale was generous relative to the ground scale.
Meanwhile, A.P. Hill's remaining two Divisions: Heth and Pender struck towards Seminary Ridge and the Emmitsburg Road, and the Cemetery eminences beyond. Only half the III Corps artillery supported this attack.
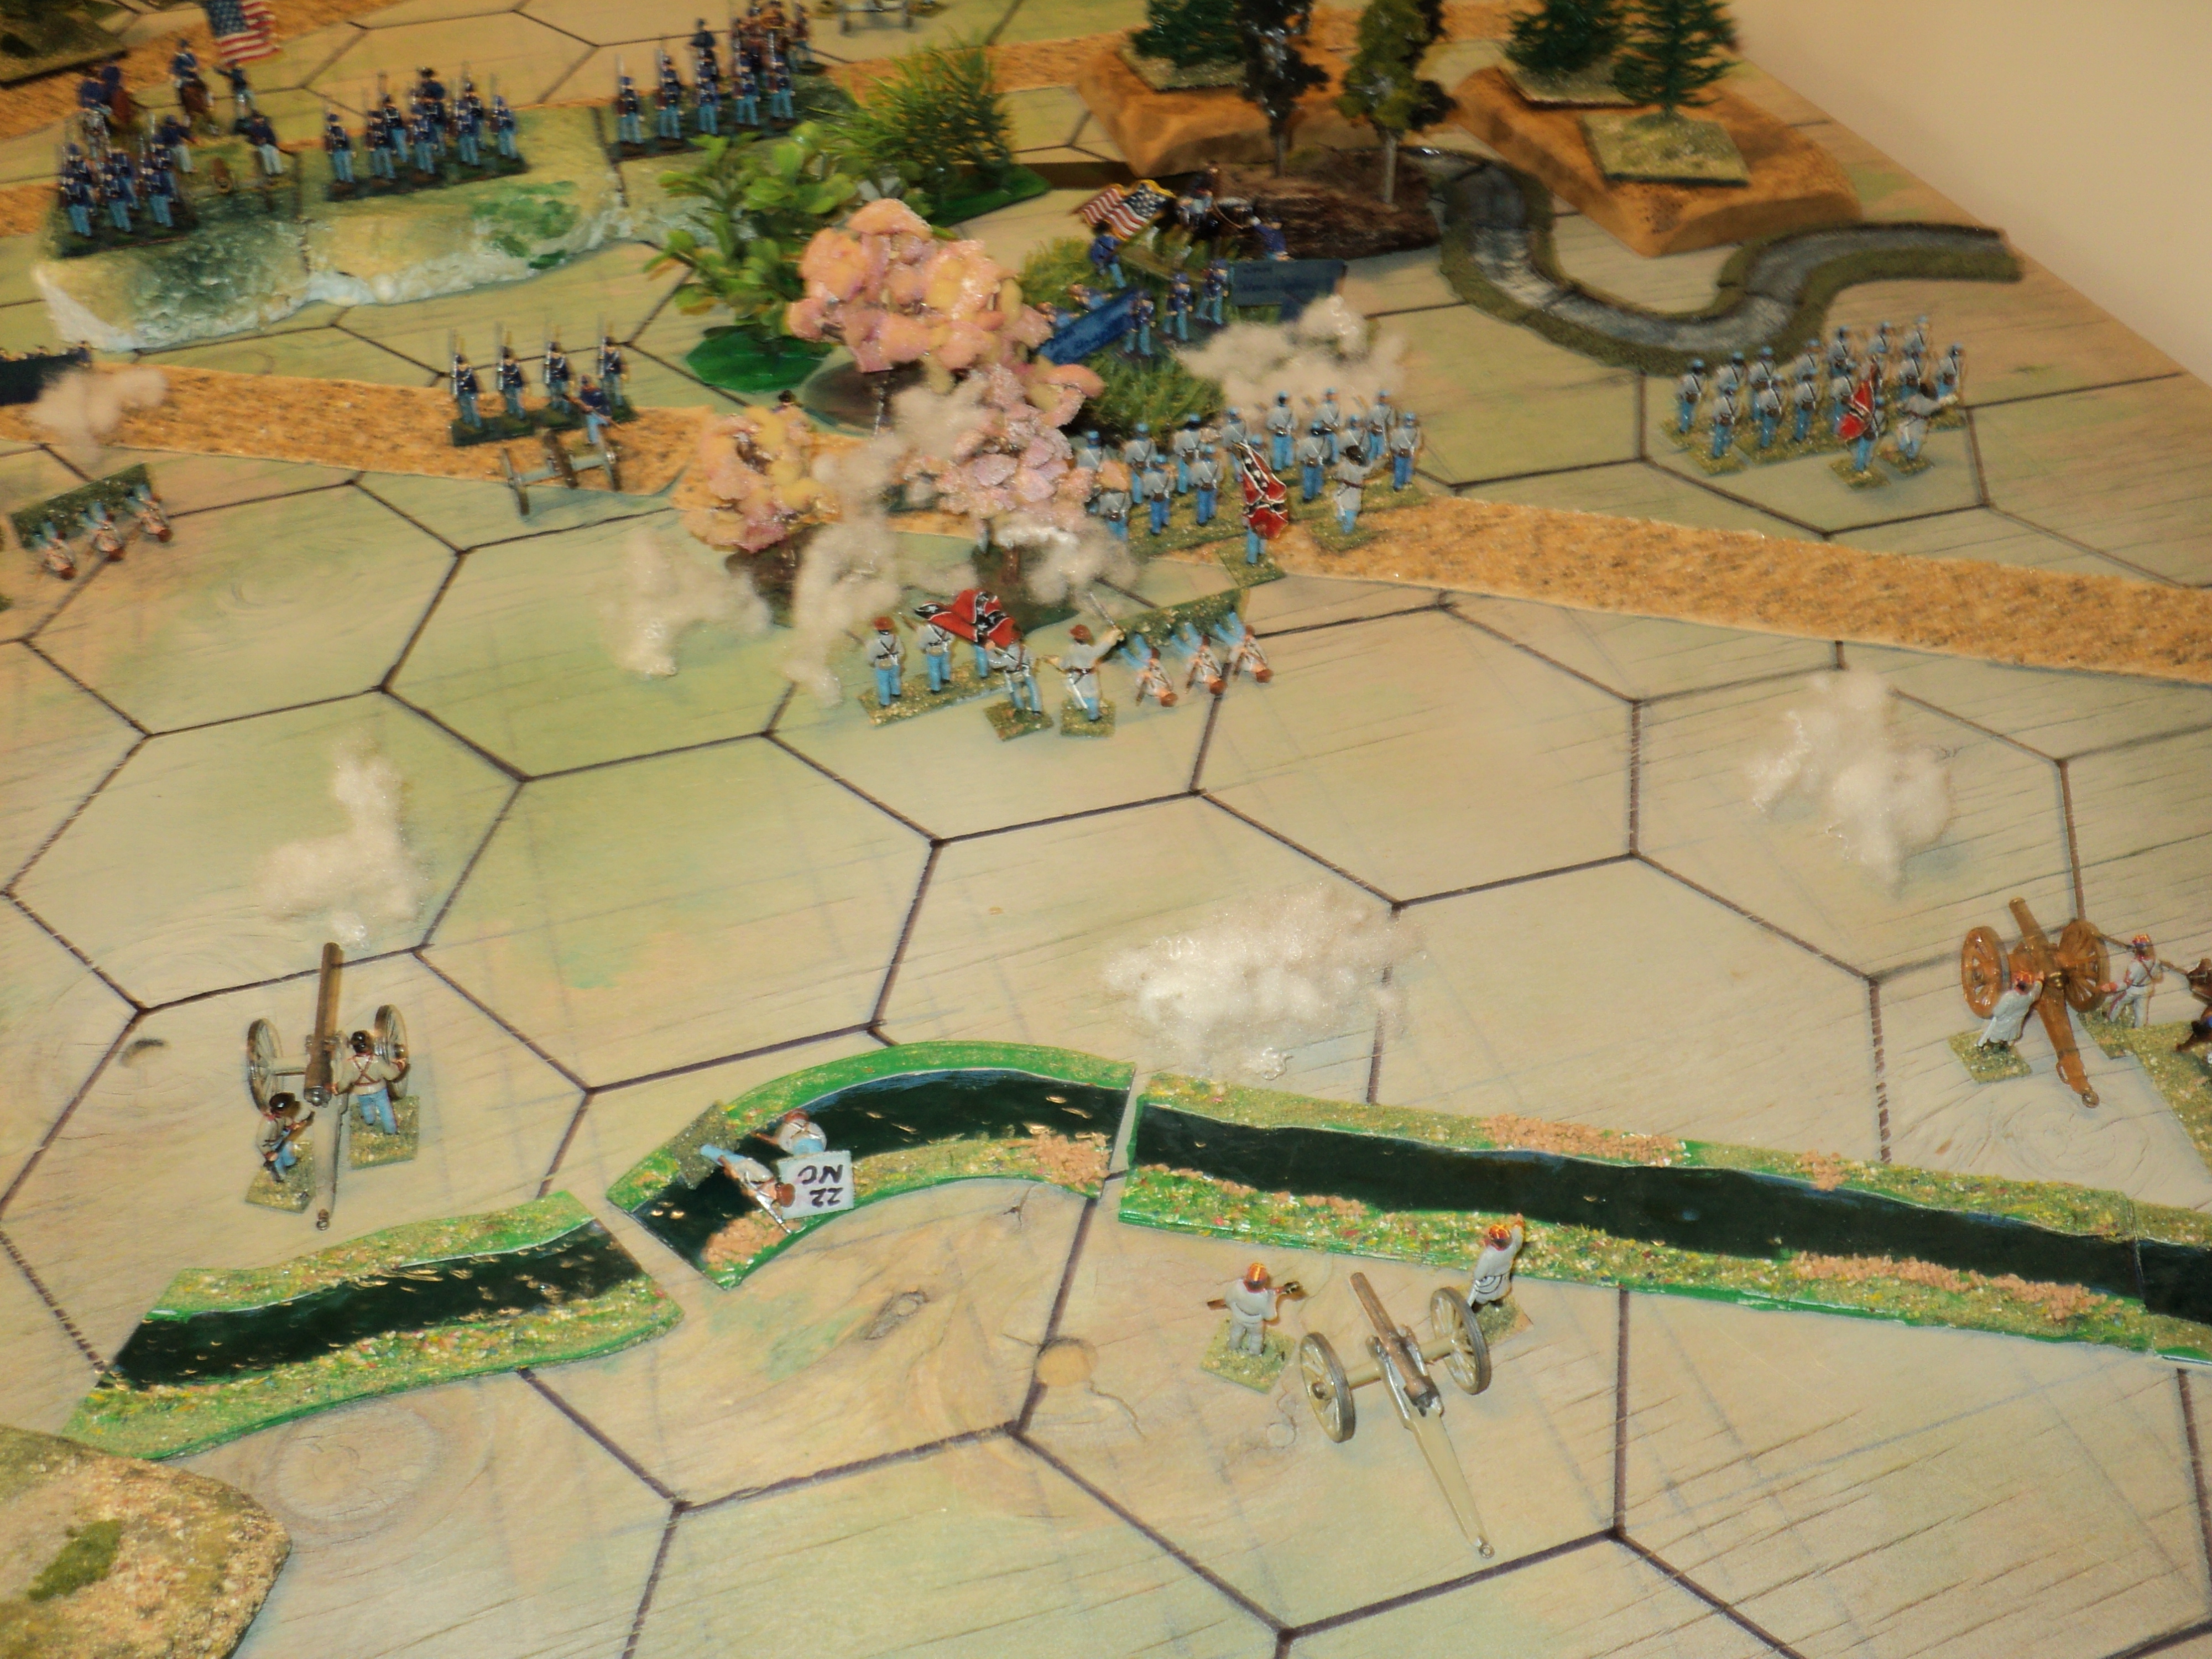
At this point my first 'Note to Self'. When I do this again, Seminary Ridge will be moved a hex-row westward. It is far too close to Gettysburg and the Cemetery Ridge. The Seminary itself will probably remain where it stands, prolonging the ridge's SW-NE alignment.

Although intended to 'go in' at the same time as the attacks from the west, R.S. Ewell's II Corps began rather poorly placed. Johnson's Division stood on the Hanover road, prepared to strike at Slocum's XII Corps lining Rock Creek south of Culp's Hill. But Early, close by the Hanover Road river bridge, and Rodes, in the northern outskirts of Gettysburg itself, were going to require some time to get into battle.
Another 'Note to Self' - bring all three Divisions, and the guns, closer by one hex to the Union lines - Rodes inside Gettysburg. Probably Early should be standing at the road junction west of the river bridges; and Latimer's artillery on the rising ground (Benner's Hill) over which runs the Hanover Road. Thos Brown's artillery should stand between the road junction and the town. We will soon see the effect of the piecemeal nature of Ewell's attacks later on.
I might also consider placing Powers Hill beyond Williams's southern flank. It's not there because I don't have enough hill.

The late start by Early and Rodes left Johnson's Division alone taking on Slocum's entire XII Corps. Once in action, Latimer's guns redressed some of the balance, but, in effect, it was 5 Strength Points (SP) against 6++. The loss of a quarter of his strength to gunfire before getting fairly to grips did not augur well for Johnson's prospects.

Whilst Slocum was fully engaged with Johnson, on Culp's Hill, Wadsworth's Division had the undivided attention of Early, supported by Brown's artillery. Nor could Doubleday, alongside on Cemetery Hill, lend a hand: Rodes's Division would soon be surging out of the town and up the slopes.

In the centre, Pender's Division was soon surging up Seminary Ridge, with Heth, perhaps a half-mile to their right where the ridge descended to the level of the plain, striking at Robinson. The battle was becoming general all along the front.
Standing in reserve close by the Baltimore Pike creek bridge stood Sykes's V Corps. He soon decided to bring his whole command on behind the Round Tops to form a reserve line behind the embattled III Corps. Far to the south, the heads of Sedgwick's VI Corps column could just be made out, approaching up the Baltimore Pike.


The fighting in the north was not going the way of the Confederates. Johnson's heavy losses induced Williams to strike across Rock creek on his own account. Nor was Early enjoying overmuch success to begin with. The fighting on Culp's Hill was settling into a battle of attrition. Rodes was still some distance from the action.

A.P. Hill's attacks were also proving costly - to both sides. In carrying the Seminary Ridge, Pender was reduced to half strength. Heth was in no better state, though there remained little under Robinson's command apart from the Division HQ. All the same, it seemed that the Army of Northern Virginia was making progress on this front.


Mixed fortunes prevailed on Longstreet's front. More accurately things were going his way, pretty much; it was R.H. Anderson who was stalled in front of the Peach Orchard, and taking a beating. Humphries simply would not be shifted.
Humphries was divided between two hexes: 2SP within the orchard, 1+ and the Corps artillery to their right in front of Cemetery ridge, where stood Hancock's II Corps. At least Pegram's (III Corps) and the Washington Artillery (I Corps) were discouraging any counter-attack from Humphries's right wing.


At this point I unexpectedly had to bring this action to a halt and pack it all away. But I was debating whether or not to play out one more turn anyhow. The four turns that had passed represented four hours' fighting. It was now 8:00pm, and probably getting dark. I called it at this point.

For all its time limitations and the bits that could have been improved, this turned out to be quite an exciting action. Losses were very heavy - on both sides. Whereas the previous day, the Confederates won a crushing victory, this day losses were close to even, possibly favouring the Confederacy by only the slenderest of margins.
Nothing remained of Anderson's (III Corps) and Johnson's (II Corps) Divisions. Heth and Pender (III Corps) were both reduced to 1SP each, and Early's Division's strength had been halved. Only Hood and McLaws (I Corps) and Rodes (II Corps) were close to full strength still.
For the Union, little remained of I, XI and III Corps; and Geary's Division of XII Corps had also been destroyed. But plenty of strength remained. Hancock's Corps had hardly been engaged at all, and then only at the end of the day; Sykes and Sedgwick hadn't even fired a shot.
One of the reasons for the heavy losses was that I allowed for few retreats. As units (formations) wore down, it seemed reasonable to allow a remnant to retreat - if it could. Units reduced to 0SP stayed on the table, represented solely by their commander or flag. Note, by the way, that I gave the Union formation flags only to Corps level, whilst CSA Divisions got them. The fact of the tiny size of many Union Divisions simply made giving them a flag most inconvenient. Giving them Division commanders seemed to me sufficient, and probably unnecessary.
When returning the days' losses halved overnight, they were for convenience allocated by CSA Division or USA Corps. They were, however totalled by Army and then halved. I counted two or three 'pluses', by the way, as 1SP. So an army that lost, say 10SP and 5 'pluses' would get back 5+2=7SP. Unfortunately, the valuable
The set-up for 'Pickett's Charge' might have been promising. Johnson and Anderson could have been brought back to 2SP each, Early to 3SP and Heth and Pender also to 2+ or 3SP. The Union Army would have recovered a similar number of Strength points.
So far the experiment was a qualified success insofar as I have a pretty good idea what to do next time.
Very interesting. I think numbers proved decisive, but you might be right about the union having to great of a terrain advantage. I think maybe army exhaustion points might be interesting to play with, with the Confederates at 50% and the Union at maybe 40% to reflect the difference in army morale and confidence?
ReplyDeleteMark -
DeleteI hadn't really considered offering any CSA 'edge'. Nor did I have any explicit 'exhaustion point' criterion, although had either army started looking too frayed at the edges, I might have looked into that. On day One, the result was clear; Day Two, perhaps the CSA had got pretty close to a 33% Exhaustion Point, bearing in mind the absence of Stuart's cavalry.
It is not often an army will take on and attack one that is numerically 25-30% stronger numerically - and fight it to a standstill at that. Tactically, Gettysburg was a negative victory for the Union: a repulse, but no more than that. For a whole day - July 4 - Lee stood and dared the Army of the Potomac to 'bring in on'. Strategically, of course, even a mere repulse was a decisive victory, though not as crushing as Vicksburg. The two decided the war (along with a third at the same time, the much smaller action at Helena), although it took near-on two years to finish off.
If I were to offer the CSA advantages in experience and training (reflected in their respective recruitment practices), I might suggest that where I have given + for partial SPs, they should get a whole SP extra, and the other Divisions get the '+'. But I'd probably do the same for the Army Corps of Reynolds (Wadsworth's Division at any rate for the sake of the Iron Brigade) and Sykes (Ayres's US regulars).
If you leave out the Stuart's cavalry (whose losses amounted to two or three hundreds only), the 28,000 casualties usually cited as incurred by the ANV at Gettysburg would have represented half the army. Not very many armies would survive such a blow.
So your suggested E.P. differential does seem pretty justified.
Cheers,
Ion
That seemed to work very well, and it is interesting how playing it out indicates scenario adjustments to unit and terrain placement. I usually have a mental image of how the action will go and tweak things in advance as far as possible, but it is very hard to anticipate everything, particularly in a large action. I think you said you were using the Portable Wargame for combat resolution this time, instead of your Napoleonic buckets of dice system?
ReplyDeleteMartin -
DeleteI ought somewhere to have mentioned that I was rolling 'per Strength point' rather than 'per unit', but using the PW system of 5-6 to hit, followed by 1-2-3 to 'kill'. But most of the time 1 hit was 1 kill except when a retreat seemed reasonable AND didn't get tangled up in 'identity issues' in a crowded position. On Day 2 the latter tended to apply to the Union. The problem was, I was applying retreats to elements, not units (Divisions) as a whole. So the whole combat system ended up as a hybrid PW, C&Colours, B of D and my absent mindedness. Seemed to work, though. Sort of.
I could have taken up the action from 8am July 2, which would have had Longstreet coming on from the Chambersburg Pike, and the Union line all along the Cemetery Ridge through to the Round Top, with part of XII Corps somewhere east of Wolf Hill, and Sedgwick still a considerable distance from the battle field. Very much a what-if, especially supposing Longstreet was a bit more celeritous and less pain-staking than his wont.
I don't think that to play the second day as fought, the action could take more than a half-dozen moves, even supposing so many is credible. One thing that perhaps isn't apparent from my narrative is just how ferocious the action was in III Corps front, and around Culp's Hill.
Cheers,
Ion
Excellent stuff Ion and always interesting to read the 'notes to self' bits and as well as the post game musings.
ReplyDeleteAnother hard fought day on the battlefield ⚔️⚔️
ReplyDeleteOne thing that amazes me is the sheer number of books about Gettysburg. It almost seems as if every platoon, troop or battery present had someone (or more than one person) who subsequently wrote their memoirs.
Cheers,
Geoff