
 |
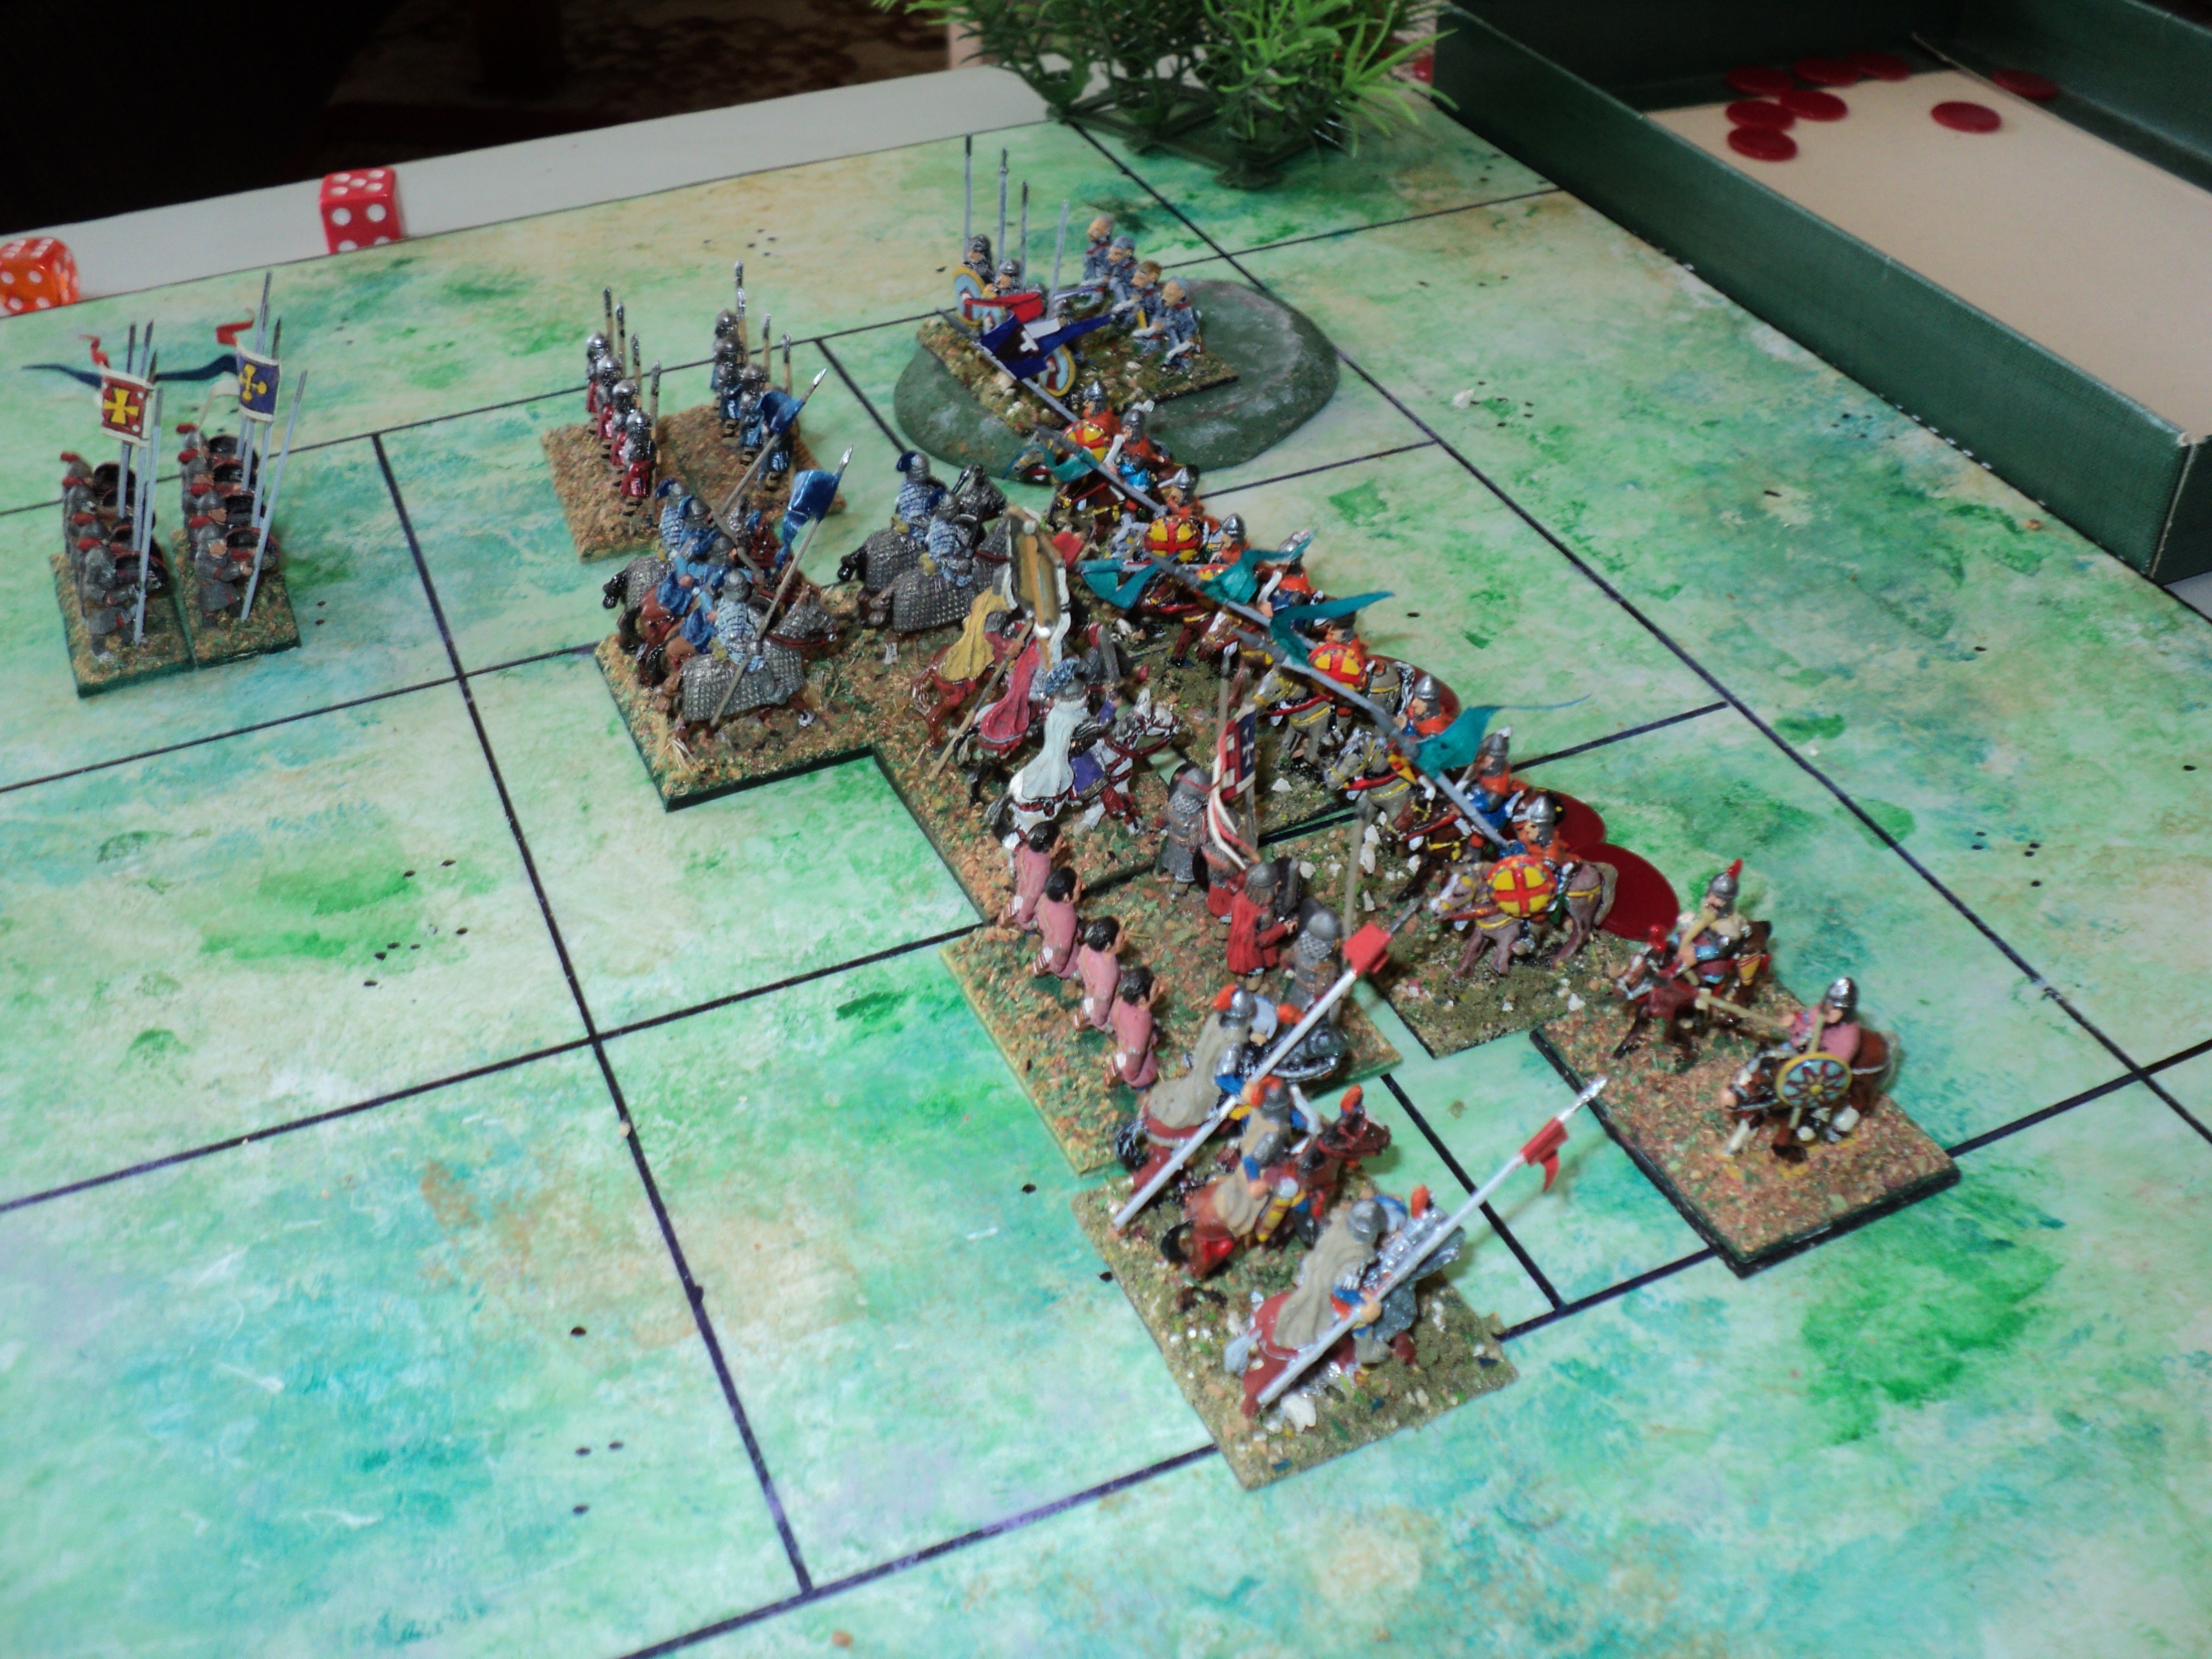
| The armies lined up for battle: Imperialists on the right Kantankeros's rebel army on the left |
Following his defeat near Brindisi, the rebellious George Kantankeros fled with the remnants of his army to the northwest. In the region of Langobardia, he hoped to gather more strength with which to preserve his realm and, withal, his life and freedom. A few days sufficed for the Emperor to put affairs in order at Brindisi, and therein to establish a base of operations. That task done, he set out with his army to settle accounts with the rebellious Governor.
Michael Psellophanes, Byzantiad
Michael Psellophanes, Byzantiad
 |
| The armies from behind Imperial lines. |
Though unable to gather his whole strength, Kantankeros had added a cavalry unit to the force he had fielded at Brindisi. He hoped this time to give a better account of himself. All the same, it was a formidable army the Emperor had brought across the Ionian Sea, the cream of the Imperial military.
 |
| The Imperialists attack! |
The cream of the Imperial military was eager, at that, to engage their adversaries, and advanced rapidly across the plain to reach the rebel lines. They were drawn up with the skoutatoi ('protected bowmen' as I call them) occupying an elevation of the right flank, and the cavalry along the rest of the front. The light horse were on the left. The Imperial army advanced with the skoutatoi, backed by heavy cavalry on the right, the Emperor's own troop backing up his extra heavy kataphraktoi in the centre, and on the left, the Varangian Guard and the marines set to assail the high ground.
 |
| Experimental pic with units side-by-side instead of in tandem. |
At this point, the eagle-eyed reader will observe a change in the 'posing' of the pictures, with units aligned side-by-side in each square, rather than in tandem. I have to admit it looks well, though of course only one close combat is adjudicated in each, the 'second' element counting towards support the first. But then, how does one decide which is the 'first' or 'primary' fighting element at any given time? Once I'd sorted out this turn, I went back to the 'tandem' arrangement. After all, it does suggest successive battle lines. Mind you, with the 'linear' arrangement, in any given combat with two units in the square one could simply 'pick one', rather than designate beforehand which is supposed to be the lead unit. This might be worth looking into.
 |
| After close combat. |
First blood went to the Imperialists, inflicting heavy casualties upon the rebel centre, but worse, the heavy horse on the left were routed from the field. The rebels' only success was to repulse the first attacks by the Varangian Guard upon the hill.
 |
| Heavy losses among the rebels; but that hill is proving hard to take! |
The marines took up the fight on this wing, surging up the slopes, with the rallied Varangian Guard returning to the fray. As the struggle continued in the centre with no further progress on either side, the light horse holding a tenuous left flank also suffered some loss. At this point of the battle, the rebels had lost four strength points, the Imperialists, none!
 |
| Heavy Imperial pressure all along the front |

Even though the marines were in their turn repulsed by those stout skoutatoi on the hill, the trend of the battle seemed unlikely to alter its course. But the Goddess Hexahedra is ever fickle - quite without memory, according to tradition. One may never predict what is to happen based upon what went before. It was probably true to say this battle didn't alter its course, but perhaps one could say a dam seemed to be placed across it.
The first slight hint that the Imperialists were not going to have matters all their own way appeared on the right. The arrows of the light horse began to pick off the bows and spearmen among the skoutatoi facing them. This hint, however, was perhaps hidden by the rout of the lead cavalry unit from the rebel centre. Kantankeros was left with his own bodyguard to face the might of the kataphraktoi and Tagmatic kavallaioi commanded by the Emperor in person.
 |
| A second rebel unit bites the dust! |
The deadly arrows of the rebel prokoursatores proved too much for the Imperial skoutatoi, and they soon broke up and fled. This was hardly a disaster, though, as behind them stood a body of kavallarioi. Surely they would be more than a match for light horse that had already taken some stick? The 'score' at this point was Imperialists, 2SP lost; Rebels, 5SP lost.
 |
| But now it id the turn of the Imperialists to bemoan losses. The skoutatoi rout. |
The Imperialist army once more closed with the enemy. The Varangian Guard mounted the third assault upon the infantry-held hill, with the help of the rallied marines. For all their earlier reverses, losses on this flank were negligible on both sides (i.e.nil SP). Meanwhile, all along the line, the rebels were presenting a thin and seemingly permeable front.
 |
| Imperial attacks resumed. |
But that line was proving harder to crack that the Emperor awaited. True, the light horse were for the moment driven from the field, but the losses among the Imperial army were beginning seriously to mount. For that insignificant success - the light horse would soon be back - the Imperial loss had grown to 4SP; the rebels' was still on 5.
 |
| The first sign the Rebel line is wavering... |
The battle line wavered as rebel units, driven back, rallied, and returned to the charge. First it was the light horse, then Kantakeros's own troop, and then the defenders of the hill, with the third assault, forced altogether from the feature. But they had exacted a toll: one SP from the Varangian Guard. Now the 'score' was 5 SP lost to both sides.
 |
| Still grimly hanging on... |
 |
| The Varangian Guard storming the hill defended by rebel skoutatoi |
As the Guard fell back once more to rally and reorganise, the marines were left to occupy the hard-won high ground. Meanwhile, the rebels had more or less restored their line (the victory criteria I make contingent upon who has the initiative at the time, either the second half of an IGoUGo turn, or who wins the initiative roll. So far the rebels had been lucky).
 |
| The hill is lost! |

But not yet! A counterattack by the rebel skoutatoi drove off the marines, and recovered the high ground. The Imperial left had it all to do again! Instead, they were to suffer their third repulse of the day, as the marines were driven back upon the Varangian Guard.
 |
| The hill changes hand a second time - but for Kntankeros, the battle is lost |
 |
| Fierce fighting in the centre |
So the survivors of Kantankeros's army drew off to the west, the rebel Governor himself suffering no hurt in the combat. For the second time, though, his troops had, in the face of apparently imminent defeat, proved stubbornly difficult to overcome. Failure to capture of kill the rebel leader meant there would be at least one more battle before the boot and heel of Italy could be reclaimed by the Empire...

To be continued ... Battle of Apulia
This is a great narrative being developed. Have you posted the rules you use anywhere?
ReplyDeleteThanks Simon
The battle rules I have uses are primarily 'Portable Wargame with Mark Cordone's modifications for Fast Play 3x3 Portable Wargames (FP3x3PW), with some of my own for 1000AD 'Byzantiad'. You might like to check out the facebook group 'The Portable Wargame'.
DeleteI have also worked out my campaign mechanics that I duscussed in earlier postings. At some point I ought probably to consolidate my maunderings and meanderings into a more compact format.
Cheers,
Ion
Thanks - I can see I might have to crack and join Facebook!!
DeleteYou might also like to check out Bob Cordery's 'The Portable Wargame' and 'Developing the Portable Wargame', books available on Amazon and/or Lulu. The FP3x3PW thing is very recent, and will largely feature in 'Portable Wargames Compendium' Bob will be publishing very shortly.
DeleteGosh Ion, Kantankeros is really hanging on “by the skin of his teeth” isn’t he?
ReplyDeleteWell done on playing out yet another hard-fought battle, which ebbed and flowed (albeit with the rebels mostly “on the back foot”). It was a most exciting tale - I really like the way your narrative hangs together.
Your battle caricature - Varangians attacking the rebel skoutatoi - is, as ever excellent. Off topic, but when I typed “skoutatoi” on my iPad it suggested I probably meant “scouts toilet” Errr… a most definite NO. 😂🤣
I look forward to reading about the forthcoming battle. The Emperor will presumably be keen to put an end to the rebellion once-and-for-all and ensure Kantankeros is captured/killed (and, under no circumstances, is able to escape/flee - to possibly seek the protection of the Lombards?).
Cheers,
Geoff
I have no doubt the Emperor will like to get his hands on Kantankeros. We shall have to see what the future holds for the overambitious subject.
Delete'Skoutatoi' (Mediaeval Greek) derives from the Latin 'skutum', meaning 'shield', specifically the familiar semi-cylindrical item carried by Roman legionaries. These eventually morphed into an oval shape, but still with that characteristic curve.
Cheers,
Ion
Archduke Piccolo,
ReplyDeleteAnother excellent battle report … and the whole campaign has a narrative that reads so well one could easily believe it was a description of a real war!
Keep up the excellent work!
All the best,
Bob
Cheers, Bob -
DeleteI appreciate your encouragement!
Best wishes,
ion
Another great battle report. A very eventual year for the Empire, and so far things have been going the Byzantines way but one can't emit help but wonder how long their luck will last.
ReplyDeleteHi Mark -
DeleteEvents have certainly kicked off with a mad rush! And, judging by the dice rolls for the overall political situation, aren't going to ease off.
I thought maybe that this was too volatile a situation, but, reading 'Alexiad', one starts to think maybe our wee Emperor Dementius isn't having things so very tough... We'll see. I've still to write up the third battle, and then the manner in which the overall political situation might have changed.
Cheers,
Ion