 |
| Battle of Domyoji - early moves |
The other day - well, about a fortnight three weeks back - methought to try out a game board I made recently. This was made from a plastic-laminated hardboard tile that was hanging around cluttering up the place, but which seemed as though it might come in handy for a convenient arena for small battles. Having already made a satisfactory 3x3 battlefield with flanks and reserve zones, this time, something a bit like the Memoir '44 board seemed a good idea. I probably rushed the hex field a bit, hence the slightly squashed look, but it is, I think, a step up from my offset rectangles idea. Mind you - one starts with offset rectangles...
I coloured the white board by drabbling green paint to give a textured look. For terrain I used Memoir '44 terrain tiles, but I rather think I'll have to make pieces specifically for this board.
 |
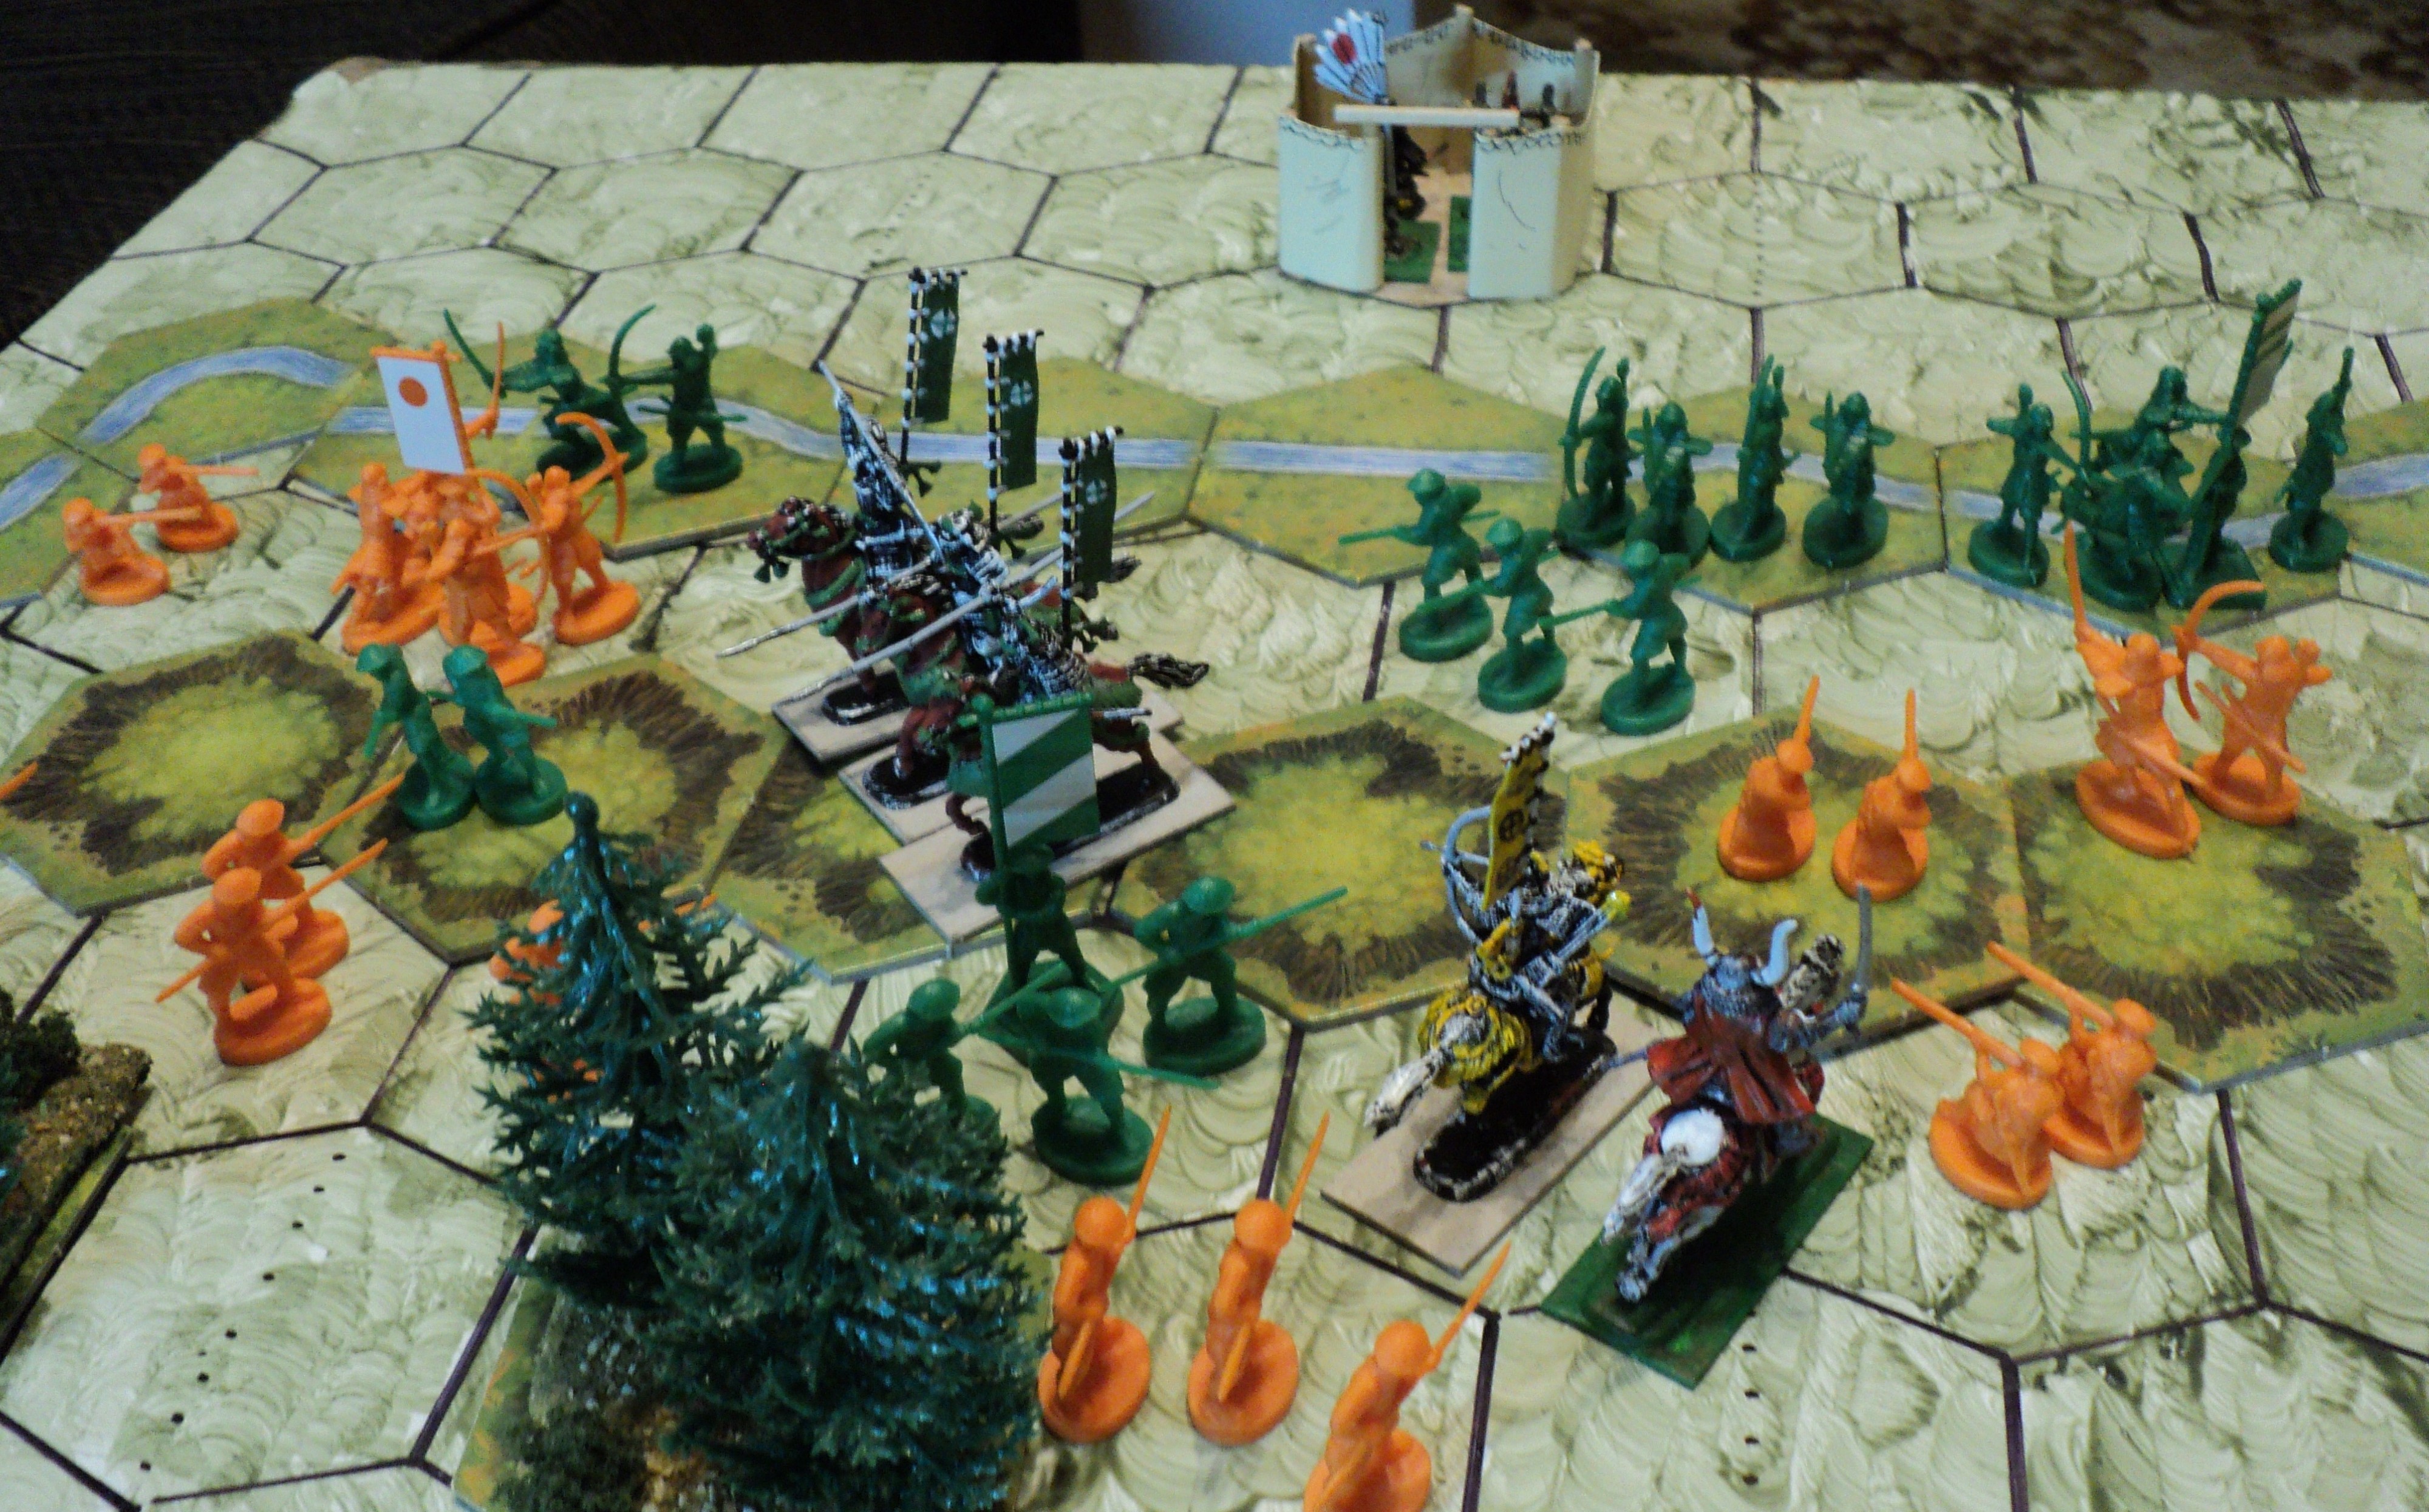
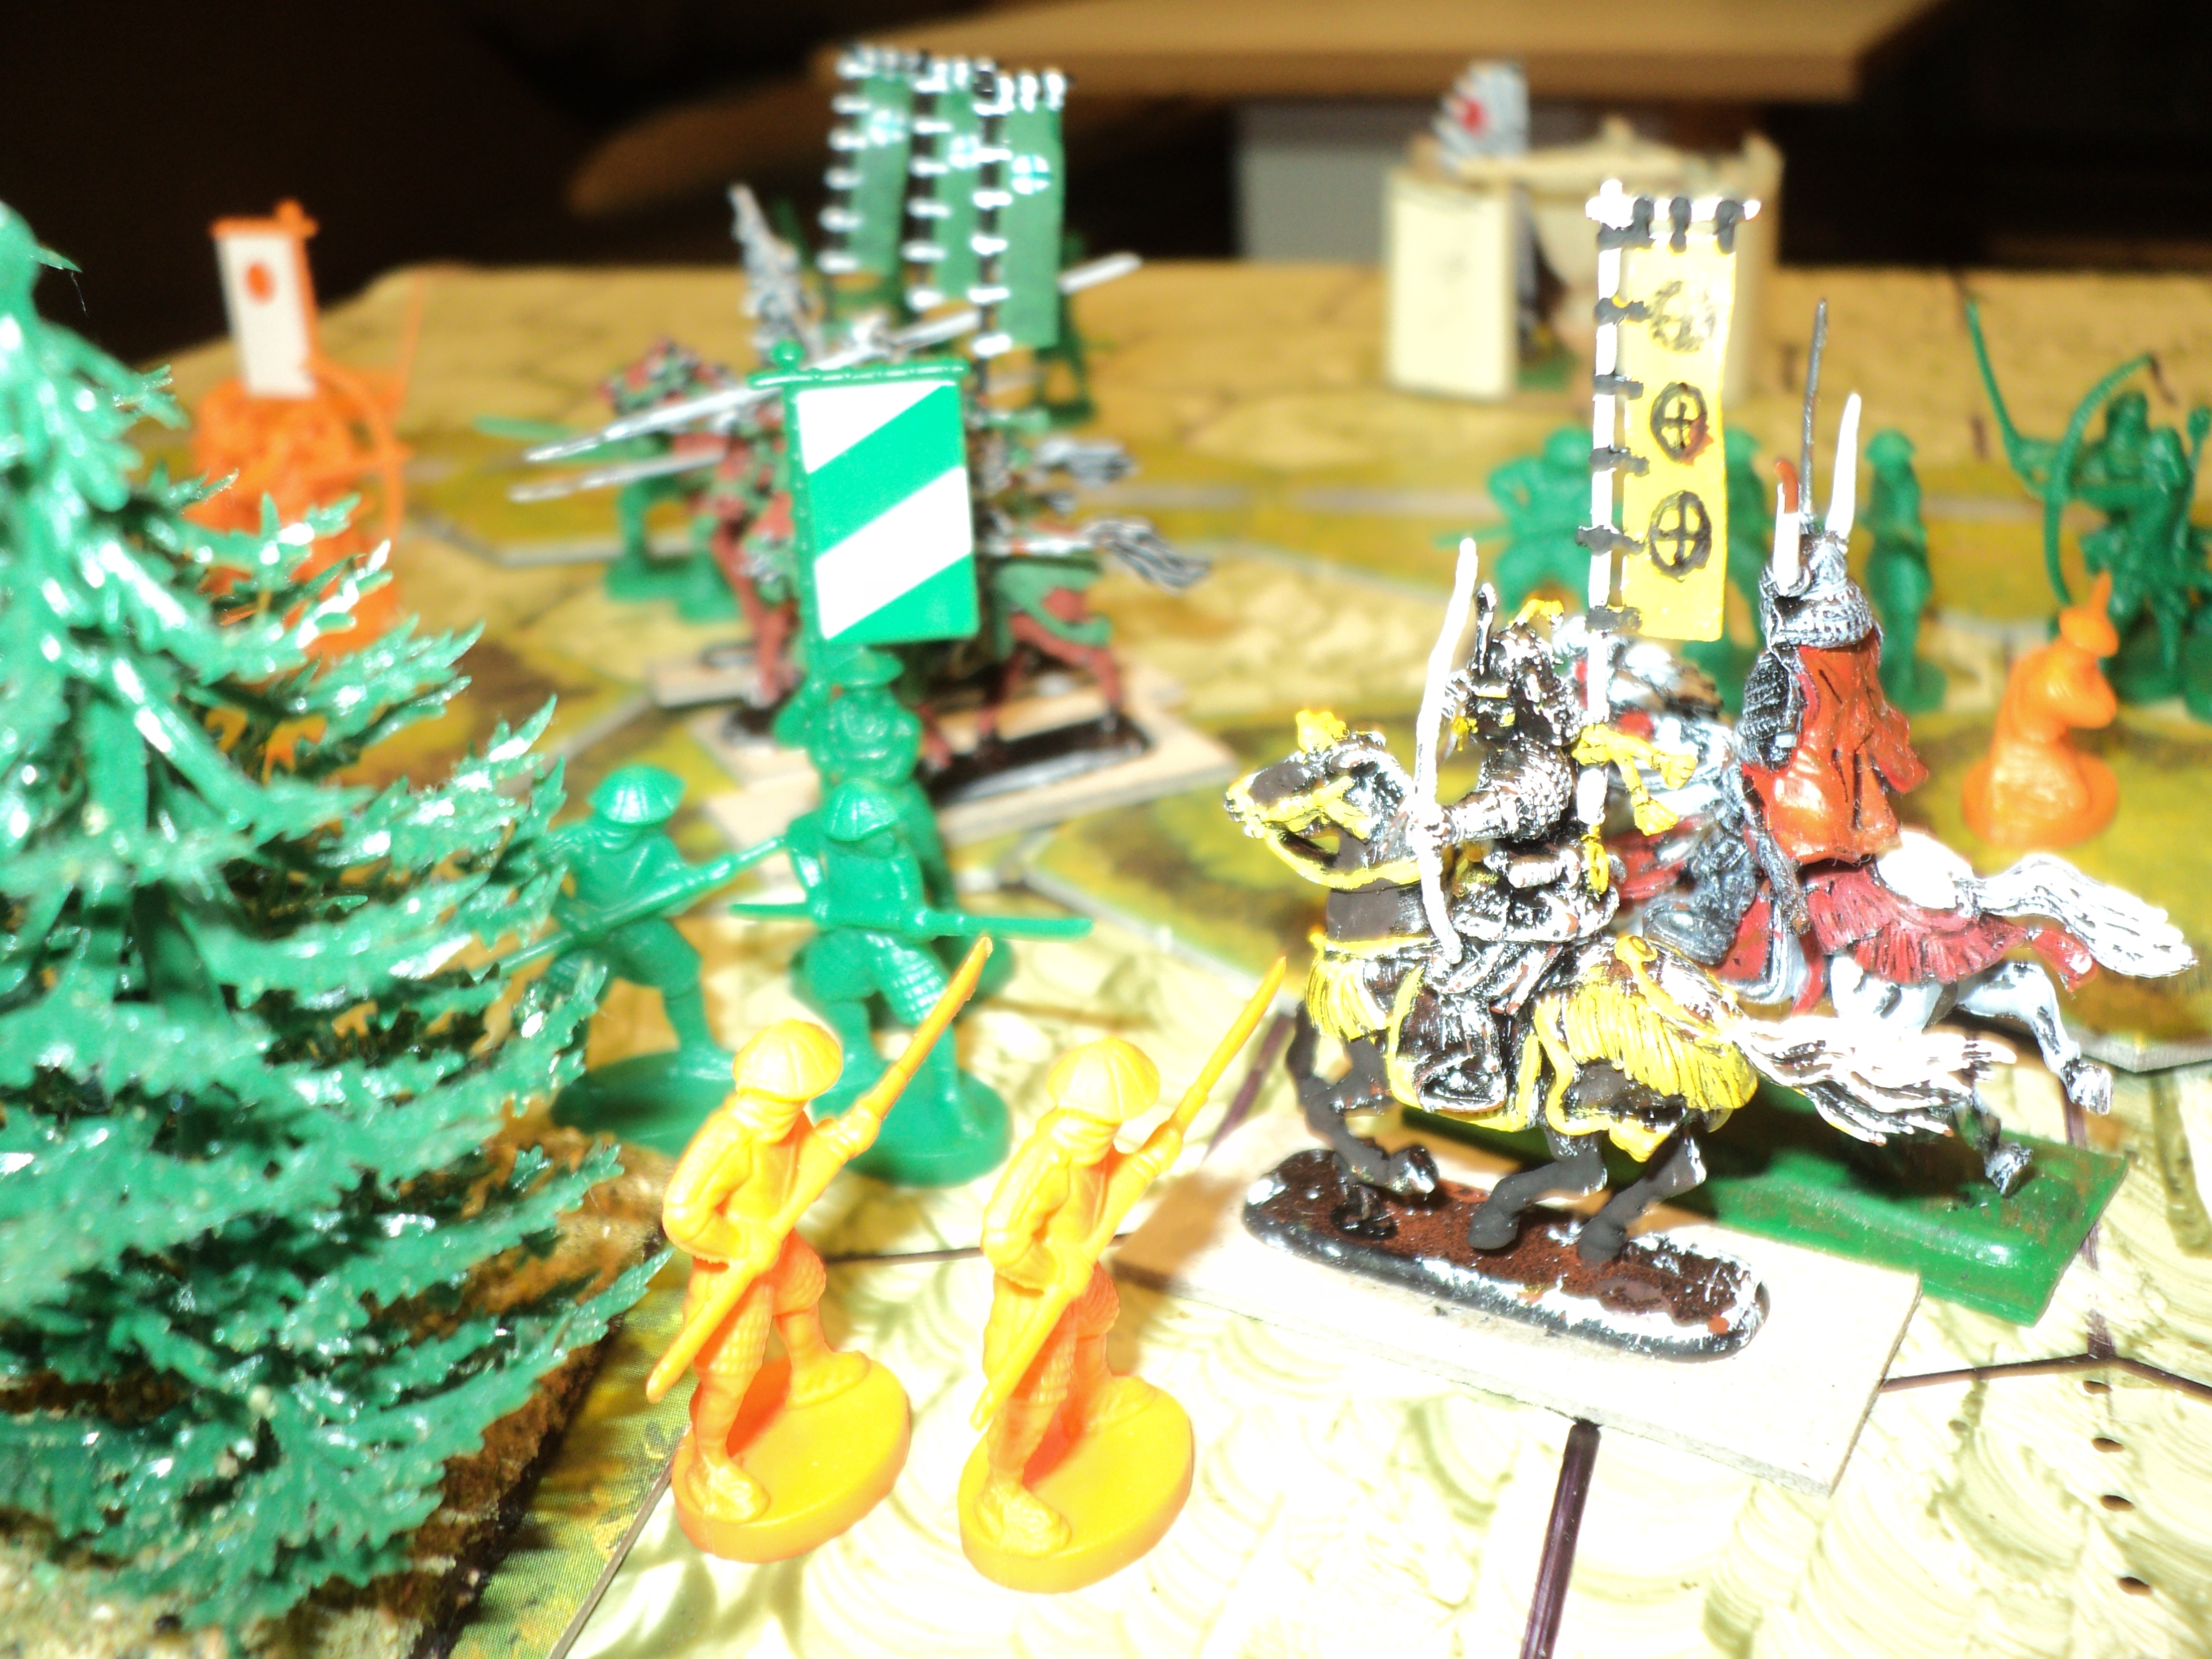
| Osaka Army reinforcements and high command. |
I had also made a Sengoku Wars command pavilion to fit the single hex-grid area. It's just matchstick and heavy paper glued to a piece of cardboard - nothing flash. The Portable Wargames 'Sengoku Wars' rule set doesn't use such pavilions, but I made some 'stats' for such things. Being static, it has the added virtue of adding a unit to the army that does not require activation. Of course, it does present an objective at which to aim. The armies were made up otherwise of my Shogun board game figures, and Zvezda cavalry.
 |
Battle of Domyoji - Osaka holding the
Komatsuyama Heights |
The battle being fought was one of the last of the Sengoku Wars - based on the Battle of Domyoji, 1615, between the Tokugawa Shogunate and the Toyotomi Clan. This was part of a long campaign collectively known as the siege of Osaka, as the Shogun, Tokugawa Ieyasu sought to remove the last threat to his overlordship of Japan.
I've based this very roughly on the
Command and Colours boardgame scenario, but adapted to my board and the limits of the PW Sengoku game.
Brief Background:On 5 June, Gotō Mototsugu, a samurai leader in the service of of the Toyotomi Hideori, was at Domyoji with his forces guarding a mountain pass through which the Shogun's forces were expected to come. The country thereabouts was a low-lying section north of Komatsu-yama ridge on the opposite side of the Ishikawa river, a tributary of the Yamato-gawa river. In order to take their positions on the ridge Mototsugu had to ford the Ishikawa river. During the passage of the river, scouts reported that Tokogawa Ieyasu's Eastern Army had debouched from the pass through the range and were moving up the southern slopes of Komatsu-yama.
Shortly after daybreak, Gotō Mototsugu and his samurai rushed forward to Komatsu-yama in order to push the Tokugawa forces back. Within an hour, however, a strong attack by the enemy was driving his troops back to the summit of the heights. All this time Gotō Mototsugu was awaiting the planned arrival of reinforcements which had been delayed by thick fog. At about mid-morning Goto Mototsugu was wounded and committed seppuku. Command of his forces devolved upon Sanada Yukimara.
 |
| Tokugawa activation dice: Good roll! |
Such, more or less, was the situation at the beginning of the action on my battle board. The forces of Goto Mototsugu were represented by the green army; those of the Eastern Army were orange/yellow.

 Osaka Army (Green):
Commander: Sanada Yukimara (in Pavilion)
Susukida Kanusuke commanding samurai beside the pavilion
Yamamoto Kaimio commanding ashiguru yari on the heights
1 Pavilion (elite, static) = 4SP
1 Mounted Samurai (average) = 3SP
3 Foot Samurai (elite) @4SP = 12SP
4 Ashigaru Yari (average) @3SP = 12SP
1 Ashigaru Tepo (average) = 2SP
Totals:
10 Units, 3 Generals; Initial activation (10/6 + 3) = 4D6/2 (Expectation = 7 units)
33SP, Exhaustion Point = -11SP; Rout Point = -17SP
Eastern Army (Orange/Yellow)Commander: Honda Tadamasa (Mounted Samurai)
Mizuno Katsushige Samurai right flank
Date Masamune Samurai left flank
1 Mounted Samurai (elite) =3SP
3 Foot Samurai (elite) @4SP = 12SP
4 Ashigaru Yari (average) @3SP = 12SP
3 Ashigaru Tepo (average) @ 2SP = 6SP
Totals:
11 Units, 3 Generals; Initial activation (11/6 + 3) = 4D6/2 (Expectation = 7 units)
33SP, Exhaustion Point = -11SP; Rout Point = -17SP
The Battle:
 |
| Osaka activation dice: another fine roll! |
As the attackers, the Eastern Army opened the ball, with strong attacks against the flanks of the Komatsu-yama heights. They got the white dice; the Osaka Army the green. As you can see from two pictures back, the Tokugawa's boys grabbed the initiative with a vengeance: a superb roll of 19 - divided by 2 - permitting the activation of 9 of the 11 units. Concentrated attacks against the ends of the heights very early secured lodgements as the Osaka people were forced off and inwards.
In response, the
Osaka Army's activation roll was the equal of their adversaries'. At once the reserve samurai under
Kanusuke surged towards and across the river, helped by 'winning' the initiative roll that followed the first game turn. The flanks barely holding,
Kaimio's ashigaru spearmen thrust down the hill against the
Eastern Army's rather exiguous centre. However their second activation roll was far less effective than their first, the roll of 11 permitting the activation of just 5 units. The
Osaka Army prioritised on getting the reserves across the river and into action; and pushing the early success of the counter attack in the centre.
When at last the
Eastern Army's second turn came round, they repeated the dice score of the first: 19. Nine units activated - and there was plenty for them to do.
Although
Masamune was finding the going tough on the left flank,
Katsushige on the right completely overran the heights and surged into the valley beyond to engage
Kanusuke at the river fords. Also gaining the heights, the arquebusiers shot up a unit of spearmen that had been driven off the feature.
On the left,
Masamune was also beginning to make progress, driving a reduced
Osaka band of samurai to the riverbank. The relative failure to progress in the centre was leaving the
Osaka cavalry and spearmen encased in a narrow salient, and in danger of attack from several directions.
This was might have been a strong augury of the Eastern Army's victory, but the Osaka Army 'won' the initiative again. Rolling
14 (i.e. an average activation roll allowing 7 units to move), the Osaka Army was beginning to make a comeback.
Kanusuke's samurai forced
Katsushige back from the riverside; the army was holding everywhere else.
The onset of
Kanusuke's attack carried on and retook the eastern end of the heights. Only a depleted Ashigaru Tepo unit was maintaining a precarious hold, almost surrounded, upon the crest of the ridge.
But if the Osaka Army was enjoying a resurgence on their left, their line was receding on their right. The foot samurai on the extreme wing were driven back to and over the river, almost as far as
Sanada Yukimara's pavilion. About a third of the heights at this end had been cleared of Osaka's forces. Surrounded on three sides,
Yamamoto Kaimio was for the time being, holding his own.
For a short time
Kaimio even managed to thrust back the enemies surrounding him, but he could never quite find the time or occasion at which he could extricate himself and return to the heights.
 |
Katsushige's wing almost driven away from the
main Eastern Army |
Just as matters were going badly enough for Osaka on the right wing, they seemed to be proceeding well enough on the left. Kanusuke had driven Katsushige's command well back from the ridge, where they became rather detached from the rest of the army. Honda Tademasa was once again directing concentric attacks upon Kaimio's almost isolated bodyguard unit. To protect his flank uncovered by Katsushige's retreat, he established a line of arquebusiers.
 |
Surrounded on three sides Yamamoto Kaimio
is finally overcome.
|
It did not take long for that exiguous line to be driven in. The isolated Tepo unit holed up on the heights were finally destroyed, and Kanusuke soon overran the other unit which retreated with rather unseemly haste (two 'retreat' outcomes) to rejoin Katsushige's wing. But they were not in time to save Kaimio. Beleaguered for hours, with no hope of rescue, his command, and he with it, succumbed to his numberless foes.
At about this point, the battle sputtered to a close, both sides exhausted. Both sides had lost 11 Strength Points, though the Eastern Army's losses of samurai were double those of the Osaka army. Osaka had, just barely, held off the Eastern Army. That was not to be the end of the matter.
Tokugawa Ieyasu himself was somewhere in the offing, and would not be taking a minor setback for a defeat...
 |
| The last stand of Yamamoto Kaimio. |


 Osaka Army (Green):


The command and colours site is very useful for scenarios.
ReplyDeletePlenty to try out, at any rate!
DeleteA splendid game there and with a look that takes me back to being a kid, in a good way of course! The finally cartoon is wonderful:).
ReplyDeleteIt is an unhappy adult, methinks, who 'puts away childish things' for good and all! The action in this game was full of incident, but I never got to see how a pavilion under attack might have affected the outcome.
DeleteNice work on board, command tent, and the game sounds splendid. I confess to knowing nothing about the period, but it was a good read. Love the cartoon.
ReplyDeleteI can't say I know all that much about Japanese history at all, but the Sengoku Wars of the 15th Century seem to have been the most turbulent. In many ways it seems ideal for war games campaigns, but the PW game system is a good one for small pick-up battles like this one.
DeleteAt some point I'm hoping to 'do' a whole 'Shogun' board game (Milton Bradley) but with the battles decided as PW games.
Cheers,
Ion
A nice “small table” set-up there Ion. Well done. 👏👏
ReplyDeleteYour command pavilion looks nice - a tempting target for the enemy, surely - and, as ever, your artwork is impressive. It looks like it’s raining arrows…
Cheers,
Geoff
A few of those arrows are sticking out of his bamboo armour. I find the tent/ pavilion thing a rather odd command centre, but it does add something peculiarly Japanese to the whole Sengoku theme. The little game board will be good for my 15mm scale soldiery, and I think my 7YW, Napoleonics and ACW forces may be adapted for it as well.
DeleteMaybe I should test those ideas with a photo shoot. Or something...
Hi....Yet another great read with superb drawings....Regards.
ReplyDeleteCheers, Tony. It was an itch that just had to be scratched.
DeleteShogun is an excellent basis for a campaign with the battles played out on table, similar to a Kingmaker campaign in that style.
ReplyDeleteBrian -
DeleteI have in fact a Shogun game in train that should lead to interesting events. I wrote up something about this about 18 month ago. Trouble is, getting around to continuing the thing.
So many campaigns - so few of me...
Cheers,
Ion