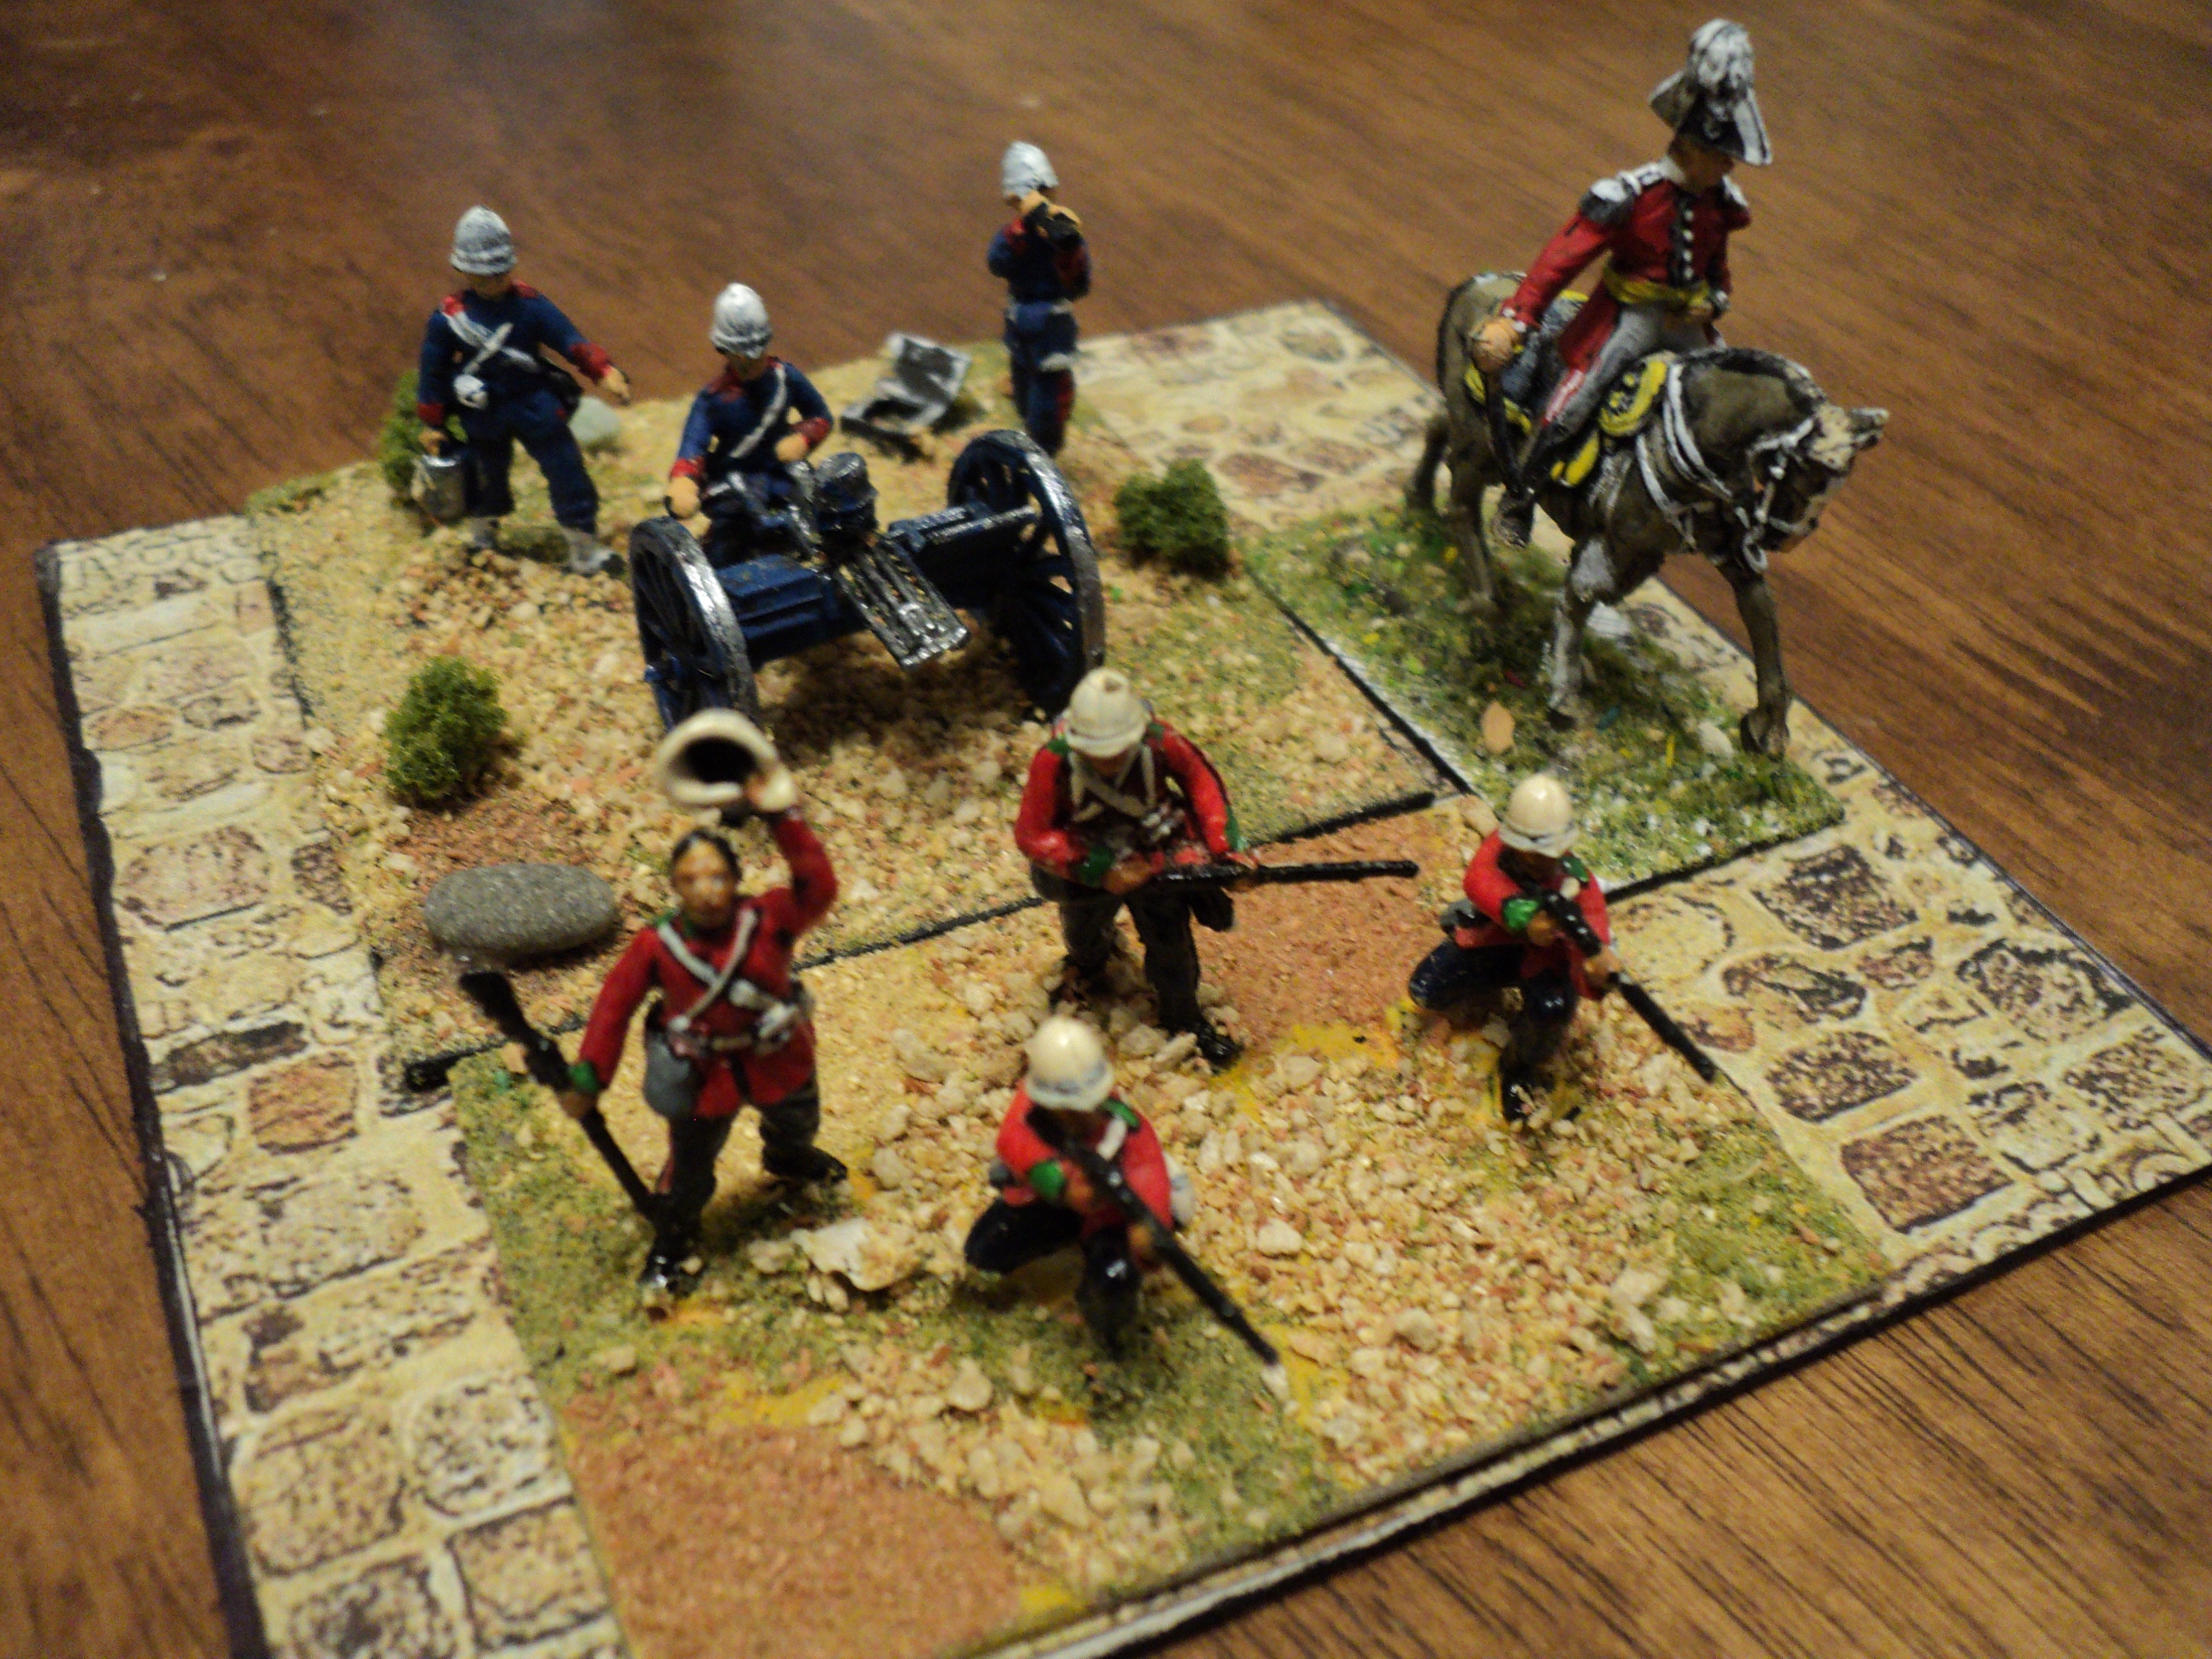
The longtime reader of this blog might recall several articles over time depicting battles of the so-called 'Hundred Days' campaign. The occasional series began in early 2019 with a 'might-have-been' series of battles between a Prussian 'North German Federal Army Corps' under Graf Kleist von Nollendorf, and the 'Army of the Meuse', commanded by General Henri Count Beaujolais. The one force was based on a real army corps being gathered by the German count; the latter entirely fictitious, a rumour historically made actual. In June 1815, there was no 'Army of the Meuse'.
The series then continued with the battles of Quatre Bras, Ligny, Wavre and Waterloo, but not in that chronological order. I began with Wavre (2019) and ended with Ligny (2022). They began as a play test to see if, on a larger board, Bob Cordery's Portable Napoleonic Wargame could be extended to army level actions. With a few minor tweaks, they certainly could!
 |
| Battle of la Souffel, 28 June 1815 |
There remains, however, one last action, something of an epilogue to the return of Emperor Napoleon's attempted comeback from exile. This was a smaller action fought in the east of France, some ten days after Waterloo. Commanding the 20,000-strong French V Army Corps, General Rapp - a very able commander - faced rather superior numbers, some 200,000 Austrians and Allies of the Upper Rhine Army. So outmatched, Rapp fell back westwards. Rapidly following up, Eugene, the Prince Royal of Wurttemberg, led his 35-40,000 III Corps in hot pursuit. Upon reaching the line of the Souffel River with the enemy close behind, Rapp halted, took a stand, and offered battle.
 |
| Map of the table |
As laid out, this scenario s owes a great deal to an
Age of Eagles treatment of this action. Probably a more direct research would have been preferable, but this was at least convenient. It is pretty much a defensive action by the French, the Allies - all of which were represented by my Austrian figures - being tasked with forcing the line of the river.
 |
| Diagram of early developments. See text infra. |
The respective forces were as follow:
French 'Army of the Rhine ' V Corps,
General Jean Rapp ('Good' commander) 6SP
15th Division, General Rottembourg (3SP)
- Gudin Brigade, (Conscript = Poor), 3SP
- Monagnier Brigade, (conscript), 3SP
- Skirmishers*, Average, 1SP
- Artillery, Avg, 1SP
16th Division, General Albert (3SP)
- Beurmann Brigade, (Regular = Average), 3SP
- Voyrol Brigade, (Conscript), 3SP
- Skirmishers, Avg, 1SP
- Artillery, Avg, 1SP
17th Division, General Grandjean (3SP)
- Fririon Brigade, (Conscript), 3SP
- Dandlau Brigade, (Regular), 3SP
- Skirmishers, Avg, 1SP
- Artillery, Avg, 1SP
Merlin's Cavalry -
- Grouvel Light Horse, Avg, 2SP (Chasseurs)
- Favier Dragoons HC, Avg, 2SP
Totals:
18 units (including command), 43 Strength points
Exhaustion point -15SP; Rout Point -22SP
 |
View from behind 15th Division at
Souffelweyersheim |
Austrian Army of the Upper Rhine, III Corps
Prince Eugene of Wurttemberg ('Average' commander), 6SP
Division, Palombini, 3SP
- Count Kinski Brigade, Regular Light Cavalry, 3SP
- Luxembourg Brigade, Regular, 4SP
- Czollich Brigade, Regular, 4SP
- Light Foot Artillery, Avg, 2SP
Division, Prince Adam, 3SP
- Jett Brigade, Mounted Jager, Avg LC, 3SP
- Moltke Brigade, Dragoons, Avg HC, 3SP
- Horse Artillery, Avg, 2SP
Division, Koch, 3SP
- Hohenlohe Brigade, Regular, 4SP
- Misany Brigade, Regular, 3SP
- Lalance Brigade, Regular, 3SP
- Hugel Brigade, Regular, 4SP
- Foot Light Artillery (6pr), Avg, 2SP
Division Prince Emile, 3SP
- Folhenius Brigade, Grenadiers = Elite, 3SP
- Gall Brigade, Grenze, Avg, 3SP
- Skirmishers, Jager, Avg, 1SP
Totals:
20 Units (including command), 62SP
Exhaustion Point -21SP, Rout Point -31SP
Note that this army was not all Austrian - but as my Napoleonic collection has little in the way of minor allies, this action featured my Austrians exclusively.
 |
| Turn 4: arrival of Koch's large Division |
Before continuing, a word on skirmishers.
Now, Bob Cordery's Portable Napoleonic Wargame calls for skirmishers only for Brigade Level action. Rule sets of the Age of Eagles variety abstract skirmishers as 'below the grain' of the figure:man scales.
Personally, I see no reason not to have them represented in some way. What I have done is to allow each French foot Division, and Prince Emile's of the Austrians, a 2-figure 'cloud' of skirmishers.
When I played this action out, I hadn't fully realised any special rules for them, they were simply a small 'unit' - probably brigaded light companies - with a single SP. In effect they were expendables whose purpose was to weaken the enemy if they could.
 |
Allied dragoons attempt to force a crossing
defended by 15th Division's skirmishers |
It did occur to me, though, that rules could be made more elaborate. What I propose is the following:
1. Any 'skirmish capable' formation may deploy one stand of/or 2 figures in an immediately adjacent grid area as skirmishing light infantry
2. This stand of skirmishers is counted as zero strength points (0SP) They are classed as 'Average', or, in rare cases, 'Elite' (e.g. British 60th and 95th Rifles, on account of their rifled muskets).
3. The skirmisher stand 'fights' like any other infantry stand.
4. Artillery firing at skirmishers reduce their D6 die roll score by 1 - other modifiers still applying.
5. If attacked by enemy horsed troops, skirmishers reduce their own D6 die roll score by 1; other modifiers still apply.
6. If attacking skirmishers, horsed troops increase their D6 die roll score by 1; other modifiers still apply.
7. If the skirmisher stand takes a 'hit' - whether a 'kill' or a 'forced retreat', it is removed from the board as the screen having been driven in. Note that, having no SP value, this comes at no cost to the skirmishers' army morale.
8. If the skirmisher screen has been driven in, an enemy attacking it may advance into the vacated grid area.
OK, I have yet to play test this scheme, but the actual game, with the skirmishers being treated as just another fighting stand, seemed to work. The pictures coming before and after this section comes from very early in the La Souffel action. Austrian dragoons try to force a river crossing defended by the brigaded light companies of 15th Division. The skirmishers were driven in (i.e. eliminated) but the cavalry failed to secure a lodgment and were driven back across the river.
 |
The skirmishers driven in but the cavalry take
too much damage to follow up. |
The initial set-up for the French had:
15th Division in or east of Souffelweyersheim
16th Division in and about Lumpertheim and Mundolsheim
17th Division off table south of Bischheim on the Strasbourg road
Merle's Cavalry between Mundolsheim and Souffelweyersheim.
The arrival of 17th Division would be signalled when an Austrian unit crossed the river anywhere.
 |
Action on 15th Division front. Genl Rottembourg
is shifting his artillery from the right flank |
The Allied (Austrian) approach to this action begins with the gradual arrival of the four Divisions, according to the following schedule:
Turn 1, Point A (see map)
Palombini Division
Turn 2, Point B or C OR Turn 4, Point D
Prince Adam Division
Turn 4, Point B or C
Koch Division
Turn 6, Point A
Prince Emile Division
 |
Allied Divisions of Palombini, Koch and Prince
Adam closing in along the river line. |
Looking at the respective armies, one might be forgiven for supposing this ought to be a walkover for the Austrians: superior in numbers and quality both. The piecemeal arrival of the Allies may be balanced by the absence of the French 17th Division until the Allies have secured a measure of success already. The extra couple of stands of skirmishers the French have - my own addition - one must recall have just the one strength point. Surely that won't make much difference?
For the outcome of this action, we'll have to wait until the next posting...
To be continued...